No, but that is another approach that may be useful depending on the situation. This is sort of the problem–there are a dizzying number of ways to approach this, and you’ll get the best results here if you can tell us more about what you want to do specifically.
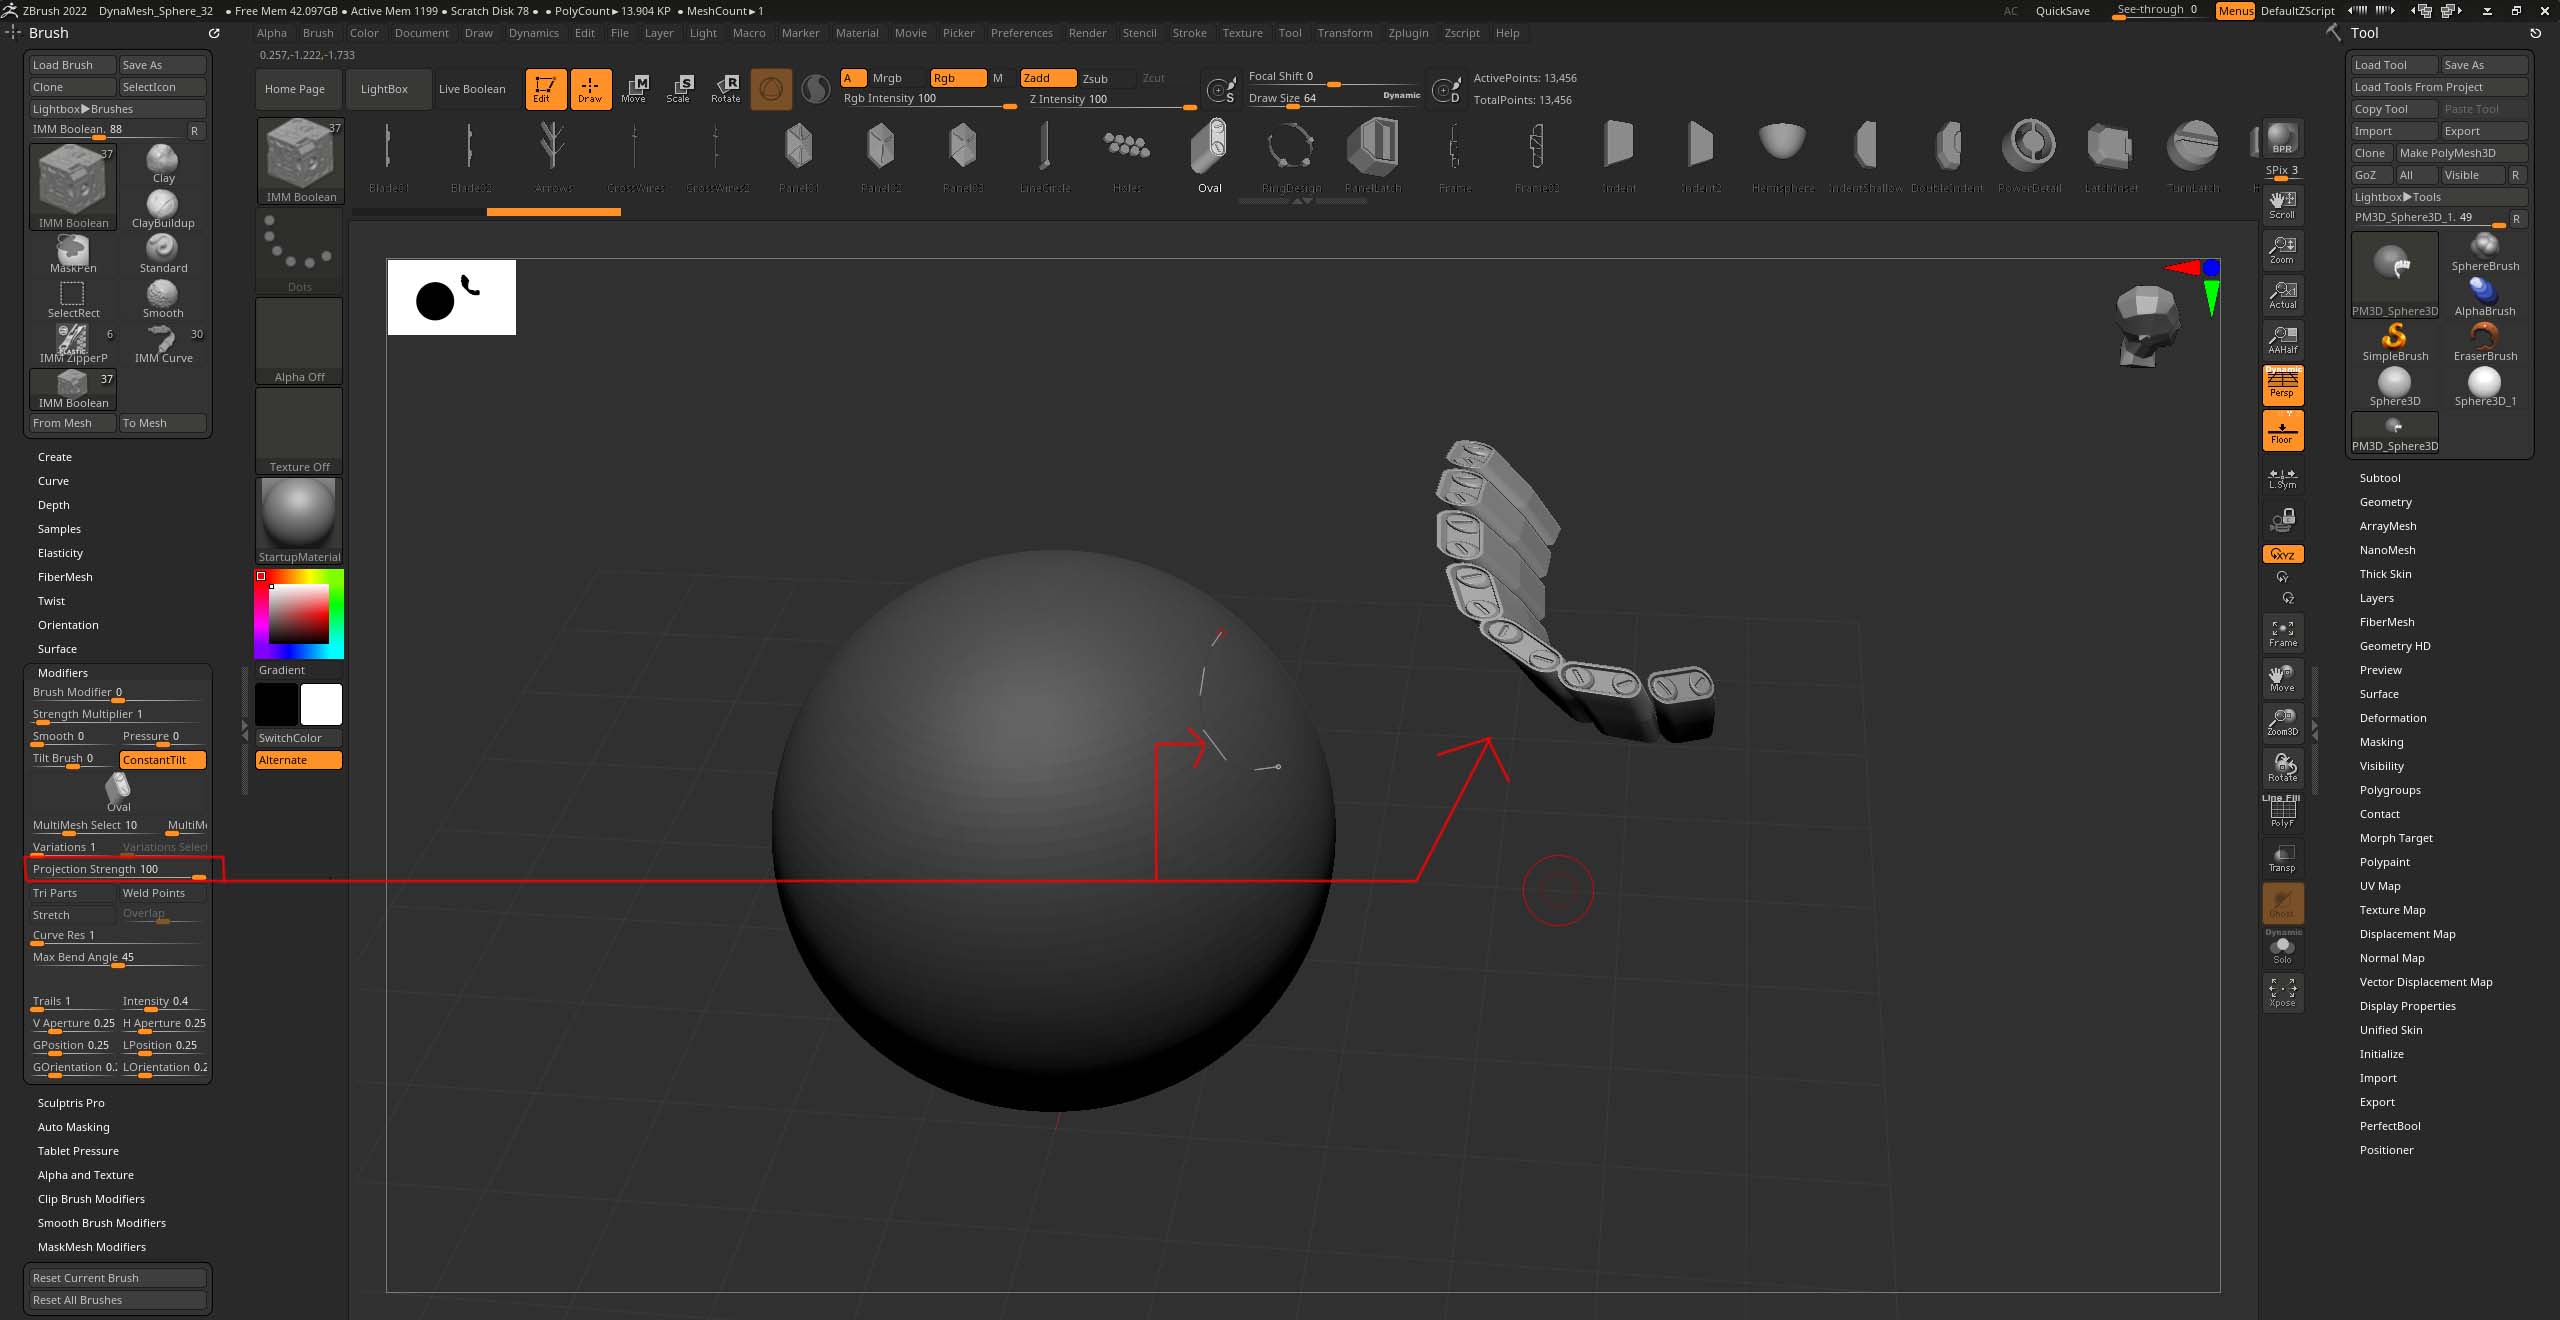
In this case, I simply finessed the resulting geometry into shape with a pressure sensitive tablet and a soft touch, and broad use of the wider feature set. It was important to control the topology in order to make sure there were just enough points on the resulting geometry so that it could deform to the underlying surface, but no so many that the mesh would become too sensitive to surface distortion.
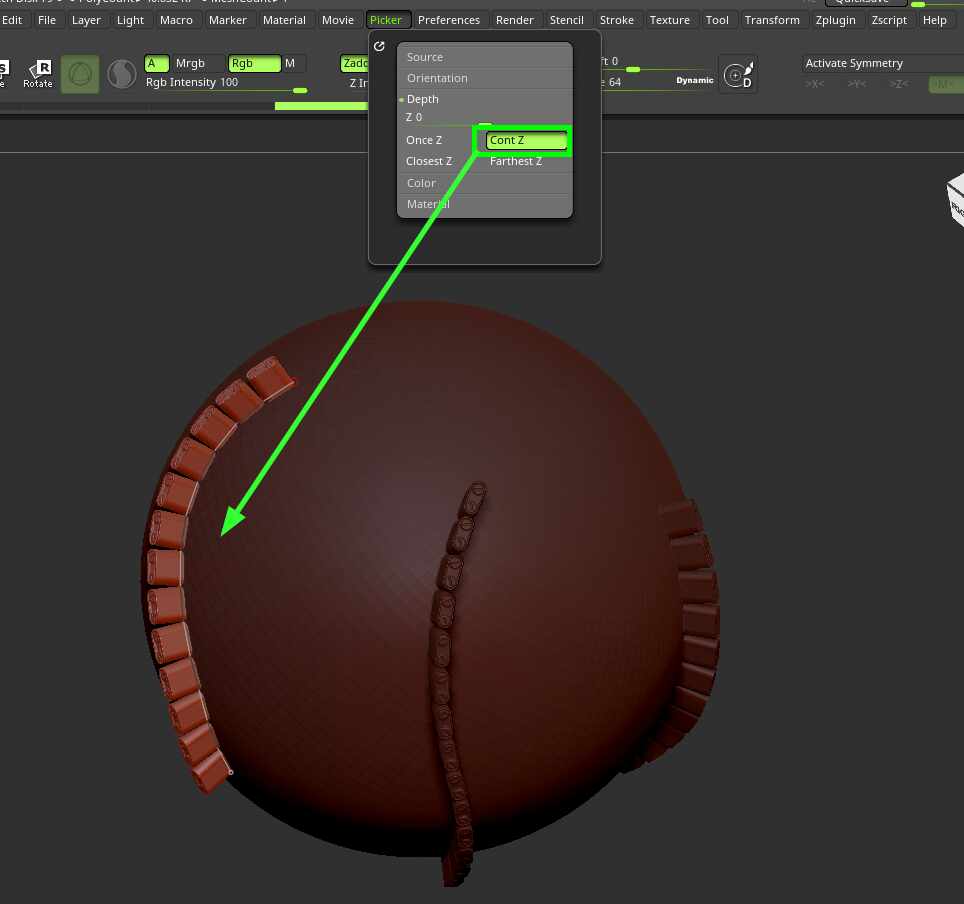
I then used the ZProject brush with an extremely low intensity to make it more forgiving, and I used this to press the mesh onto the contour of the surface.
Supplementing this was the the Move brush, where if you hold down Alt after making contact it will move a surface in and out along its normals, rather than the screen plane. This is useful for carefully pulling or pushing the mesh above or below the target surface.
I also used the Inflat brush with a low Zintensity to gently inflate the mesh in areas where it had become too flattened. You could avoid this by simply creating the geometry as a low poly 2d surface, then extruding after it is pressed into shape.
Finally, I defined the polygroups so I had a single polygroup on the bottom that can be easily moved in and out along its normals with the ZModeler QMesh> Polygroup Island (hold Shift to move along normals) action.
The Matchmaker brush is another possible option for forcing one subtool to conform to the surface of another, although this tends to work best in situations where you hit the target area with a single stroke.
In many situations it may be easier to simply create your detail from the target surface, rather than try to get it to conform to a surface after creating it. Options like Mesh Extracts, the Mesh From Mask tools, or the Topology brush may be useful here.
Keep in mind also that ZModeler has surface snapping functions for drawing new topology over an existing surface.
If you are looking to create more organic detail, it may be easier to get the effect you’re after with traditional displacement sculpting, which naturally tends to inherit the surface curvature of the target surface. There are far too many options here to cover in a forum post.
Some potentially useful options are to use the Lazy Mouse 2.0 features to create chained strokes at a fixed depth:
http://docs.pixologic.com/user-guide/3d-modeling/sculpting/sculpting-brushes/lazy-mouse-2-0/
Additionally, the Thickskin feature will allow you to sculpt at a fixed depth. Any displacement that exceeds that depth will be chopped off, and inherit the surface curvature of the underlying mesh.
http://docs.pixologic.com/user-guide/3d-modeling/thick-skin/
Finally, once you understand the possibilities of Live Boolean, it can also be used to create effects like this. A duplicate of your target surface inflated so that the target surface fits inside of it can be used to chop off any portion of the mesh above that surface, therefore shaping it to that contour.
Good luck!


