ZBrushCentral

How to place an image on a mesh in masked off area

So what I am trying to do in my current project is place a Tattoo on a character (its a Daz model Genesis 8.1 female if that helps) and it is a tattoo that goes from the neck over the shoulder and half way down the arm.

Normally for tattoos I just fit them to the mesh maps and then make a jpg or png and import them in to Daz Studio’s LIE feature…but in this case because of how daz models unwrap especially the torso/ neck area it makes it very difficult if not impossible to get aligning such a thing right.

The solution I cam up with was using a 3D program with paining capabilities to add the tattoo and then export it in some way shape or form back to Daz (even if it means exporting the image file unwrapped UVs and then importinging using the method above)

I thought of substance painter but that was a No go (adobe seems to think my 7 day tiral expired when I never used it a day in my life), but doing research supposedly z-rush can to this (?) and I just can’t figure out how…
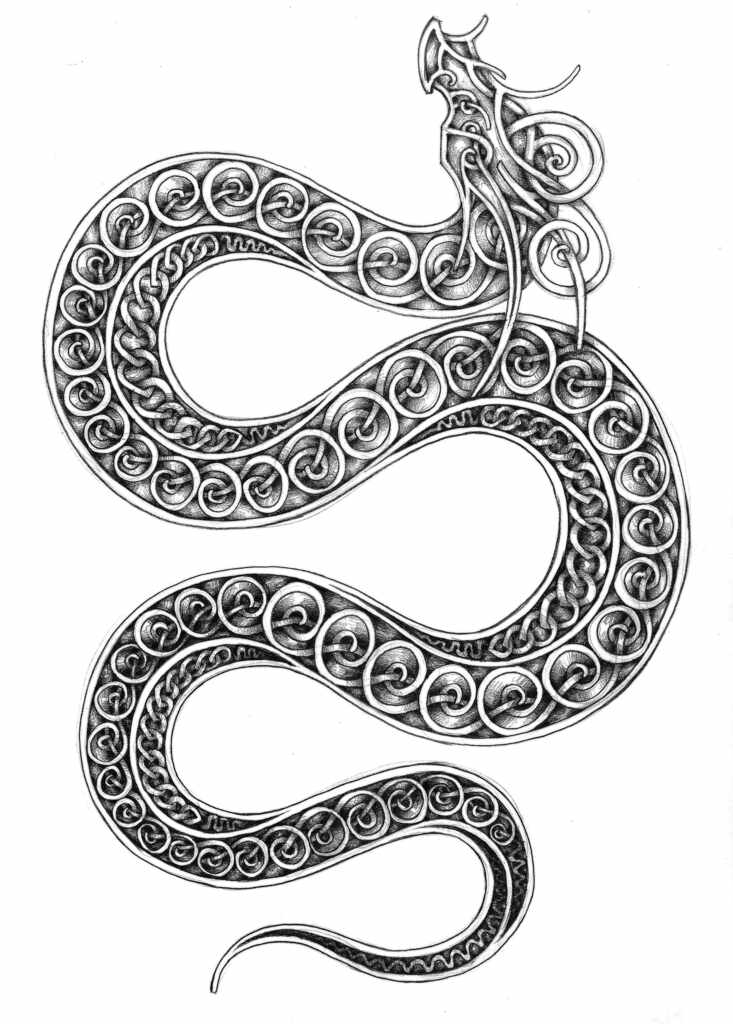
left arm up


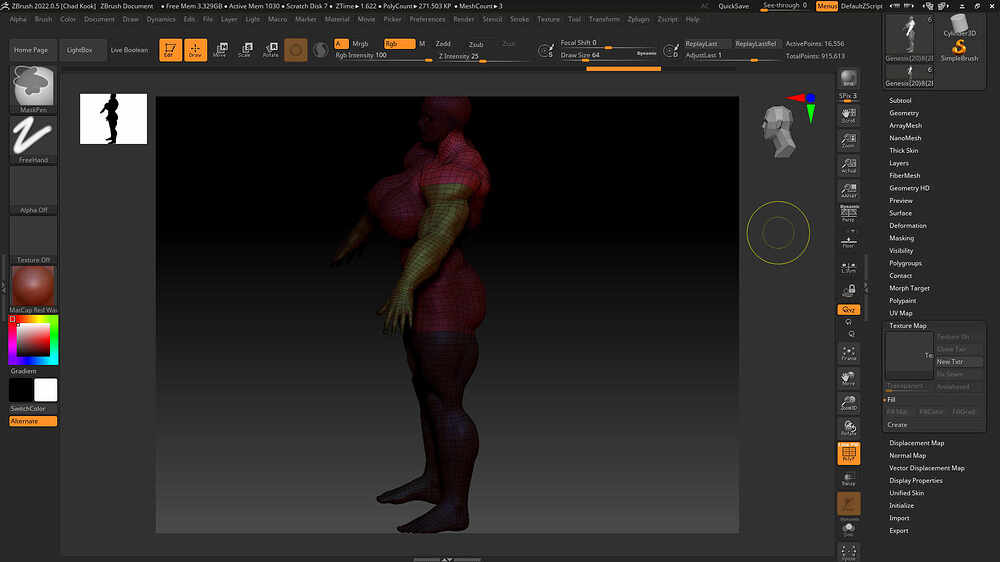
So I am trying to put that image in to the masked off are in the screen shot above
Help?
Hi @CMK24601 ,

You could go a few different ways here. All of them will require you to be familiar with the basic process for creating and exporting textures in ZBrush…

http://docs.pixologic.com/user-guide/3d-modeling/painting-your-model/texture-maps/

…as well as the basic concepts of the program like how to paint your model.


  1. Import your model into ZBrush, subdivide it sufficiently for the color detail you want to apply, then apply that detail as Polypaint directly to the mesh. You can then convert this polypaint to a texture for export with the process linked above. With Polypaint, color detail quality is based on the mesh resolution.

  2. If you have an existing texture you’d like to add the new color detail to, you can import the model into ZBrush, apply that texture, import the image as an alpha or texture, then paint onto that texture directly with either Projection Master or ZApp Link (to use Photoshop to do this).

  • This will stamp the new color detail directly into the applied image texture, and the quality will be based on the texture and source image. However, this will limit you to working on one fixed view of the model at a time. Afterward you will need to clone your altered texture from the Texture Map palette to the main Texture palette in order to export it.
  1. If you have an existing texture and would like to add detail to it as a fully rotate-able 3D mesh, import the model as above, subdivide as needed, and convert that texture into Polypaint. The color will now be embedded directly into the mesh itself and you can color it in real time with Polypaint using the entire ZBrush toolset, or with features like Spotlight. Convert the Polypaint to a texture and export.

Good luck! :slightly_smiling_face: