thank you so much for any little help,
appreciate it !
Hey buddy, i’m not the best at brush myself so maybe someone else has a better suggestion, but from what I gather you’d like to keep the sharp edges when you subdivide?
1- Select the face/polygroups you would like to keep sharp and crisp with the select lasso tool.
2-In your subtotal palette go to ‘Geometry’ - Crease, and select the crease button.
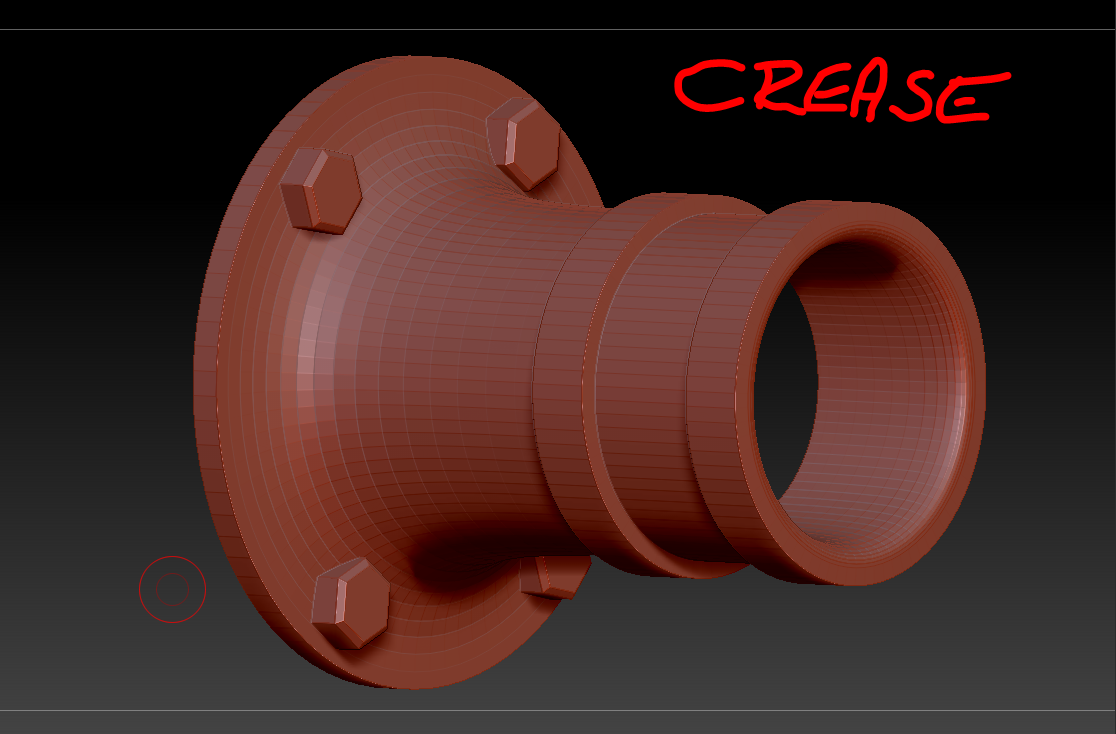
You should see a very fine line appear at the edges of your polygroup/face that you previously selected, and the rest of your hidden objects should reappear.
3- Now try subdividing, and you should notice that the edges are crisp, while the meshes resolution increases.
Good luck
Thank you very much,
appreciate your feedback. Well, I don’t want to use the CREASE tool, because it would NOT hold up within 3dsmax.
Try it out… if you use the CREASE function, and you export the geometry to max, or Maya, etc… and you want to add the turbo smooth modifier on top of it… no way… it doesn’t work !
what you think ?
Oh boy.
OK, this is a broad, complicated subject, and it just boils down to limitations of subdivision surfaces in general. You’ll find that every program that uses SDS will sometimes have problems combing hard edges with curved surfaces in certain situations. The ways around that are creative topology configurations that you only learn from experience, and sometimes a soft touch. There is no easy answer, just practice.
Luckily, Zbrush always gives you many ways to approach a problem. The first question you need to ask yourself is, “Is this detail something I need to model in at low poly, or can I just stamp it in at high poly?”. If you can work at high poly, there’s no problem. It would be very easy to stamp in that L shape in alpha form into a high poly sphere, and not have to worry about any of this. It’s the sort of shallow recessed detail that is generally easy to pick up in a normal map, and 3d printing doesn’t typically have the same concerns about polygon economy.
This is that shape stamped into a high poly sphere with an L shaped alpha. Very easy:

If it does need to be low poly, then it will require a soft touch and a bit of visual estimation. Crease the loops in the L Shape with ZModeler Edge > Crease> Edge Loop complete, and crease the corners with Edge > Crease > Edge.
Should look like this:

Turn on dynamic Subdivision to check the result. As you’ve already discovered, the inset creases on the smooth spherical surface will tend to pinch a bit, less or more depending on how large the surrounding polygons are:

Now go back into polyframe mode, and use the Point >Slide feature to grab the top vert in each of those corners, and move it inward along the corner edge just slightly. If you do this with dynamic subdivision on, you should see a sweet spot where the appearance of the pinching is minimal. Too far out no good, too far in no good…you need to eyeball it till it’s just right.

Do this for each corner. If you do this right, you should find an acceptable medium where the appearance of pinching is minimal, and wont be visible at all if printed, or if a texture is applied:

If you’re trying to make a low poly hard surface object for use in another program that probably has better focus in low poly modeling tools, you should probably just use that program to make your object, and save yourself the extra work. Sometimes you need a fork, sometimes you need a spoon. Zbrush has low poly modeling capacity, but that is not the focus of the program.
You can do what I showed you above with bevels, but it just becomes more complicated when you add more geometry. You’ll have to move mulitple verts in each corner, instead of one.
Just a FYI:
Exporting a model with creases to 3DS Max using the ZBrush FBX plugin will enable OpenSubdiv modifiers in Max which take account of the creases.
Pinch, flatten and use the tools to cut away at corners in dynamesh mode then z remesh it. Use the z remesher guides at the sharp corners and play around with the settings.
First of all … THANK YOU SOOOOOO MUCH FOR THIS HELP !!!
YOU GUYS ROCK !!!
But I am totally lost… I want to create perfect geometry, perfect models I can also use for animation within 3dsmax.
I saw great tutorials showing hard surface sculpting techniques, to get great edges… chamfered, etc. which is important for rendering !
However… I am totally lost now… I don’t know anymore if I should use ZModeler to model as low poly as possible ?
Or if I just shouldn’t care about Polycount !
I see Techniques and Videos like this one here:
and it looks the way I want to have it look… hard surface, metal stuff… however… I can NOT use the high res mesh for animation within 3dsmax.
I saw that the artist was able to bring down the mesh for a game engine… look at that image…
But I have no clue how he did it !
Also… I hate working with topology flow, thinking about vertex points… I just don’t want to care about it …
I just want to model free form, but also have the possibility to get a lower res version so I can handle it within 3dsmax.
I would love to do one little CUBE, one little piece as a test… as a workflow… how I should do something like that…
I found this in a forum:

But how can that be low poly at the end ?
Guys, you all rock… thank you so much for any little help, videos, suggested tutorials, all your opinions and thoughts are highly appreciated !
thank you !
I tried all export settings with the FBX inside Zbrush.
But when I open the model inside 3dsmax and apply the Turbosmooth modifier, all Edges are smooth and round.
The crease is gone !!!
see the result… so what export settings do I have to use then ?
the grey one shows the max viewport…

There is no simple answer to this. It depends on your intended output needs, and personal preference. Zbrush gives you many options to approach things in different directions.
You can model at a high polygon level with clip brushes and dynamesh, and ignore topology until you’re ready to retoplogize for export. Or you can work from low poly from the beginning. Each approach will have benefits and limitations, and is a larger subject than I can cover here. It will take experience for you to figure out what works best for you.
I will say this, though. That problem with the distorted surface you had from the sharp edges on the curved surface? That is just a problem with subdivision in general, and you would run into that in any program that uses subdivision surfaces.
ok… makes sense…
the crease tool is nice… however, is there any way I can control the crease ?
I mean… the crease lines… what if I do not want to have the crease as tight… adn I would like to losen it a bit…
I can not find a way to control the crease lines or edges…
The FBX export works with OpenSubDiv in Max. You don’t need to set any options in ZBrush - creases are exported if available - but you need a version of Max with OpenSubDiv.