SPOOOOOOOOOOOOOOOOOOOOOOOOOON !!! Have a blessed day, -kmkenpo
LMAO! You made my day! Now I gotta go see if Netflix or Hulu has episodes online!
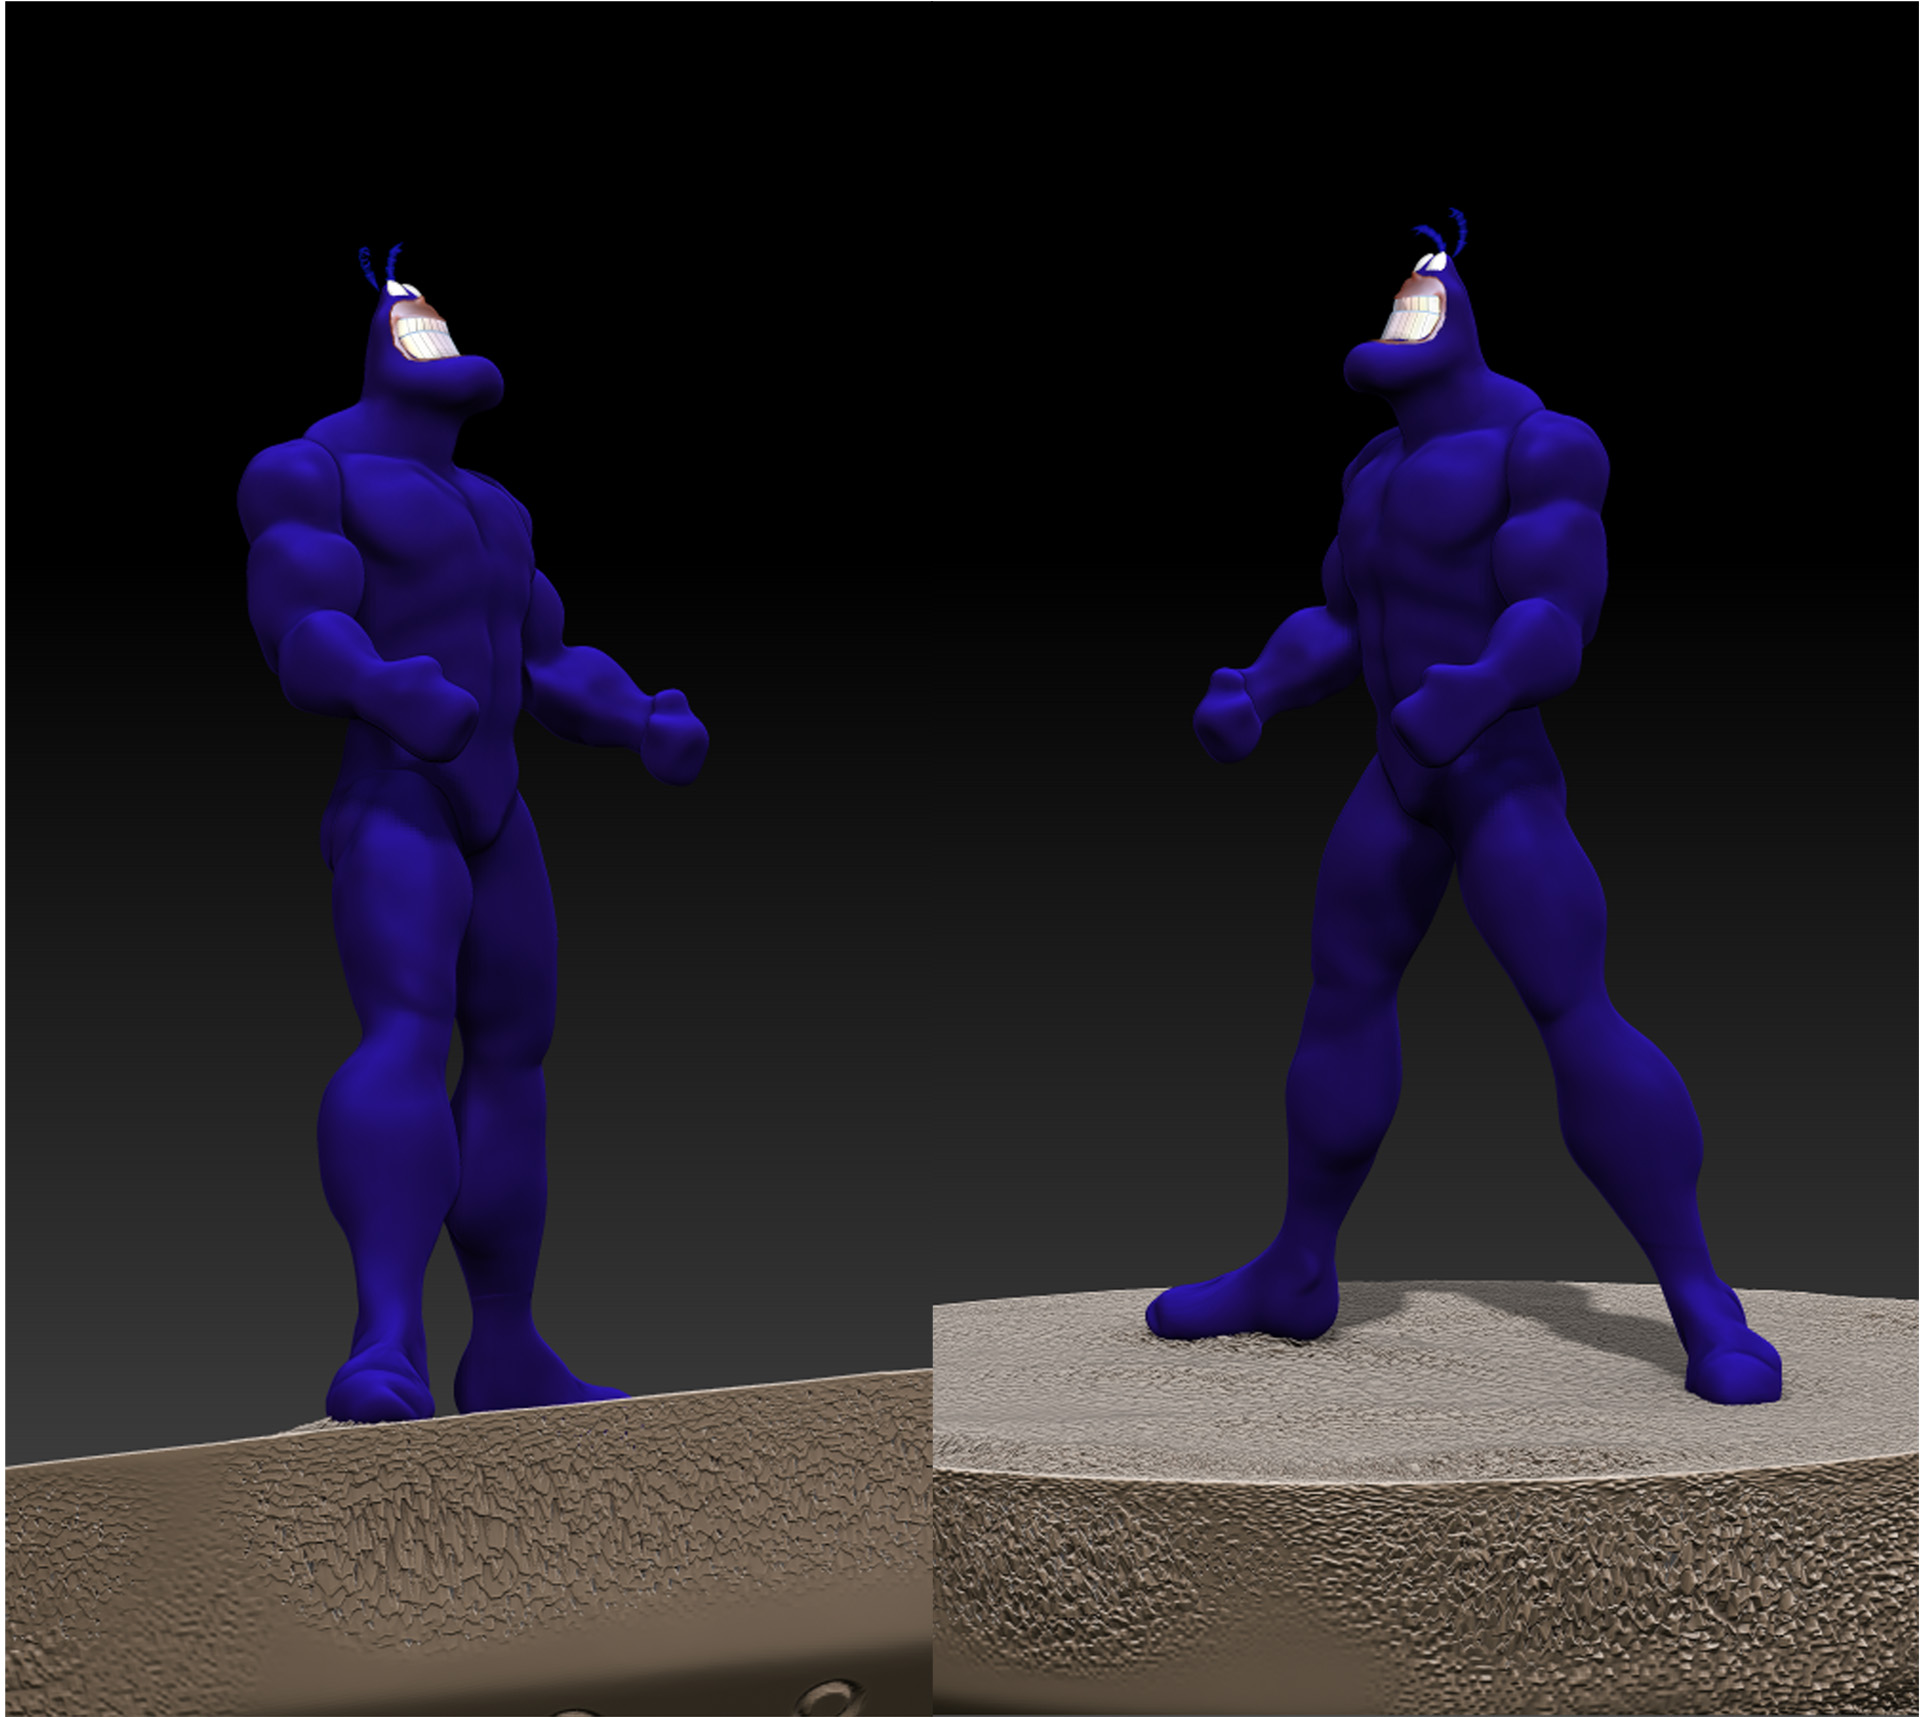
Roughing out a body for my big blue friend. I know I’m gonna have trouble with the hands so any tips on that or anything else will be appreciated.
Working on something different now, as always. I was trying some new techniques and throwing many things together till it started to look like something.
Many parts remain hidden to protect the innocent (namely me). Hope this catches someone’s eye.
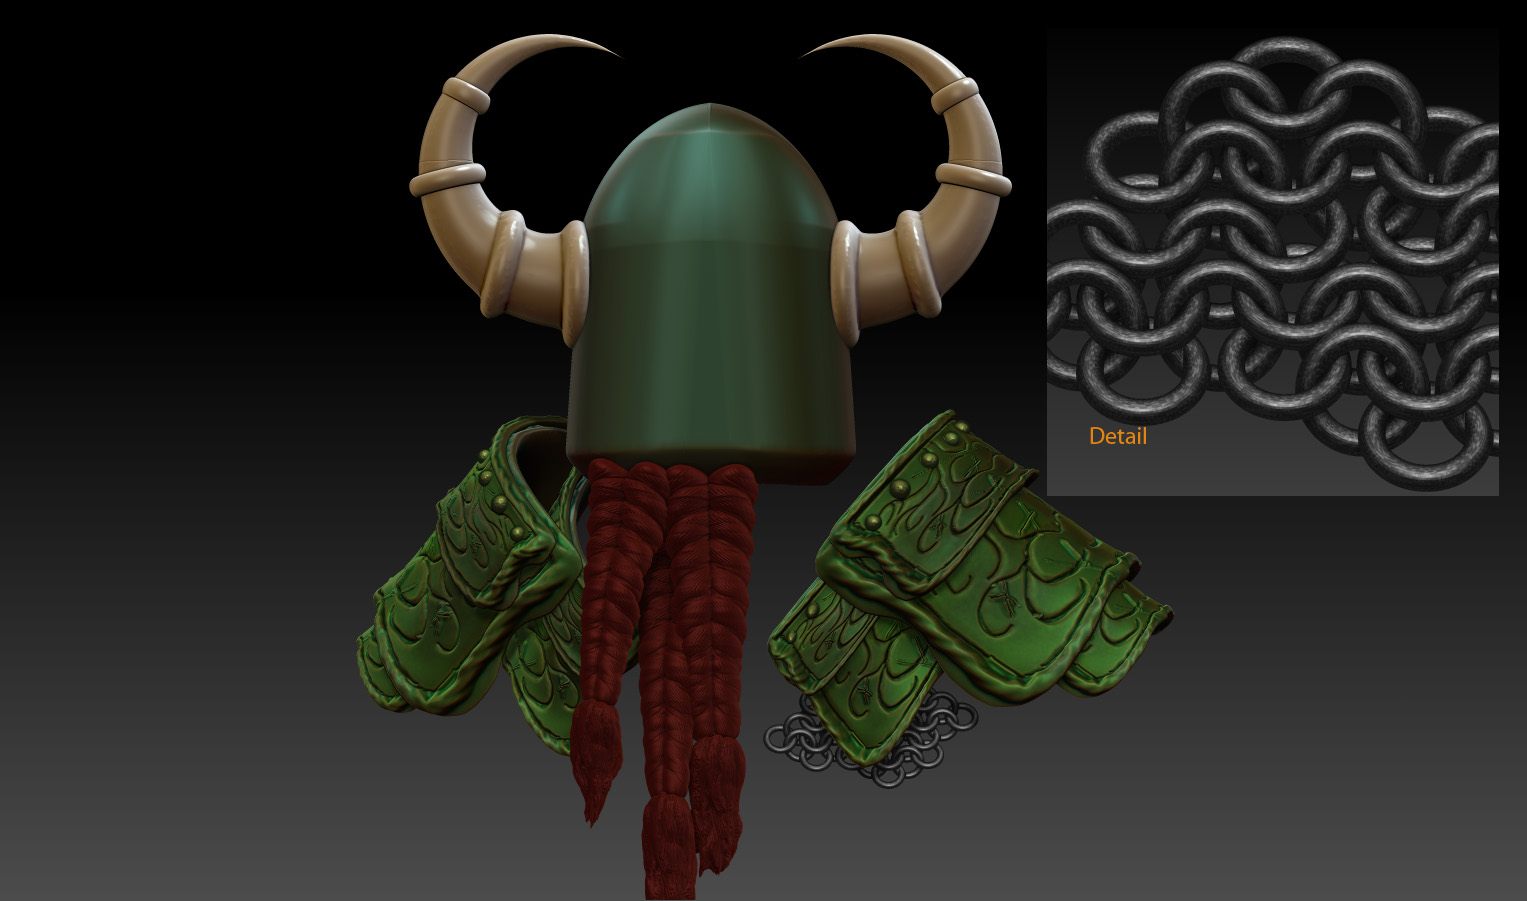
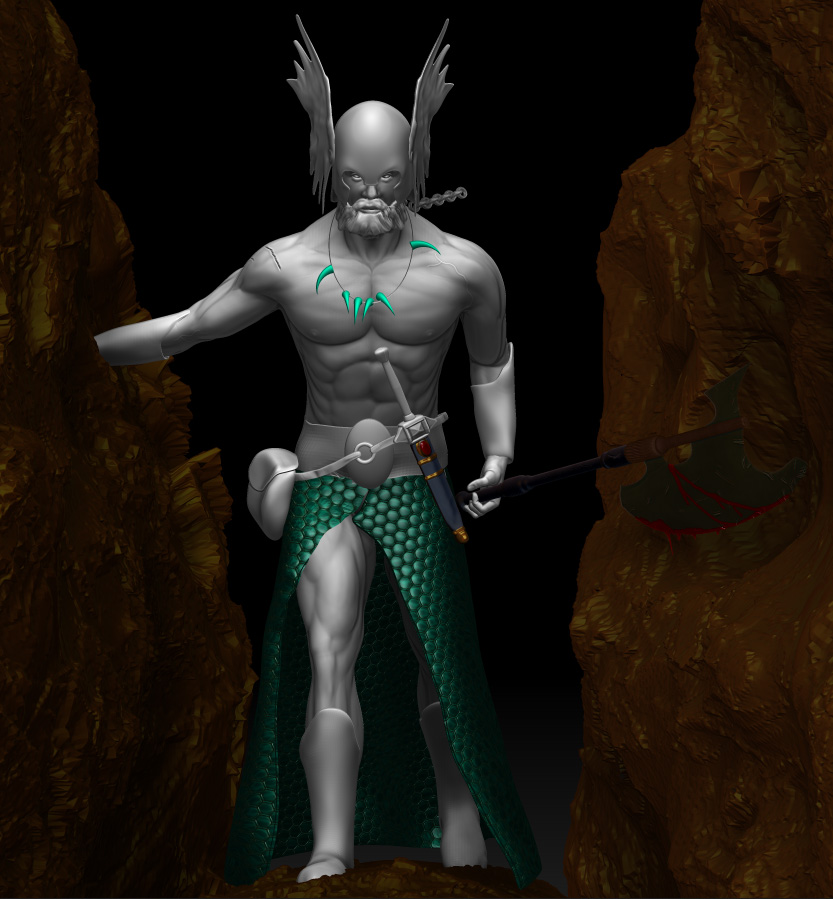
I’m kind of proud of the beginning of the chain mail so I threw in a detail to show just how hard I worked on it… and if I start sounding any more like an eight year old bragging about a crayon drawing, I would like someone to slap me… hard…
Progress? Only you can decide!
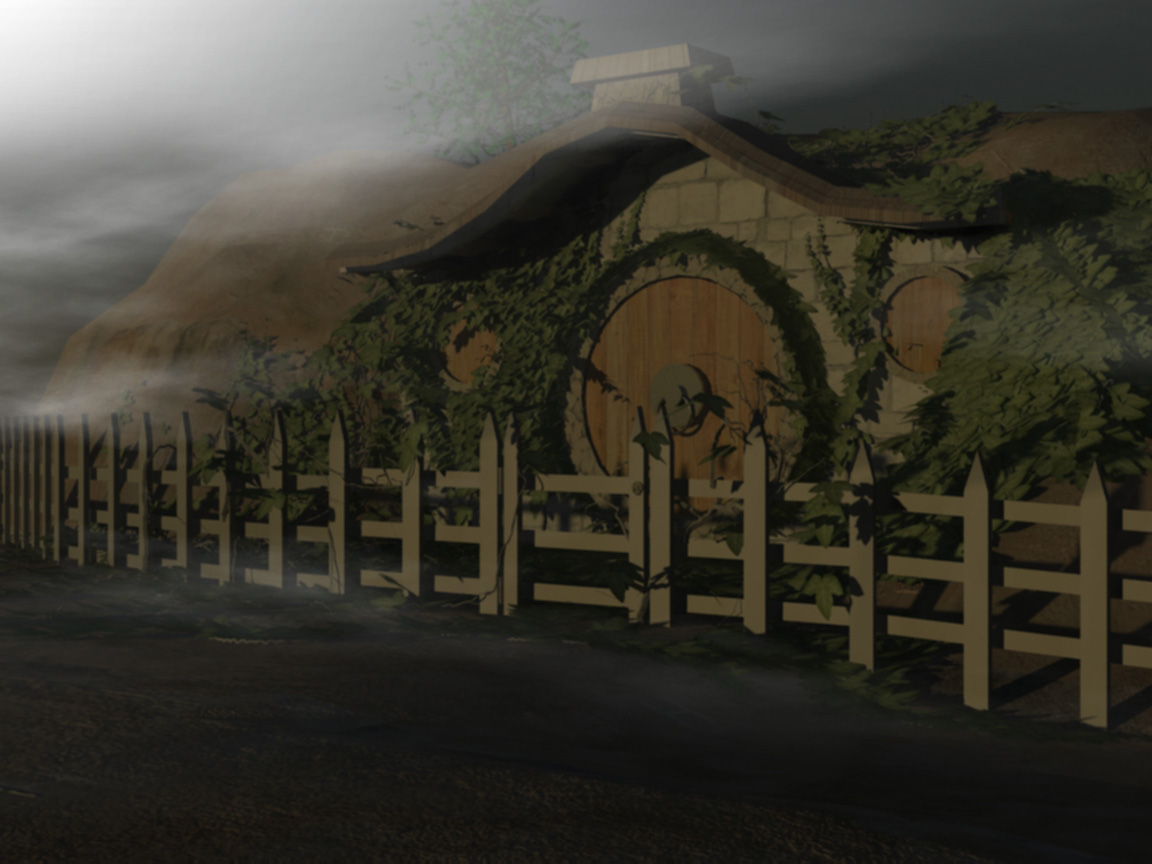
Okay… I want to show something that I created a long time ago… in a galaxy far, far away… at least if feels that way.
This was done in 3dsMax and Photoshop, way before I fell in love with ZBrush, but I wanted to post something that I did that hopefully shows I’m not a complete hack at these things… at least I hope I’m not.
It was created on a laptop that subsequently was stolen by a couple of idiotic teens. Stolen, mind you, without the battery or the power cable. So I’m sure it ended up in a landfill somewhere. I keep this last .jpeg of it to remind myself that I can do good stuff when I set my mind to it and above all have patience.
Hope you folks enjoy A Misty Morn in the Shire.
I like it! The Hobbit has to be my favourite book. So excited for the movie
Me too! Just one more year, hopefully! Thanks for your post, Crevasse. It really means a lot to me.
I’ve gone back to the very basics with Zbrush right now. Starting and staying in low rez until I get things in the basic shapes I want them to be. No detailing or painting until the time has come.
Re-working Kane now.
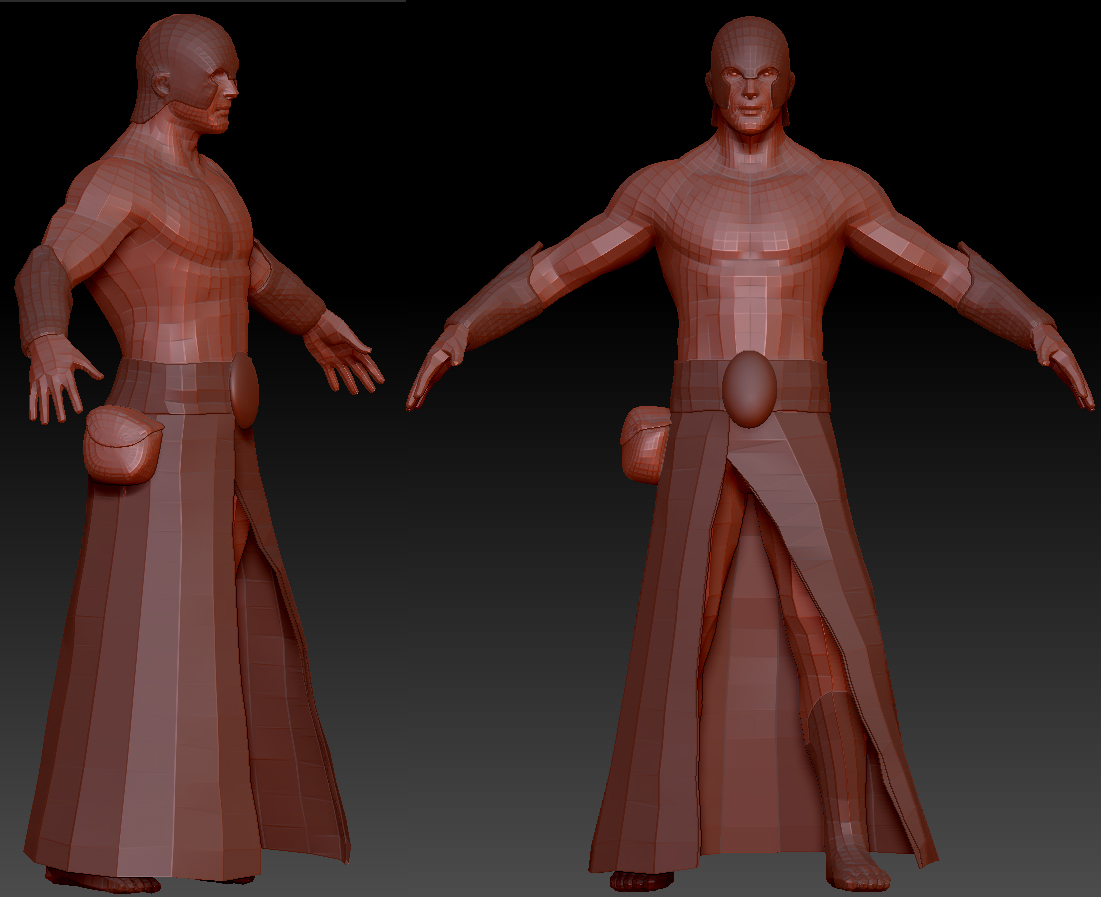
I think I may finally be getting the hang of this thing called Zbrush.

One problem; I extracted the boots directly from the legs and feet. This of course left a set of inflated toes. My question is if I clip the toe area, then extract it forward a little bit and do a close hole, would that leave me with something reasonable to work with? Or is there a better or more efficient way to do it?
Personally, I would use the extraction base to retopolize the whole boot. You can do just the toes if you want tho. It would be much better than struggling with wonky geo.
Thanks for the tips Nyx! I will definitely try that tomorrow.
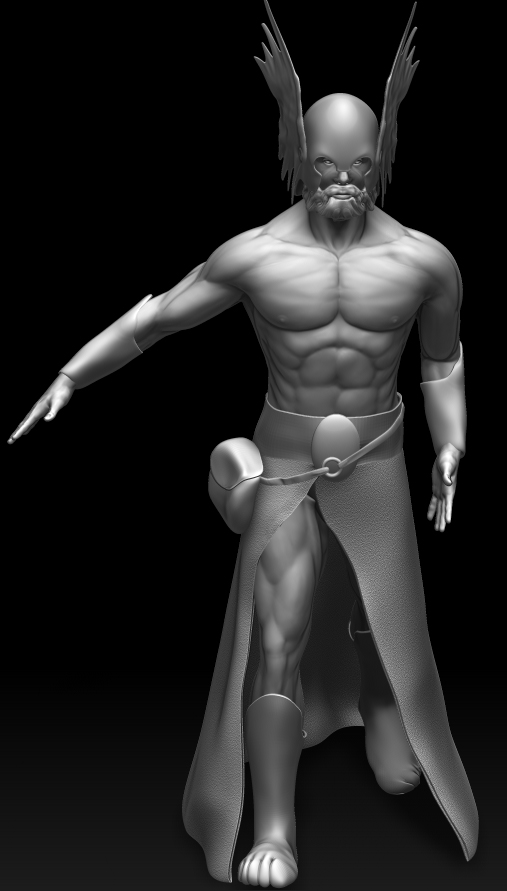
One more update for tonight. First time posing a sculpt. I’m enjoying it without really understanding what the hell I’m doing. 
Hi!
I would use Dynamesh on the boots, remove the toes, sculpt what I wanted them to look like then retopo.
peace
Hi VoodooDad 
The Frazetta piece is coming along Great…Nice to see the progress shots… small_orange_diamond:)
You might want to adjust the torso and pelvis so that they are at the proper angles to each other in the underlying structure as seen from a profile side view…The crunch and oppossing angles happening betweem the torso and pelvis will really give you the coming forrward body gesture that gives the image it’s emotional impact…Just a passing thought on my part that may be useful to you as you go along with this piece.
Keep up the Great progress…VoodooDad…small_orange_diamond:)
Glenn
Crazy Horse, thanks man! That sounds like the most logical solution and frankly I feel a little stupid for not thinking of it myself…:rolleyes:
Glenn, thanks again for your kind advice! As for the torso angle, it’s in the works. I worked on this thing till 4am Wednesday morning and 1am last night, and I just had to stop due to being punch drunk tired and not wanting to make any mistakes I couldn’t correct as I tend to forget to save often when I’m like that.
The books you recommended were truly invaluable while working on this, so a big thank you again for suggesting them. I at least have a decent looking male figure on which to base my other sculpts on now!
The urge to jump in and start detailing and polypainting is still there, but I’m keeping it at bay with a large pointy stick! :lol:
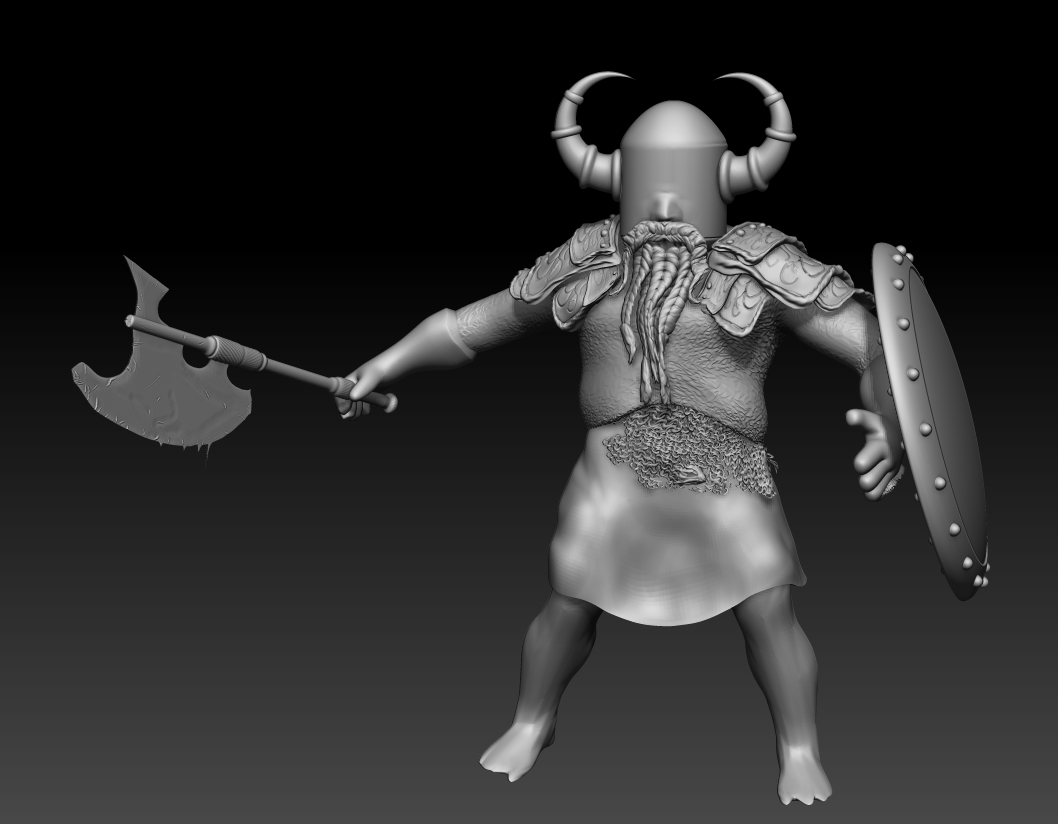
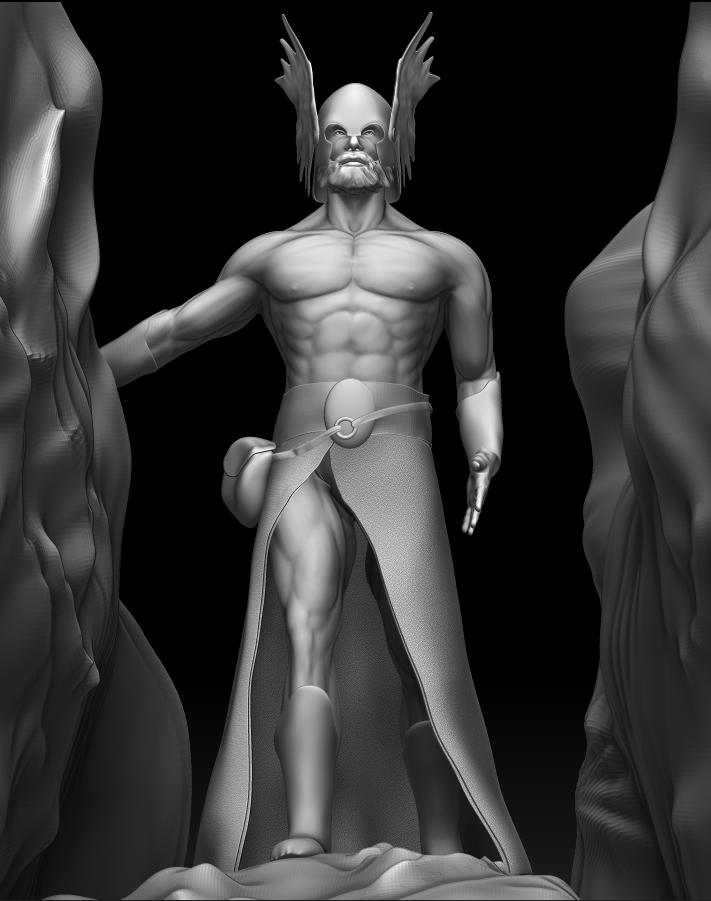
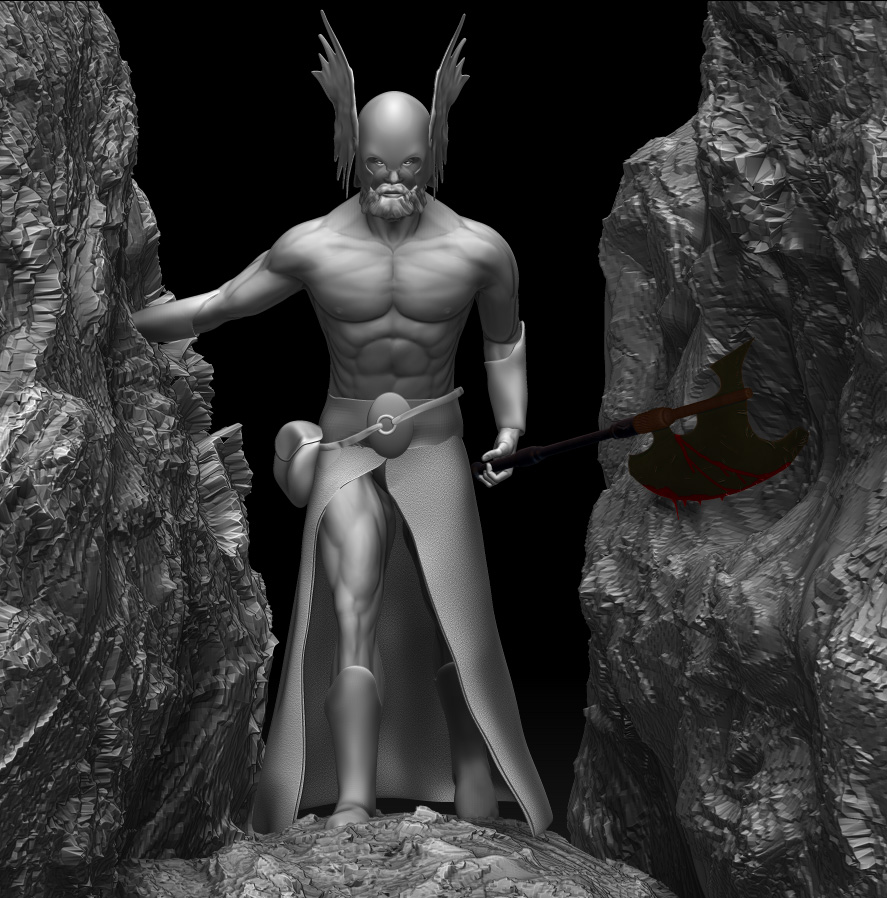
Added some terrain to help me with perspective.
One more update for the day. Learned a lot today… specifically that I am crap at posing fingers. But I will learn.
Oh, and the ax doesn’t count against my no detail and no paint policy, as it was previously done and just loaded and fit to this sculpt.
Hey Man that’s some major progress. Looks awesome!! Yeah it still find that traditionally starting from low res yields better results going back to that process myself.
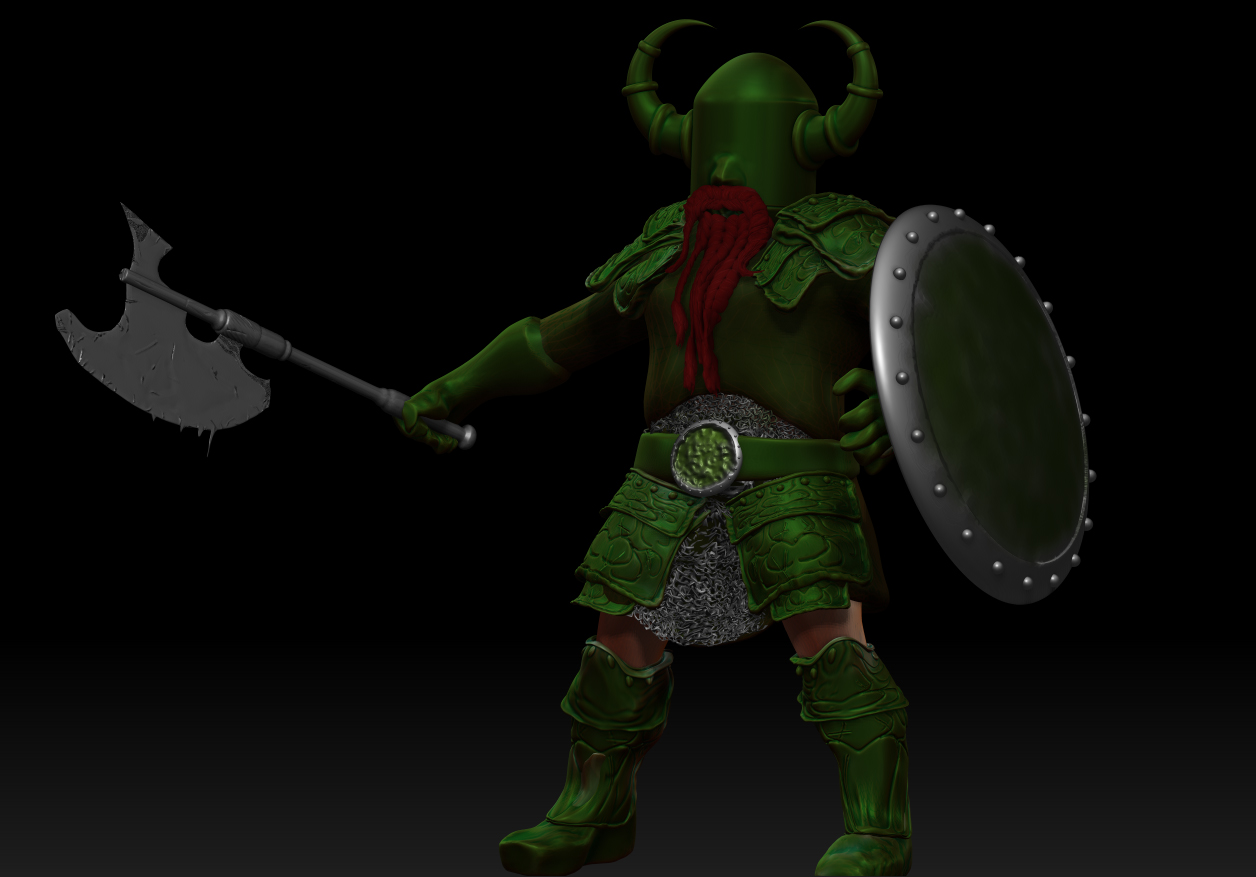
Thanks, Crevasse! This is by far the biggest project I’ve undertaken and I have no idea how some of you guys do it. 26 subtools (so far), 14 million pollys and growing. But with everything I add I learn a little bit more.
Today’s update…
The pose looks stiff. Yes, I know, mine poses doesnt really work that well either. What you can do is, make someone take a picture of you in the position you want your sculpt to be in, use that as reference. Or you could go on the internet, but you could spend hours without actually finding a good photo of the pose you want.
You’ve improved alot since your first post 