Excellent Thanks!
she is looking great! cant wait to see final renders! gl with MR lol i suck at rendering… wish i could be of help
Looks great!
Nice tribute to an attractive woman. Congratulations. Oh, and thanks for the alphas. Very nice!
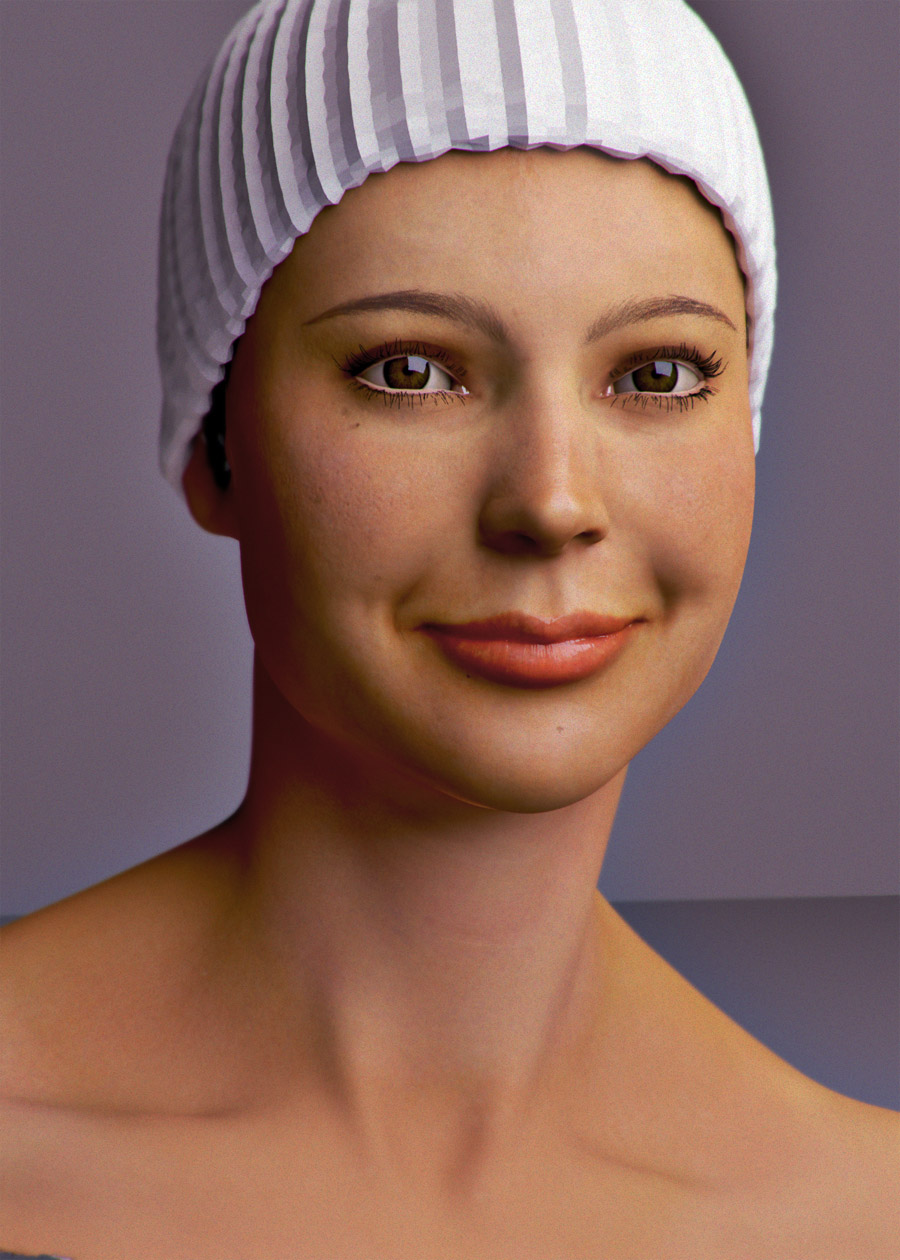
Wow, you really caught your wifes likeness and expression. Well done.
Nice likeness !!!
Congrats
Excellent expression! 
If you have a Digital Tutors account there is a lesson on styling fibermesh hair called “Creative Development: Creating Long Hair Using FiberMesh in ZBrush with Joseph Drust”. It helped me a ton with the styling of my Cheetara characters hair. It really helps to watch the lessons but basically you’ll do the following:
- section the head where the hairline would be into several symmetrical polygroups.
- Mask only those polygroups and generate your fibermesh. It helps when you generate the fibermesh to be a -1 gravity so the hair stands straight up. Once you’ve set up the fibermesh the way you want it (thickness, length, segments, amount, etc.) and accept it, the hairs will have their own polygroups based on those you created earlier.
- Use the GroomHairBall brush to brush each individual polygroup of hair into a ball. Kind of like putting the hair into rollers. Easiest way is to make the brush size fairly large, use a small quick circular motion up and down the length of the hair until you get a nice ball shape close to the scalp
- From there work, using the same brush but with more of natural combing of the entire length of the hair, sculpt each polygroup of hair individually into the shape and overall style you are looking for.
- I primarily used a combination of the GroomHairBall, GroomHairLong, GroomBlower, GroomTurbulence and the Move brush to shape the hair.
I would recommend watching the DT video tutorials if you have an account, but if not, the above is the basic idea.
Hope it helps!
I dont like long tutorial videos. So if your like me here is a condensed version which contains the workflow which skdzines has outlined.
https://www.youtube.com/watch?v=sjMPY0BPJQI
Also are you modeling the eyes as 2 seperate geometry(reflective part and the actual eyeball)? it seems to look rather flat at the moment.
Thanks to everyone who’s commenting. I learned mayas hair system for this, so I don’t have to worry about fibermesh for now, but that tutorial looks nice.
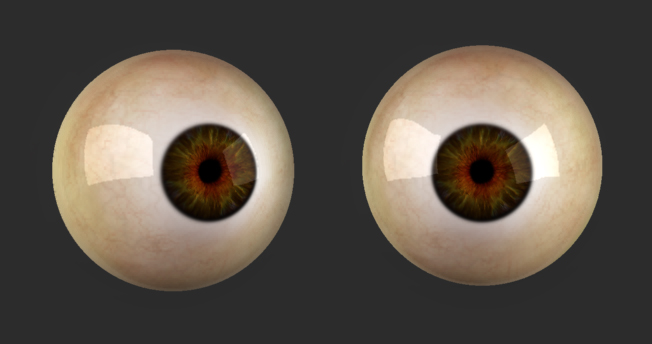
My eyes:
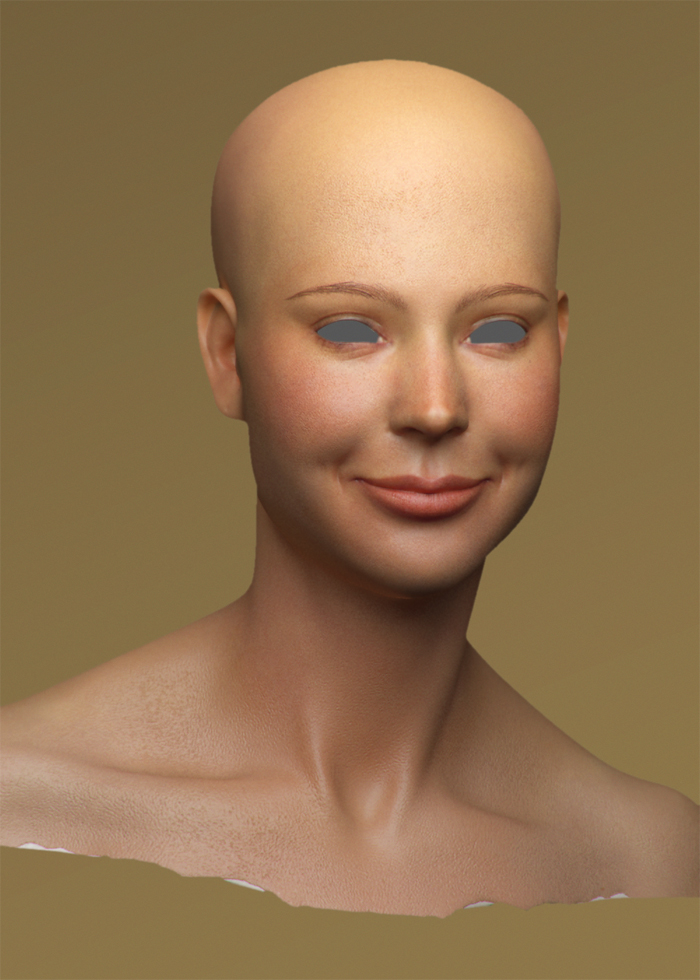
current stage of the skin render:
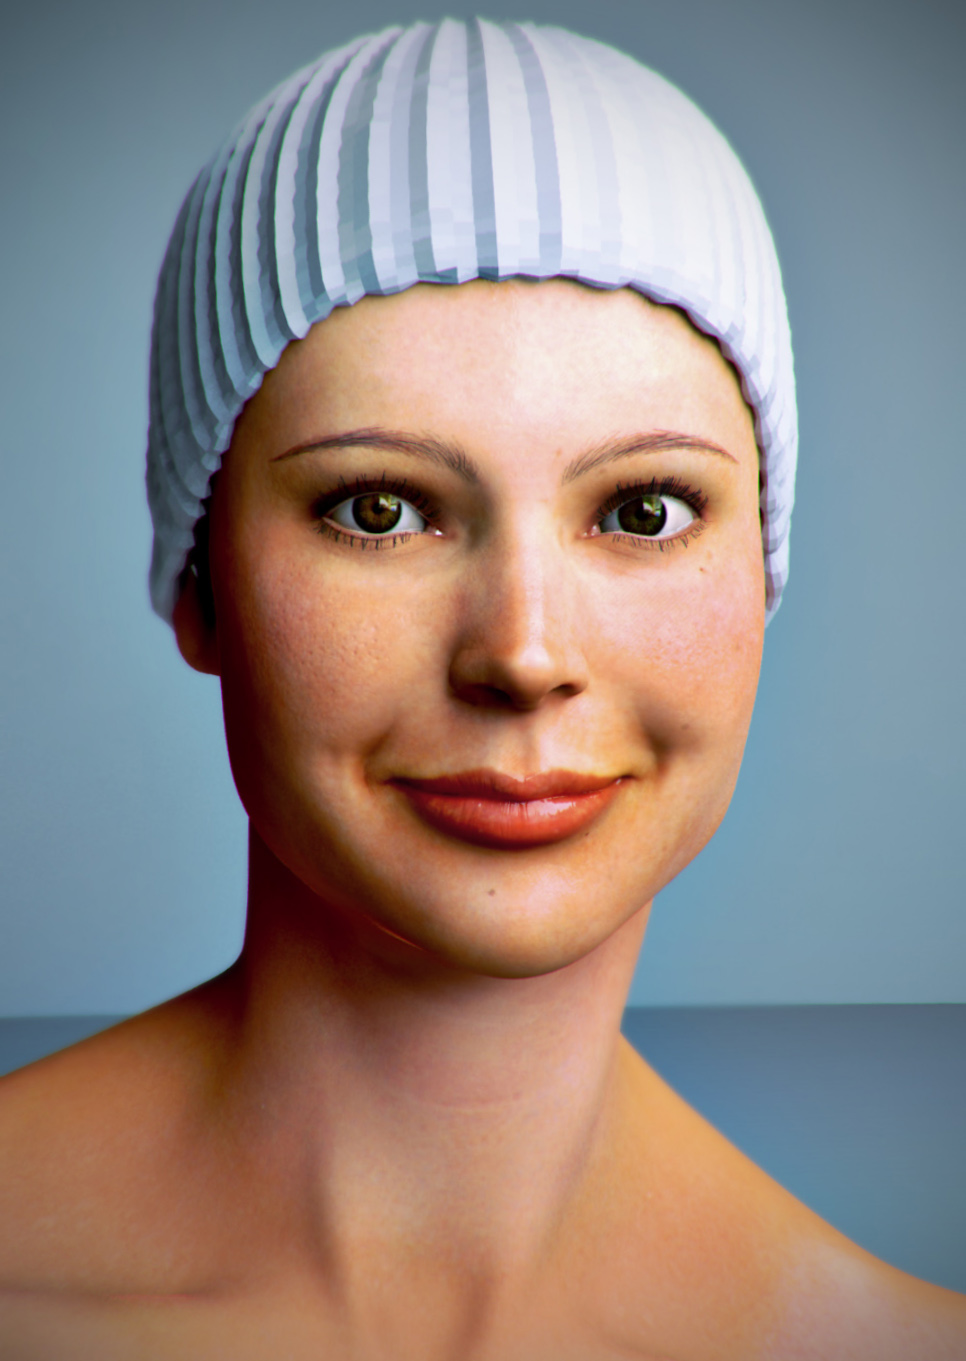
looks fantastic
Wonderful work, she is lovely. I’m looking forward to see the finished render.
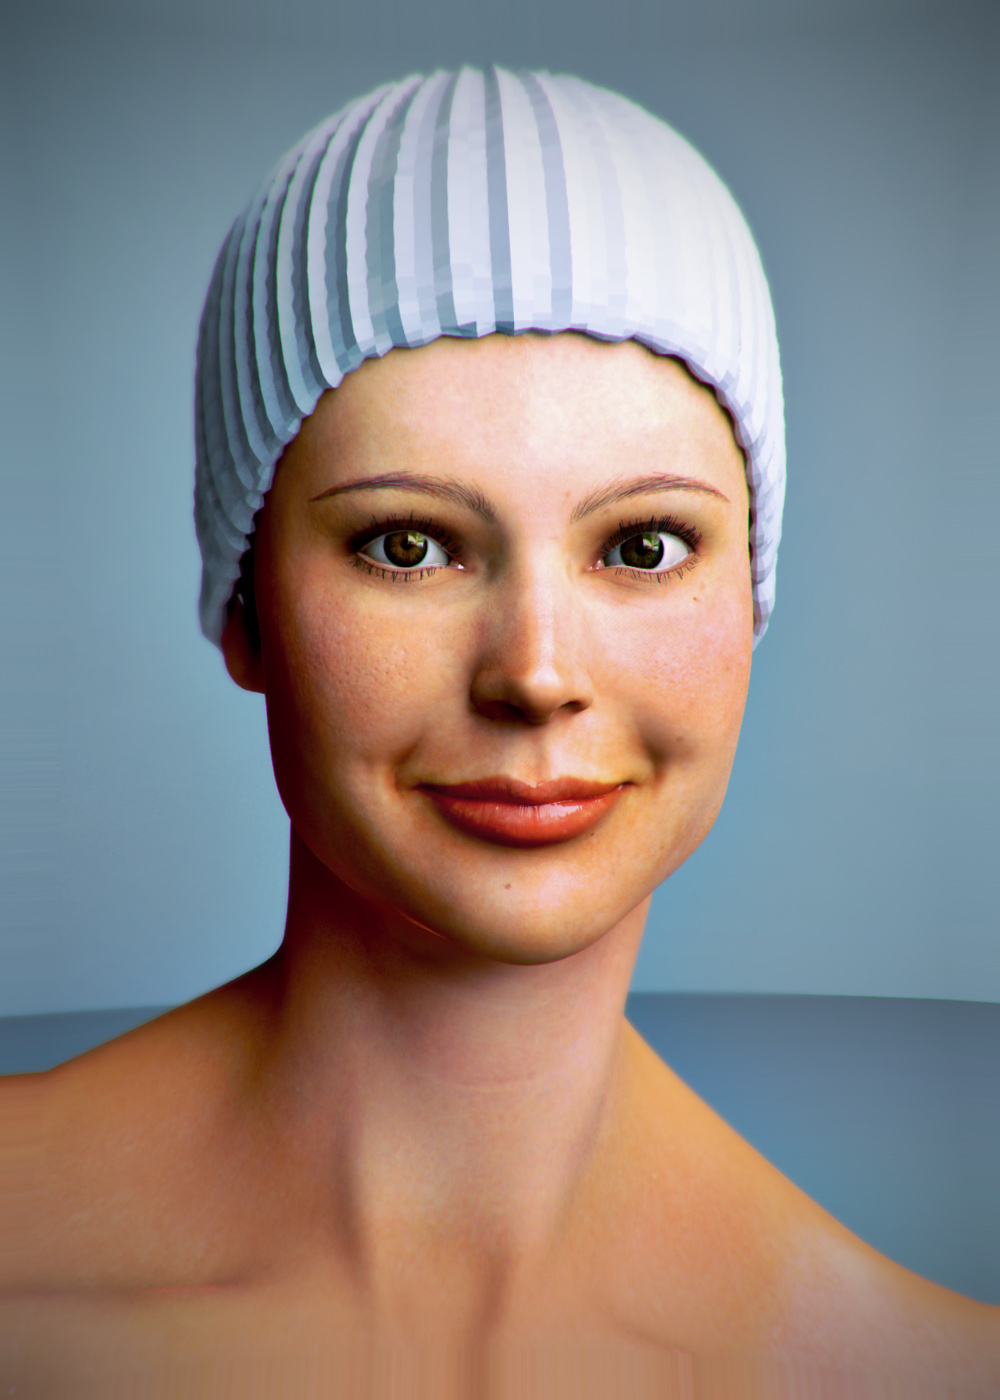
Haven’t updated in awhile. Right now I’m working on getting some life into the eyes. I think I need a bump/normal map to disrupt the perfect spheres and add some slight reflection noise. Then I need to get the subsurface veins working a little harder.
Everything else is stand-in, except the skin, which is WIP.
Very nice work here, but I suggest you to read this comment from aurick about the eyes:
http://www.zbrushcentral.com/showthread.php?174414-Smile&p=990336&viewfull=1#post990336
Also, keep in mind that the human eyes are NOT perfect spheres.
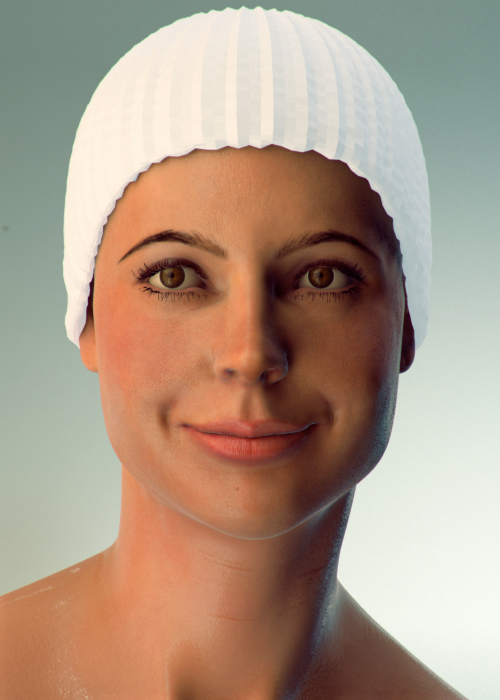
Thanks Rick. Loved your work way back when I saw it at polycount. I still have a ton to do, but I updated the eyes with a reflection map just to see the difference, and it was really a big difference. Much appreciated.
Attachments
Yep, that’s much better! 
I suggest to not going too crazy with the chromatic aberration, keep it clean.
quick update:
Superb work. I also like your use of the specular which is something I’ve been struggling with myself.
Very nice work!