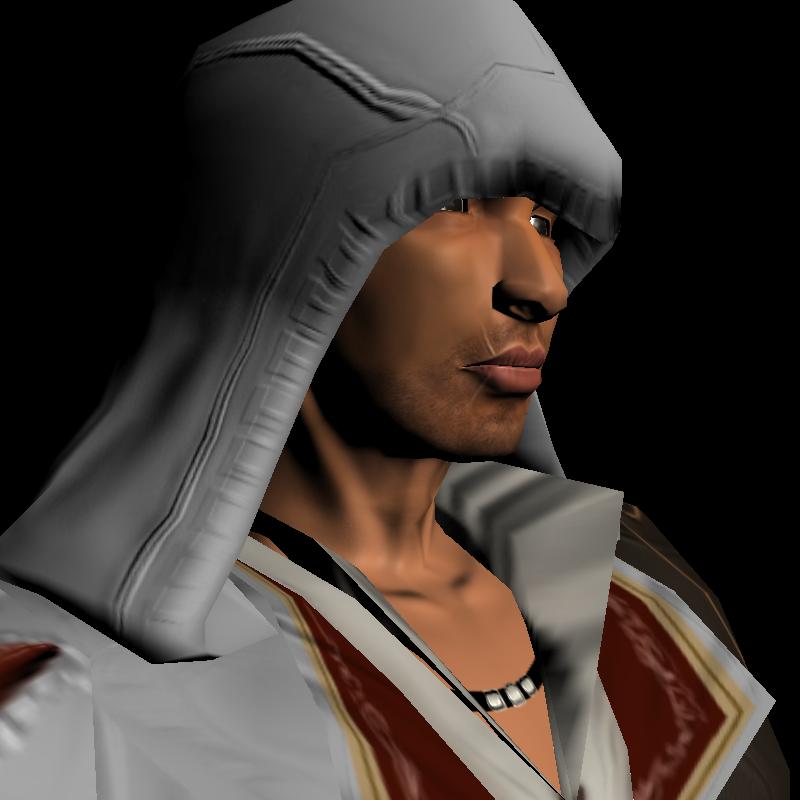
I decided to do a low-poly model of Ezio (more like a game model, 5120 tris) Just a little practice. I did a hi-res sculpt on Zbrush and generated normal maps for the low poly model. This is my 1st shot at Zbrush, and comments are more than welcome! feel free to really rip on my work too, i think thats the best way to learn
I only finished modelling and texturing the model, I’m currently rigging him and will soon be animating him. Am going to throw him in Havoc behaviour and play around with some procedural animation too (am new to it, and am really enjoying it)
i think you should scrap the game idea first. make a high res model. get your edge flow correct in a maya mesh. then bring it in and go crazy. add as much as you want. then rebuild the topo in zbrush. and make a normal map. it will give you the best practice.
Well, I modelled this guy for a game project. But yea, i guess i’ll have to go crazy with really high poly sculpting. Problem is, i’m on a laptop and it does lag when i go over 3mil poly. I have been working on this fellow for a while. Did the base mesh using Zspheres (I’m still waiting for Zspheres2 on the Mac)
Ezio looks pretty good! All the clothing details and stuff are there. The monster is interesting. Does it have legs or is it more spectral like a ghost?
i think ur off to a good start. i think u need to study cloth draping and just do more research on how materials look. also, you are getting a lot of harsh seams and strange artifacts in ur texture and possibly the normal map
? it seems like u put seams where u have natural cuts which is good but they are still to harsh. also, a lot of the texture just looks like flat colors. i think painting in more details and dirt, etc will help. this is where having good reference comes in handy. there are tons of awesome tutorials on this site that will teach u the basics of almost any pipeline and that is definitely important to learn if u want to get it right. as for ur second sculpt, i think it is looking too blobular. i realize he is a monster but even a monster should display proper musculature to some extent. start at low subdivisions and sculpt as much as u can of the basic shapes before u subdivide again…rinse and repeat. u will def pick this up fast but its def vital to get the basics down first…good luck!
Thanks for the feedback I have a rather strange workflow while sculpting. I don’t import the entire character model into zbrush to create normal maps, i cut the character into key parts and do them one-by-one. I guess thats why i’m getting all the weird seams. but this was way before I actually knew how to mask, hide, split the base mesh and work in layers. I guess after i went through the entire Zclassroom tuts, i learnt how to do it the right way
As for the textures, youre right… i didnt spend time adding detail to the diffuse map, its all flat colours. All but the face, I just got used to texture painting within zbrush. I guess i should get in and add more detail to the diffuse map
 feel free to really rip on my work too, i think thats the best way to learn