ZBrushCentral

displacement mod problems (3dsmax7)

Hi,i have a Problem with displacement maps in 3ds max.
I use the standart Displacement Modifier,a tif file which is mapped correctly,but i get that damn stair effect. I already tried to resave the file uncompressed,but i never managed to get rid of the stairs,please help me !
(the displacement is a little bit stronger than usual to show the stairs better :wink: )

Are you converting the TIFF displacement map in your image editor to RGB?

Potato Slop (PhotoShop)=

Disable Colour Preferences then

Image>Mode>RGB Colour & resave as TIFF

This might fix the problem if your not doing this already:D

but how do you disable the colour preferences in Photoshop CS ?
would you be so kind and post a screenshot of your Colour settings( when you use CS),because i think i am too stupid to do that ;).

PhotoShop CS= Edit>Colour Settings>Settings>Don’t Colour Manage

Photoshop CS2=Edit>Colour Settings follow below

CS2-Colour-Settings.jpg

Scratchy;)

ok,i tried it,and it didnt work,any other suggestions?

Mate your going to have to give more details of what your doing, what renderer your using what mapping, how your exporting, what the mesh looks like before you place the displace on it etc

Look through this thread:

http://www.zbrushcentral.com/zbc/showthread.php?t=20310&highlight=renderer

It might help you?

ok,i already looked through that thread and the renderengine doesn’t matter because i am using the standart displacement modifier. I already looked through the thread and didnt find a solution for my problem.,that’s why i started the thread

Well describe what your doing then, if I don’t know this how can I try and help.

Post a screen shot of the model with no displacement on it, thats a good place to start and what your doing exporting out and in, what mapping your using etc.

Ok,first i will show you that pic,by looking at it you should get the idea how i applied the map in max
In Zbrush,i used GUV tiles for the dog,exported the dog(with groups turned off) at subd level 4 and made the displacement map,using the standart settings,exported it as tif file,resaved it as you described,and then i added the map with the displacement modifier. I also tried the different filtering methods,but i only got different types of stairs;)
Thanks in advance for your help
edit:it can’t be because of the mapping,the mapping is applied 100% accurate :slight_smile:

Ok that’s your problem (ZBrush settings), try taking the mesh down to subdivision level 2 deleting the lower sub-d level, create a cage (press the cage button next to the divide in geometry section). I believe you can apply the GUV mapping now (not sure about this as I use the map I make in Max), but I think this is the right procedure for using the GUV.

Export this caged mesh as an OBJ. Now you can create the displacement map. Change the Dis map res to say 2048 and click create displacement map, don’t raise the divide sub-d levels leave them. Export this as a TIFF.

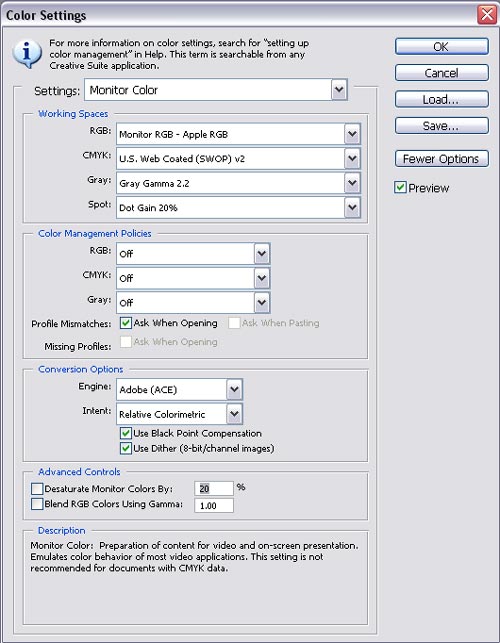
Open Photoshop and do what I said above, here you can also flip the map verticle (this will save you having to flip the V (-1.0) for the map in the material ed.

OK you probably know this part already but just in case. Import your OBJ mesh into Max, convert to editable poly, stick on a Turbosmooth (like you have done) and adjust the iterations to suit your mesh and the amount of ram you have. Place a Displace mod on top, make sure you check Luminance Center & Use Existing Mapping. Place your displacement TIFF in the map slot, not the bipmap slot of the Displace mod, and adjust the strength and decay to your liking. That should do it.

I just tested this on a mesh I’m working on and it works fine. Here is the result using the above settings. 1st Image OBJ mesh with no displacement, second with displacement.

I hope this all helps;)

Image02.jpg

Cheers

Scratchy:D

Attachments

Image.jpg

wow,scratchy,if i was a woman i would want to have yr baby now,thank you very much,somehow it works now :smiley:

Sweet. I’m glad it works:D