Hello @IndigoJarl
This depends on the situation.
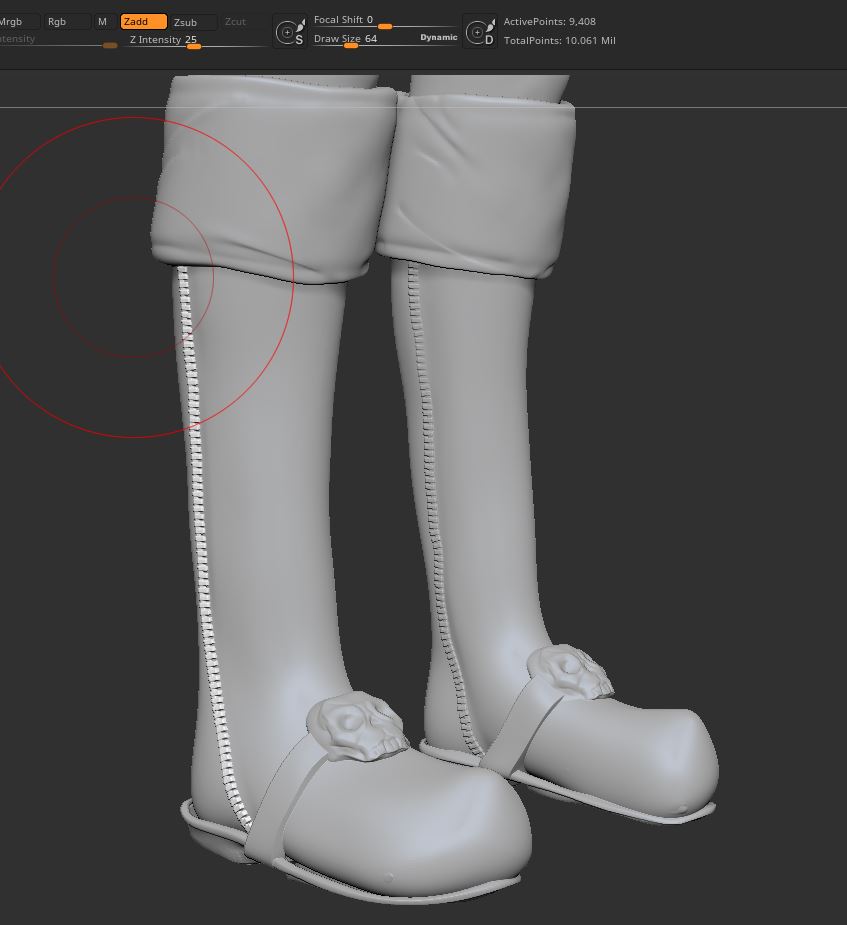
Bits like the zipper are fine surface detail without much elevation, and should not be a separate piece for the purposes of displacement export. At some point you want to transition to a mesh where details like this have been fused into a single mesh. The zipper should project onto a new target mesh with sufficient resolution without much trouble. If you’re having trouble getting that done, you should illustrate the problem.
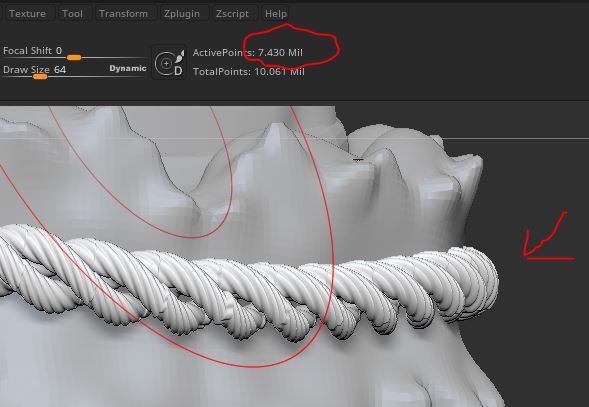
The rope is a slightly different situation. You don’t want to make a displacement map do too much work–in other words you don’t want it to have to displace too far from the actual surface of the mesh. Because the rope is a fairly substantial piece of geometry that protrudes from your mesh surface, you probably want to fuse the actual geometry to your export quality mesh via Dynamesh or Live Boolean. It would also make your life easier to make this rope a solid piece without the gaps in the middle. If you don’t want to edit your IM brush here, using the Inflate Brush with a low intensity (for better control) or a Tool> Deformation> Inflate operation will probably let you fill in those gaps prior to fusing.
Basically you’re aiming for a mesh that is as unibody as possible for the best results with displacement in an external app. Details that can logically be combined into another piece of geometry should be either projected onto it, or fused with it. This would generally be done when you’re preparing export quality topology for your mesh, or when your basic form is well defined, and you are looking to start fine detail work. A new low poly base mesh would be created (with ZRemesher or otherwise) where the prominent physical features have been fused into the form. This mesh would be subdivided as much as necessary to hold the incoming detail, and fine detail from the original mesh would be projected onto it via the procedure linked above. You will need a mesh in this form (low poly base with quality topology and multiple subdivision levels) for best results when sculpting fine detail, posing, painting, or creating textures for export.