Hey there, not to be too much of a knitpicker, but, the shark doesnt pull the eyes back into his eye sockets, there is a like a flap that moves forward over the eye, its called a ‘nictitating membrane’.
hope that helps explain it better.
Hey there, not to be too much of a knitpicker, but, the shark doesnt pull the eyes back into his eye sockets, there is a like a flap that moves forward over the eye, its called a ‘nictitating membrane’.
hope that helps explain it better.
bealieve me i know what i’m saying
“Great White Sharks do not have a Nictitating Membrane, which helps some species of sharks better protect their eyes while attacking. To protect its eyes from injury, the Great Whites have no recourse but to roll its eyes tailward in their sockets just before they strike their prey.”
the information was taken from this site http://www.ecophotoexplorers.com/GreatWhite.asp
scrool down to the “the senses” line and read there.
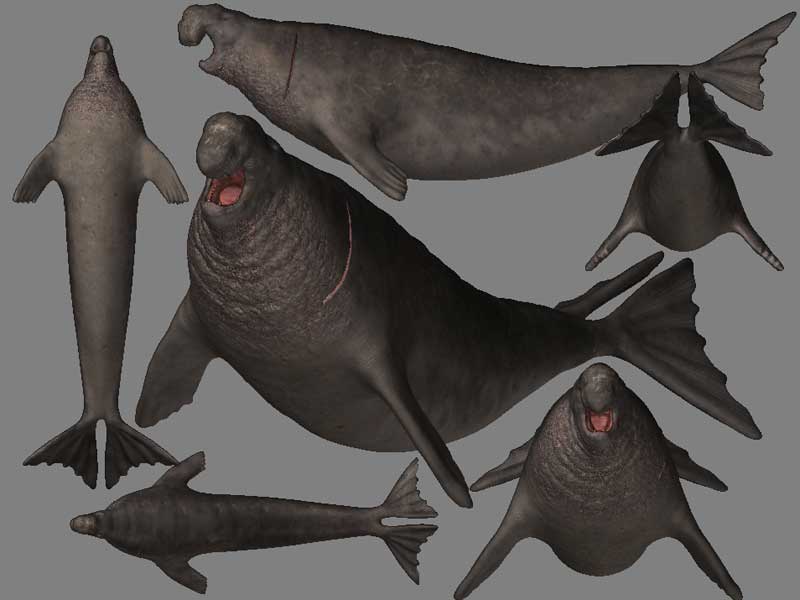
well i abandoned the work on this project for 7 months or so because i had many important exams. Fortunately the exams turned out realy great and now i’m back on the project. I think i’m finished with the seal now
[[attach=39400]coloring90%.jpg[/attach]]
i have big problems though…i cant complete the final render. I followed the zbrush to max pipelines step by step and they didnt do nothing for me. I’m so frustrated and i dont understand why cant i do this task. I see that everybody here manages to render their models in other 3d aplications but i cant
I cant find a way of importing these models in max for the render along with their displacement maps. I’m realy in deep trouble now…i dont know how am i going to finish this.
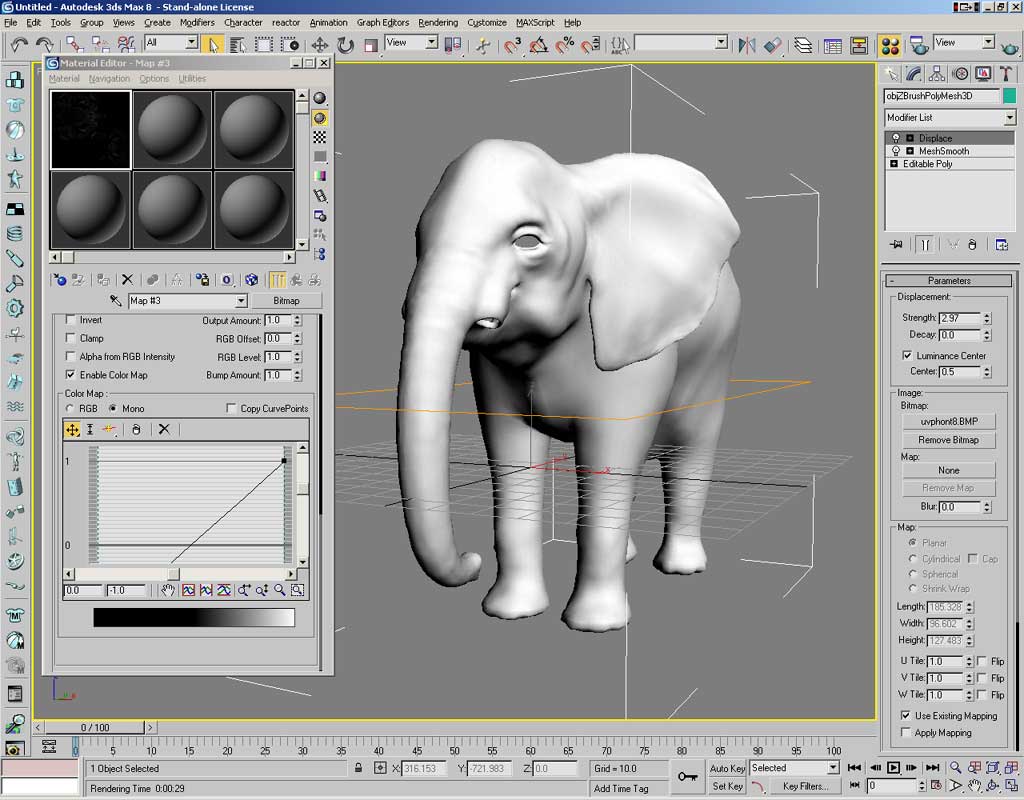
Sorry I haven’t read the rest of this thread so I’m not sure what everyone else has said, but I use max displacement all the time. Export the displacement and low poly model from zbrush then open max. Import the model, right click and turn it to editable poly because you dont really want all tris. Apply a meshsmooth and set the render division to whatever you want. The more divs the more detail you will get. Apply a displace modifier. Set play around with strength and select luminance center. Then load your displacement map into either slots, doesn’t really matter. Select use existing mapping and flip the v tile. Your model will look all inflated but don’t worry we aren’t finished yet. Open the material editor and drop and drag your material from the displace modifier into and empty slot in the mat editor. Scroll down to output and select enable colour map and select the point at 0 and make it -1. This makes the map black and white rather than greys and your displacement should now work. Any probs just pm me 
[attach=40525]max.jpg[/attach]
just a quick note. that using a turbo smooth will get much better results. it is far more efficient than regular mesh smooth.
thanks guys but it still doesnt work…i cant figure out what am i doing wrong:(
Nice shark modelwill you post a wireframe?
…did you do the base in Max or use zspheres?
In zbrush
*you want a grey map not a black and white map other wise max has no way of knowing what mid level = no displacement.
sadicus thanks  . I did the base mesh in max…you can check out all the progress on this project here http://www.maxforums.org/thread.aspx?tid=350612
thanks for the help E. I did all of those steps and i must say this is the best result i got so far but it’s still a long way from the original zbrush model 
the thing is that i had to modify one of your steps…i went to the alpha menu and selected the de options as you said but when i pushed the button to create the map it did it in 1 second…and when i checked out the file on my hdd it only had 800kb. So i created the map using the multi displacement tool 2…with the create all button  . I’m not sure why that happened
[ ](javascript:zb_insimg(‘39406’,‘wth.jpg’,1,0))
I am confused by you reply….
And lastly if you think you need it you can try 32 bit float maps (I don’t notice too much of a different with these, and the file size is insane for a 4096x4096 map) Most of the detail that I do that small I just use a bump map. Sometimes I have seen max have trouble loading these if you run out of ram. So occasionally I have to first load a 1024x1024 32 bit float map then after that loads i can load higher rez ones, its odd…
good luck 
i’m sorry.,i missed a step there and did not create the dis map from the tool menu first. But now i did and i got preety much the same result
i’ve checked my poly count and i think it’s good…in zbrush it has 400.000 in max 800.000+
i’m using auv mapping. I would try guv but that messes up my color map 
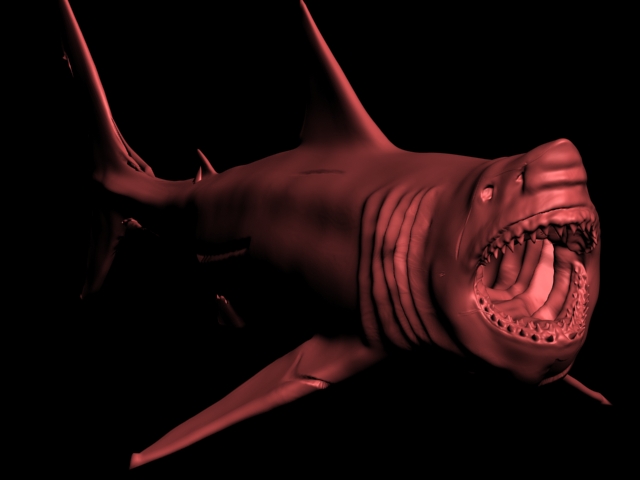
thank you very much for your time E…i realy apreciate it. Unfortunately something goes wrong with my model and i get these ugly artifacts. Not to mention other things like those rounded teeth. I’m begining to lose hope :(. I’m sure that the setup you gave me should work on 90% of the models but…i guess i’m just unlucky
[attach=39411]wth2.jpg[/attach]

well you could use GUV tiles for your displacement map in uv map channel 2 and use your regular uv layout for your diffuse/color in uv map channel 1. worth a short at least. it may just be the lighting but I think that seccond render looks a lot better.
Also one other thing you could try is to export out your model at level 2 or 3 and generate the displacement map from the same level that you export out. That would probably solve some of the problems you are having with the teeth. Ofcourse you will have an increased poly count in max, but hey if the end result looks better who cares right?
hang in there. It will work eventually. Learning curve for next time anyway
first i better say i like your model cause i’m not much help and going ot…
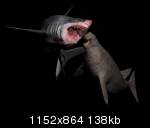
>>As for the eyes…check out this pic
what eyes? all i see is some whacko with his hand on a shark’s nose! wt?! ron is that you? :lol:
Fantastic work and shark !!!
pete330 and Drakelot thank you for your comments :D…i realy worked a lot on that shark. Hey but no one is comenting on the seal…am i to understand its not good at all? 
Cush thank you for all your help and ecouragement
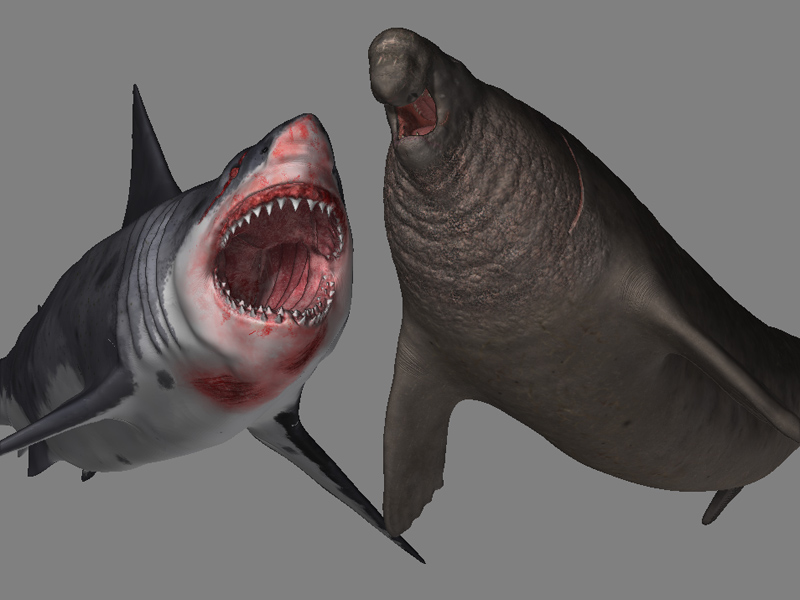
E i’m gonna try both your solutions and i thought of a few more. The thing is as you’ll see in the picture i post here…i need to bend the models a bit for the final pic…to give them a more natural pose. So that’s why i need to use displacement maps. Oh and of course because i have a realy low end pc (athlon 1.33 ghz and 256 mb ddram) i cant import the models with the highest level of detail in max because it crashes (theire not even that high res anyway…about 400.000 each). But on the other hand i can import second to last level of detail on each one (about 100.000 polis each) so i think i’m gonna do that…and if displacement maps dont work i’m gonna try normal mapping.
[attach=39421]enemies.jpg[/attach]
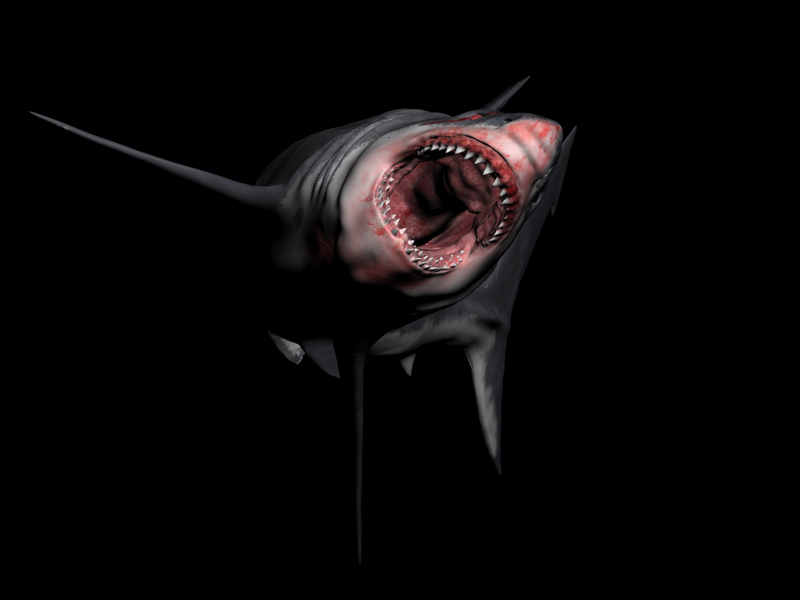
well i did what i said…i imported the second to last detail level and i got my best result so for…the thing is…i still lose detail…i have to make a normal map or something for the last level of detail.
Also i would like to ask you guys what the hells wrong with my texture cause it’s all bleached out…is it the light?..the material? 
First of all, cool modeling - well done!
Now, on the displacement topic… i have tried E’s method and it works.
I have to say i have applied it to a very simple model, but it gets things done afaik. E, thanks for the time you have put to sharing your knowledge.
![[attach=39421]enemies.jpg[/attach]](http://javascript%3Cb%3E%3C/b%3E:zb_insimg('39421','enemies.jpg',1,0))