ZBrushCentral

3D Printing Miniatures/Collectibles

Been ages since I posted on here. Decided to post a sketchbook of my 3D print work, both personal and professional, over the last 10 months, since I decided to switch over to the miniature/collectibles industry.

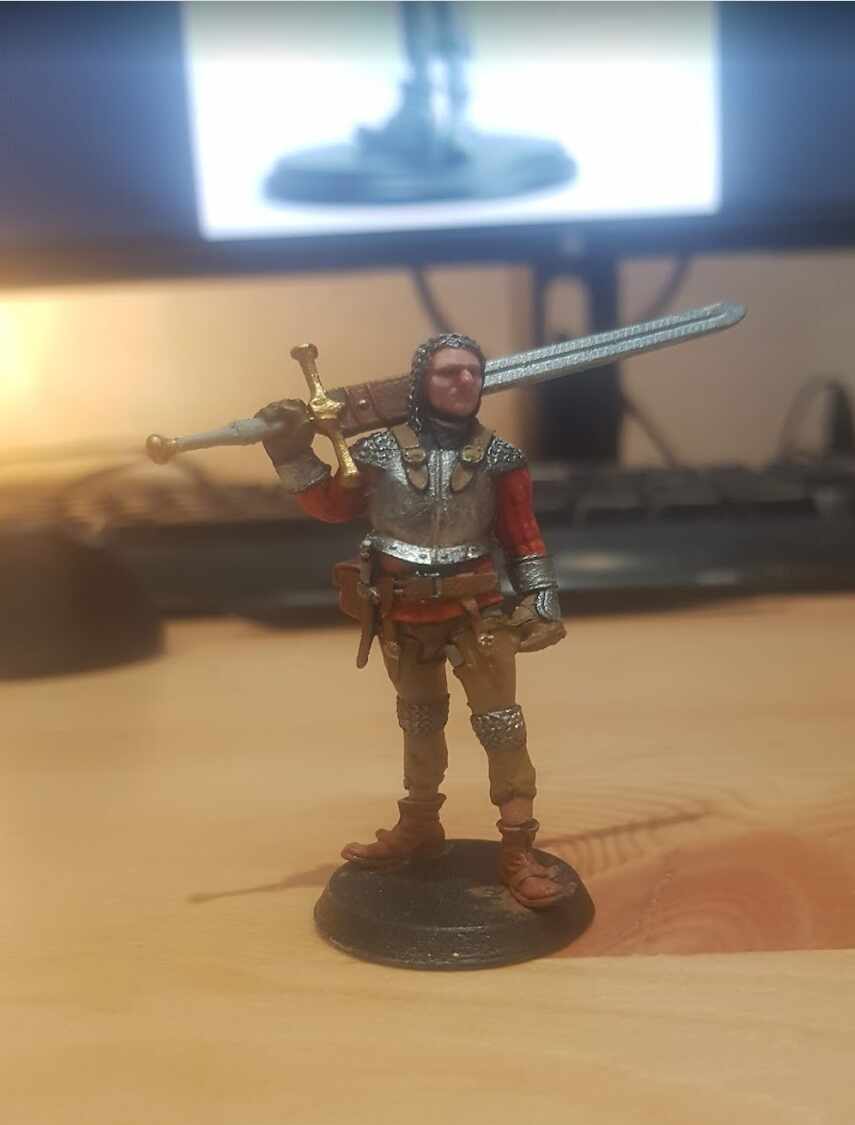
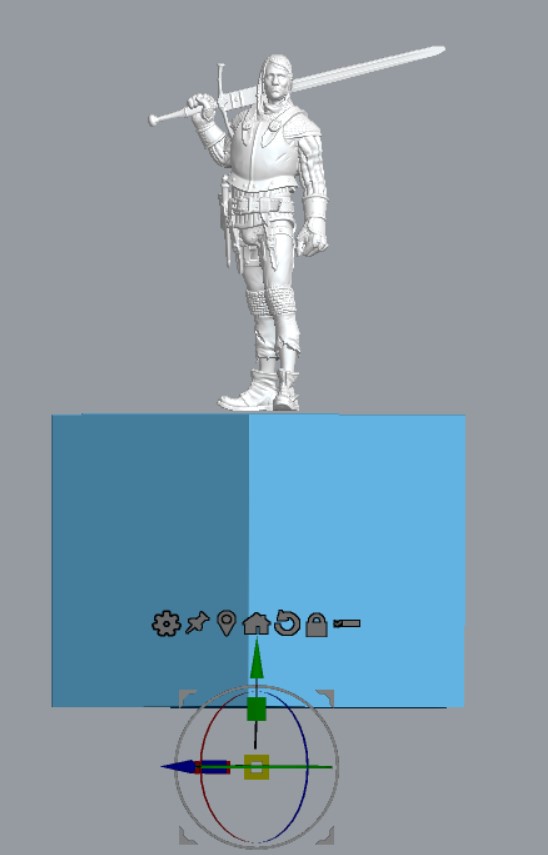
This was my first sculpt to transition across. I got a Mars 1 printer as my first machine and began trial and error testing to explore the workflow pertaining to printing. This was going to be a 32mm prototype, but the original design had proportions and details that weren’t suited to printing at that scale. The sword was too slim and warped when printed. detailing was often too small/thin. Proportions were too ‘realistic’. It would have been fine for 150mm scale, but didn’t work at 32mm. Also, the chainmail was terrible! :smiley:

After some test prints, I redesigned some elements: larger head, much larger/thicker sword, beefed up some accessories, got rid of the stitching, and thickened the ankles(where it snapped on removing the print supports)

More to follow…quite a lot more, in fact… :slight_smile:

1 Like

And here he is painted(very badly) at 45mm scale.

image

Next print test was on this skull I sculpted - at the time I was studying the skull in depth.

1 Like

I was also pushing myself to learn the ‘dark arts’ of resin print support work. Lots of trial and error here. I started in Chitubox, but quickly discovered Lychee slicer(which I still use to this day. From the beginning I wanted to learn to do manual supports properly and had no interest in the autosupport solutions(which I don’t recommend)
This support work was the final solution I set up, after many other attempts that didn’t work out.

During the redesign of this character, that I mentioned earlier, I decided to split off the sword/hand for easier support work. It was also a good opportunity to delve into learning to split/key models for print.

It was quite demanding - and there was a lot of frustration - but ultimately, you really should be learning how supports work and definitely test printing, if you intend to sculpt for 3D printing. The experience I gained was invaluable in the coming months and into the professional commissions that I quickly picked up after my 4th character(coming up later)

One extremely useful trick(I picked up from Joe Drust) was setting up a ‘poor man’s slicer’ directly in Zbrush using Live Boolean. As my work became more complex and I was doing multi-key characters with lots of penetrating armour and clothing and whatnot, the Zbrush slicer proxy became the very last stage in my workflow before sending the parts to Lychee slicer. Checking for the dreaded air pockets, voids, and otherwise illegal geo.

Screenshot_36

Screenshot_37 Screenshot_38

Yes, this truly is a lifesaver. Thanks Joe, wherever you are these days… :slight_smile:

Next character I did was the Dwarf Slayer. Originally he was modeled as a game character, but all the armour detailing was baked/painted normal maps, so a lot of it had to be remodeled for print