ZBrushCentral

Wolverine-next gen game model

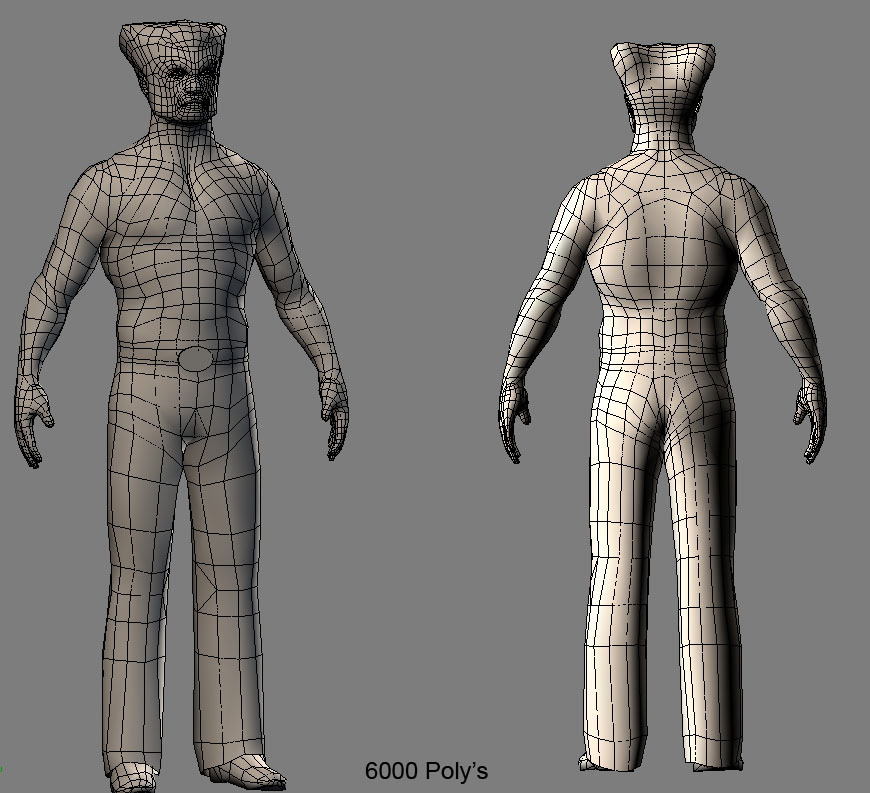
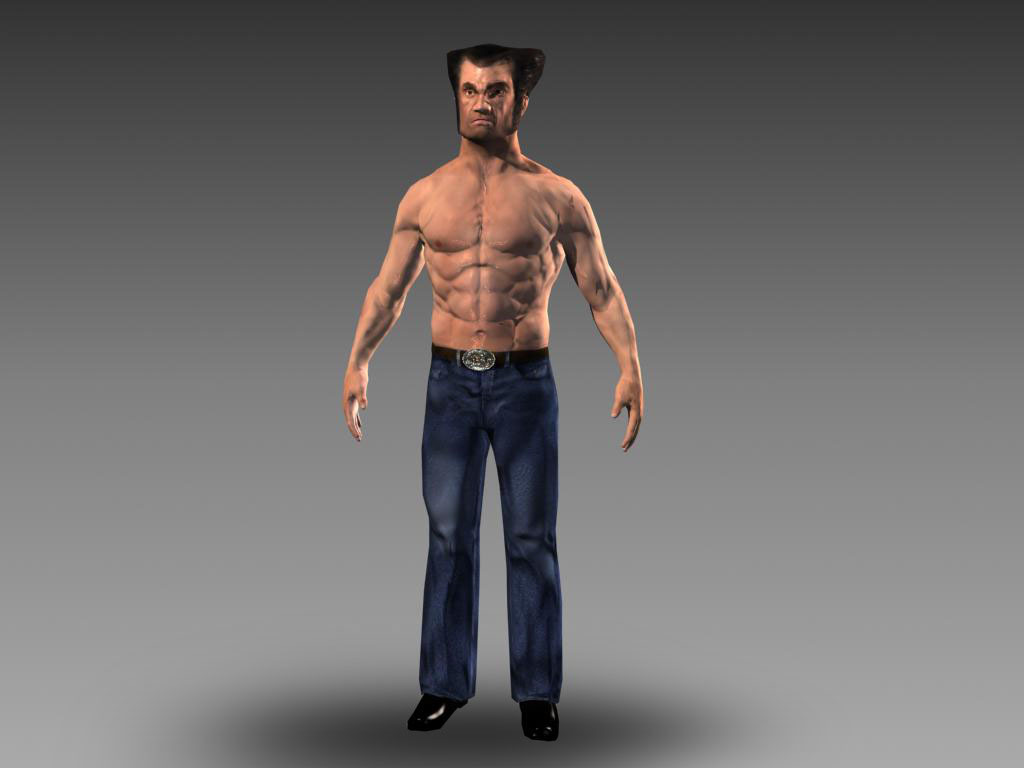
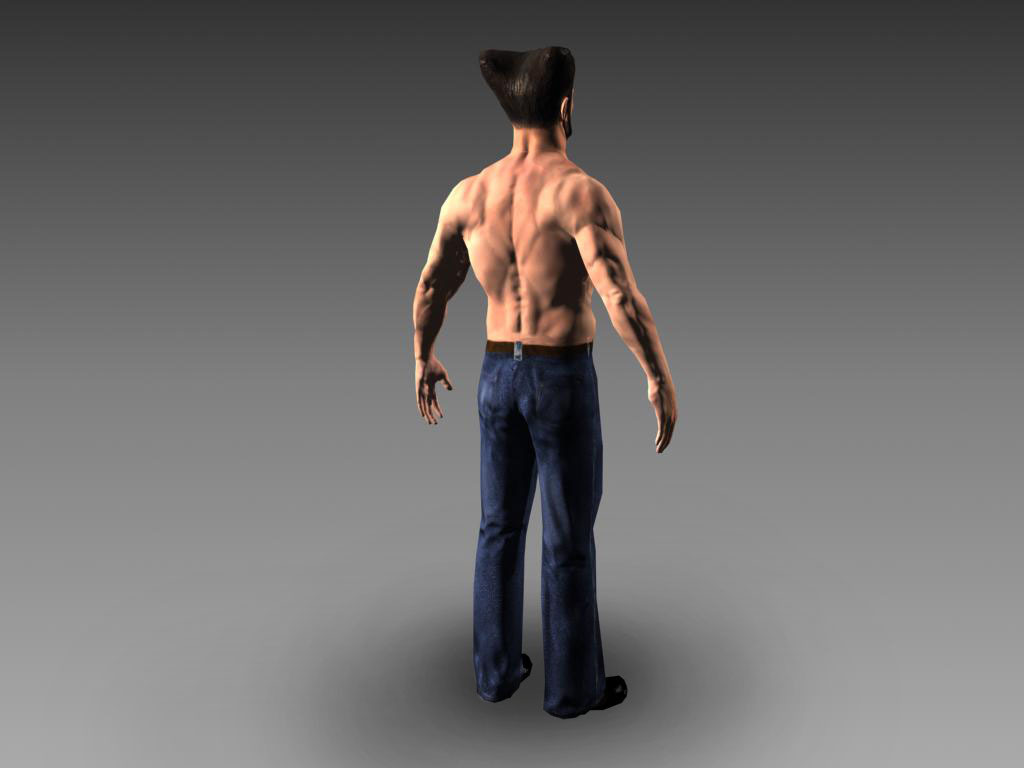
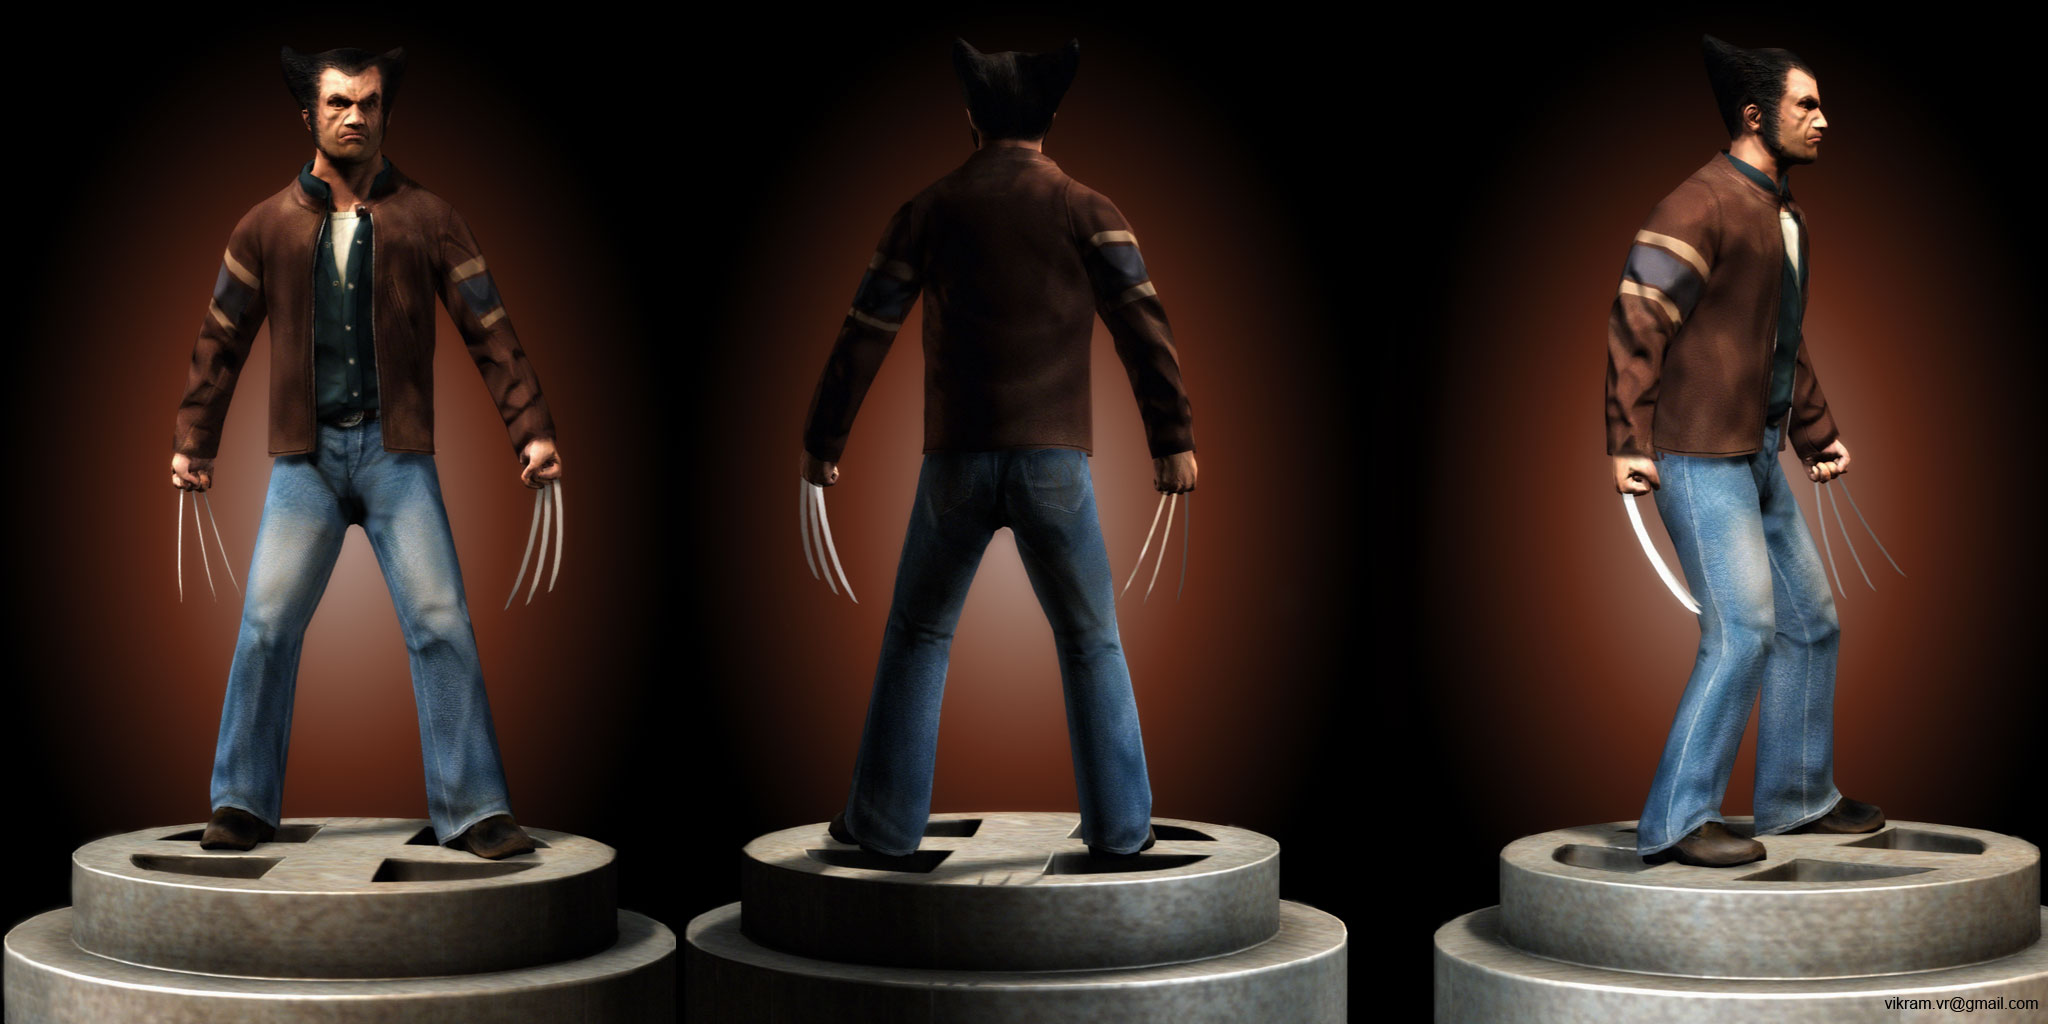
Thanx for the replies guys,dedfish, I’ll give him more booty, Infact, I think I’ll have to lower the crotch too

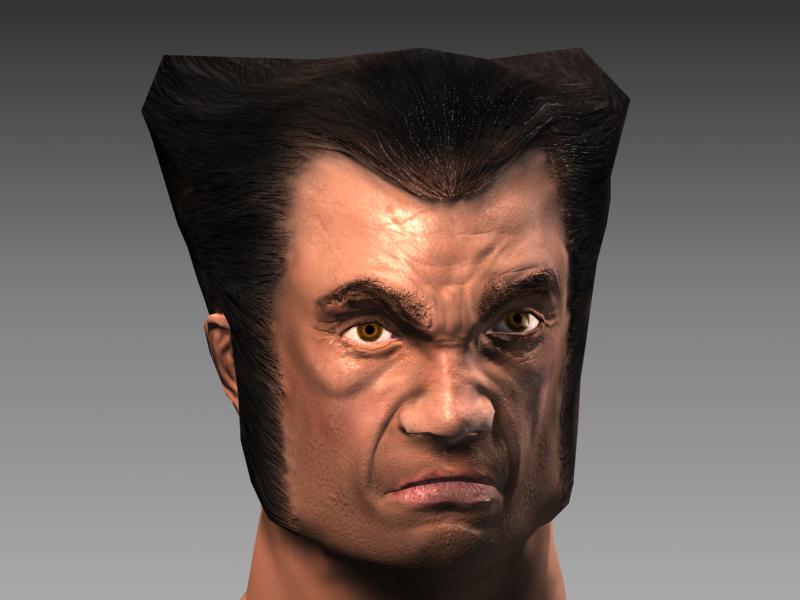
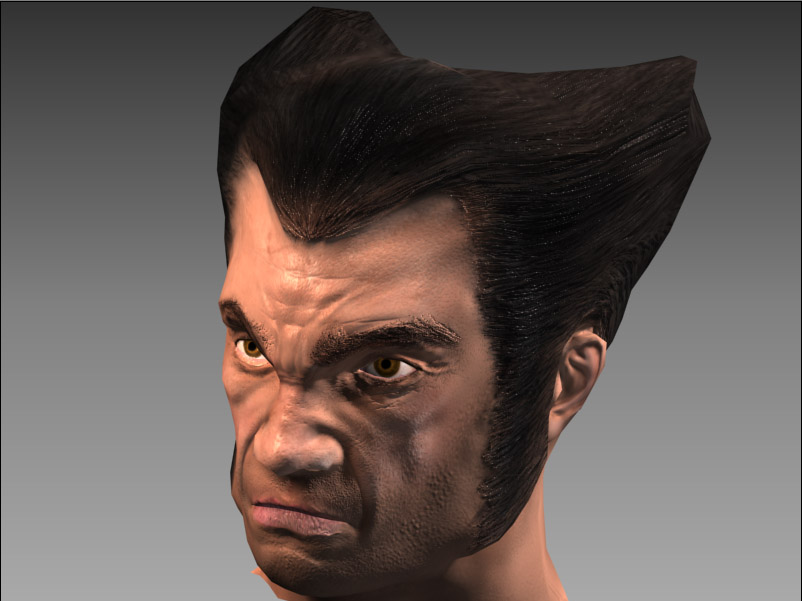
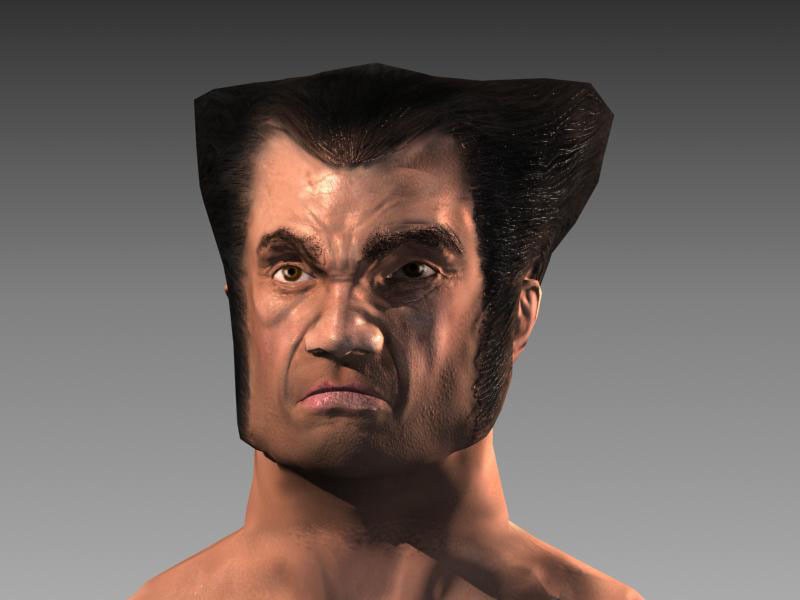
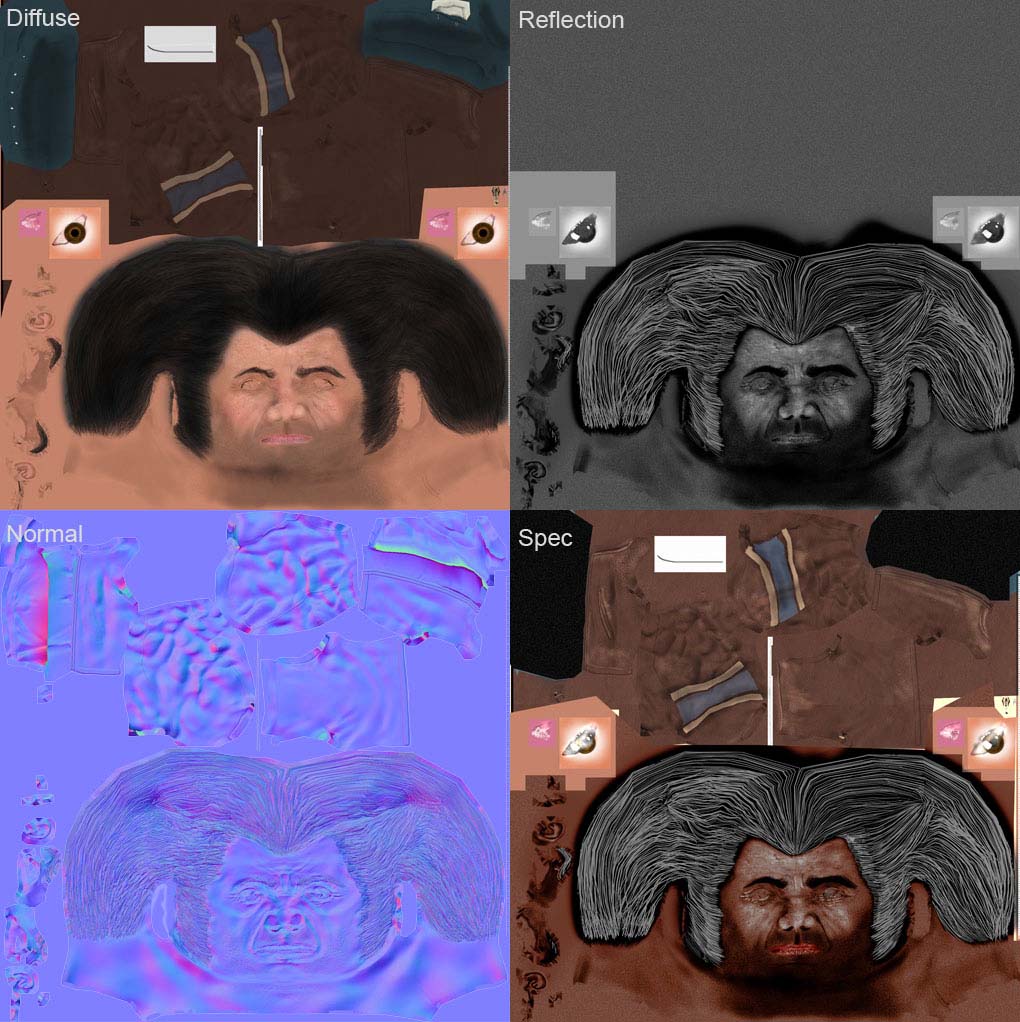
new updates. Worked on the specular for the face and also the eyes. This is a default scan line render with a 3 point lighting setup. The normal map seemingly looks good in this to me. Please comment on this guys.

[face_render.jpg]face_render2.JPG
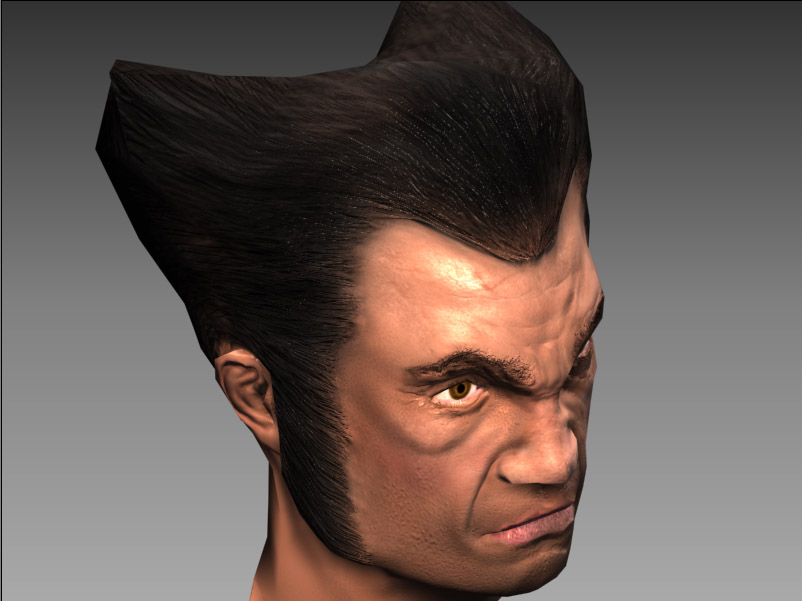
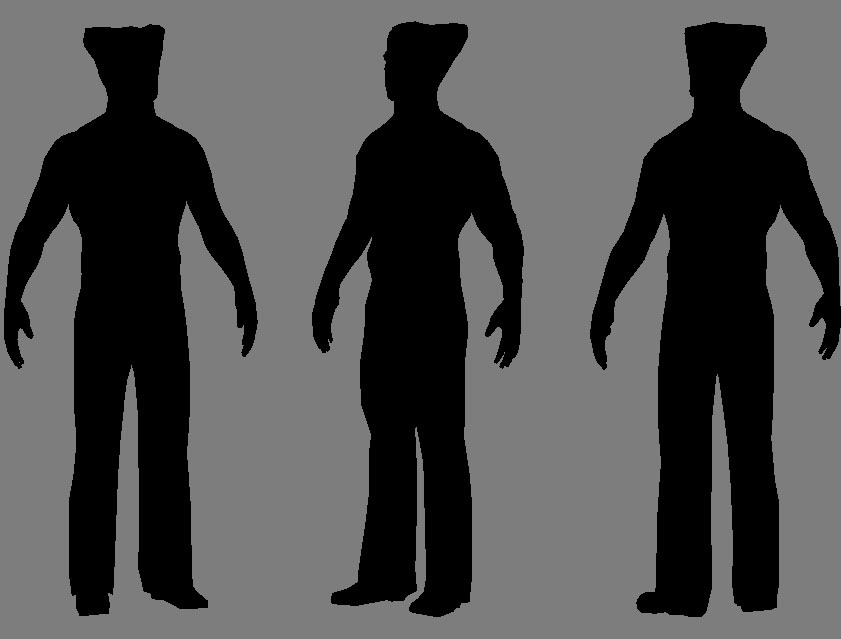
I still haven’t worked on the sillhouette
I’ll post more sculpts and textures soon.

Attachments

face_render1.jpg

The impression you get is that this is an actor wearing a Wolverine wig. The skin/hair border is too harsh and the hair is elevated away from the skin in an unnatural way. Particularly odd are the hair strands at the point of the central peak that finish in mid air, not rooting themselves in the scalp.

Perhaps you could soften the transition.

Cheers,

R

Thanx Rory, I see where I’m going wrong. I’ll work on it and post updates soon

Hi Guys, I haven’t posted updates for this one in quite some time. I’ve worked quite a bit on the textures, and also on the sillhouette of the whole model. I think the model is coming along as I had expected. It’s still a long way from completion. Please post in you comments when you see this.

meshflow.jpg

I’ll post snapshots of the textures, and also a turnaround sometime soon. Please leave in your comments.

Attachments

sill.jpg

1.jpg

2.jpg

3.jpg

Your highrez looks really awesome. Your lowrez looks reeeeeeally flat. I would work on getting better form in the sillhouette and exagerating the bulges and dips more. The skin could use more color variation and his 5 o clock shadow looks more like makeup. Overall I think its coming along well, just needs the love you gave the highrez.

The torso’s great, but the jeans are a bit last gen. I’d put a few more edge loops in at the cuffs to break up that just pressed look. I’d also add aloop into the belt and pull that out from the body to give that some volume in the silhouette.

How have you done the buckle? It looks very smoothly oval. Is that a clip map, or loads of polys?

Cheers,

R

Hi guys, thanks for the replies. gaboon saw your personal website. You have some awesome characters. I have a doubt here. How do people generally show off their low poly characters? Do they render them or just have snapshots from the drectx viewports? I know its not too advicable to use final gather or any GI. Any suggestions on this? I think it’s the light setup that I’ve got that makes the character look flat. I’ll also work on the colour variation part.

Rory, the pant has some detailed textures, but they don’t show from a distance. You are right about the sillhouette. I’ll work on it a lot more. The buckle has 12 poly’s its a cylinder with the side facing the character deleted. I think I’ll use a plane with alpha maps instead. Cheers.

If you have access to a game engine like Unreal, then you can render out hi-res prints.

R

Hi everyone, It’s been a couple of weeks, and I finally found some time to work on the model. Rory, Thanx for the reply

I’ve posed him as well this time. He’s got two textures, one for the face and the jacket, the face having higher texel density and one for the body, pants and shoes. The pants still need some colour variation. I’m still working on it.

Please post your comments on the pose as well everything else.

[wolverine_snap_all.JPG

Attachments

texture_face.jpg

textures_body.JPG

Hi vikram
Wolverine is coming out really gud… getting the feel along with volume :+1: :+1:

Just wanted to ask u one thing…how do u get the normal rendered in mental ray properly …

Nice work, vikram. The detail/texturing you’ve done on the body
vs. polys used is well done.

For a next-gen, tho, I’m wondering if you shouldn’t give him about
1000-2000 more polys in the head to give it more volume. It would seem
that he’s intended to be an important character, and right now, his
arguably most important part (his head) is too blocky/flat/planar…my
opinion, of course. :wink:

cheers.

WailingMonkey

Thank you very much , vinayKr and wailing monkey, Vinay, I use the normal bump channel in max, and then assign the normal map in the normal slot. Mental Ray will render the normal map if you assign it this way, very well.

Wailing Monkey, I’ve restricted myself to around 7k poly count, and I’m finishing my model in that count. I’ll work a bit more on the face though. I’m doing a base for him right now, and refining the jeans ( which in my opinion looks low res compared to the other parts. I’ll post updates and a turn around soon. CHeers

Thank u Vikram for that info…Although I m using maya and couldnt get it in mental ray …

Just another one if u can tell me what r texture pages and what does 2 * 1024 or 4 * 512 mean

Why dont u participate in game challenge by cgtantra:D :smiley:

Hi Vinay, Thanx for the reply. Two 1k maps mean that you use 2 maps for an object, eg, one 1k for the face and another for the body, because you obviously would want to give more detail for the face and give it more UV space and vary the texel density. Moreover, I would use one 1K map rather than using four 512 maps, because I think one 1k takes up lesser space than four 512 maps, though the map size occupied by them are the same. Cheers, is CGTANTRA conducting a game character art challenge? I am not aware of that.

Just a minor character point that has bugged me as I look at your model. Wolvie’s hair actually goes back and out, not sraight up and out. You need to pull his hair geometry back more, as it is right now it kind of looks like a square afro.

The shorter version is much more true to the character’s height. I think he could have more of a chin also.

Teyone thank you for the reply, Ive changed the hair a bit now. I’ve entirely reworked the textures on the jeans, and also worked on the sillouette a lot, done a base and worked on the claws.

I’ve uploaded a turnaround for the model now. Please have a look at it and post your comments. I’ve done a little bit of colour correction and post processing on it. Hope you like this

http://www.myotherdrive.com/file/363.010106.12012008.71229.0067fi/Wolverine%20turnaround.avi

great work and interisting development steps :+1: :+1:

Vikram,

Hey nice to see you still coming along nicely with this wolvie character. See a lot of hard work and effort and its continueing to get better and better. The face/head contour needs to be flushed out more. As it stands its lower jaw line is too far straight across on the front view, profile side views face appears pushed in, nose mainly needs to be brought forward in the profile view. 3/4 view needs more distinction of the how the forehead, eye socket, cheek bone, and mouth area flow because its to linear. Hope this helps, keeping up the great work. :+1: :+1:

Hi remib, Thank you for your reply. Angel, thanks for taking some time off to send me your constructive feedback. I felt something was wrong about the face too, and have given it more form this time.I’ve worked on the base a bit. I can keep tweaking it more and more, but I want to hold this as my final piece. Please send in your comments and feedback.

Here’s the final turnaround
http://myotherdrive.com/file/097.004708.16012008.98490.0067fi/wolvie_turnaround.avi

And a final image

[composite.jpg]

Cheers,

Vikram,

I think the changes to the front jaw line, pulling the face out in the profile and what you added to the base was a good thing. If there was one change you could make and it was to be the last change ever I would say that maybe reworking the high cheek inflation and bump on the right side. Doesn’t appear to be to prominent on the left side as much and reads more like a ā€œshinerā€/Blackeye type of inflation rather than cheek area. Other than that, I think you could safely call it the wraps on this one. Its been fun watching it develop. Keep working hard will be nice to see more from you soon. :+1: :+1: