ZBrushCentral

The Steam Master

Shyvana, my character entry done for Riot Art Challenge on Polycount. The highpoly was sculpted in ZBrush and posed using Transpose Master and Maya rigging. The final sculpture renders made in Keyshot using a simple HDR image setup scene. The clay material was made by using the default skin shader and then modified the translucence and color.

WIP_28.jpg

My work in progress character for low poly hard surface practice. I want to explore and try new workflows in Zbrush to archive some clean surfaces. I started by making a photobasking concept inspired by Weta’s Spiderman costumes and starred to work in Zbrush. All the renders are made in Marmoset Toolbag 2 using the ZBrush meshes. The skin is just polypaint and a skin material quickly done in Marmoset.

Droid_Concept.jpg
Droid_wip05.jpg
Droid_wip04.jpg
Droid_wip06.jpg
Droid_wire.jpg
Droid_wip07.jpg

Cheers,
Sorin

Wow! One of the most lovely, nuanced faces I’ve seen in CG. And the suit design is fantastic. I’ll be following this!

Cheers!
Will

Excellent works!

Great job!

Happy new year guys and have fun next year!

nebular Thank you, glad you like my approach :slight_smile:
harbottle Thanks a lot, I appreciate, love your work!
Masart Thank you!
eof3D Thank you!

Sorin

Droid_wip08.jpg

Armor work in progress

This is very cool. Really enjoy your work

sankar82 Thank you! Cheers!

A sculpt made some time ago at AMC, 2013 I think. Sculpted in ZBrush and using fibermesh for hair. Rendered in Maya with Mental Ray.

Cheers!
Sorin

Wonderful models, but most of all:

thank you very, very much for these tutorials!!

Hey ZbrushCentral,
The portrait sculpted over this weekend in ZBrush as a portraiture practice marathon. Started from a sphere as usual when I want to practice and move fast. The cloth was blocked in Marvelous Designer and then detailed in ZBrush using multiple layers of alphas on surface noise. Also I used the new tile nano plugin for creation of the main cloth details and love it. Rendered as multiple passes in ZBrush and then composed in Photoshop. More detailed rendered images after this post. Cheers!

Black_woman.jpg

ZGrab01.jpg
Zbrush ScreeShot

2015-04-06_10.30.59.jpg
Renders passes

Attachments

Bellow_light.jpg

Front_light.jpg

Left_light.jpg

More images of render passes used to compose the final image. Thanks!

Bellow_light.jpgFront_light.jpgLeft_light.jpgRight_light.jpgRim_light.jpgTop_light.jpg

Wow So awesome! Top row? xD btw how did you do that pattern ? can you show us some breakdown :smiley: if you dont mind of course.

Hi Gandosh,

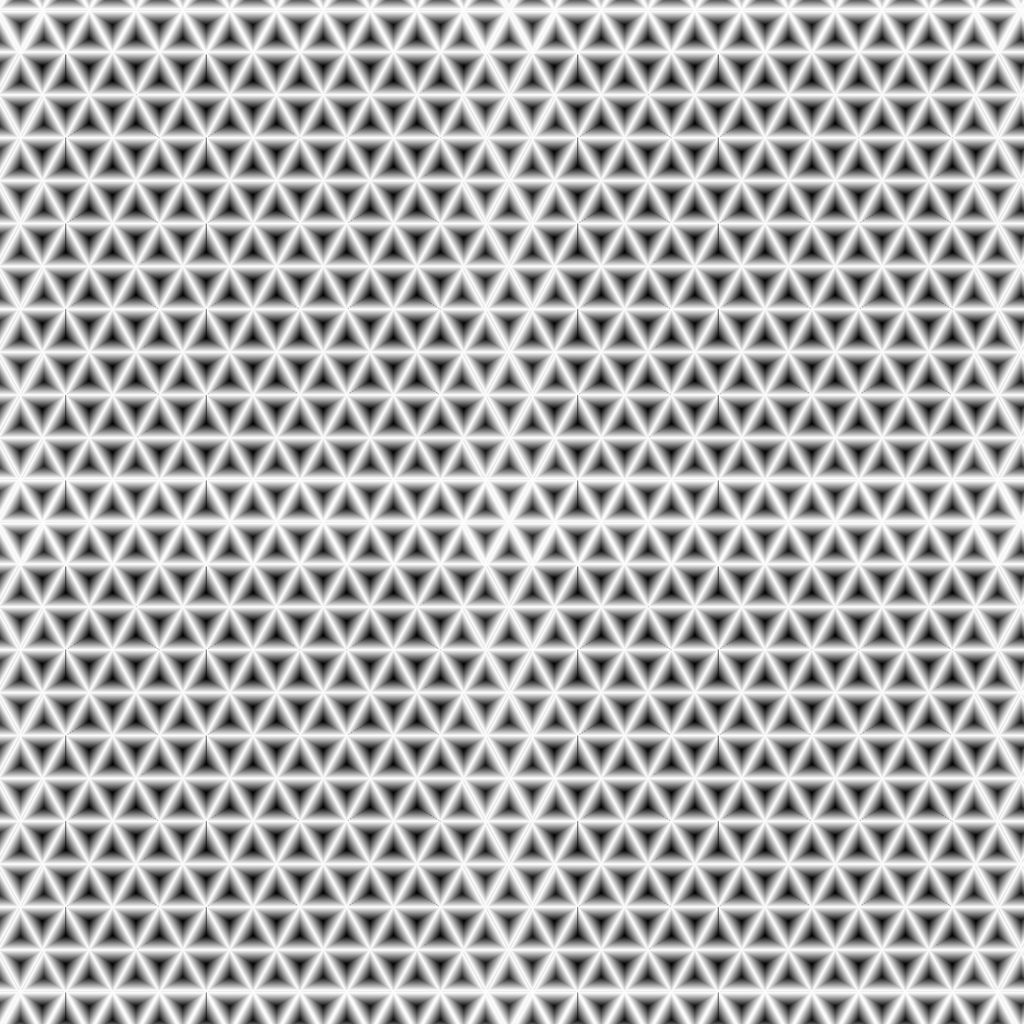
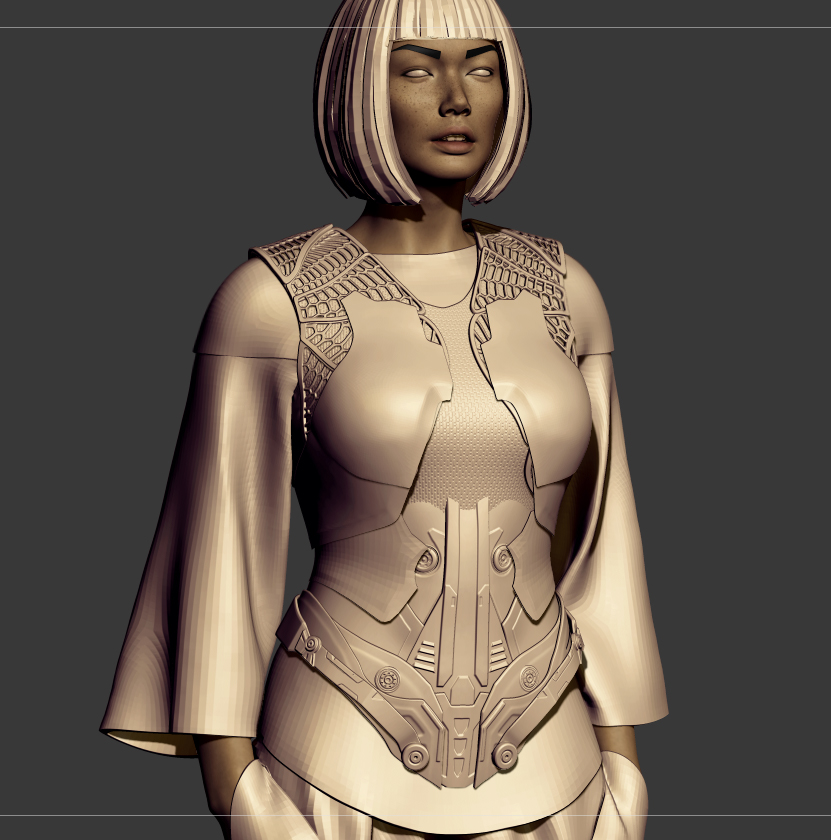
I hope this short breakdown about how i made the pattern will help you. First I created a little hexagonal piece that will be main tilling design on the final alpha.

After, I created a tileable piece duplicating these pieces I started to mess around with the new plugin created by Joseph D. “NanoTile Textures” that can make quick some great tileable textures. You can take a look, is very simple to use and a great tool. Link to the plugin page: http://www.zbrushcentral.com/showthread.php?192878-NanoTile-Textures!-unofficial-Information-Installation

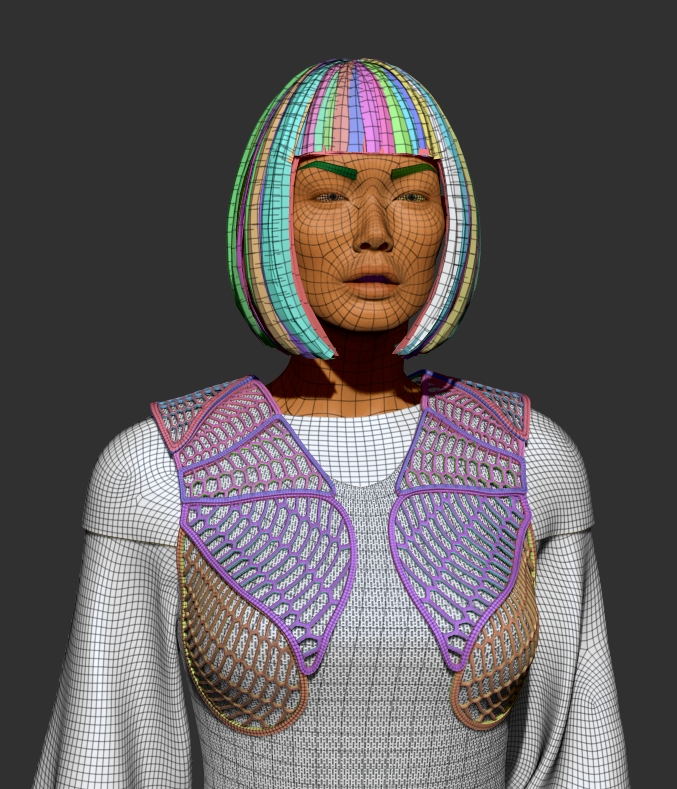
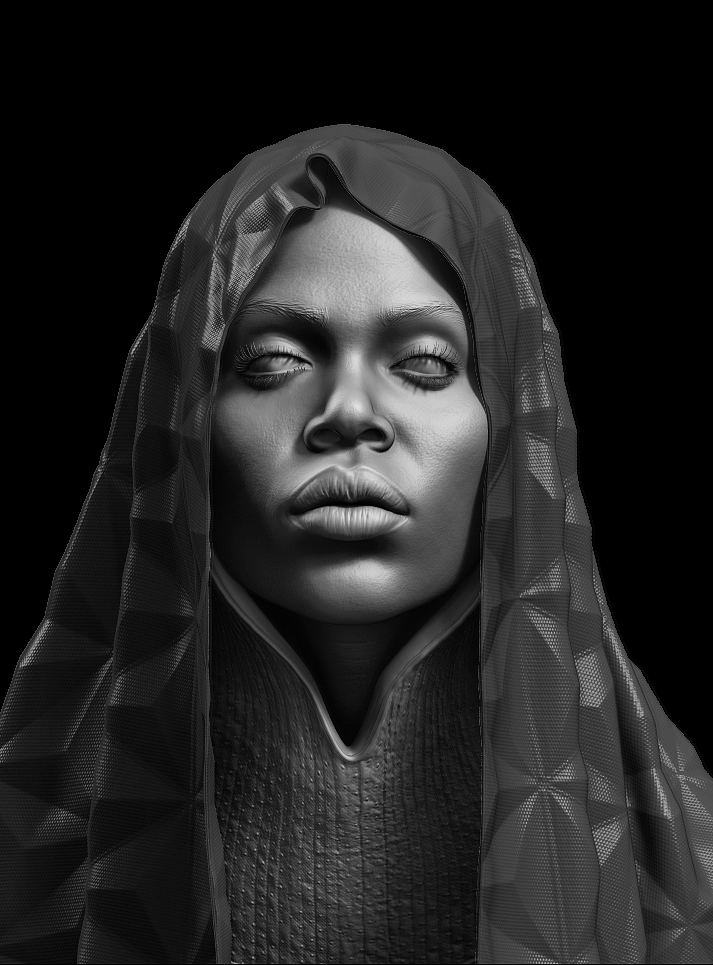
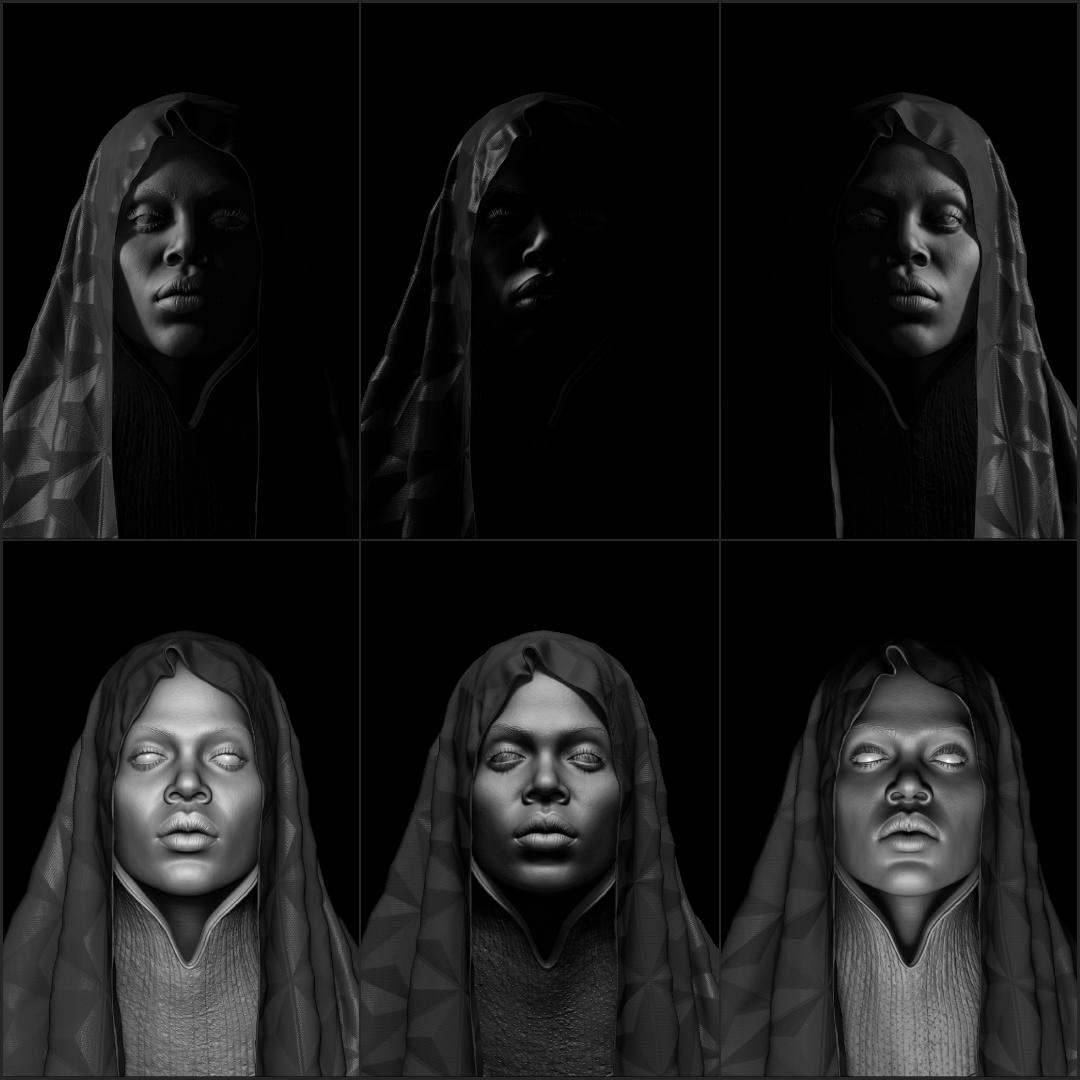
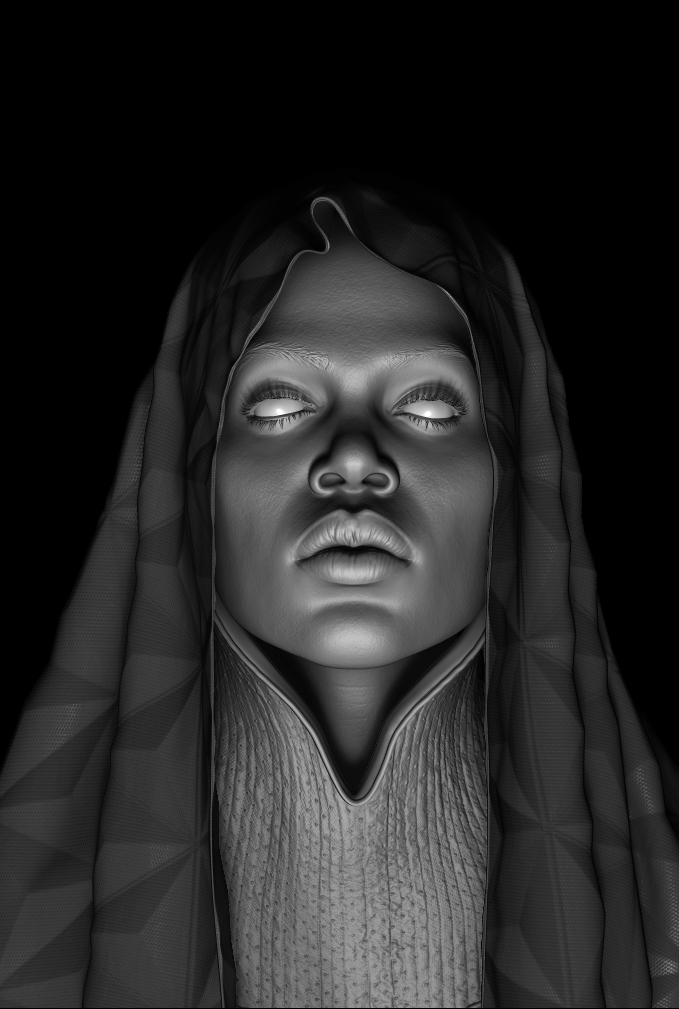
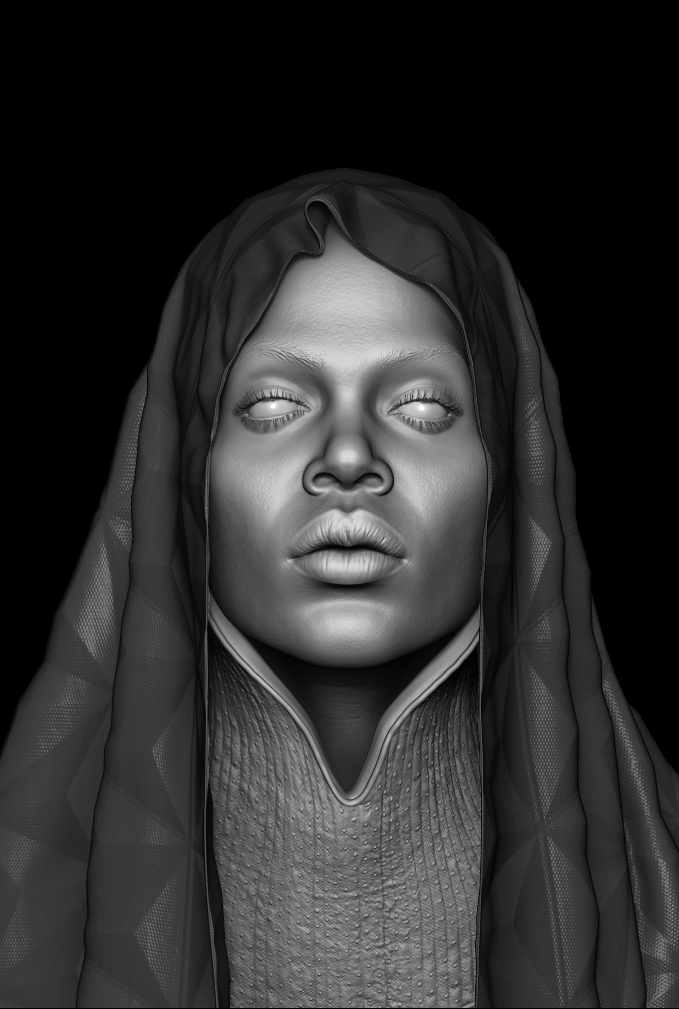
I exported the height map and used that alpha as my pattern on Noise Maker tool. I forgot to tell you that the cloth geometry need to have UVs before using Noise Maker. For the fabric details I used some fabric scans from SurfaceMimic website.

The tile alpha used for this piece:

tile_Height_hexagonal.jpg

You can download the geometry pattern and alpha file from my Drive folder

Let me know if this is working.

wow thank you so much!

Awesome work , mate! Thanks for sharing. :+1: :+1: :+1:

It is interesting to look at and learn from you.

Thanks guys! @Gandosh Hope that was helpfully.

Of course this was helpful. A Very Helpful! :smiley:

Hi guys,

My last portrait practice, rendered in Keyshot and painted some “spice” eye colors in Photoshop. Dune universe inspiration, Bene Gesserit.

Bene-Gesserit_low.jpg