Looks Awesome!! 
Thats amazing!
Can you please tell me, what is the name of the material you are printing with. And what do you use for coloring. What type/brand of paint?
Thanks!
I THINK THIS THREAD IS GROSSLY MISLEADING AND SHOULD BE DELETED OR AT LEAST HEAVILY EDITED!!!
All the key characters in the movie were puppets sculpted by hand.
Their digital doubles were produced mostly by the VFX team from 3D scans.
The zbrush screenshot here looks like only a touch-up of the 3D scans/VFX meshes imported in Zbrush and produced after the movie was already finished or was in post-production stages,for 3D printing for promotional purposes.
TO CREATE AN IMPRESSION THAT PIRATES! CHARACTERS WERE ORIGINALLY ZBRUSH SCULPTS IS DISRESPECTFUL TO ARTISTS WHO POURED THEIR HEART AND SOUL INTO CREATING THEM.
PLUGGING THIS KIND OF MATERIAL INTO TOP ROW IS DOING DISSERVICE TO THIS FORUM.
Hi Jake, The film is a stop motion film, a traditional Aardman Animation film, awesome real puppets, impressive real assets, as far as I know almost everything was beautifully hand made.
Thanks
Best
Hi SoM80
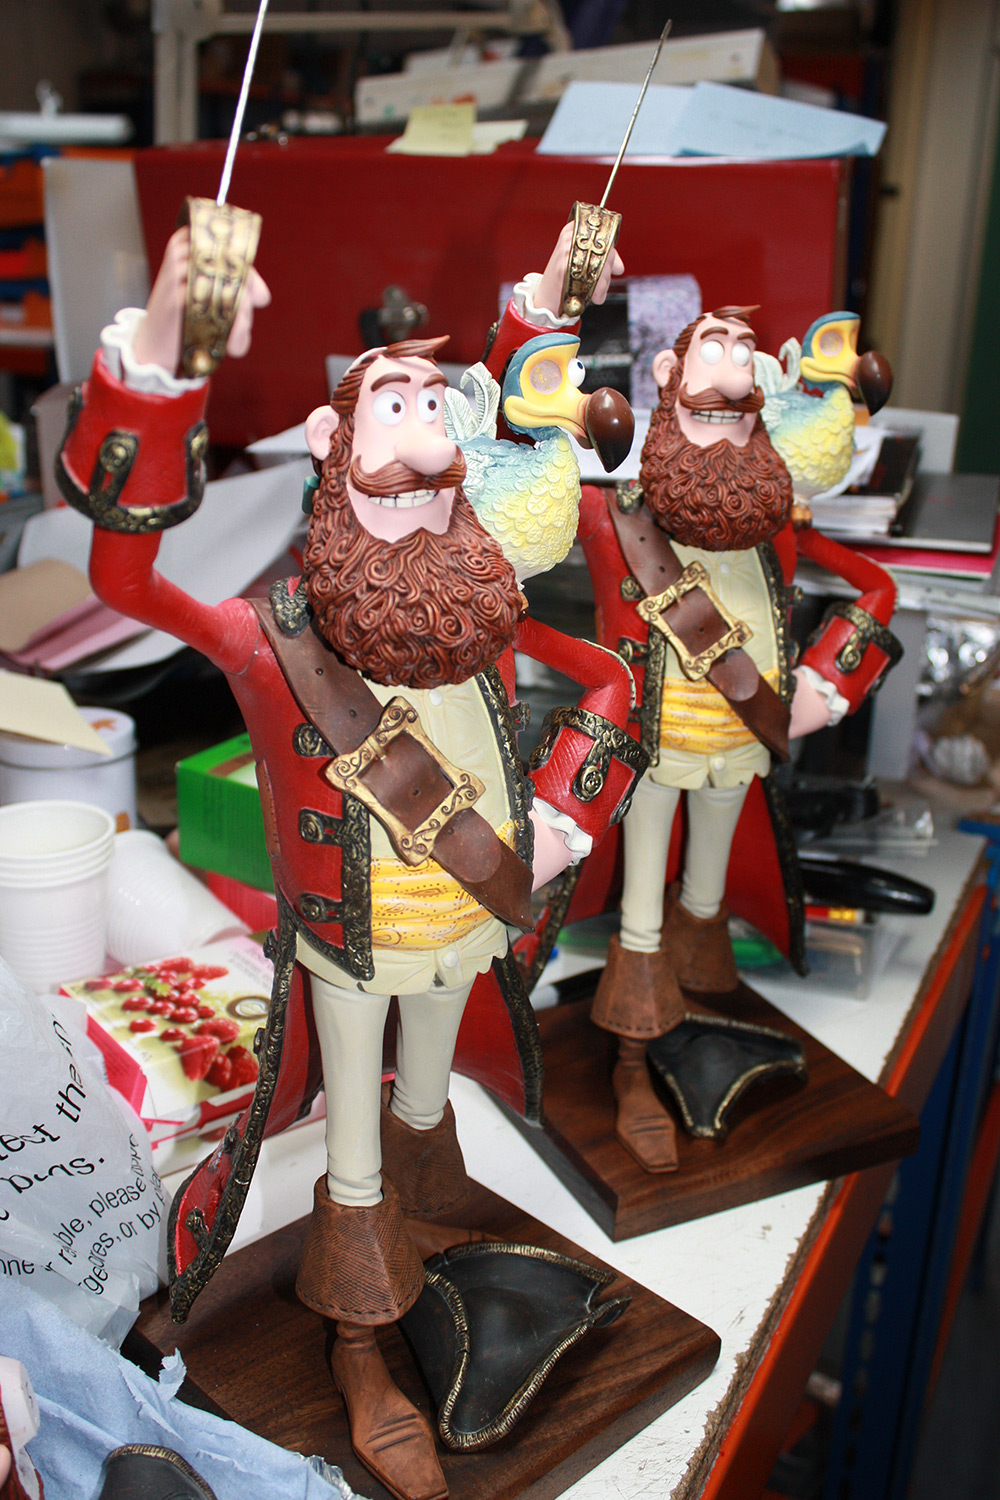
The Puppets in the film are real puppets, this ones are the solid puppets, as you can see in the last image, real ones as well! but replicates of the original ones, they have been made for promotional purpose mainly.
Thanks,
Best.
Hi Smartface
Here you can find some information about the 3D Printers we been using for:
http://www.wired.co.uk/magazine/archive/2012/04/play/print-that-pirate
The painting job, awesome job I have to say, is been done by the workshop by hand. The images you can see in the post (apart of the first one witch come from the film cover) are photos of the final pieces, they are not 3D renders (apart of the ZBrush screen grabs).
Thanks.
Best
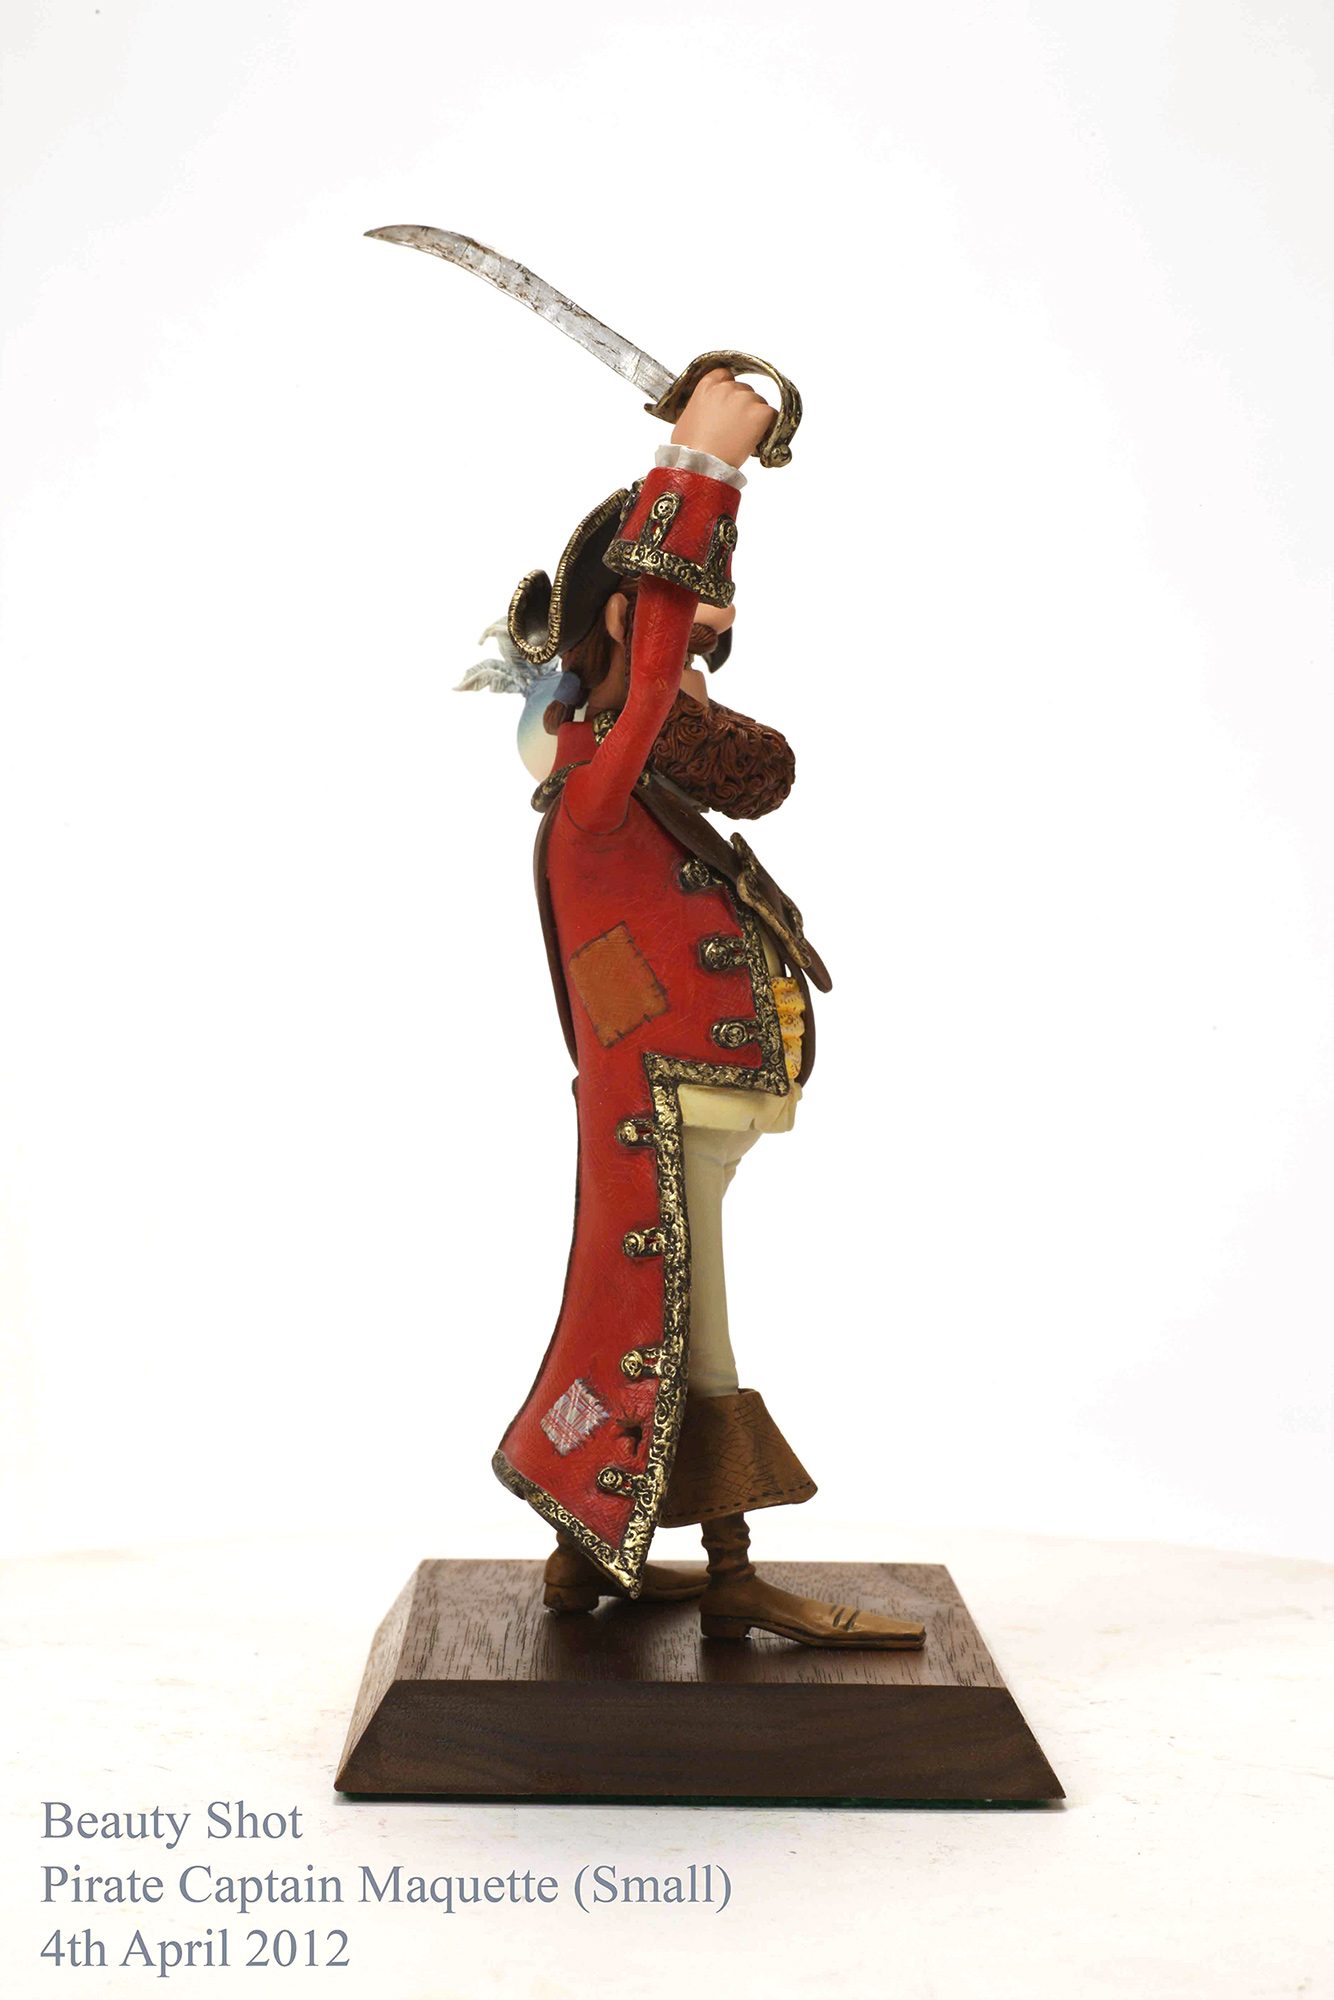
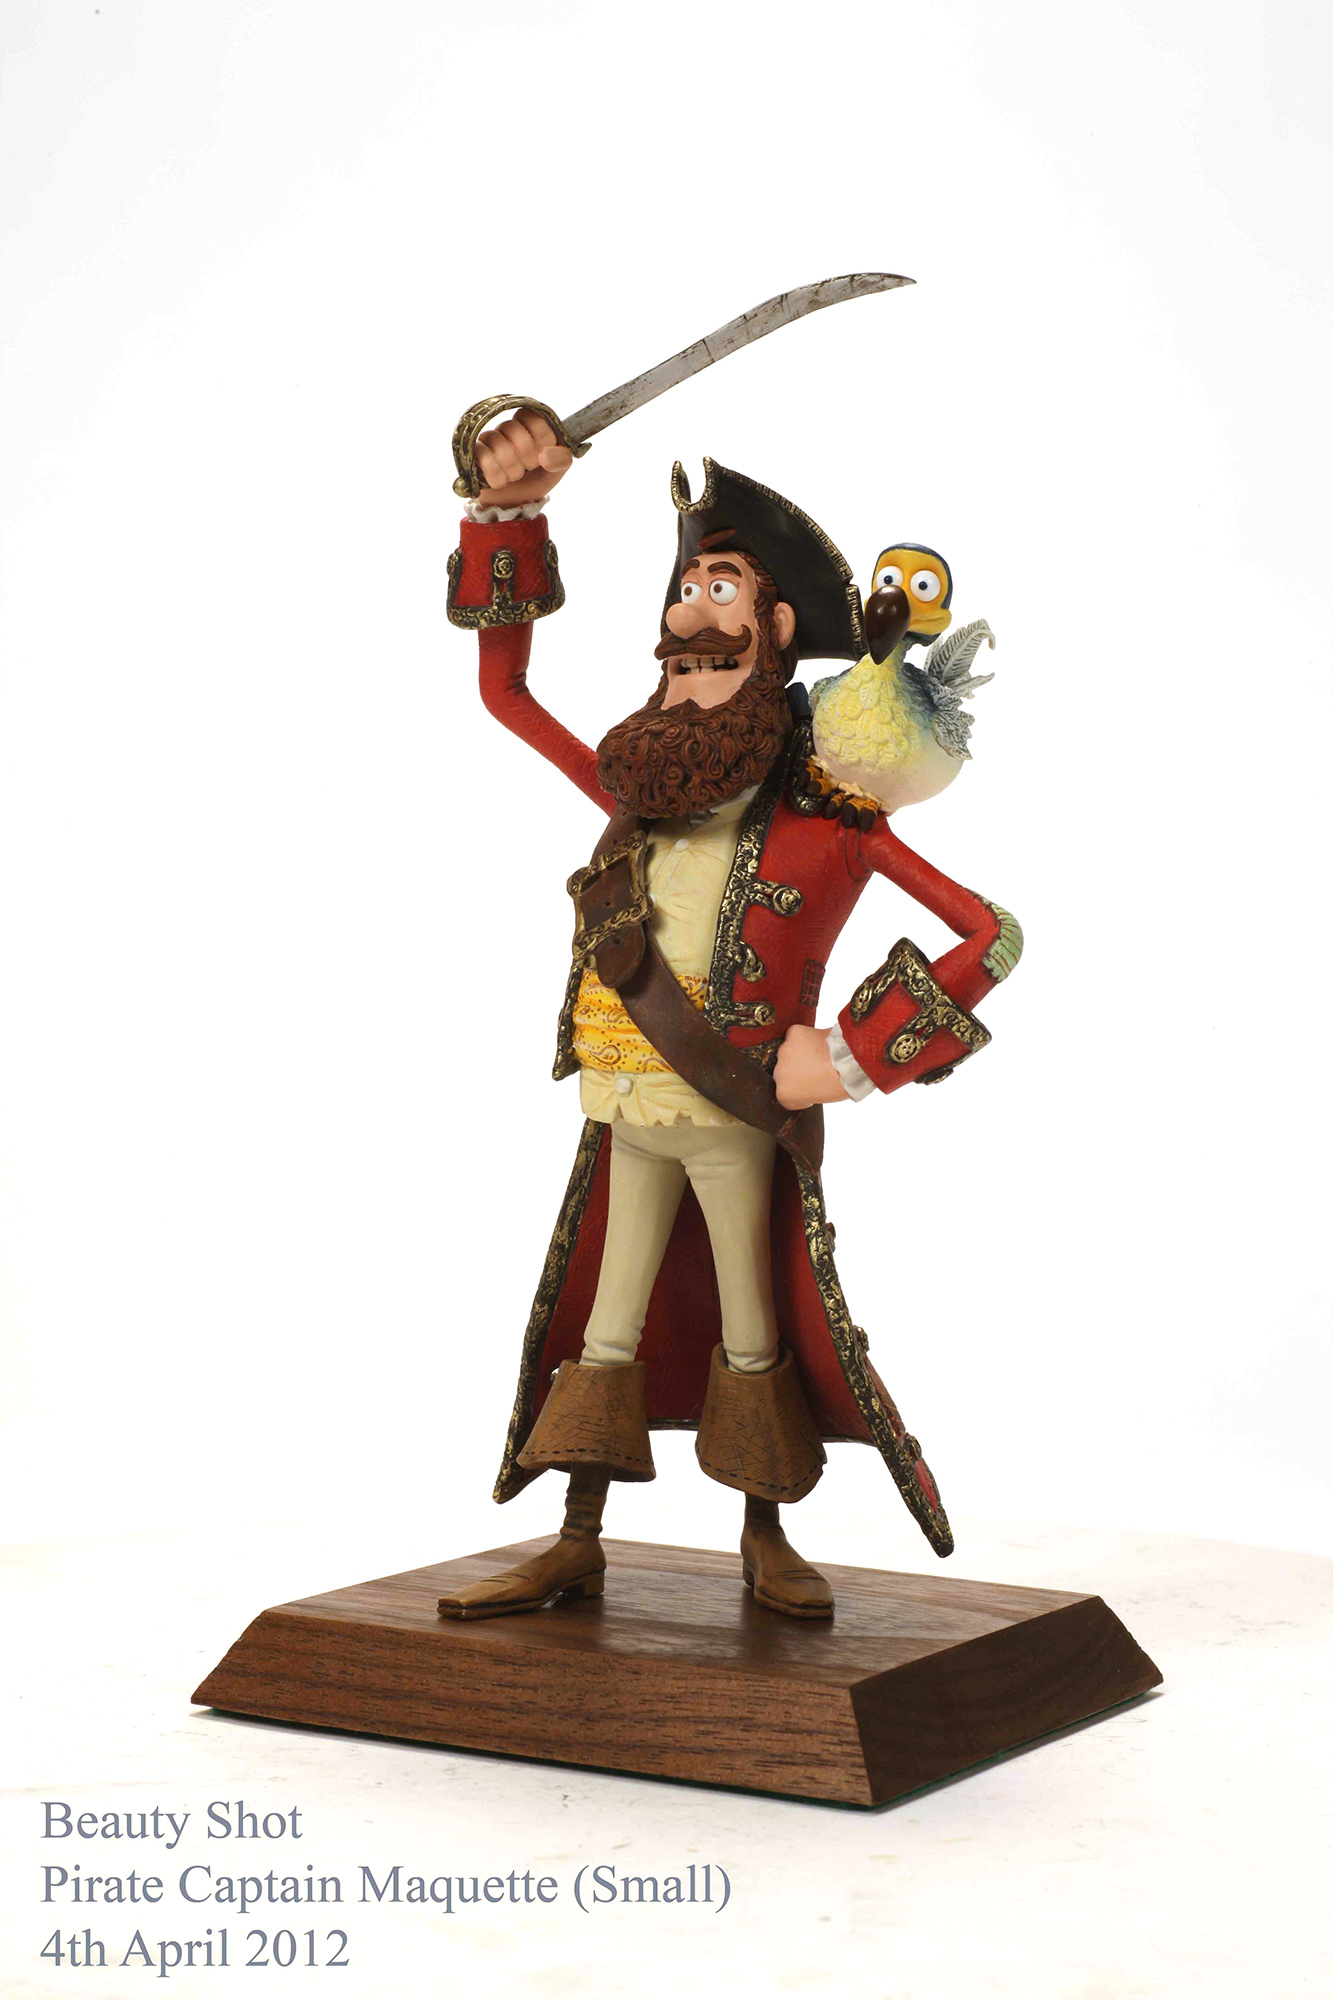
There seems to be some confusion on this thread so let me clear it up. The models that Alonso has shown here (except the first image) are model maquettes which were made as gifts for the Sony executives and were not in the actual film. They were also created after the film was completed using previously created assets/designs from the film.
The first image of Pirate Captain is an image taken from the film and is in no way created in Zbrush and is a puppet.
The characters in the film were puppets made with Rapid Prototyped faces and were created by myself and Nathan Guttridge. The modelling Aardman VFX team and I, also made digital doubles of the characters including digital only background characters as well.
Nice work on these. Congrats on top row, too!
Wow Alonso great work! I love seeing these!
What I am wondering though, if you make undercuts in a model for printing, how do you go about creating those connection points, like the box you see on his pelvis?
Is is just a matter of creating a shape and then creating an exact negative of that shape on the printed part it has to fit to? (in this case the torso).
You would help me so-much if you could answer this for me.
Thanks you in advance and again congratulations on the great work,
Thijs
Hi Slice,
My collage Mike Cole was the one in charge to do all the undercut engineering, all the male and female slots strategy, he have used Maya to do that. He basically create a Male / Female connection in between limps or the different parts of the costume or props the characters have.
Please let me know if you need to know anything else or more in depth about this.
Thanks,
Best.
Thank you so much for your reply, I actually have a couple more questions about this process but I’d hate to spam your thread like that…but I suppose it could be of value to more people so here it goes ;):
My first question:
When creating the male/female connection, would you for instance create a cube as a male with 1x1x1 dimensions and a female with the exact same dimensions? or do you leave a little space and create for example 0.99x0.99x0.99 dimensions for the female?
My second question:
I suppose you sculpt the model in separate parts from the get go instead of cutting it later, creating the male would be easy because you can just add that to the model, but for the female part you would need some sort of boolean operation, but on a high res mesh the old standard boolean wouldn’t work because it would most likely mess up your mesh.
So I’m really curious to know what kind of technique is used for creating the female.
I really hope you can answer these for me, but I understand it’s maybe a little bit much to ask.
Thank you again!
Hi,
Thanks for all the kind comments guys!
Thanks so much to the people from ZBrushCentral for the TOP ROW, so so happy about it!
Here are some more photos from the project:
Attachments
Hi Slice,
Answering to your question, I can’t exactly remember how much offset was in that case but I usually do 0 offset, in most of the cases this kind of pieces going afterwards into the workshop, to be painted, sanded etc, so they can have as much as possible from the piece and have some material to work in the assembling process. In other cases, other works I have done, the piece like guns or another mechanical props, the Product designer or the CAD Prop Maker is the one in charge of all thins kind of measures and offsets.
Booleans are a complicate part in this kind of slots, ZBrush does a really good job with high resolution models (DynaMesh + Subtools, Insert Brushes…).
Hope you find this useful.
Thanks,
Best
Yes thank you sir!
It helped a lot, good luck in the future!
Thijs
Nice job
Thanks again for all your kind comments dudes!
I’ll be posting more jobs soon been made with this amazing tool ZBrush.
Thanks,
Best
Alonso
What type of 3d printer did you guys use for this?? Is there a 3d printer that can deliver those results at an affordable price??