Welcome to my studio www.minghonart.com
Excellent! Do you ever sleep?
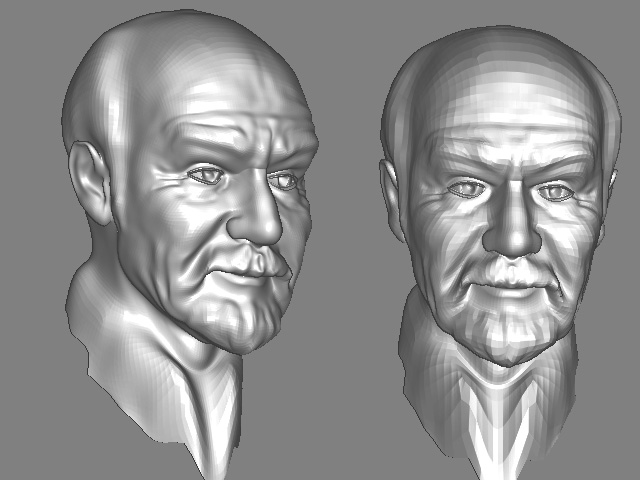
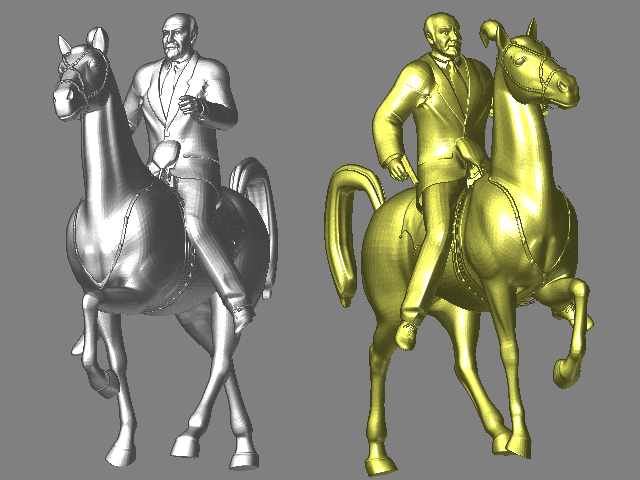
Sol this is your best one yet… great sculpting
Tartan 
Thank you
Tartan I have try the bryce setting you have told me. and I have seen the difference. althrough it not so clean to be find. I have learn. and it will helpful . the uvmapper classic I have downloaded but when import the obj model it could not show the model , just show the map. and it sound no more other function would be work. and I have downloaded the uvmapper pro demo before , in this one I could see the model and moved it as at zbrush. but it disable to save and export. and I have another one is uvmapper pro. this one the model is not show as normal, for example the eye is outside the face . I was frustrated. Would you instruct me how to deal it.
Thanks a lot
wish you can understand my English
Solstice
Sure sol,
When you import into UV mapper classic, Check out the functions under Edit at the top. Go to select by group. You should have 3 groups there one for each of your eyes and one for the main model mesh. select the main model mesh and then go to mapping in the same edit menu. Use spherical mapping because the head originally came from a sphere, click it. It will reform a new map. Shrink it or move it while the group is still selected and position it to where you can get at the other 2 groups which are your eyes… you want them seperate for texturing.
Save the map but save it large, maybe 2500 by 1500. You want room to work in on the texture. then save the model. the new uv mapping will be in the model and you are ready to texture.
Tartan
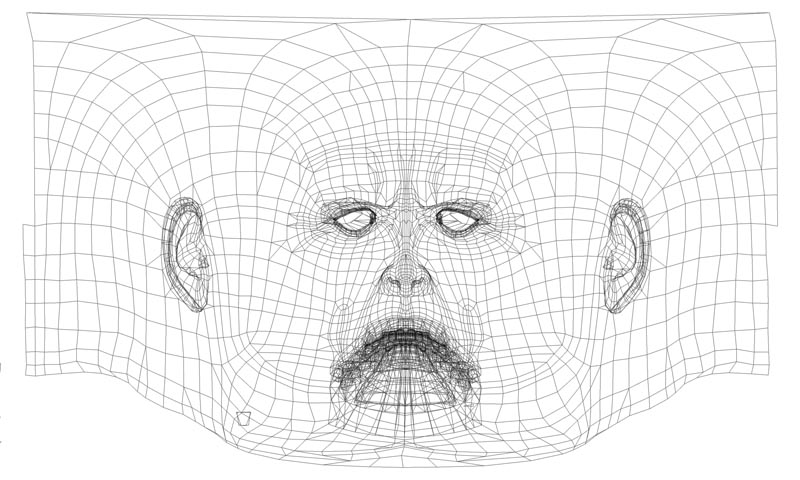
Tartan is it the UVMapping? and after it how to texturing. I wander if it would be texturing at zbrush by each group
hey sol,
Yes thats the uv mapping. Anything within those lines that you paint will show up on your model and anything outside simply wont. Make sure that the map isnt covering your eye groups unless you sculpted them directly in. Take the saved object from uvmapper and import into Z brush. Go to textures and import the map. It will wrap around the model. Open up projection master and here you have endless oppurtunity for texturing which quite frankly I dont know all the ins and outs of yet. But the veterans here do. (Zbrush will create a map texture for you if you dont already have one.) Paint on your model in Projection Master. As you make adjustments it will update the map you brought in from Uv mapper. What I have been doing is using it to Pinpoint the important parts of the map and then export to Photoshop. It gives me a lot of control over the map.
Tartan
Don’t forget also, that if you are using default import/export settings you’ll have to flip your texture vertically.
Nice sculpting btw!!
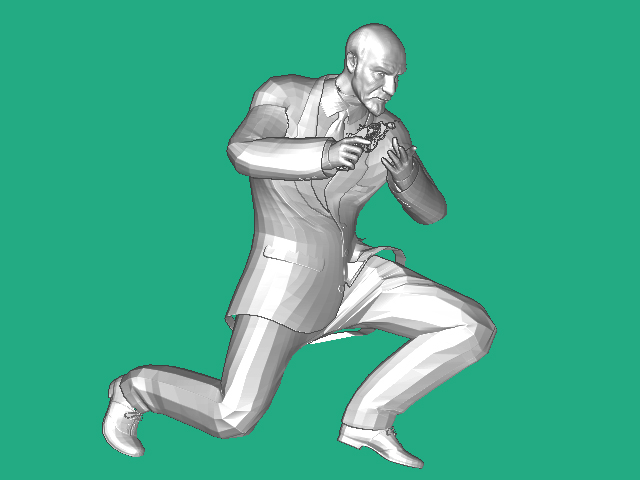
join the head to body
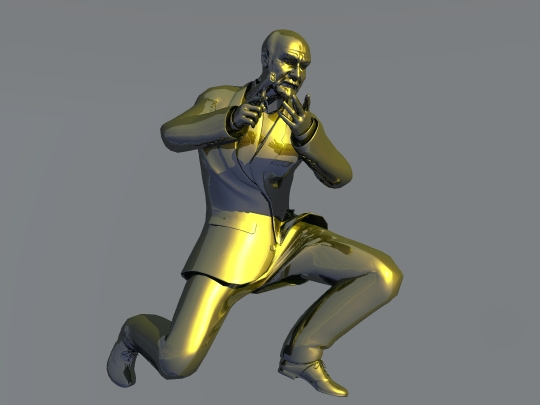
There are a lot of problems here Sol. Excellent work on the head but the poser body is just to stiff and needs more sculpting and reposing in poser. Then you can bring it in later to zbrush and try again. texture it also and where that join is on the neck you can postwork that out in a 2 d application.
]
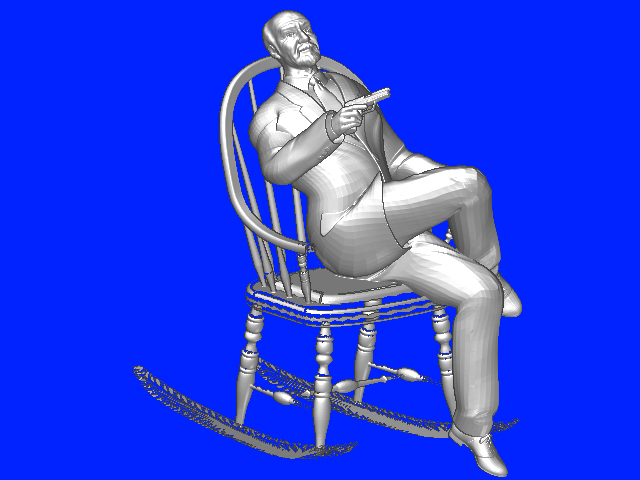
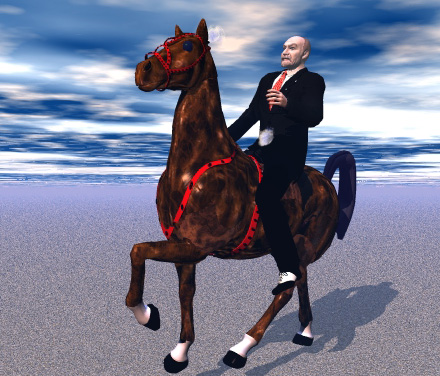
Bryce
Solitice , I have seen you post lots of stuff here and I wanted ask what is your native lanuage? Perhaps I can find a solution to translate your native language such that the community can better help you.
Thank you very much. I am Chinese .
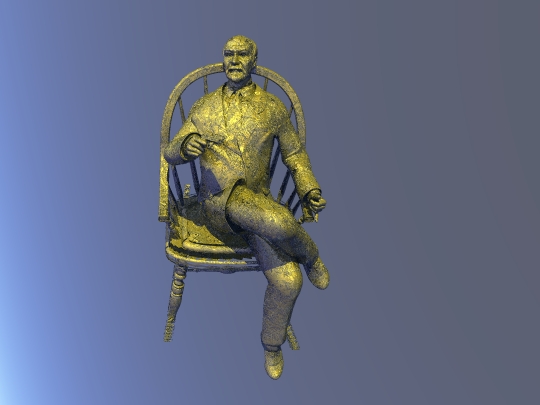
This is the best texture job I have seen from you so far  small_orange_diamondsmall_orange_diamond.
I am working on textures myself and see how difficult it is.
Keep up the good work.
LemonNado
I agree… this the best you have done yet on texturing… well done and getting better Sol
Tartan