Clintus Maximus well i used another software and import it and its awesome.Its a really cool method to make realistic hair like others do in maya and 3d max etc it just take a little bit of setting in other program then in z brush u can style it …the best part is u dont have to render hair in other programs and with this method u can make bushes and many other things related to the hair kind of stuff… 
here are some hair styles,just testing how many hair styles i can make it with this method, its really good for spike or short hair , you can make long hair with this but it takes alittle bit of time but its far more quicker than other techniques of making hair…i am just loving it…

can u tell me in which hair style shes looking better??? 
Hiya Saqib. Merge long tail (3rd) with the punk (6th) 
Can You write what programm did You use? Very promising…
k.
I like the Mohawk, a lot, thats very good…
I would also like the long one from the back if it were all long, the trick here is that all of them aside from the mohawk (and even that in a sense) look like something from the 80’s.
Looking at this and trying to guess what you used to make it I am getting ideas about using plant generators…
hehehe…
The idea of using something like XFrog to generate a mullet is flabbergasting!
This is great stuff, PLEASE let us know what your using!
Cheers!
Mealea
kazube and MealeaYing thankyou for your suggestions…iam glad u like it and also glad that i am the first person who have discovered this technique :lol: and for the hair i am shortly going to make a tutorial on how to make realistic hair,grass, bushes etc… well u guys have to wait a littlebit … and i also want a tutorial on how to make realistic cloths detailing… i need alphas for this model … any tutorials would be lovely… 
[[attach=270827]z brush forum 2 copy.jpg[/attach]]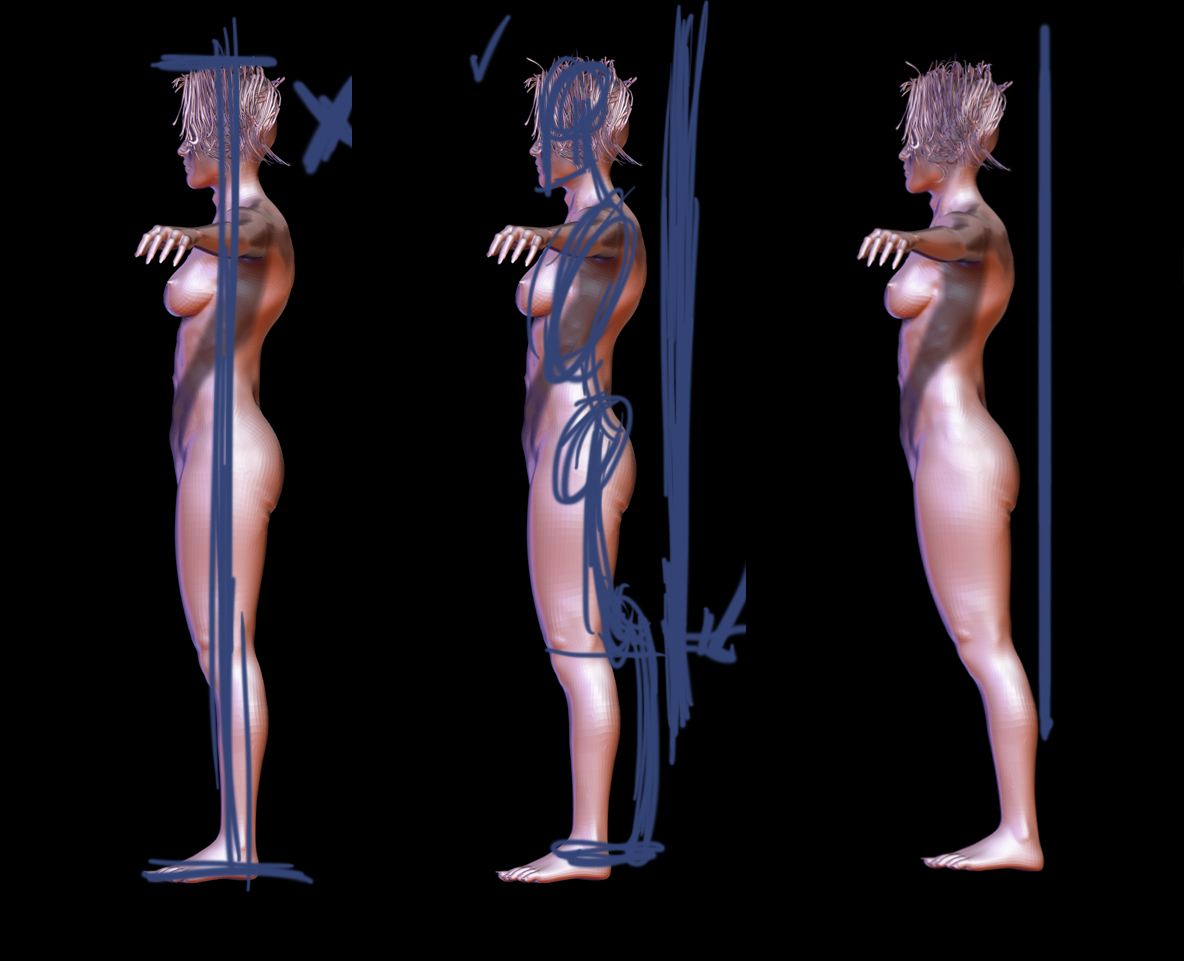
i wait for hair tutorial
pabgo dude can u tell me how did u set the gesture i mean i have studied alot about this but still need more to learn. Can u give me a link where i can study it in detail as a differences between men and women…???
gesture drawing books dude
i think it was this book not sure
http://www.amazon.com/Bridgmans-Complete-Guide-Drawing-Life/dp/1402766785/ref=pd_sim_b_4
pabgo Thanks Man i really need that book…
for those who want to know that how i created the hair here the tutorial link…
http://www.zbrushcentral.com/showthread.php?t=159695
hope u guys like it…
well still have alot of work,working on detailings any suggestion or tip would be lovely…

i wana know what is the best way to detail a model is it projection master or through stencils??? any answers guys ???
it really is just a matter of your personal preferences. everything has it’s strengths and weaknesses
only crit atm is the alpha work on the jacket is a bit too strong… i get the bumpy vibe its going for but the detail is overpowering the volume of the jacket. if you were to look at it with the idea of seeing it worn on you, the bumps would extend maybe 1/2-2/3" and the connecting material would be <1/8"… it would look kinda funky and not sure its really what you’re going for with it.
also on the side views you can tell where you just displaced areas and instead of the bumps coming out uniform around the mesh you get some areas where things just look “pulled” .
my suggestion if you want to attempt a smooth effect like you’re going for here, work on getting your topology set up in a way that your lowest division is established and create alphas where one poly would hold one raised detail bump and be surrounded evenly on all sides by smaller leather bumps. you can achieve this with mixing some of the alphas you probably already have with zbrush… you need solid white circular structure in middle and very faint gray reptile or leather bumps surrounding… load this file as both a texture and alpha… set your uv’s to uvtile at your lowest division level (the one that matches one square to one dot). load the alpha as a texture and displacement map… and start tweaking away.
if you make it nice and tileable which shouldn’t be difficult if you follow some of the tutorials you can find on the forums for making tileable alphas… you will quickly see how good or bad your uv’s are and if they’re good you’ll get the same detail you are attempting to achieve here, but with all bumps displaced evenly away from their normal the way they should be… and then you can export the texture file and you can work on it in photoshop or direct with polypaint… but you wont need to worry about carving details in (the alpha will take care of it, or when the displacement map works the way you like, halve the displacement strength and apply it to a higher division mesh.) and you can keep the polycount relatively low if you decide to keep it with texture and displacement instead of doing the detail direct on the model.
your accesories are nicely constructed so i imagine your not bad with your topo… uvtile comes in deeply handy when you are and you understand how it works with alphas and textures… if you establish good polygroups or break it into further subtools you can control it area by area
either way… looking good so far cept for that jacket but keep it up either way
dapharmer thanku so much for you tip i wiil keep that in my mind thanks and what u said i am working on it
Yea I agree. The texture on both the jacket and shorts is way intense. If this was ever a game mesh that would be nothing but noise. I would recommend (if you haven’t done so already) to make texture like that on a layer so you can fiddle with the intensity super easy.
Something else you may want to look at is the edges of your fabric. All of them end very sharply. Most fabrics have some sort of hem or lining.
Nyx702 thanx for the tip dude can u send me a tutorial…whenever i use alpha from front back or even from right to left whenever i apply this i get irregular bumps every time… tried masking, tried the wraping of stencil but no result camed out…
the tip u gave me to use a layer i didnt tried hope that would work … but plz can u help me by giving a tutorial on how to get regular bump by using alphas or anyone on zbc who can help me i will appretiate that…
the way he is suggesting i believe is the same way i mentioned… use a texture file as a texture map and/or displacement map, instead of trying to carve the detail directly into the mesh.
for small enough fabric details, as long as you have your topo arranged well and you break the tool into good parts to leave room for clothing edges and such, you can apply the texture and displacement evenly over the entire section of the mesh.
As for the tutorials really your best bet is to search. There are going to be a great deal many of good ones that just take a little digging to find.
dapharmer thnx yeah i am working on that but it takes a little bit of time wondering if their could be another way to do that fast but again thanx…
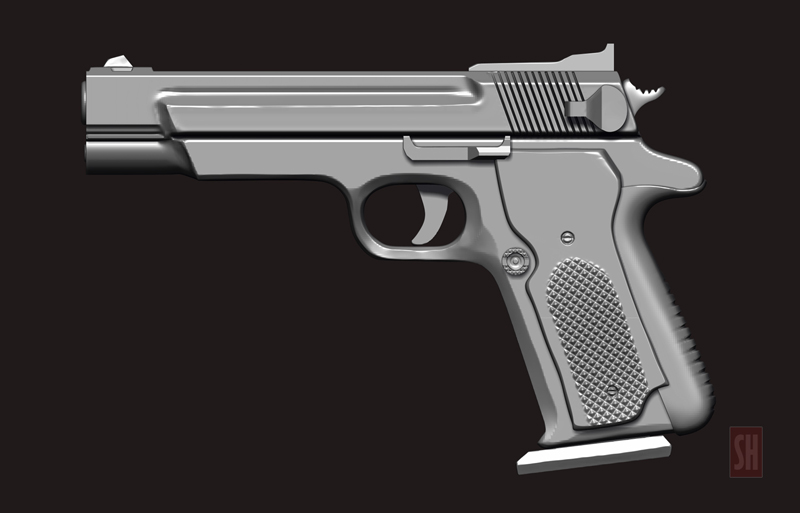
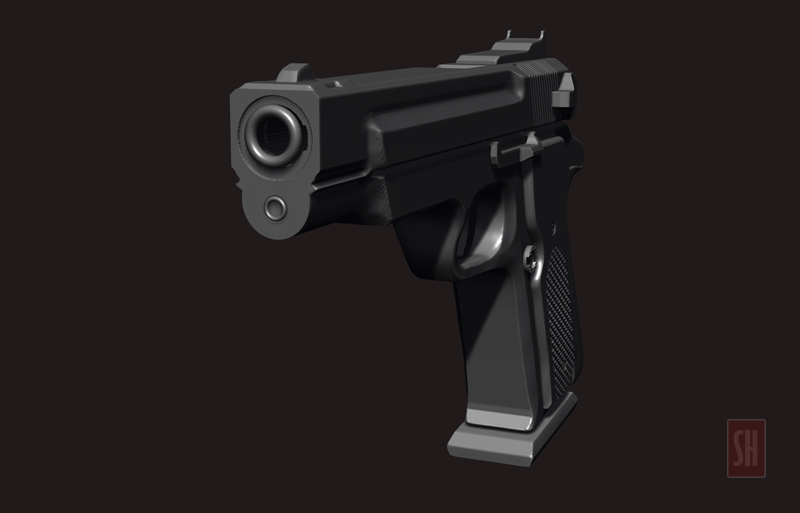
while working on the new model i woul like to post my little bit older work of mine hope u like it…
…
Attachments
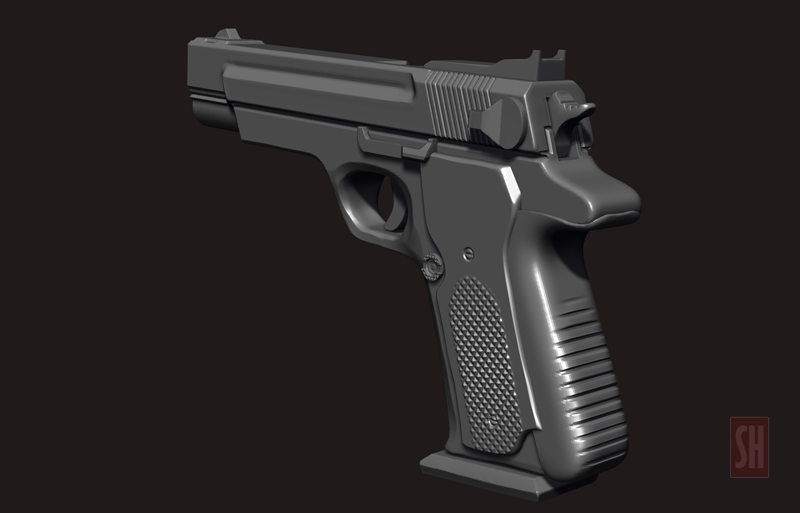
heres a little bit modification in the model …

lil bit tired i will finish this one soon but now i am also working on my new model shortly gona upload that one too… learned alot of new stuff thnx to dapharmer and Nyx702 didnt know that before that uv tiles also helps in wrapping the alphas by masking really cool thanx guys…
…