hi there!
can you help me with somthing. In Tools menu, the displacement section i cant set DPRes and in NormalMap i cant set anything? why?

Sure, Paps, this is simple.
Go to your Tool Pallete -> Texture Rollout and make sure that you have the “Disable UV” option (DON’T actually click it if it’s available! You need the UVs) avaliable in bright white (and “EnableUV” is dimmed out.) That will show you whether your UVs are available or not (if you can disable them, obviously, they currently are - if not, they must not be available.)
Chances are - and this is really, really likely the case - you don’t have the UVs available. In this case, “EnableUV” would be the only button lit up.
If you are ABSOLUTELY sure that you had UVs on your model when you imported it into ZBrush (from another app where you made the UVs) and started working on the details, NO WORRIES > simply, click “EnableUV” and with a 95% probability your UVs will come back to life and - lo and behold - your Displacement Map resolution becomes lit and tweakable!
However, if you don’t have the UVs set up (either you started from scratch in ZBrush and never bothered to transfer the model to some place you can set up the texture coords == UVs, or you forgot to do them in your base-modeling app) then… You are in some trouble. But, don’t dispair!
You have two options:
- Follow some 7 steps that I posted for MRC_O, who had a similar problem.
- I will put this in the next post - see below.
- After re-uving your model, Instead of going through the pain of using the morph tools to plug it back into ZBrush is that you can use a small, yet increasingly convenient freeware program called xNormal. Here is the link:
http://www.xnormal.net/Downloads.aspx
Its 64 bit version is also very, very nice - if you have a 64 - bit system. If not, 32 bit has all the same features, just… Well… Doesn’t work as fast (as all 32 - bit verisons of stuff do.)
The drawback is that xNormal cannot handle meshes that are above around 7 million polys (I tried) Then, just export the new LOW-END model from maya AFTER re-uving. Mesh those two in xNormal (the tabs for hi- and low- res models are on the right-hand column, don’t forget to turn off any dilation or other filters, other than that - pretty self explanatory, just don’t forget to right-click on things for options like “load” and similar crap…) and generale your normal map. Shouldn’t take too long (don’t forget to turn all other apps off for this process - like ZBrush, for example) You can do all sorts of other good stuff (i.e. height/displacement maps, ambient occlusion maps, etc.) with xNormal.
Cheers
OOO thx alot! it was that EnableUV that wasnt enabled  now i can do the magic
thx!
I’m glad I could help.
well looks like i have same problem as MRC_O.
im new with zbrush so there is many things i dont know  for the moment im using trial.
there is one thing i want to ask you. once i make UV in max do i need to assign it as material or do i leave it in control panel above Editable Polly rollout before extraction?
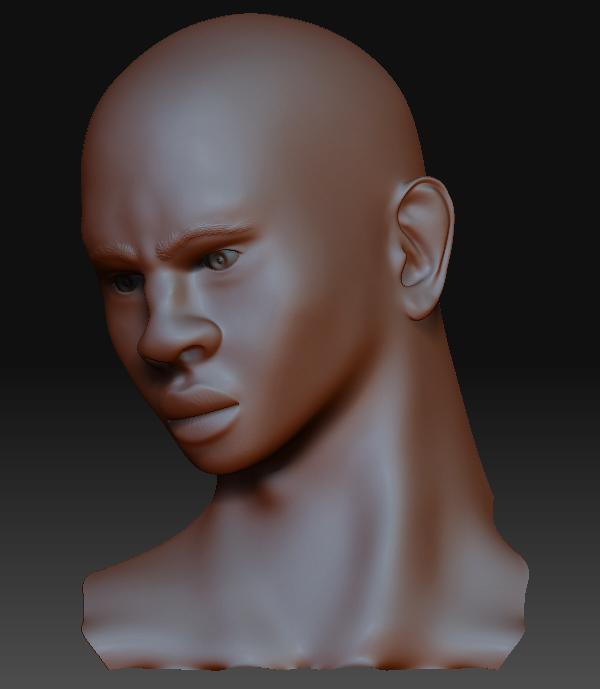
this is my model:
Good question (if I read you right.)
In max, when you finish setting up your UVs (with the, per se, Unwrap UVW map modifier) you will, usually, have them applied to the exported geometry (as long as you are actively on the Unwrap UVW modifier level during export - probably, the top level in your modifier stack in the control panel.)
However, if you want to get rid of the Unwrap modifer sitting there in the stack, you may do so without losing your properly assigned uvs. Warning: don’t ever discard or delete your UnwrapUVW modifier unless you want to discard all changes you’ve done to your UVs!
To do it without discarding or deleting, simply convert your geomerty (again) to editable poly. There are two effective ways of doing this - and, whereas you probably know one of them, there is another one, which you may know or or not. They are:
a) Right-click on the Unwrap UVW modifier level in your modifier stack and, in the emerged option menu, choose “Collapse To.” This method is my preference because you don’t necessarily have to collapse all of the stack when you’re doing that (per se, you have something else applied over your UnwrapUVW that you don’t wanna lose, like MeshSmooth or something.)
b) Right-click directly on your object in the viewport, choose “Convert To:” and choose “Editable Poly.” You will see that your Editable Polygon object will retain it’s geometry as editable poly, but the Unwrap UVW modifier will no longer appear.
After you do any of this, though you won’t see the actual Unwrap modifier anymore, the UVs will still be on the model. If you ever want to tweak your UVs again - simply aply a new Unwrap UVW modifier, and, lo and behold! Your formerly set-up UVs are still where you left them!
This is a GOOD way to ensure you’re exporting your model correctly, with the UVs on it.
Your model looks gorgeous, BTW.
Cheers
sounds like you guys know perfectly how to use z mapper
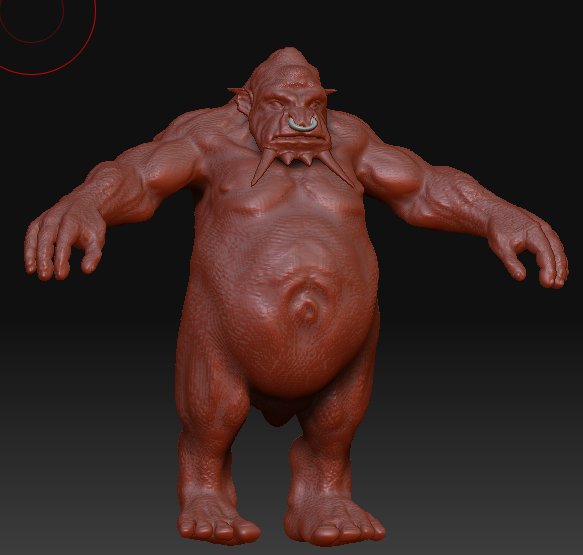
i have a character who (zb3.0) who is composed out of 22 sub tools 500 000 over polys each … so i want to texture him and generate a normal map but how to do that since i have no lower sub-div levels i have deleted them all most all of them i really tryed a lot of stuff but by my self nothing seems to work
so if you have any idea how to gen. a normal map 4 my man i will very much
appreciate it
hi megamorph, i followed your advise, so finally when in maya mental ray i do the render what came out was omething strange as you see!!! i tryed to reassingn in zbrush the uv with ( uvtiles ) but is the same, can you help me???
ps
personally i think the problem is in zbrush whwn it create the displacement file…
thanks a lot
mrc_O
Attachments
![prova displ[1]..jpg](/uploads/default/original/3X/f/8/f85e46a7bba167d85e6e63f184f10b5b156e4412.jpeg)
Dear MRC_O,
you are right - there often is some sort of bug associated with the uv-fix process I sugguested the last time. However, it lies not in the displacement generator… Well, probably not… Anyway, I found a NICE WORKAROUND.
I could not find this in the help files, so it’s kind of amazing, but THIS DOES WORK- instead of using the morph tools try this:
- Make sure your tool is loaded (the one you exported from) and at lowest subd (one you exported from to fix the UVs.) If you actually used the initial Maya mesh to change the uvs - export the target subd from ZBrush to maya and find a way in maya to copy over the UV changes you’ve made (probably some option in the Hypergraph - sorry, I know for sure where in Max, I’m a Max user.) Then, export again.
- Be ABSOLUTELY sure that the geometry of your lowest subd is exactly the same as what you’re going to import (the one with proper uvs) in next step.
- Just use the usual import tool to import your corrected UV mesh.

:b2: Try your displacement render now and tell me if it works (it worked for me when I tried it, but there might be model-specific limitations.)
I hope this helps,
Megamorph
hi megamorph, i tryed all the procedure with a simple object created in zbrush ( a plane!!), i added some details then i have imported the displacement in maya and rendered it, all ok!!
but, let say i want to restart my orc model with high details from z brash, do i have to go to the lovest level and reassign the uv??? and the UVTILES are good?? or for a complex object i need a differt procedure to create uv???
i don’t know why with a simple obejts is ok and with my character is so complicate!!! ??!!?!?
thanks a lot
mrc_o
I’m glad it worked. Try it on the model - if you hadn’t altered the actual geometry (vertex/poly positions) in Maya of the lowest-level subdiv mesh you re-imported to Maya to just fix the UVs, you should have no problem. If you actually modified the uvs on the original Maya-Before-Export-Model, no worries!  Export your lowest subdiv mesh from ZBrush into an obj file, import it into your maya file where you got the model with correct uvs, then use the polyTransfer UVs option in maya to copy the uvs from one object to the other.
I hope you haven’t tweaked the number of vertices while re-working the UVs, cause then you’re in trouble! That’s something you’re really not supposed to do after you finished the detail in ZBrush if you’re planning to ever re-import these UVs into there!
So, I’m gonna keep my fingers crossed that you haven’t, and we’ll see how it goes after you use this “new” import procedure I described earlier.
Piece of cake, right?
Also, let me take a look at your UVs render, if you can. I’d like to see what you have in there.
But hey, I hear you,- UVing characters is a b&#ch. GUV tiles are a REALLY basic way to UV things - completely automatic. To make UVs right on your character in Maya or Max, you need to manually do at least part of the process… Sucks, doesn’t it? But hey, if you wan’t a pointer to a better less-manual-&-more-auto UV-ing in a 3D app, try out Modo 301. Their auto-unwrap feature really does it well… Almost does all the character UVing for you, even with a complex mesh… Really nice stuff [if you know how to use it - which is simple].
thanks again megamorph, i just downloaded the pelting tool plug in fpr maya, i’ll try to make some nice uv map, and the i’ll try again :rolleyes:
by
mrc_o
Oh, I’m sorry, I guess I didn’t read you correctly the last time. I thought you already had the UVs nicely set up on the character.
But GOOD CALL, man, the pelting tools will definitely help you out with this (organic) sort of characters.
I’m sort-of amazed that the pelting tools don’t come by default in Maya… I would think Autodesk would have implemented it by now… Sort of a wierd thing - Max has these tools by default, no plugins necessary, and Maya doesn’t, whereas Max is around $3000 and Maya is around $7000 (commercial.)
HI MEGAMORPH, YOU ARE ABSOLUTELY RIGHT!!! SUCH A GREAT TOOL, IT’S QUITE STRANGE THAT IT DOESN’T CAME BY DEFAULT WITH MAYA …
…
ANYWAY I’LL KEEP YOU INFORMED!!!
BY
MRC_O;)
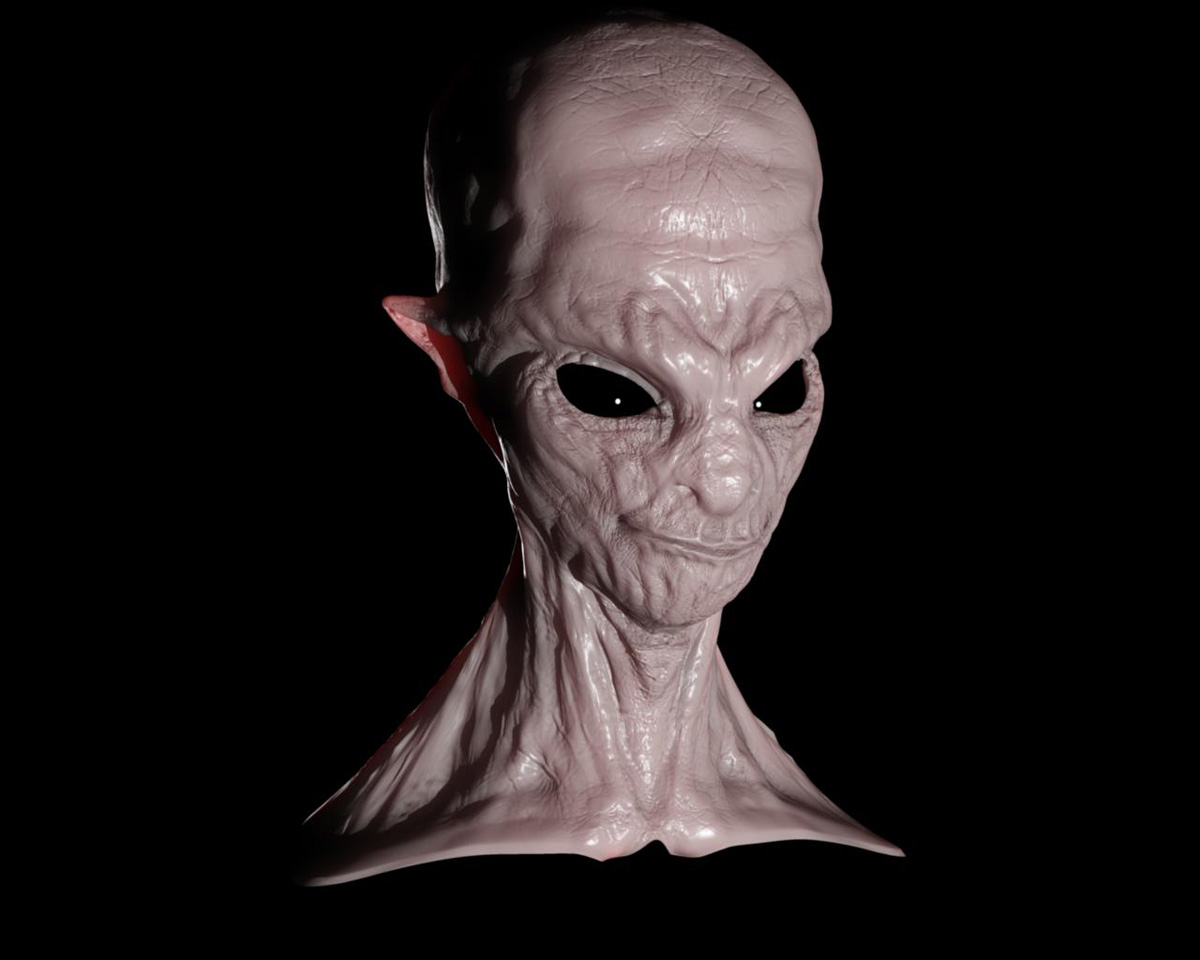
hi, i’m still working on the displacement map ( for maya 8.5) …i’m getting better but still the displacement is not perfect as you can see on the shots…
ps
i use the plug in MD3 EXPORTER 32 bit with the code DE-LBEK-EAEAEA-r32, the map converte file, use mental ray aproximation editor (spatial 3 and 5 ), and alpha set to 2.2 and -1.1…
thanks a lot… [attach=83503]zbrush.jpg[/attach] [attach=83504]mental ray.jpg[/attach]
Attachments
thanks anyway, the problem was the filter on on the texture node!!! 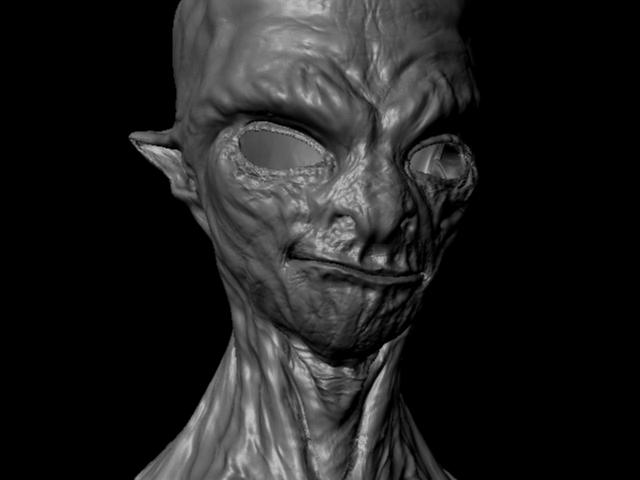
 Awesome work, man, this really worked out tight.
I have to say, though, the new Maya 2008 MR tangent normal maps also look awesome (when generated via ZMapper.)
thanks megamorph, this is one more shot with displace + cavity bump…
ps.
you are right abaut the normals with zmapper, adding cavity bump to the displacemt map i get allmost the same quality from zbrush…
 ps.
ps.