deleted
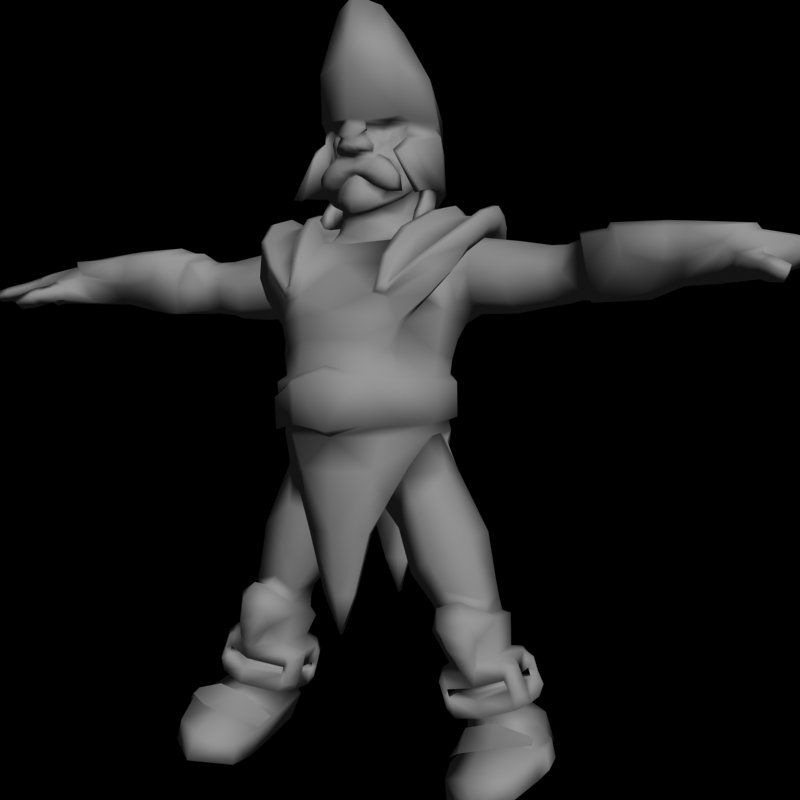
max 9 scanline rendered, no normals, mesh turned poly, only one smoothing group
im using max 9 extension1 + zbrush 3.1 here.
zmapper used with the config for max 8 posted in first post of this thread
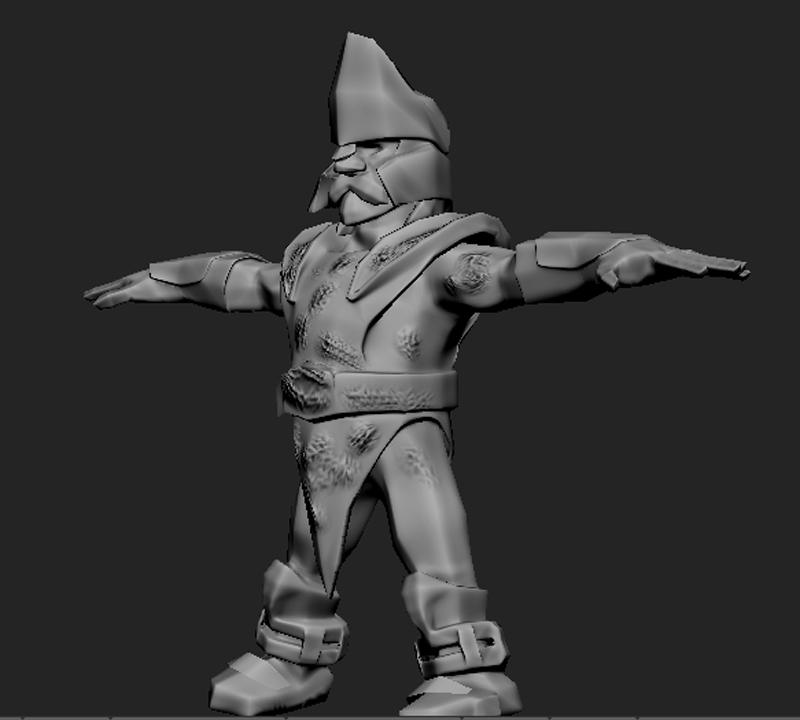
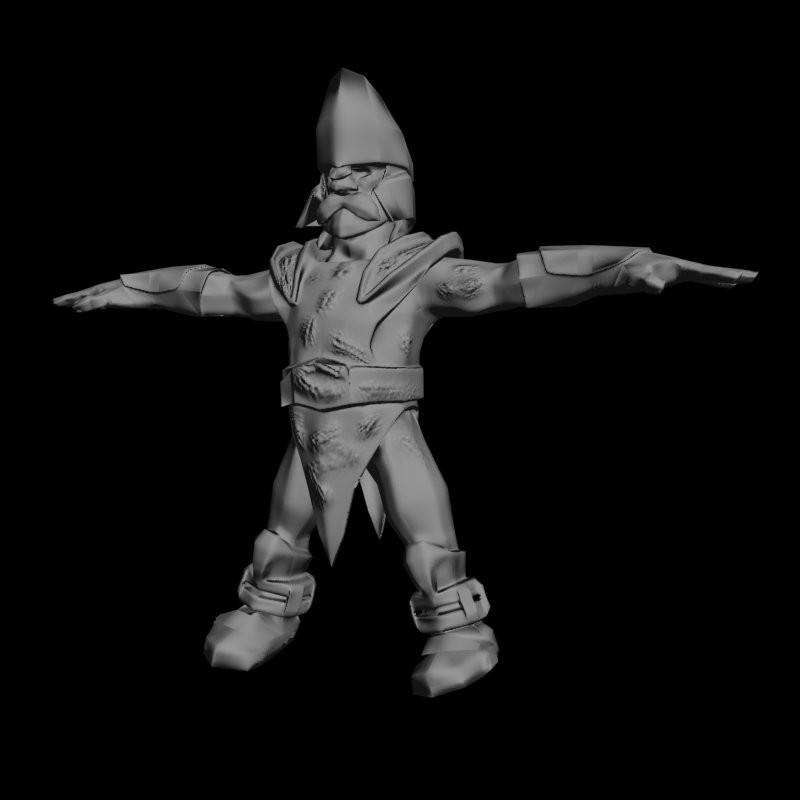
exported and imported with max original obj manager without exploding issue (unlike some other meshes i tried). mesh created in epoly at max, exported, imported the new base mesh from zbrush
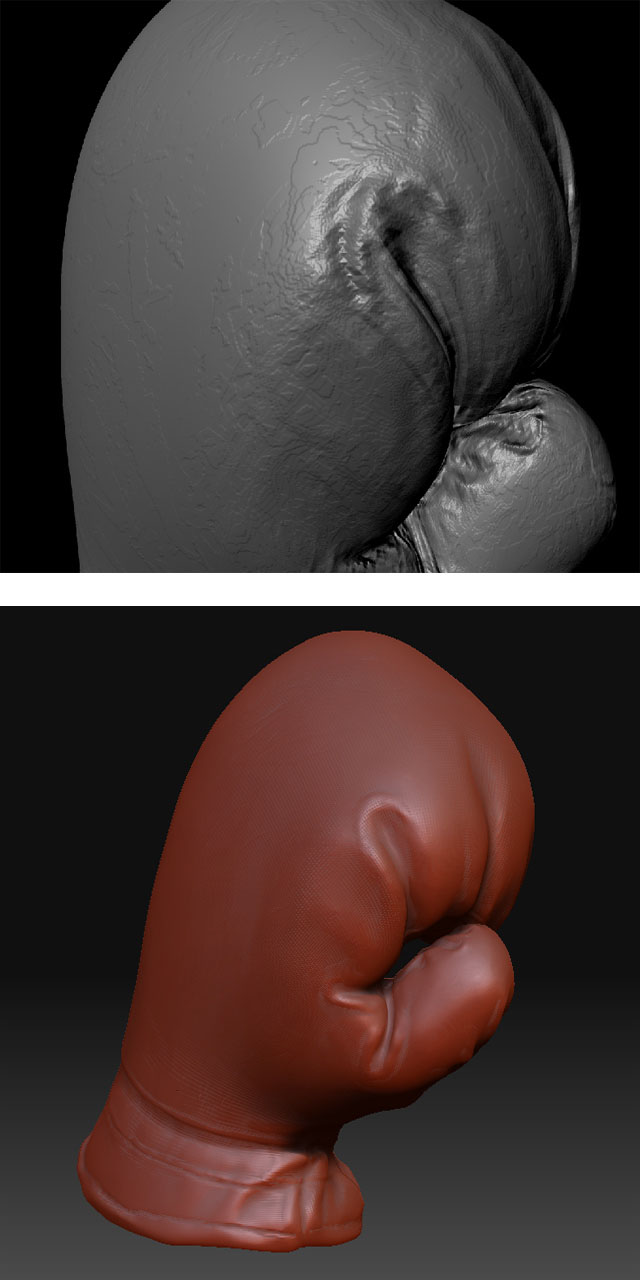
still some seams. any advise out there?
Attachments
I have followed the tutorial by Precis of Normal Map Workflow to make my normal map including a bump map in zmapper(zb3.1).After the calculation,I couldn’t found the bump’s effect at the result and it is said “Bump mapping not activated” showed as the picture underneath.what’s wrong with it,thx for any help very much.:):o

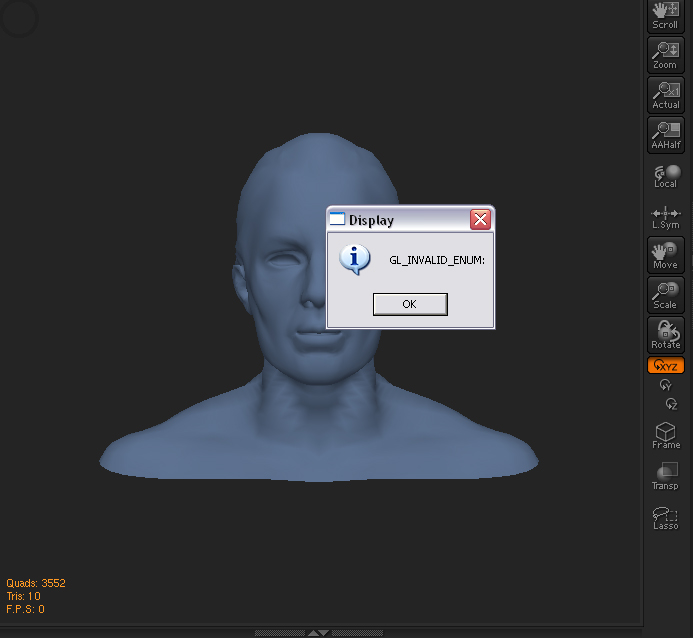
this error report shows up when i press zmapper button :evil:
[attach=80964]erorlg1.jpg[/attach]
Attachments
The incorporation of bump maps into the normal map calculation is not supported at this time.
Your graphics card does not support OpenGL. Or if it does, you need to update to the most current drivers for your graphics card.
Hey Aurick,i also got the strange revolving all blue head with the orange circle in the top left corner and the 3 rows of orange text in the bottom left corner.
I don’t get the error report,but the Zmapper dialogue dosn’t appear at all??
I have latest openGL driver installed(about 10 minutes ago)
Any ideas why the Zmapper dialogue does not open??
Cheers.
The ZMapper controls require a certain amount of canvas space. If the canvas area is not wide enough, the interface will not appear. Try closing the trays on the left and right of the interface. If that doesn’t work, try pressing Tab to hide the shelf. If that doesn’t work you’ll need to change your display resolution to a larger setting.
Or just go straight to the larger display resolution.
I closed left/right trays and it worked fine first time.Unfourtunately,i closed it to test again under the exact same conditions and now it(dialogue) won’t appear at all.Strange.
Disregard above Aurick,i had no idea that TAB was the hotkey to toggle the dialogue On/Off.
Thanks alot mate.
Odd indeed.
I have gotten (get) the same message on my HD display using 1920x1200 and a custom UI with basically no shelves and nothing on the screen but the workspace. It appears sporadically, usually after I have messed with some enormous model with many large subtools. And even then it only appeared after I was painting 4096x4096 texture maps and converting back and for to color. Under normal conditions it seemed to work fine.
And when it has appeared, as soon as I exited ZBrush, opened it again and opened the model… and went straight to ZMapper it worked fine. I figured it was a RAM thing as I had two gigs and most if not all of it was being used on those crazy heavy models, and 4096 textures can chew up 80 megs each.
Cheers.
Double post sorry.
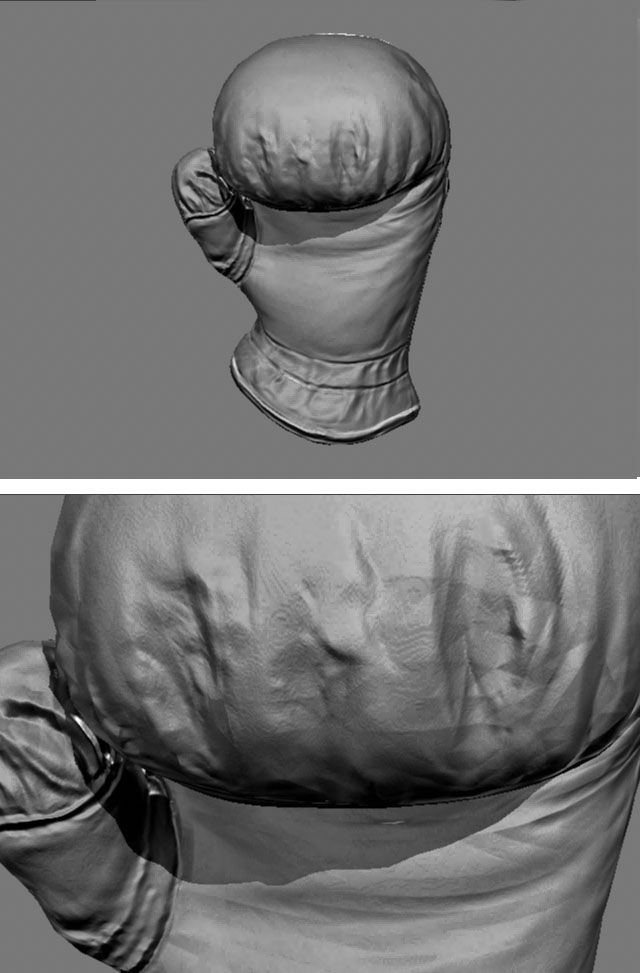
- I am using a scanned piece of geometry for the high res mesh (250k polys) and a low res mesh which has been built in Maya (around 300 polys). After I have loaded the hi res model into ZMapper and clicked ‘Capture current mesh’, it does say that it captured the mesh in the top left, however, there are no indicators that it has worked… ie usually you can see a ghost of the mesh along with red lines indicating normals. This does not happen. I cannot see how to get around this problem. The mesh has been exported from Maya as an obj, i’ve also tried to optimise the mesh to half the poly count and still cannot get it to work (capture successfully).
- Running on a PC with XP
- Using a quad core, 3GB memory.
Any Ideas what would cause this, and how I can fix it?

I will do an object space version, but as it went wrong I thought I’d save the whole ‘Psychadelic Doily’ look.
For whatever reason after some experimenting I found the uv’s unwrap correctly when I export it as triangles, but the subdivisions in zBrush do horrible things to the surface… When it is quads, it unwraps to this…
I am at a loss, sorry. Any help will be greatly appreciated!
It’s a problem with the export settings from your other app.
If you’re running Max you should reset the xForm before exporting. You also need to make sure that # of Digits is set to 6 in the export options.
Thanks for the reply.
I figured it out in the very small hours last night! It was the xform - for some reason when they got reset, all the normals flipped around! Time to look into why now - I’ve done similar things using the same techniques a few times and never had this happen - it must have been a one off but I’ll still have to figure out what I did differently.
I have spent a lot of time trying a lot of different presets (for tangent space normal mpas) on several of my models with several different UV layouts and I have been able to eliminate about 95-99% of the seams that I get from normal maps created in zmapper. Currently, You have to be really zoomed in close on the model to even see the seams (in max or maya) and they are only visible if the light hits them from cretin angles as well.
My question is this, is it true that you can not fully 100% get rid of all the seams? Zmappers OpenGL viewer seams to render them fine, no matter what preset you use, but in both max and maya I am not able to 100% get rid of every seam.
Thanks
I spot seams from tangent space maps, even in ZMapper. You do have to look carefully, but they are there. The bottom line is that tangent space maps are based on a specific set of mathematic calculations. But the nature of these calculations means that you will always have seams from the UV’s. There’s no way to eliminate this completely because of the math itself.
whew, OK. Thanks Matthew, that seemed to be the conclusion I was coming to as well; but I just wanted to hear it from you 
nvm, it was stupid mustake
Hi - I’m trying to create a normal map in maya - i’ve exported the low poly model from zbrush, used zmapper with the ‘TangentSpeaceNode_BestQuality’ configuration and exported a 2048K normal map. in maya i’ve added the map to the bump node making sure i’ve picked ‘tangent space normals’. with high quality turned on in the viewport, the model looks great, but when i try to render with mental ray it looks really bad - there are weird contour lines and black and white shadowy triangles that appear on the model.
I tried downloading and installing js_normalmapper, but i’m having some problems getting it to work. i think i’ve put everything in the right place - i’m just not sure where to add the 2 lines to the maya.rayrc file - i’ve tried various combinations with no luck - i’ve set up the js_normalmapper shader and the best i can get is that it renders the object black.
I’ve had a good look through the forums over the last couple of days and though i’ve seen people with similar problems, i haven’t found a solution that works for me.
If someone could show me a copy of the maya.rayrc file i’d really appreciate it or if you have any other suggestions as to what i’m doing wrong.
I’m using maya 7.0.1 on an amd athlon 64 x2 dual PC laptop with Win XP 2002 service pack 2 and 2g of RAM and 35.4 gb of free space on my zbrush drive.
Help!
Attachments