NOV. 02, 2012
Mealea and Deke…Hey…Thank You 
Mealea…In answer to your question…Hell if I know :D…Just kidding :)…I’m staying as simple as I can in the beginning while I explore the Pixols to 3D Plugin.
So far all that i’ve done is to take and turn a couple of flattened 2D canvases with images that I created on them, and turned the flattened 2D Documents into 3D Planes using the Pixols to 3D plugin…and then spun them around a little to get a different angle of view with them…and then played with the Angle of View slider that is within the DRAW Pallette …top left of screen…to get a deeper depth and perspective.
For the one with the reflection of the horse and rider piece, I just made a duplicate,…and appended it as a subtool…rotated the subtool using the transpose feature…fitted it to the first horse and rider piece so that it looked like a reflection…and then went to the DEFORMATIONS Pallette and pressed MIRROR.
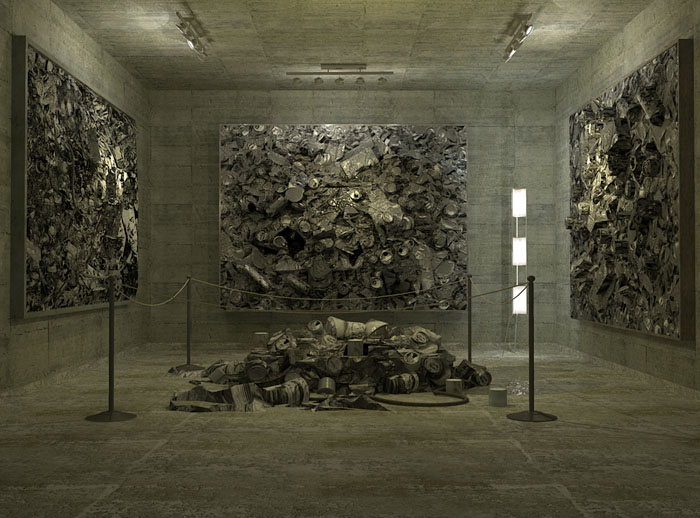
For the last couple,…I placed my 3D Plane image onto the canvas and 3D Grid…and then used the Default Cube ZPR that comes with ZBRUSH located in ZProjects…I just pressed FLIP in the Display Properties pallette …right lower corner of screen…which inverts the cube, making it a 3D room/space in perspective…Then I appended that inverted/flipped 3D Cube as a subtool, and then used the MOVE and Scale…top of screen… Transpose Feature to adjust the room/inverted cube around the 3D Plane with my image on it.
I then just played with the Angle of View slider located within the Draw palette…and once I got the depth I wanted,…I just spun the whole 3D thing around on the canvas until I got the view that I wanted…Pretty simple procedure actually…Just the way I like them…LOL 
A couple of Screen Grabs…Mabe a picture can explain it better than the thousend words I just wrote down…
Thanks for the visit guys…Always welcomed and appreciated…
Glenn


 small_orange_diamond:)