Hi mdale13! Thanks for posting the video  ! The gauntlet looks great! !
bloodfest- thanks man! its one of ralf stumpf’s matcaps from gnomonology.
they are a little pricey, but ohhhh so nice. i havent used any other since they came out!
truthhunter- nonono not at all mate. i was wasnt mad, i just wanted to be sure i wasnt offending you! your input was appreciated! and thanks for the kind words!
etcher- no problem! glad you like it!
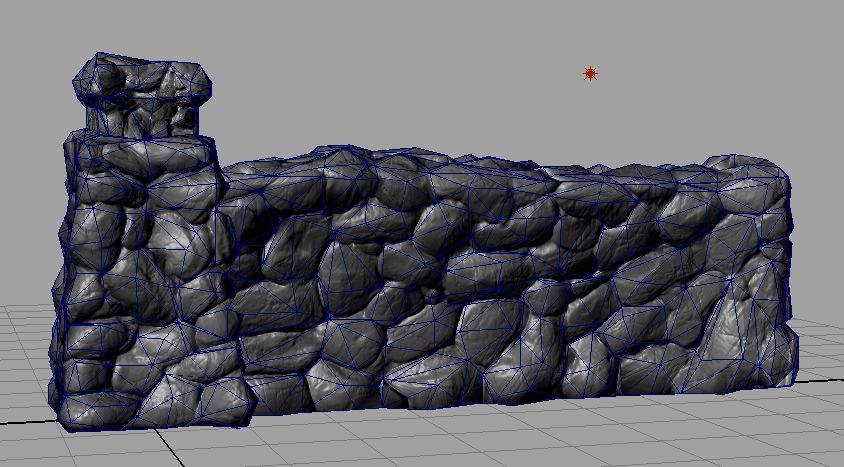
hey guys. i am in the process of resurfacing my original shield for a game res model. i am having a problem with the final step of the retopology process however. when i do the final ‘make adaptive skin’ part of it, it will only capture detail up to 300k. i can get the actual poly count higher, but the detail will not be captured. is this normal? any suggestion? i am at a loss :o
heres the retopo mesh, just in case it helps to see it at all…
[ ](javascript:zb_insimg(‘133250’,‘retopo.jpg’,1,0))
Hi mdale13, did you have the highest subd level active on the original shield when you selected it as the topology mesh (edit topo button). I hope the bad projection isn’t due to a misconnected point (see attachment) . Usually, the mesh looks fine (A), but upon closer inspection, you might find a misconnected or non- connected point (B,C). When I retopologize, I make sure to do incremental saves and regular projection tests to spot errors early on. Hope you can solve the problem fast! !
[attach=133251]Naamloos-1.jpg[/attach]
Attachments


thanks guys!
etcher- ill check the verts in maya. thanks!
ralf- are you saying i need to project it with the density higher? or adjust it after i project the lower version?
Hey Matt,
Here is a nifty step by step that shows how retopo can fit into a lowpoly geared workflow. He is using 3ds max, but you can do the same operation in Maya.
Looking good. Nice to see you are learning with retopo.
http://www.gameartisans.org/forums/showthread.php?t=5000&page=2
good luck!
Hi Matthew,
- make the new topology on the high-res mesh
- activate projection
- press the a key (preview)
- you can change the density value in preview mode
- if you are satisfied with the projection quality
press the »Make Adaptive Skin« button - the new created mesh in the tool palette has all the levels
best
Ralf Stumpf
thanks for all your help guys! i have been busy with other work, but i plan to try it out this weekend, and ask ryan about it in class on friday. anyway
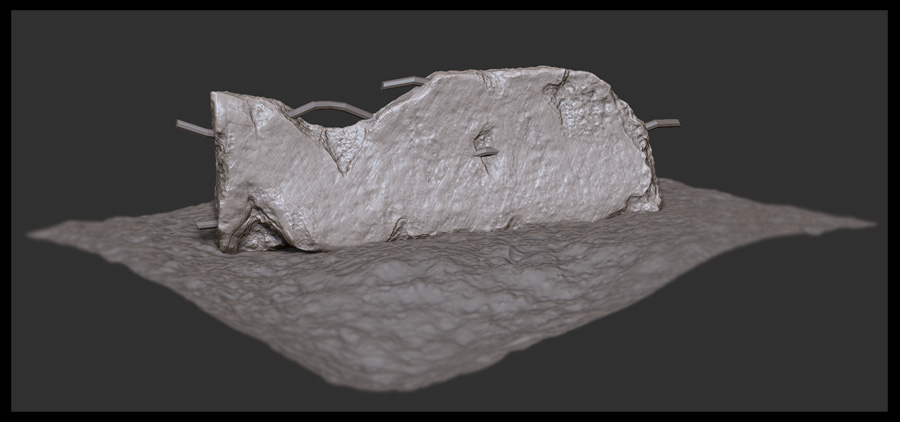
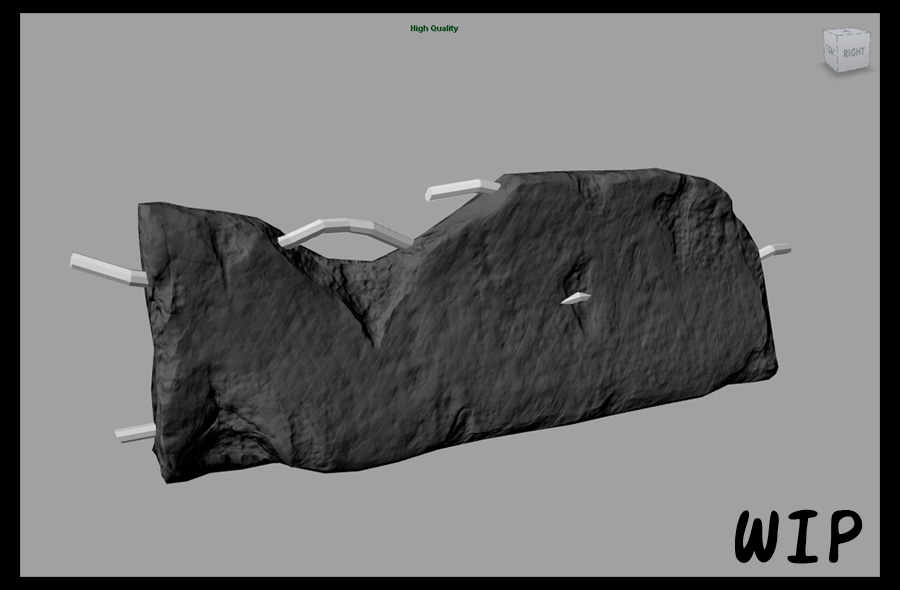
i did a quick concrete barrier sculpt > normal map as a game asset tonight. i plan on painting a color/spec map as well.
high res:
[ ](javascript:zb_insimg(‘133666’,‘maya_viewport_wip_1.jpg’,1,0))
Attachments
Sorry to use someone else’s thread, but Ralf Stumpf as few stupid questions, if i have a sub tool that I have finally sculpted, can i retopologize and use the low poly mesh with my other sub tools to cut down on memory use in the same file and should I first texturise it before going this way?
Ziggy
finished the barrier. texture painted in photoshop. let me know what you guys think!
maya viewport render:
[ ]
]
Very nice indeed! Are these phtograph textures or all painted? Please show the technique.
they are a combo of photos and textures. i lay the base down with photographs, and then paint the dirt/grime/scratches in. im not really sure if i can record the process, but ill post my texture maps later though. thanks for the kind words!
Beautiful sculpt (nice concrete damage) and polypaint! !
thanks a lot man!
Neato
Textures look good, cement portion looks good, but its kind of unconvincing to not see the ridges on the silhouette of the rebar when its up that close, but if its something that won’t be that up close its all good. Could just add a few edge loops and extrude the edges out if you can spare the polys, doesn’t look like its very dense at the moment… or atleast make the bump/normal on it look more pronounced…
Not sure if it has a spec map yet, looks more like a smooth stone than cement, but im sure you’re still tweaking it
good stuff !!
yeah im not totally done with it yet. it was more of an exercise, im not sure how much more i want to do, i have a ton of other texturing work i have to do.
thanks!
hey everybody
here is a cartoonish-monster bust i sculpted in class today as an exercise.
[ ](javascript:zb_insimg(‘133923’,‘sheet_1%20copy.jpg’,1,0))
i really dont like sculpting cartoons i decided. took the demon in a more realistic direction. well actually this is a whole different sculpt. i took an old, unfinished head study, and 2 hours later, have this. still a lot of work to go. i finally figureed out how to make rocky-scales that i am happy with. let me know what you think!
[ ](javascript:zb_insimg(‘134024’,‘demon2_wip_1%20copy.jpg’,1,0))
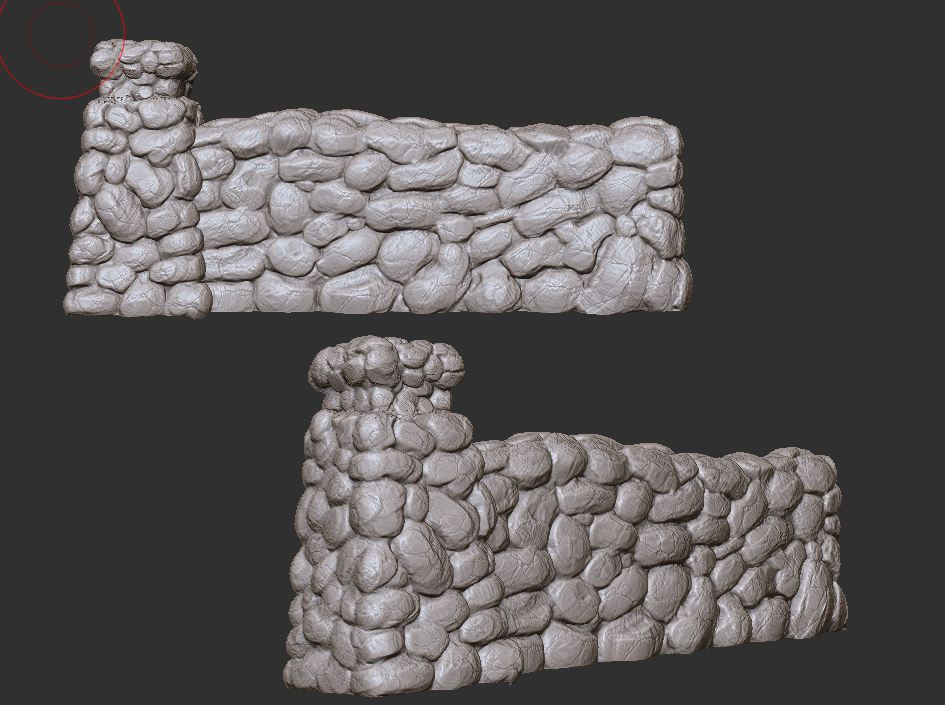
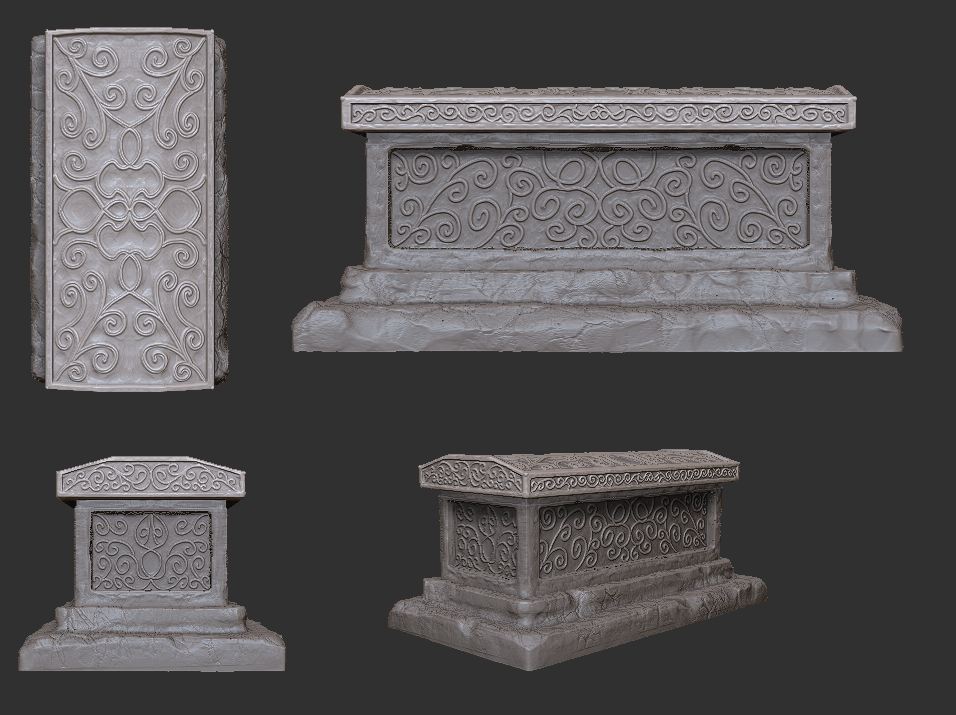
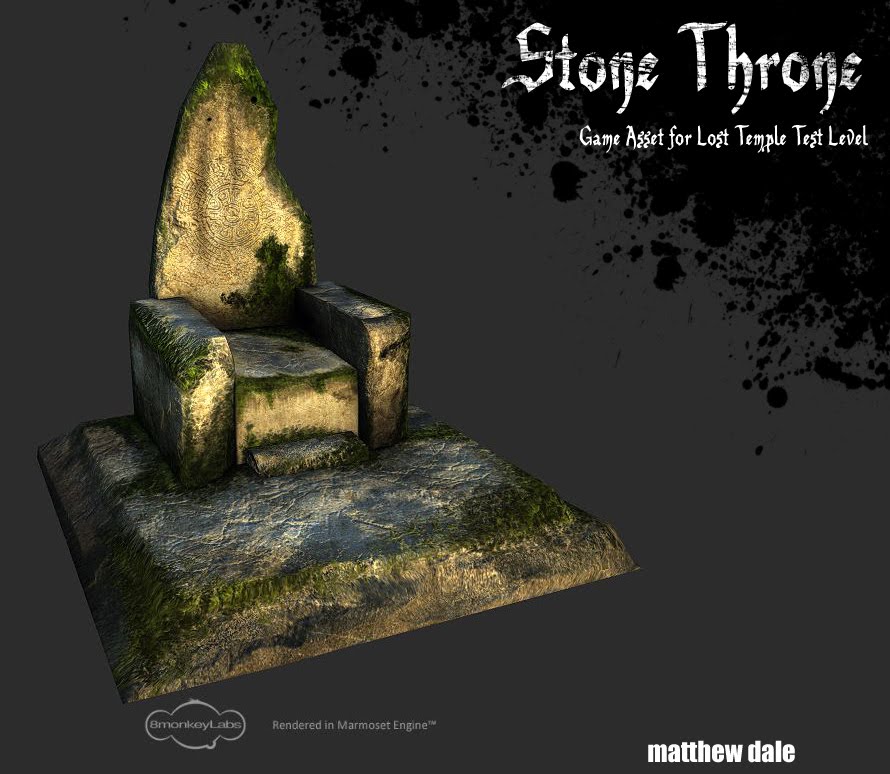
Hey everyone! Ive been super busy for the past few months, driving all over the US, working at a small studio as an intern, and now starting my final year at school. Here is some of the recent work I have been doing, mostly environment related, but using zbrush nonetheless.
Stone Wall Normal Mapped. Low-poly created with decimation master.
[ ](javascript:zb_insimg(‘163197’,‘throne.JPG’,1,0))
Attachments