My first go at creating a new jaw-bone took about 40 minutes total, and the details follow. If I were to start over from scratch it would only take about 15 minutes to get to the same point due to learning various techniques the first time through.
This approach uses a quick ZSphere mesh as a subtool, and ZProject:
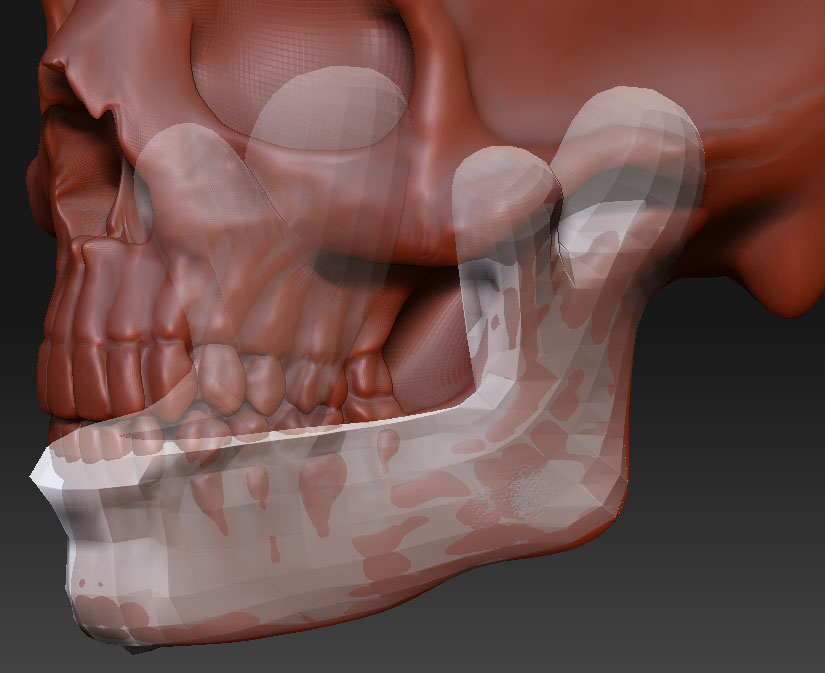
[attach=59285]JawboneRetopA.jpg[/attach]
The above picture shows a ZSphere skin subtool which I have begun to Zproject at a lower res. To get to this point I…
-
Append a ZSphere to the skull model while in edit mode.
-
Select the ZSphere subtool, set Transparent ON, X-Symmetry ON (‘X’ key), and re-create the jawbone shape with Zspheres, hitting ‘A’ to check the adaptive mesh from time to time.
-
When the ZSphere model is done, make an adaptive skin, append it to the Skull model, and hide or delete the ZSphere subtool model.
-
Tweak the low res adaptive jawbone level 2 mesh into a rough shape that is mostly correct. It is best to keep using X-Symmetry at this point.
-
Divide to the same level as the skull (level 6 in my case), but start ZProjecting at level 3! I turn off X-Symmetry to do ZProject. AT THIS POINT, DON"T FORGET TO CHANGE TO MOVE MODE AND CLICK ON THE SKIN MESH. This will delete (and reset?) the action line of the Transpose tool if one exists. Even if it doesn’t exist, this step ‘may’ be necessary just prior to starting the ZProjection. To be determined…
-
Turn on Frames to see the polygon structure better as you ZProject.
-
Use a combination of ZSub, ZAdd, and Smooth as you model to keep the polygons roughly square and evenly distributed. Also keep rotating the model so that you only Zproject polys down to the closest points under the new jawbone mesh. If I accidentally Zproject sideways, creating a folded mesh, I immediately use Smooth to get the polys back to a even distribution, then use ZAdd to pull them back up to the original jaw surface (since smooth ususally causes the polys to sink inward). I set ZAdd ON, and then use ALT to ZSub, and SHIFT to Smooth, so workflow is VERY fast and seamlessly smooth!
Notice in the above picture that I am mostly working on one side. I do this because even if trying to use X-symmetry with ZProject, it doesn’t usually work as expected or desired. To transfer over to the other side I mask the left side just short of the center:
[attach=59286]JawboneRetopMaskA.jpg[/attach]
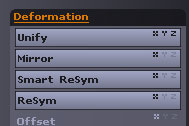
Then I press the magic Smart ReSym button in Tool:Deformation (with ‘x’ only):
[attach=59287]SmartReSymX.jpg[/attach]
Here is the result:
[attach=59288]JawboneRetopMaskB.jpg[/attach]
The above picture shows the symmetry restored. Working at low res first, and with Frames turned on, allows me to easily maintain a very even poly distribution as I work. I also can tweak the mesh using Tweak brush very easily at this stage, which is how I was able to get the mesh perfectly aligned to the teeth-line (otherwise the new mesh topology would have followed the surface of the teeth!).
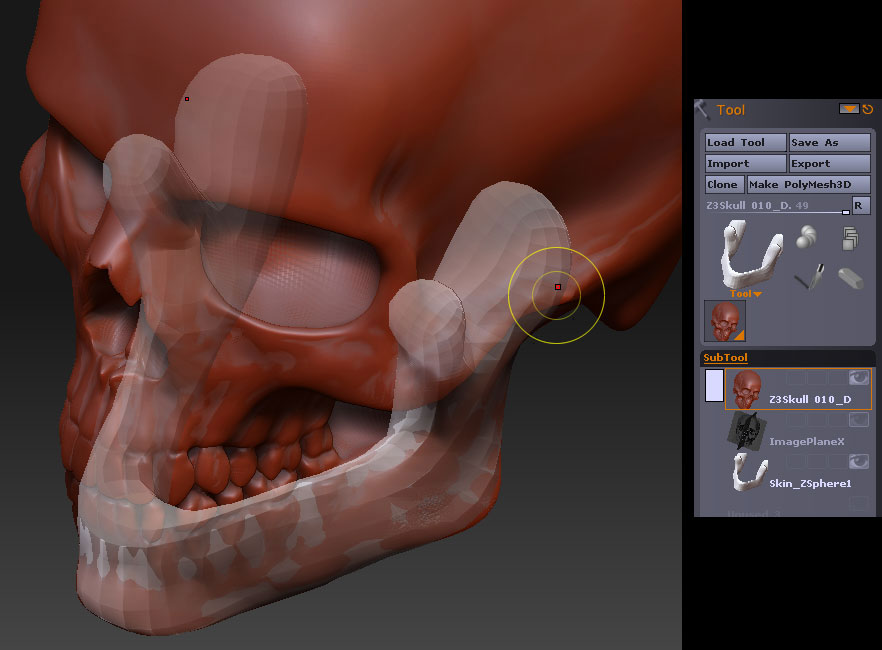
Another trick to help with seeing the new mesh as I work is to set the material of the new mesh to something like the white cavity MatCap, or something else that contrasts well to the Red Wax of the skull:
[attach=59289]JawboneRetopB.jpg[/attach]
To get the material on the jaw bone, switch on ‘M’ or ‘RGBM’ in the Draw palette, make sure the jawbone mesh subtool is selected, select the desired material, and then press Fill Object in the Color palette. It may also be necessary to change to the Standard brush for this step (I’m not sure if the ZProject brush might try to pull color from the other model or something like that.) In my case, the skull is still set to material 00 I believe, so it displays as whatever material is currently selected. So I either reselect Red Wax, or I can Fill Object on the skull to set it to whatever material I want it to be.
Here is the final stage of the ZProjection at this resolution level (level 3).
[attach=59290]JawboneRetopC.jpg[/attach]
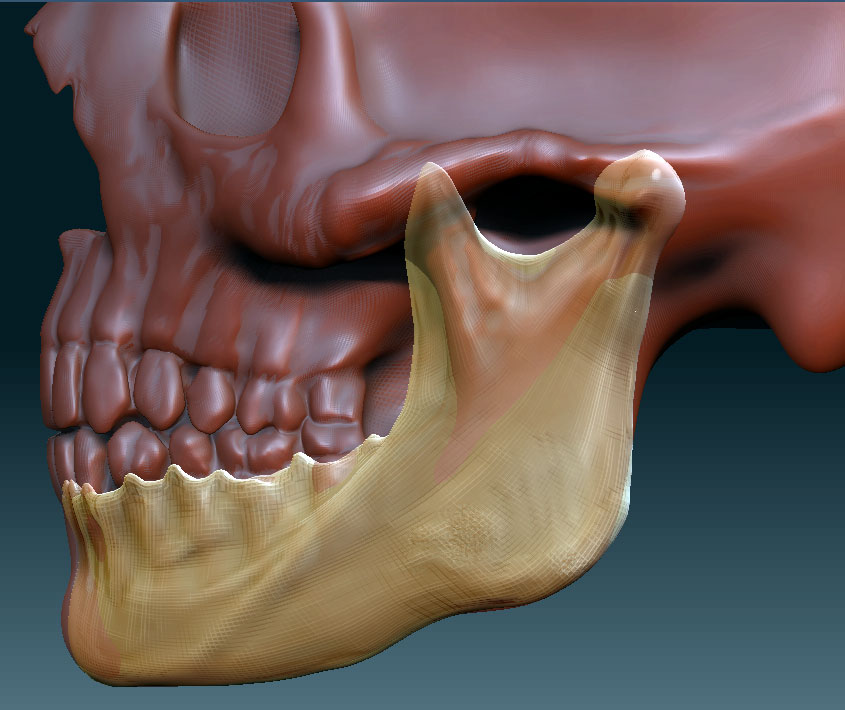
It is now ready for a higher level, and I will go straight to level 6 and transfer the level 6 detail to the jawbone mesh. The inner surfaces and joint-structure will have to be modeled from scratch, since that never existed in the base skull model.
[attach=59361]JawboneRetopD.jpg[/attach]
[attach=59364]JawboneRetopE.jpg[/attach]
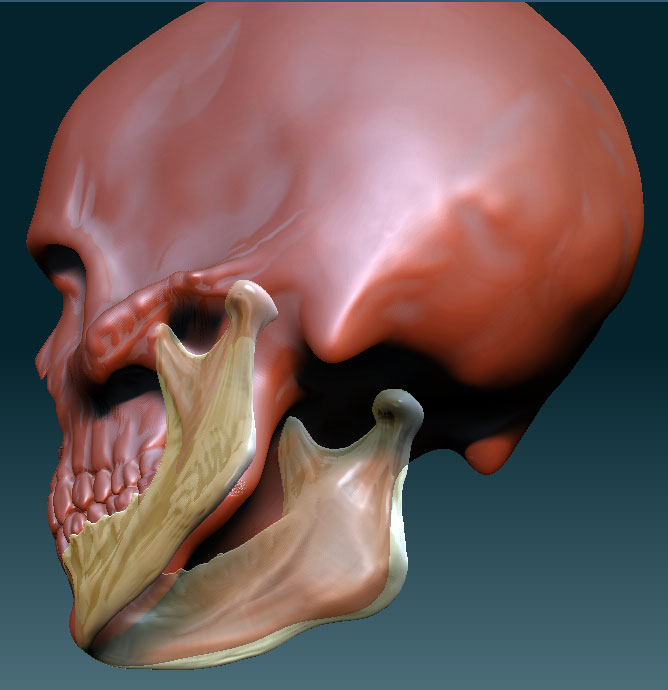
It is now at level 6. Divide twice more to level 8 and add final detals.
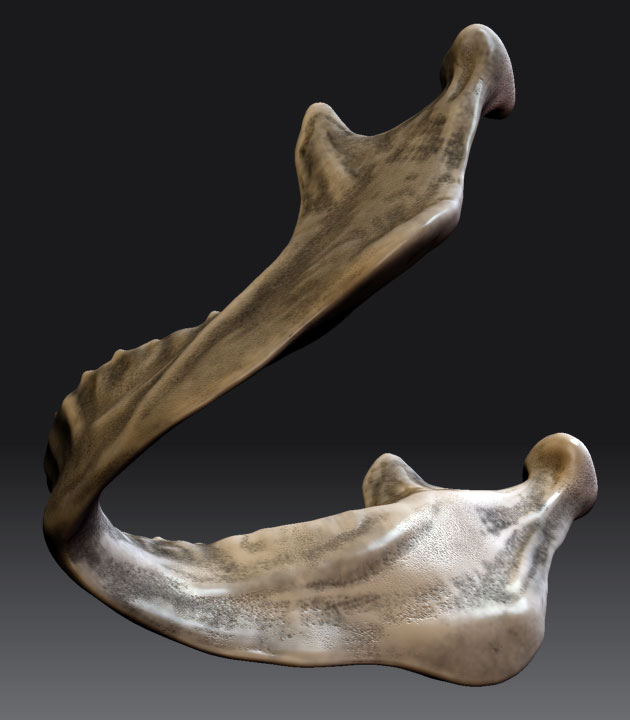
[attach=59367]JawboneRetopF.jpg[/attach]
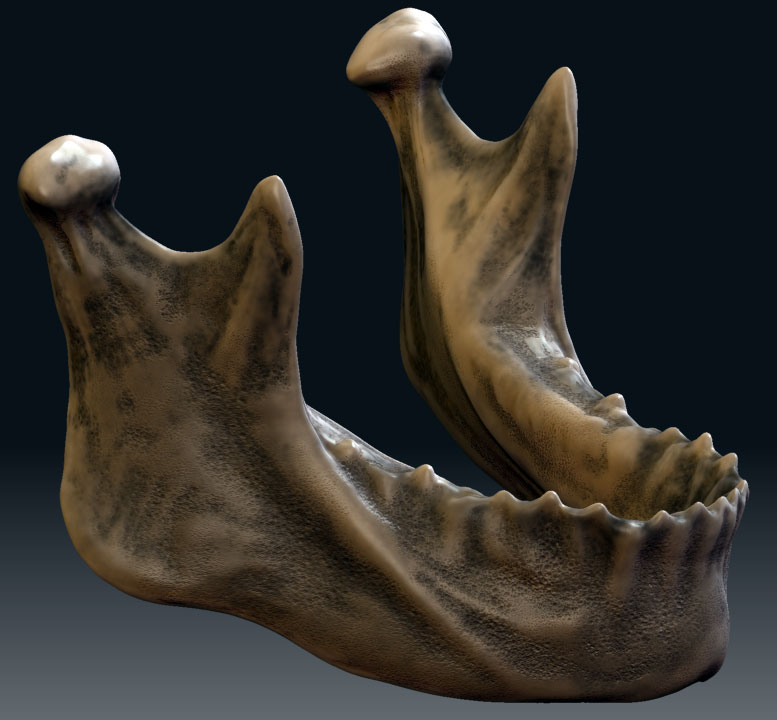
(Yeah! Knaw on that bone ZBrush 2! You want the bone? You can’t handle the bone!)
I will probably use this same technique on the skull, but I may switch over to the other ZBrush retopology method in order to get the zygomatic arch and other tricky skull topology done correctly in the mesh. But even the arch could done with ZSphere modeling by bringing two extensions together and modeling a arched junction just like the real bone arch and knits with a visible seam.
Attachments


 Thanks for the material.