ZBrushCentral

Material Baker v2

NOTEI posted this question in the help section of the forums as well, but I noticed you said to post our feedback and tests here, so I’m posting it here as well.

Hello, I’m having some material baking issues and I’m hoping someone can help me figure out what is going on. :slight_smile: Sorry in advance for the picture heavy post, but I wanted to document the steps I took so someone might be able to help me see what I did wrong.
For this project, I am trying to make a clothing item for Second Life using the SL avatar tool that CannedMushrooms posted on their site. If needed I can attach the tool that I am working with on this specific question. I made this this morning quickly as a trial item.
I would like VERY much to be able to bake in all the details that I see when I look at the item in Zbrush, so all day today I’ve been searching my tush off on these forums. I found a material baking script here on the forums (will post link below) and have remained hopeful for the past 4 or 5 hours that I’ve been trying to get it to work, but I’m begining to lose that hope.
The .psd that the script is baking is missing color/material information in certain spots when I follow the exact instructions found on the script’s instructions page while baking the object. Thinking I could correct this issue, I decided I would try baking it from a few extra angles (in the first .psd outcome, I had only baked from angles 0, 90, 180, 270, top, and bottom. in the second .psd outcome, I also baked from angles 45, 135, 225, 315.). As you will see in a moment, that certainly did correct my missing color/material issues, BUT it made the texture MUCH MUCH too dark.
First off, I’m using the Material Baker v2 script for Zbrush 3.1 found here:small_orange_diamond:
http://www.zbrushcentral.com/zbc/showthread.php?t=49966&highlight=material+baking

I followed the instructions listed on that page as best as I could, but these instructions do not yield usable results for me. Below I have outlined my workflow:small_orange_diamond:

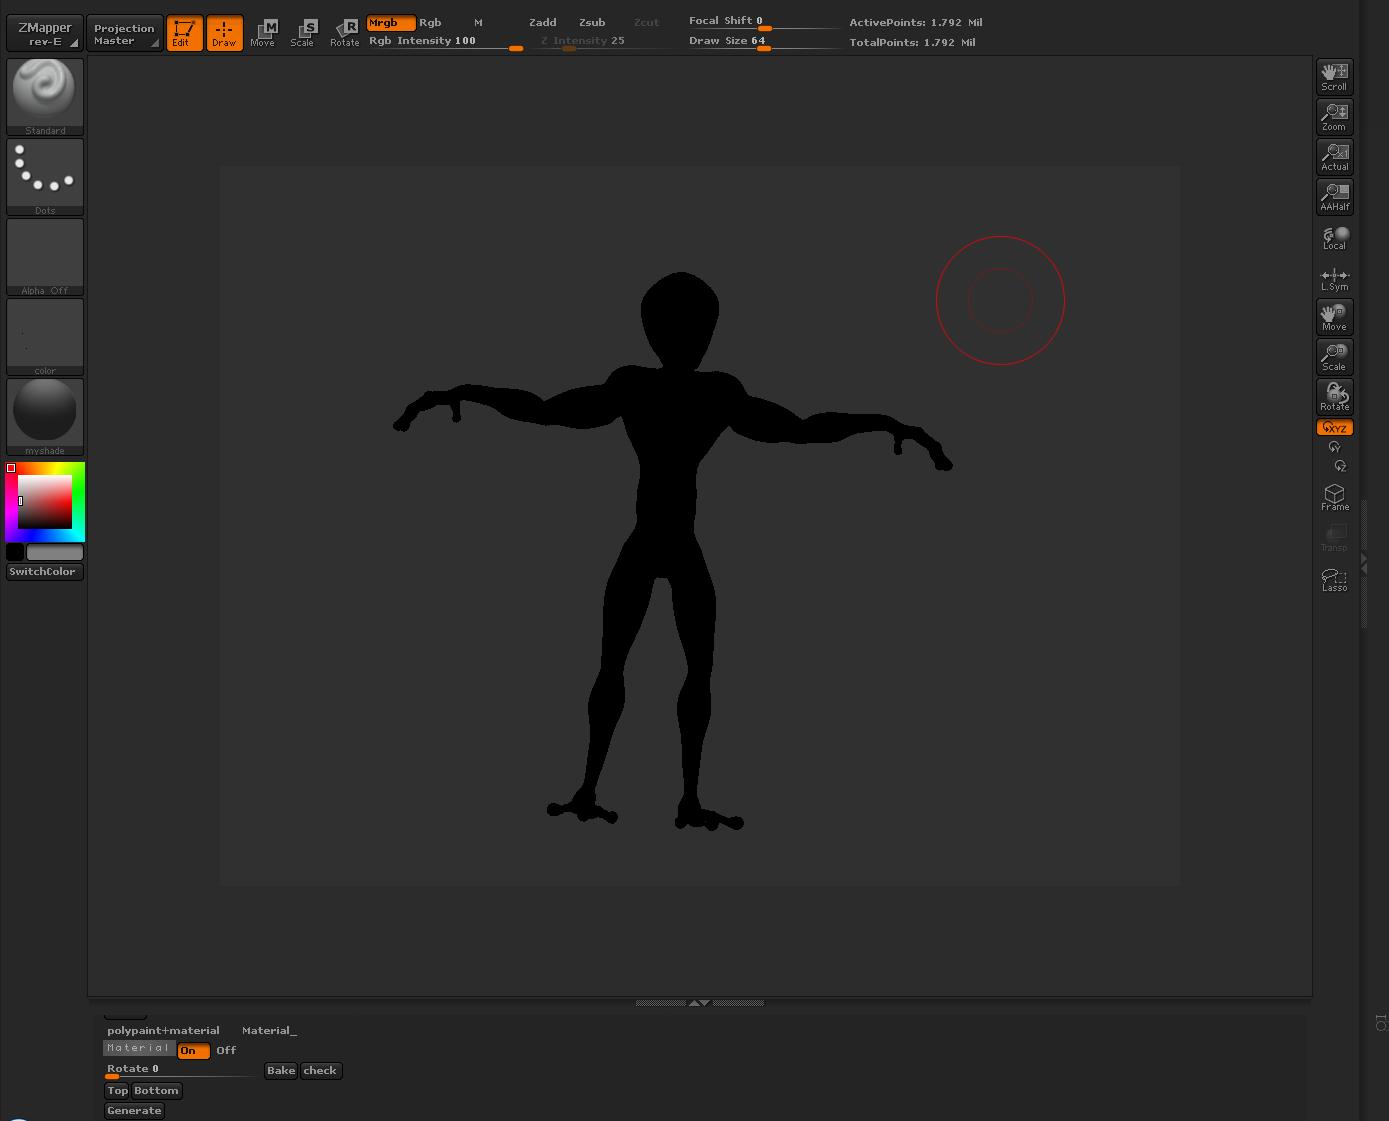
Here, I am simply picking my material and loading the script. All is good so far. I’m not sure if I should have the polypaint+material button and the Material off button highlighted, but my first trials without them highlighted resulted in a .psd texture with no color information on it at all, so I’ve decided that since I’m getting some sort of result this way, this is the way it is to be done.

Step 3, I press start on the script window just like the instructions say to do.
Step 4, I begin the start of many bakes.

Finally done baking here, this is before I’ve hit generate.

The outcome. As you can see, this texture is missing ALOT of color and material information in angles that I did not bake on. Since this is not right, I’ve added more angles in the baking process.

Here, I’ve baked from the extra angles I mentioned at the begining of this post (45, 135, 225, & 315) that were not listed to bake on in the instructions. This seems to be giving good results, but once I’m done, you notice the texture becomes dark in the angles that I had baked in the begining (0, 90, 180, 270, top, & bottom).

In this .psds it is clear that neither of these even resemble what my item looked like before I started using this script (see the first picture posted). These are both .psds laid out together so you can see what went wrong on both:small_orange_diamond:

As you can see, neither of these results is what I had wanted at all. One is missing tons of color and material information from not being baked in enough angles and the other one, well when I go back and bake the areas that are missing color information, it just starts making the areas I had already baked super dark. It never ends up evening out.

I have been working at figuring this out ALL day literally and have been working with this model and this darn script for HOURS now (5+hours when you add in the time for this post). I am seriously at my wits end and feeling a little crazy. I thought surely when I followed the instructions step by step that it would work, but it didn’t. I tried more angles, which seemed to be working, only to find out that it ruined previously baked areas of the texture. What gives? I’ve tried playing with the lighting a bit, but I don’t know if that really has any bearing on this problem and honestly, I REALLY could use someone to stear me in the right direction…please.

I wonder why you want to bake into hi-res, baking material is meant for realtime display such as game environment and interactive 3d. These requirement is of low res so that it can be deliver online.

Great to see some progress with it and great job!:wink:

I have zbrush 3.1 and the script just doesnt run, i’ve loaded it, just doesnt do anything,

any idears?

on the bottom of zbrush workspace you have 2 arrows, one facing up and one facing down, click on them, and a wide field will jump up, scroll down this wide emty field. for some reason the plugin’s options are hidden there.

I can’t seem to get this to work with zbrush 3.1 on 64 bit windows. Has anyone successfully used this script with ZB3.1 in win-64?

Por example, I want to export the appearance of my Zbrush object into other 3D aplication. And I need HiRes texture

I see, I asume it can give you lighting control in other 3d software so that you can set up simple scene lighting. I have not been able to use material baker yet.

hello, i found a big big bug.
seems you have hardcoded the c:\program files\pixologic\zbrush path in your plugin, i have a non english windows xp so my “program files” directory is not called in that manner, and your plugin crashes, it’s also not usable for the ones that haven’t zbrush installed in that directory (for example if you’re using d: for datas and c: only for os stuff like a lot of people do)

anyway this plugin seems very nice, keep the good work

edit: i managed it to work making a fake c:\program files\pixologic\zbrush directory, now i’m having the same problem the guy above had, it’s like it project the texture baked onto the mesh so when i do different bakes it mess up all ending with the dark stuff the guy above said

For your info, you can create your own website at Google page creator with 100mb file space for FREE. All you need is a gmail account!

You can have two websites if I recall, thats 200 mb and allow hyperlink to any where absolutely no restrictions. G knock yourself out!

Here is mine:http://catalogue3d.googlepages.com/:+1:

Thanks a lot~~
It’s good.

I followed the directions to a tee for this script, but in the end, I am left with a model that is all black. It has no shaders or materials…just black. Any help as to why this is happening???

Attachments

black model after material bake.JPG

Great script! Really!

One question though, whenever I bake it automatically switches from best to preview render. Any way to fix this? Thanks in advance!

got the same problem as iray i also get a black model the texture disapears completly

Thanks , I will have to try this script.

how to use resolution more tnan 2048 on 2048 .for exemple 4096 or 3000 pix

Hey really tnx for this great, handy, useful tool! saved my days! :smiley:

irahk and theeman, after bake just turn texture off or if you are in “check” status yet, just press the start button again and it will back to normal your model again :slight_smile:

drondron, I had the same question also, but it seems since it uses the screen snapshots to project em on UW-textures it’s not different if you just scale it up in PS yourself coz the limitation isn’t the size of texture, it’s about the res of work area on ZB! (Btw just my thought of how it works!) ;D

:idea: :
Btw, as a side-note, I think it really needs a button to exit from “check” state also, :wink:

m,

It actually took me a while to figure out how to install this plug-in properly but I figured it out by reading your instruction carefully over and over again. :smiley:

I think that this plug-in has a lot of potential in terms of developing it further maybe in the next version or something. This plug-in works similar to cannedmushroom’s tutorial on how to bake materials in Zbrush 3.1 using Zapplink. The only downside to baking the materials the Zapplink way is that you don’t have control over the lighting which makes it harder to get even lighting on your model.

I just figured out how to get rid of the black areas if you bake with material and color using your plug-in. You have to adjust the lighting intensity for the material itself and do almost a 360 turnaround bake on every angle on your model to get even lighting. Had I known this plug-in first before the cannedmushroom tutorial I would have got better material textures with color on them. It took me a while to figure out why certain areas were so dark when I finally rendered out my model in Maya with mental ray using the baked material generated by learning cannedmushroom’s tutorial. Oh well, I was dumb then and I didn’t know it at the time.

Overall this is a good plug-in. Keep up the good work. Thanks.:slight_smile:

Attachments

Right_Arm_Material_Test.jpg

Just wanted to post to say thanks to Eric for this plug, I’ve come to rely on it over time and despite a few tiny hiccups here and there, it’s very much appreciated.

I’d love to see it expanded on, perhaps to include fixed lighting and so on, but until then :+1:

they have to make the material bake work on texture

like for AUV Tiles bake the material and color map to the current texture and replac the materials on the model to flat color so your matrial and color are bake to the model and at the res of the texture you have like 8000 8000 x tex