ok so day 5
what happened to day 4?
science stuff mass experimentation test-tubes, hardhats the whole bit
After the day was at its end I managed to figure out the limitations of My workflow.
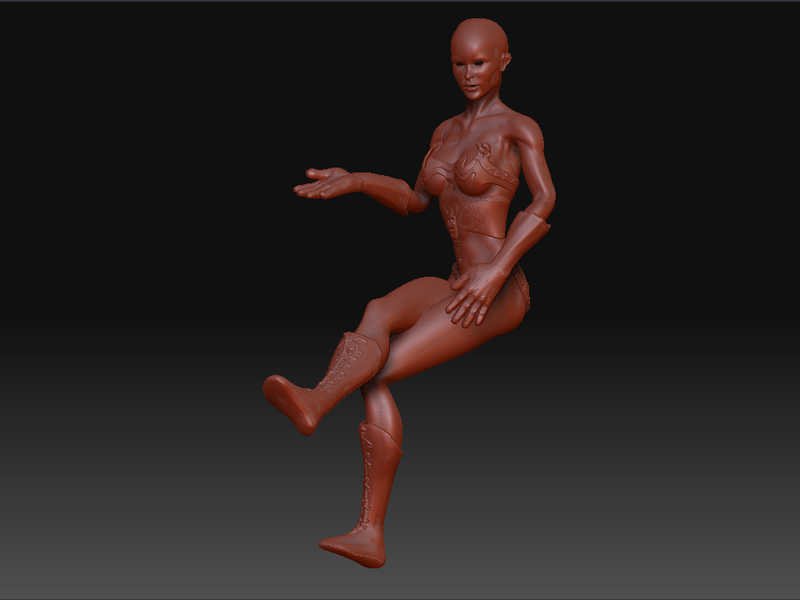
I was able to fully re-construct sub-d an object that I made out of subtools that was combined into a single mesh.
And no it didnt have anything to do with the enable UV button of masks being off.
Those 2 things need to happen but also System Ram!
I have 4 gigs of ram and ya I had to lower all the subtools to a minium of 1 million polys. And the whole object to 4 million polys once its combined. Anything higher (believe me I tried lol) would not re-construct.
So heres a picture of the mesh reconstructed and combined.
Ow why does she look like she was up all night in a mud wrestling tourament you ask?
Well even if you manage to lower your resolution and combine the mesh so you can pose the character with all the subtools. There is the small fact that Colorization and UV data does now flow well over your new mesh.
Which explains all the one material posed characters on the forums I guess;)
The ones I do see with full color are posed and rendered in a 3rd party app.
So thats where I’m headed;)
The familiar road!
Ow and a side note always check your mesh out if you make anything with the topo-tools in the third party app also before you go sculpting on them. Because the surface normals could be flipped! (which was fun to fix on every object I must say;)
[ ]
]
 ](javascript:zb_insimg(‘61939’,‘step8.jpg’,1,0))
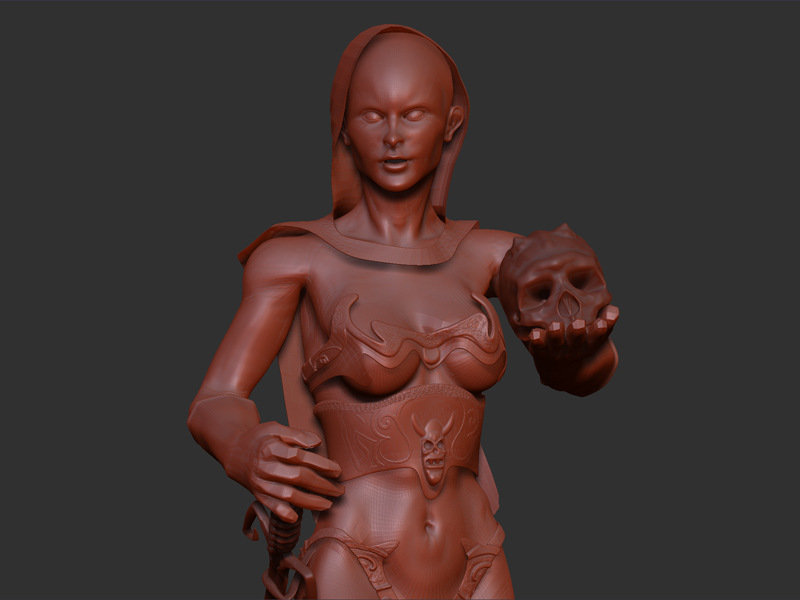 ]
] ]
]
)


 I have some problems with rendered layers. In your post those layers are pretty easy to do but there are some advanced techniques to do good renders to combine it in photoshop. OK i understand how to combine it in photoshop but i can’t do all of needed renders in Zbrush. Can You or someone explain, step by step, doing render (backlight, diffuse, special materials, etc.), like in posts down bellow.