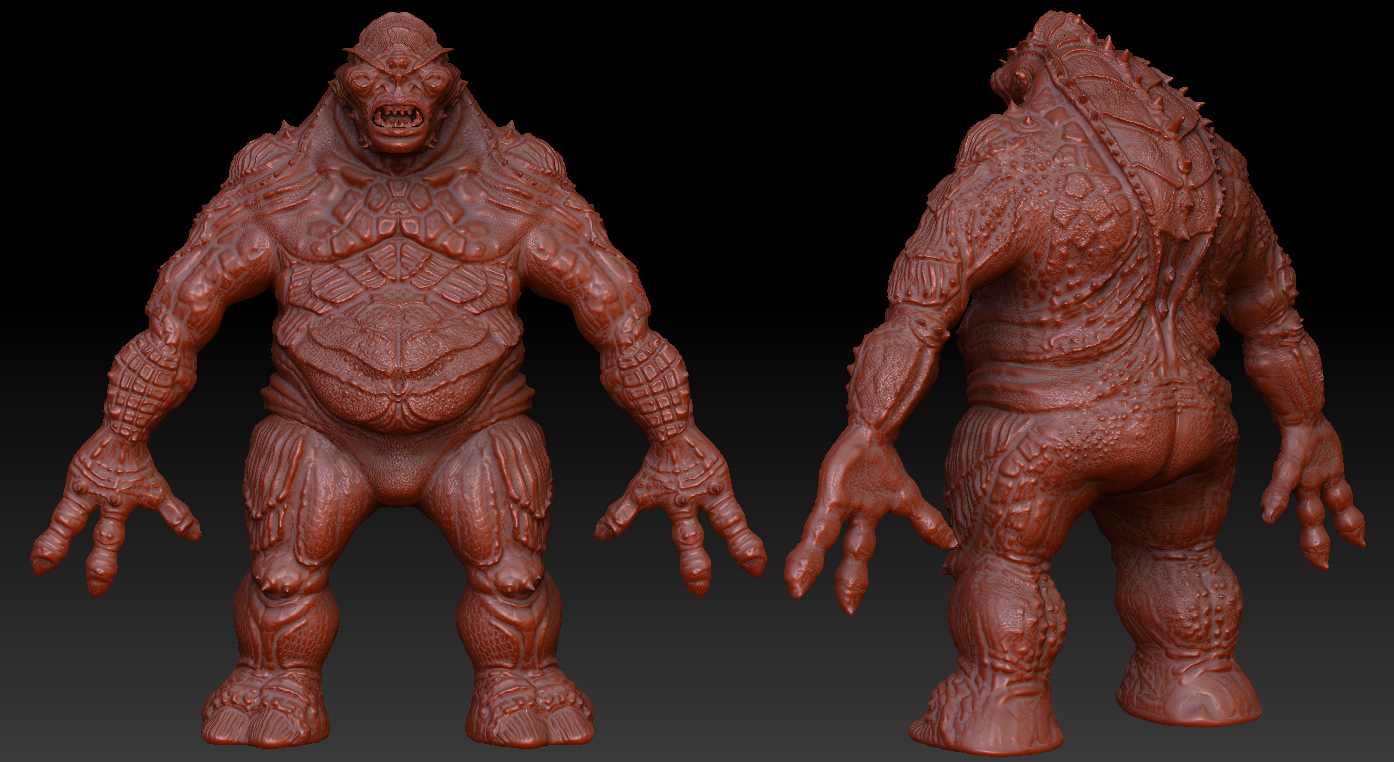
Both are lovely worx…good stuff! 
 small_orange_diamondsmall_orange_diamond
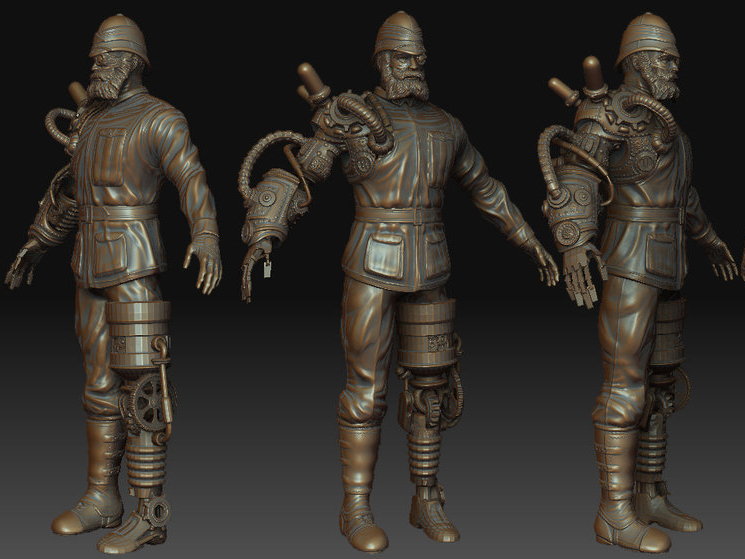
Thanks very much! Below is a steampunk safari hunter that I had the students modeling last semester. It was another fun project. I’ll be finishing up the squiddy girl a bit later but I’ve just started another alien-type creature. I’ll post WIPs as it goes.
[ ]
]
pretty aweaome! love the details
Thanks very much! Your MechaNurse is a jaw-dropper!
Everyone seems to do a shark at some point and I’m no exception. LOL This shark was for an undersea game level that got dropped so it never went any farther than Zbrushing it from a base mesh and then doing a quick light setup in 3DS Max to see how the details came through. I think I spent about 4 hours total from start to finish.
[ ](javascript:zb_insimg(‘199098’,‘sharkz.jpg’,1,0))
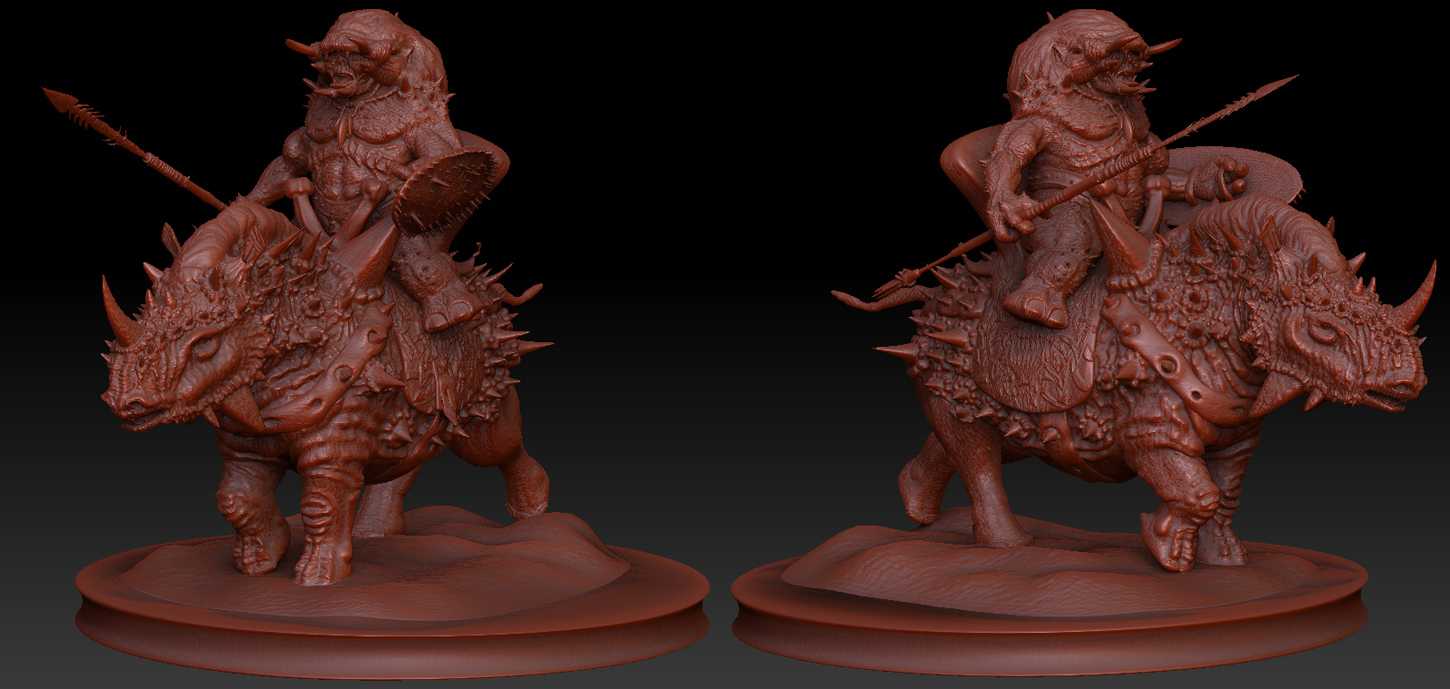
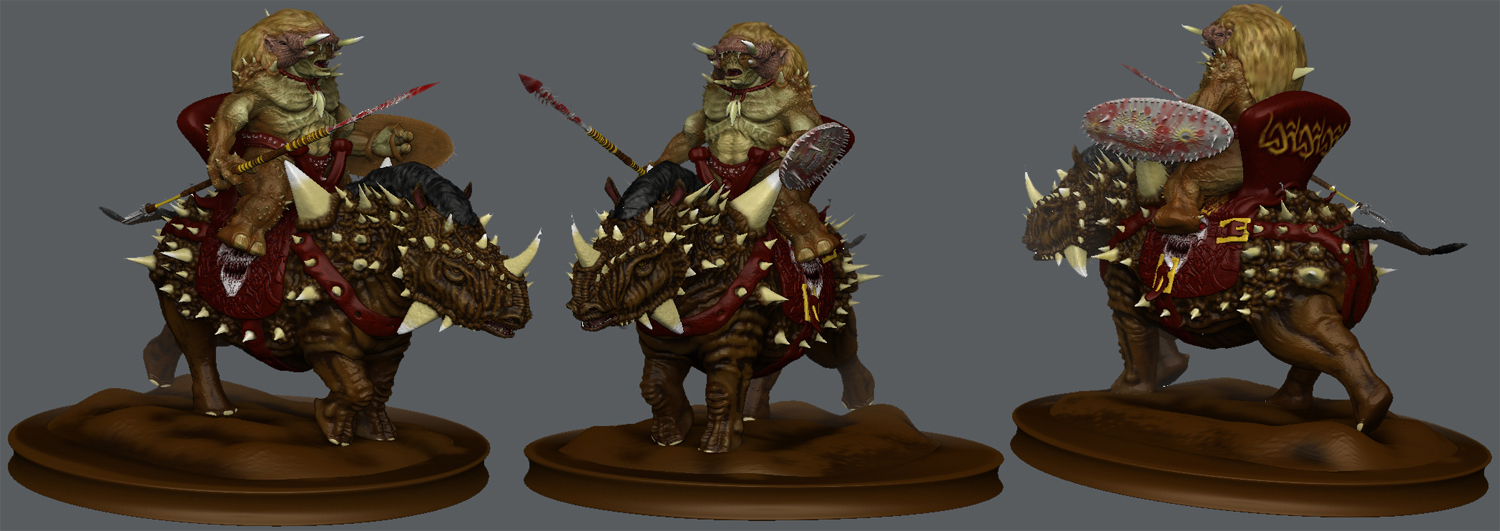
The Rhinodont is simply breathtaking. Love it!
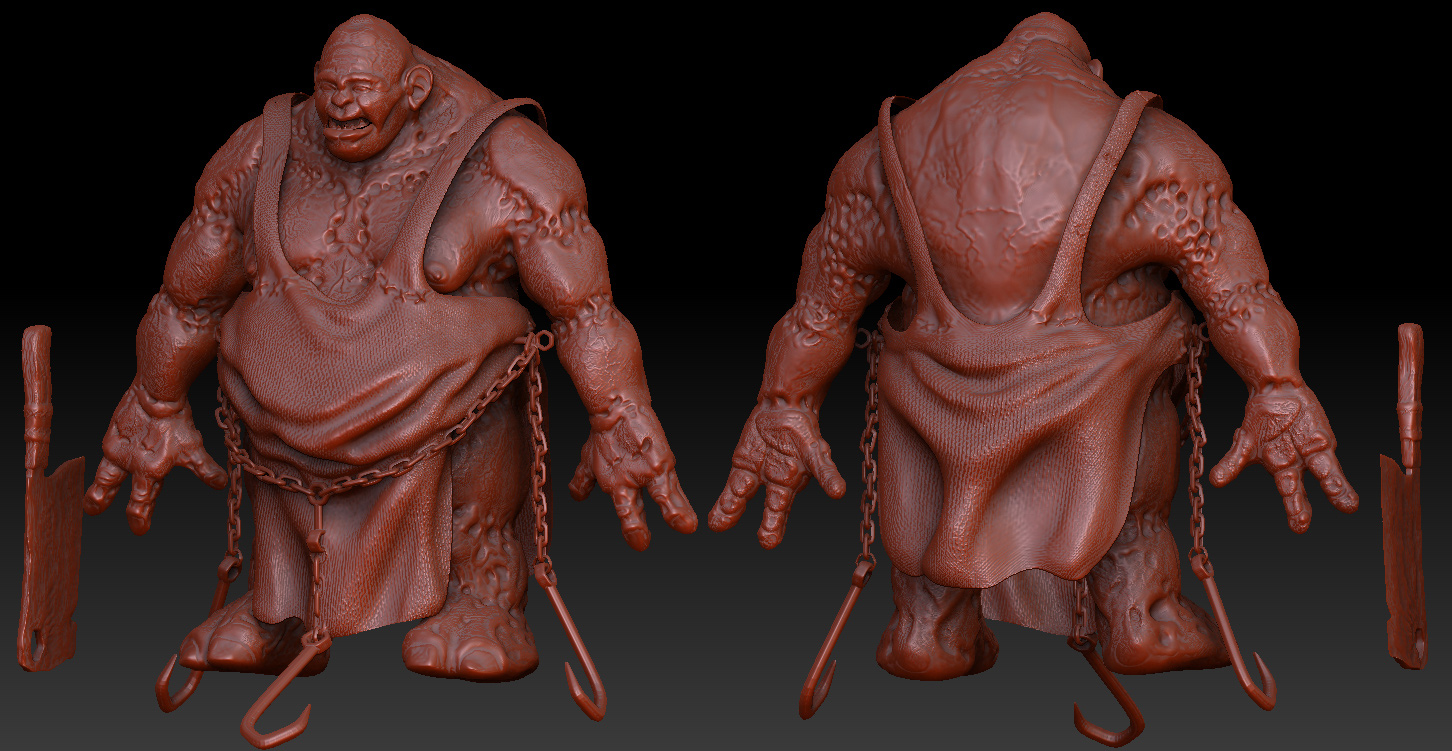
Thanks very much! I extruded all the armour from the mesh of the body and then added in the chains separately. The chainmail was a trick I figured out that I now use for any chainmail when working in Zbrush.
can you share your chainmail trick with us? 
Sure…this is just my method as I’m sure there are lots of ways out there but my way was pretty easy. For the rhinodont, I masked and then extracted (thin extrusion) an area that I wanted to be chainmail. This extracted piece was pretty flush with the ‘skin’ as I wanted it to be. I then took a chainmail alpha, did a ‘dragrect’ while masking so that the chains came up dark. I inverted the mask, then went to “deformation”, to “inflate” and slid the slider to the right (for positive). This raised the chain like a relief. I then re-inverted the mask so that the ‘holes’ between the chains were now highlighted, went back to “deformation”, to “inflate” and slid the slider to the left (negative) to make the holes sink below the actual surface of the rhinodont’s skin. And that was it…it made perfect chainmail that looks like it hugs the skin quite nicely. Hope this helps!
[ ](javascript:zb_insimg(‘199167’,‘rh1.jpg’,1,0))
I’d really love to see a higher res image of that rhino. and I’d like to have a bronze of that on my desk 
Here ya go. (sorry, was at E3 today which is why i was late in replying)
[ ](javascript:zb_insimg(‘199312’,‘Rhin2.jpg’,1,0))
@wizzie14u
when julian_K asked for a better resolution, he meant something like more than 1280 px not less. 
Its a fine render wizzie14u.
Oh, gotcha. I’ll see if I can find the model on disc (it’s here somewhere) and see about getting something later.
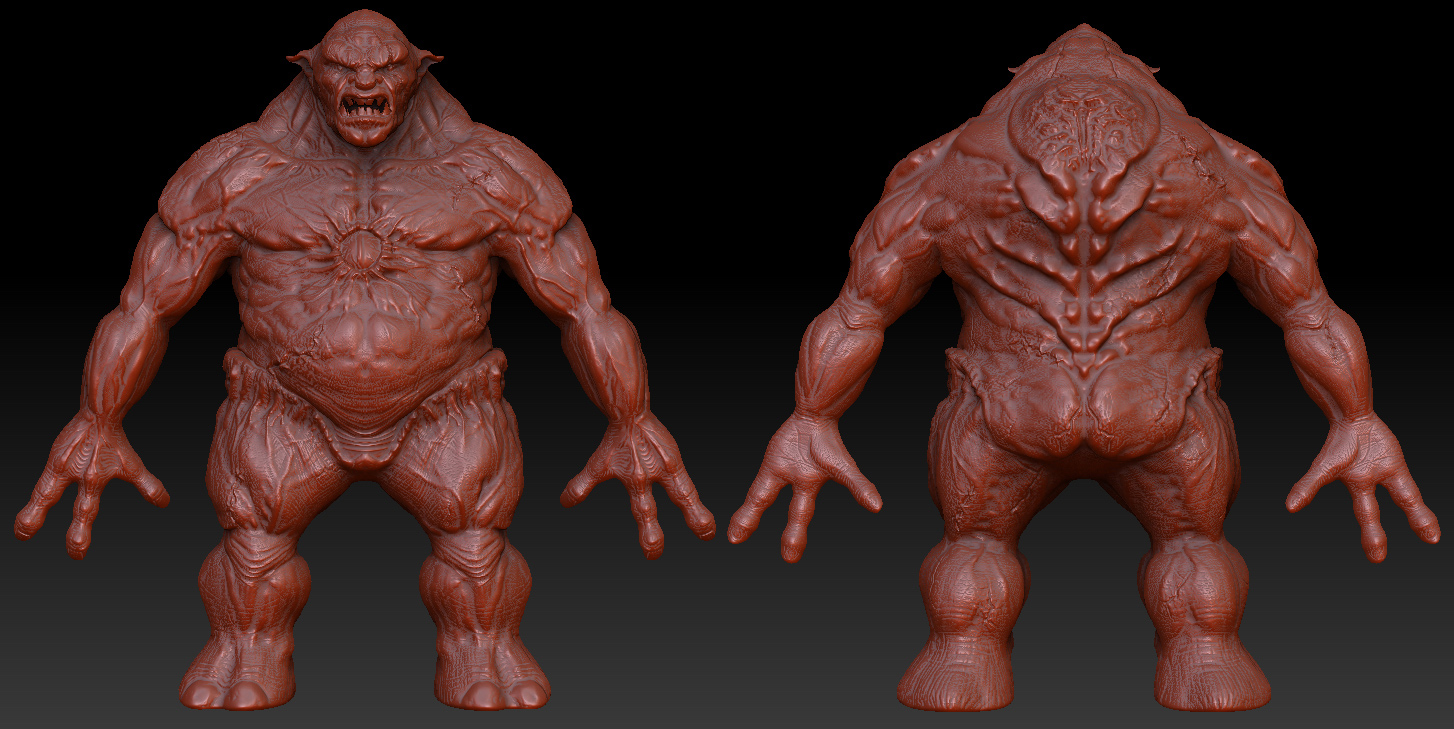
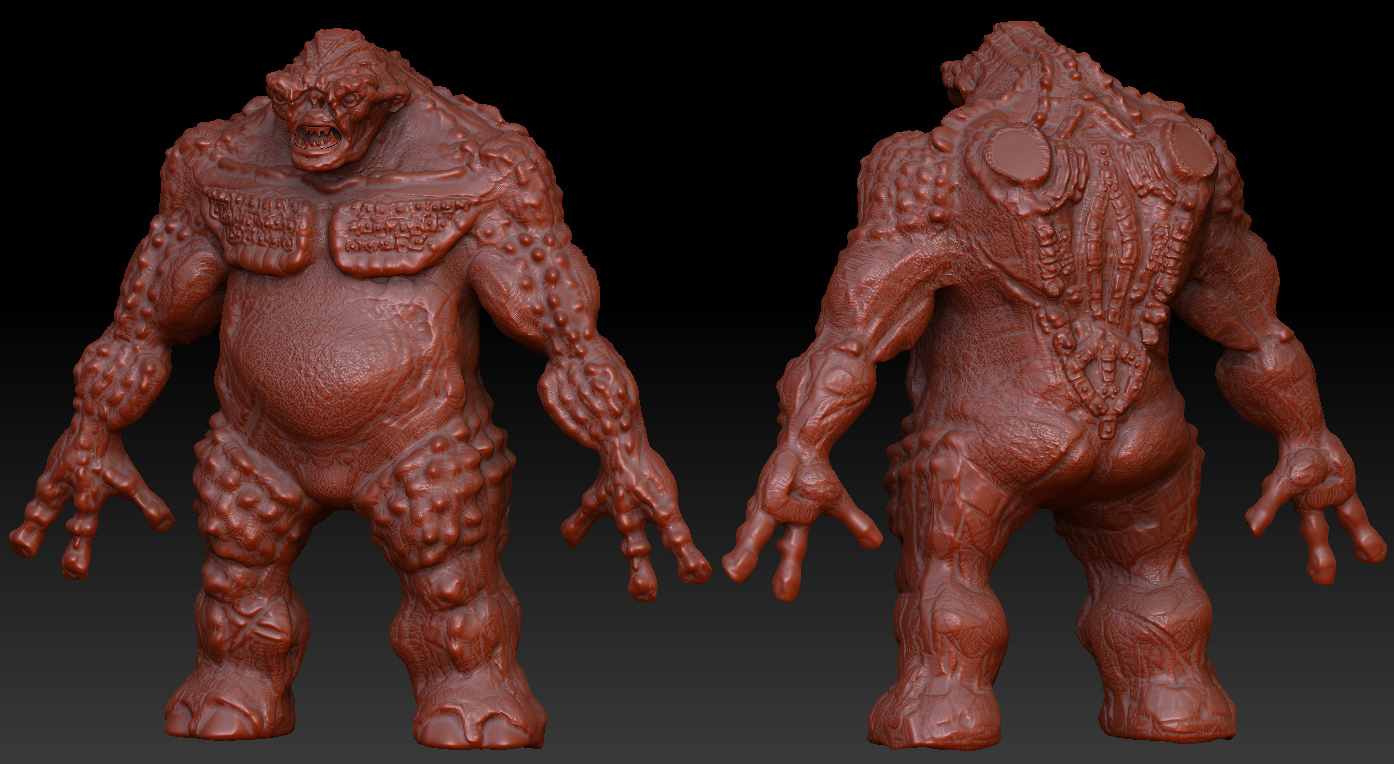
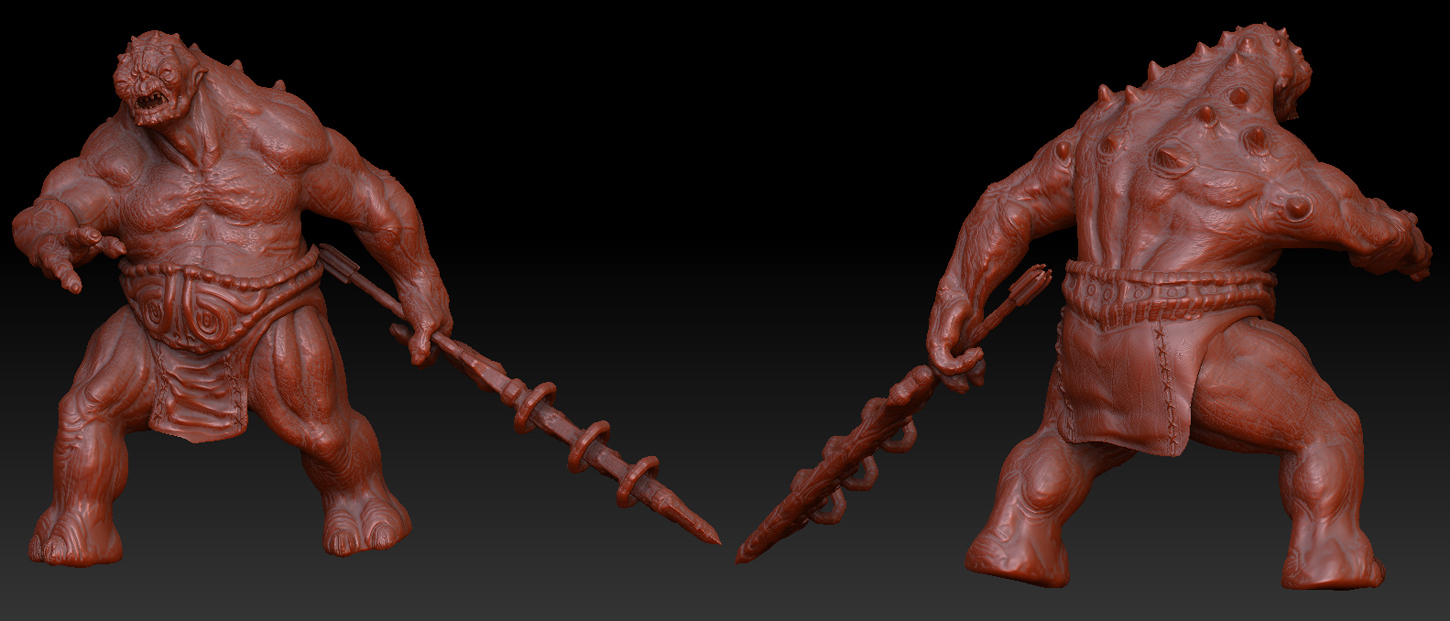
As I stated at the start of this thread, this LOTR troll was an exercise for teaching students Zbrushing. I gave the students freedom to create their own kind of troll as I wanted to focus on them getting some Zbrush skills rather than have them all follow the same control art (that’ll be for next semester). As first models, the students have alot to be proud of and I thought to post some simple ‘red wax’ versions of their models.
I’ll post more of their work when I have time. Maybe the polypainted versions or even finished, rendered versions.
Attachments
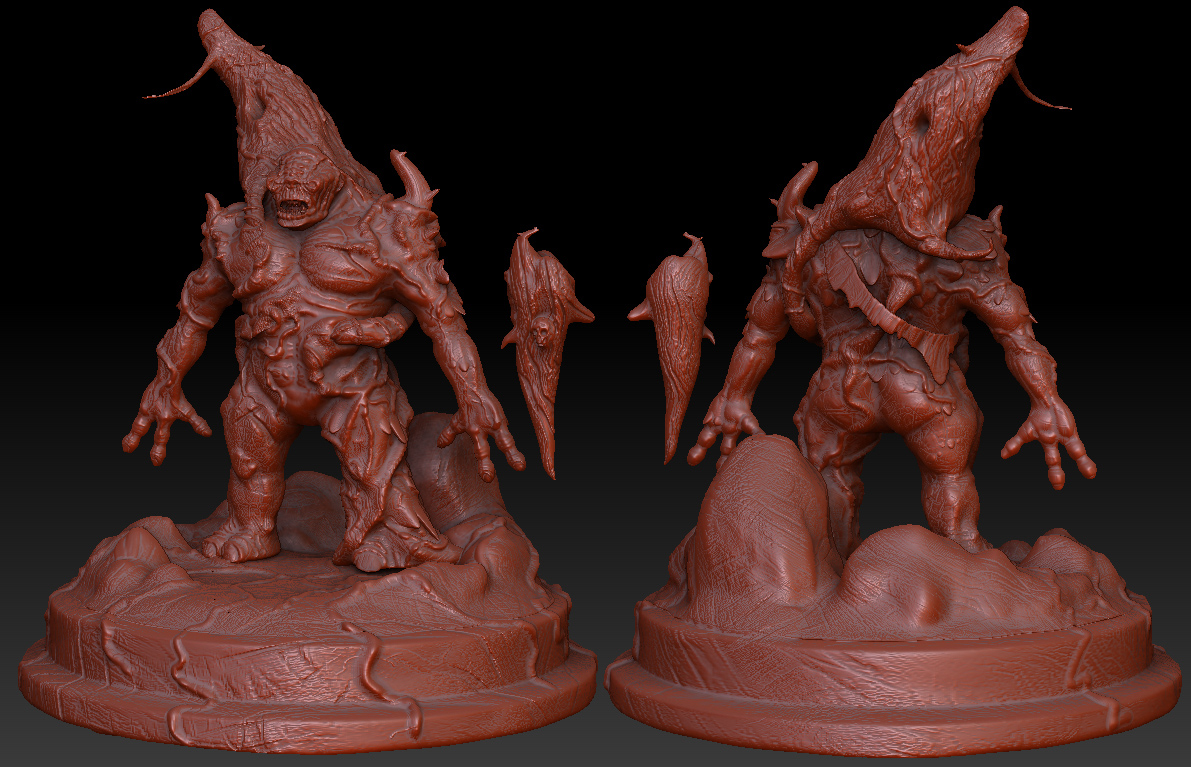
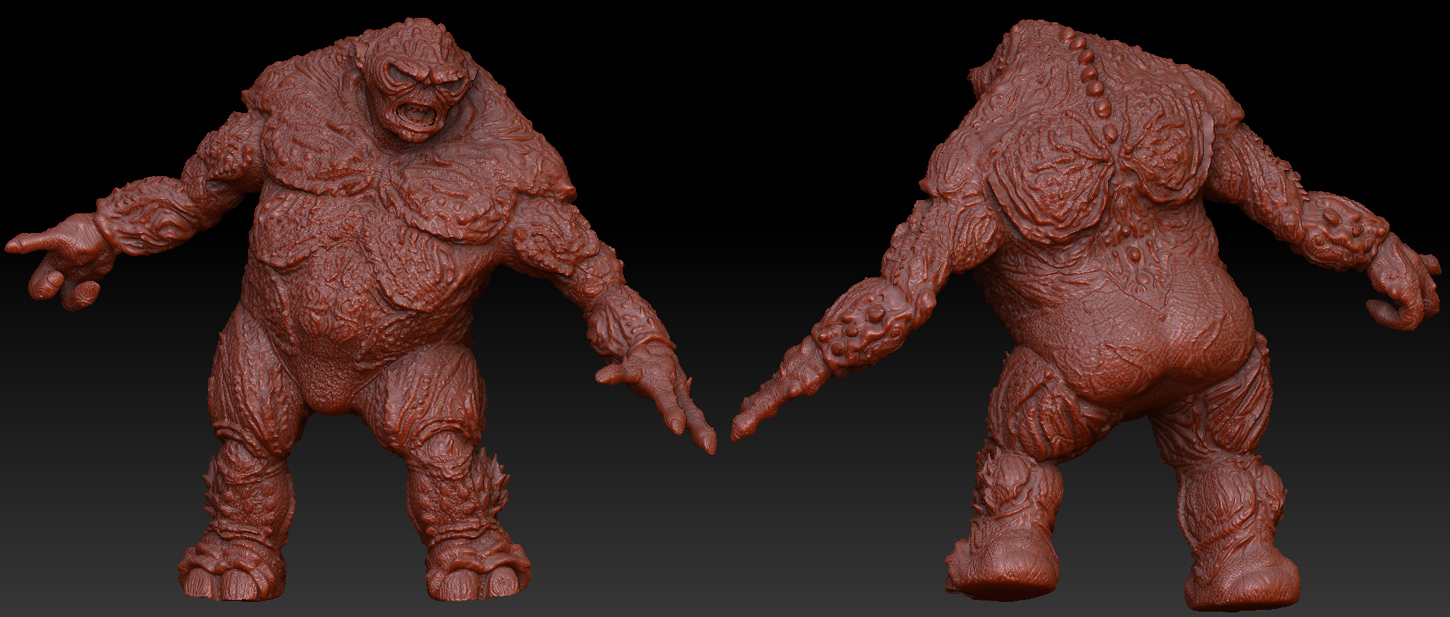
I like what I’m seeing from your student works. I just hate to tell you that Red Wax is ruining the show.
Great stuff, but I agree with the material comment. Red Wax is not flattering.
Yeah, in retrospect, red wax might not show the stuff to the best possible light. I’ll change it and repost…
Still, they did some good work!
This will take a bit to get them all on the thread but this is Daniel’s Troll as he polypainted it.
[ ](javascript:zb_insimg(‘200557’,‘ryan2.jpg’,1,0))
Attachments
Coolness! But instead of sinking the unwanted part into another mesh, you could have extracted when the chainmail mask was on. You’d have gotten the chainmail by itself, minus the unwanted spaces in between.
I realized later that I could have just extracted it but it was a rush job and I was working on several projects at once. It’s always interesting later to look back on things and realize that there were probably several ways to do whatever and that’s what makes modeling fluid.