ZBrushCentral

Johnny Rico for 3D Print

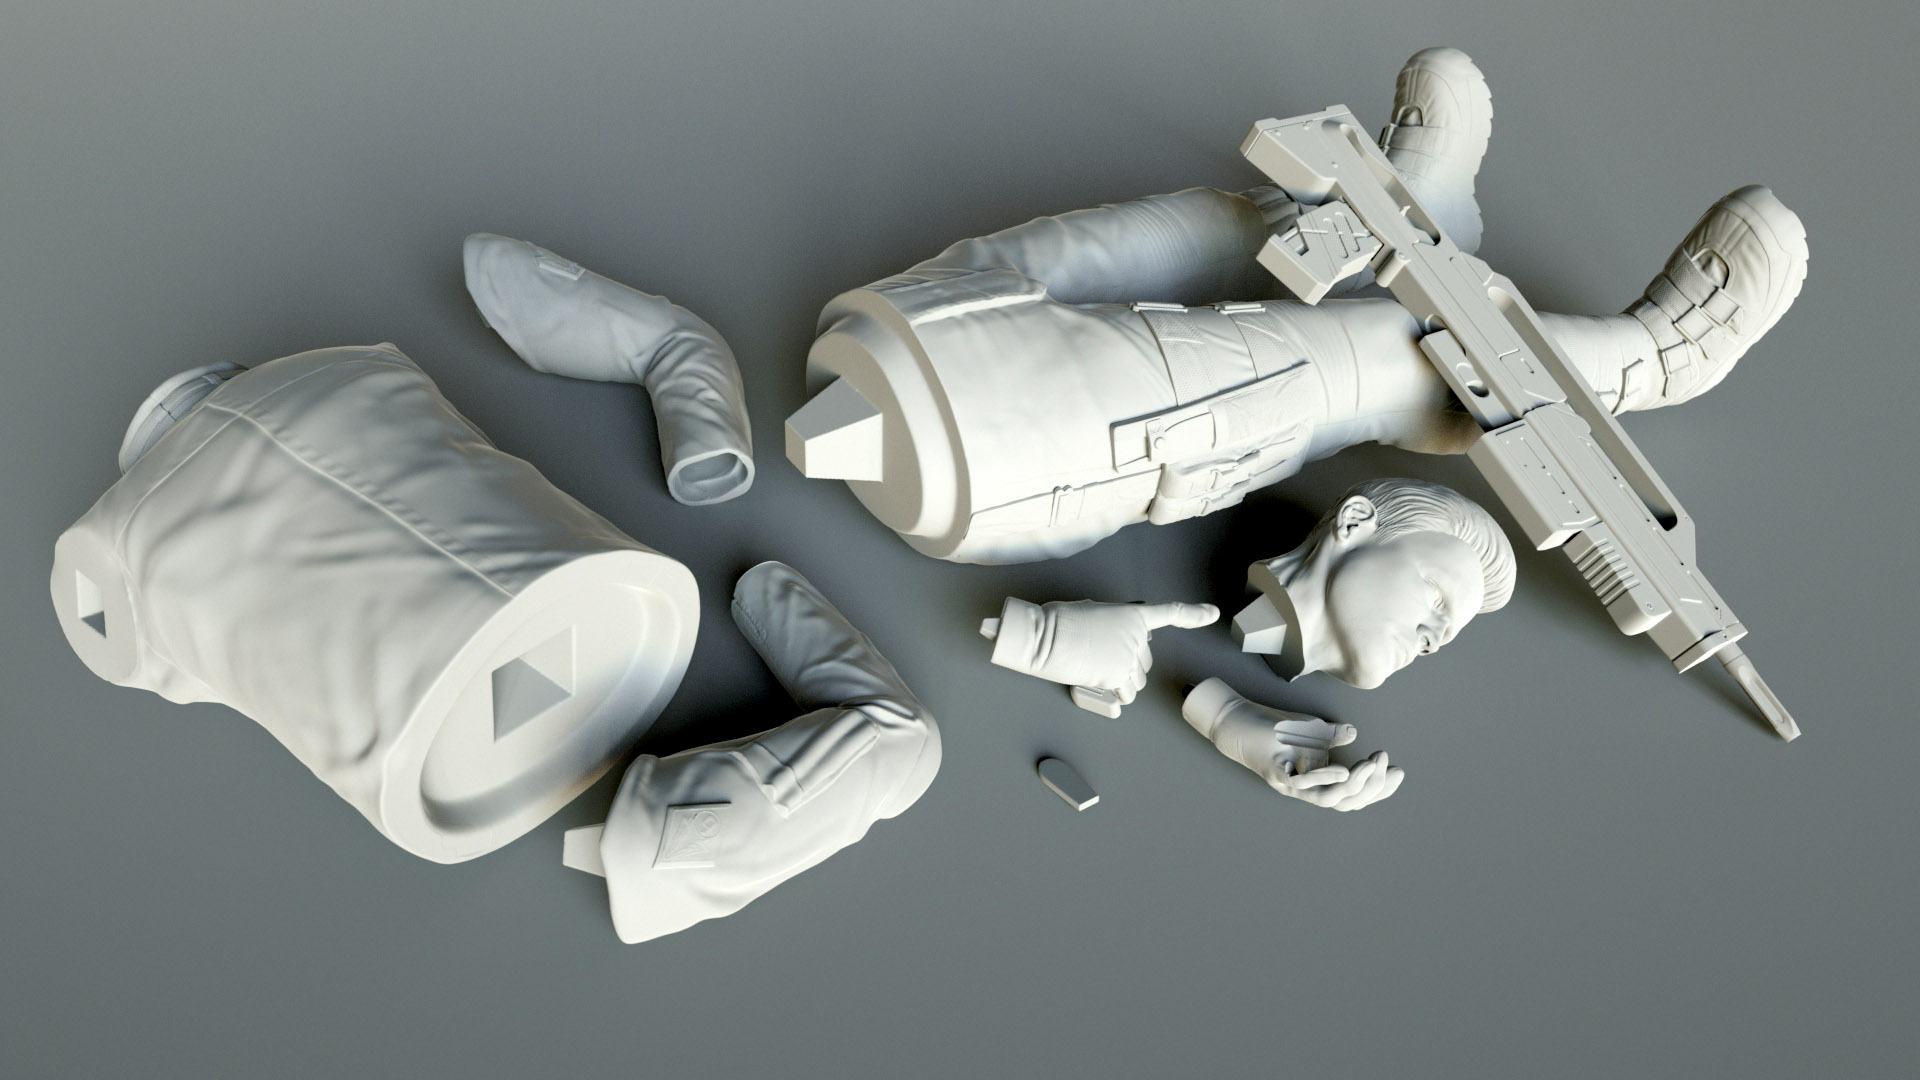
Just realised I forgot to post images of the completed model. Its yet to be printed but am looking forward to seeing that.

No helmet version…
[[attach=253047]CasperPose000SM.jpg[/attach]]CasperPose000SM.jpg
[[attach=253048]CasperPose001SM.jpg[/attach]]CasperPose001SM.jpg
[[attach=253049]CasperPose002SM.jpg[/attach]]CasperPose002SM.jpg
[[attach=253050]CasperPose003SM.jpg[/attach]]CasperPose003SM.jpg

And with helmet on and bigger gun…
[[attach=253051]CasperPose2000SM.jpg[/attach]]CasperPose2000SM.jpg
[[attach=253052]CasperPose2001SM.jpg[/attach]]CasperPose2001SM.jpg
[[attach=253053]CasperPose2002SM.jpg[/attach]]CasperPose2002SM.jpg
[[attach=253054]CasperPose2003SM.jpg[/attach]]CasperPose2003SM.jpg

Starship Troopers?? YES!! Lol love it. He’s awesome

It’s that you should NEVER EVER remove your helmet. :grimacing:

Great likeness in the face, and armor, I knew from the thumbnail what this was!

pretty awesome

It’s been a long time coming, but I’ve been completing this mesh for print. Been using the updated tools for cutting and keying, which didn’t exist when I finished the sculpt. Still got some work to do on the armour, but here’s were it is so far. Image and animation.

oh snap its jonnny rico nice

Just curious, what’s the point of doing the pieces separated like that? Head separated from torso, hands from arms, etc…

Oh so nice. Is that a Nylon print?

thanks. It’s a project I’ve learned a lot in.

its for a few reasons. One is printing efficiency. The model will be 12 inches high, cutting it in half is easier for most printers. It’s also for flexibility: there will be two options. Head with and without helmet, different gun, which means different trigger hand. But mainly it’s for casting. Once printed, the parts will be cleaned up and used to make moulds. It needs broken into buts that are easier to mould from.

thanks. Yes, it will be used to make a resin kit. One 1/6 scale (305mm) and then possible one 1/4, hence the extreme detail.

interesting!!! what updated tools are you talking about? I’m really interested in your cut and key process!!!

Talking about dynamesh, insert brush, booleans, none of which existed when I built this thing.

Oh man this is Sweet!

Johnny Rico! I would to see this printed in a large figure, to awesome!
#Retro+Sci_Fi=AWESOME!

Why thank you. We’re just trying to work out a plan for the armour and all it’s associated details.

[COLOR=#515A61][FONT=helvetica]Finished up figuring out how to do the helmet and the version with him wearing the helmet.

[COLOR=#515A61][FONT=helvetica]The head has the back sliced off, and it will key inside a filled helmet, then the cheek pieces will slot in and the chin buckle will fasten to them. There’s also a version of the helmet that will hang from his kit for the ‘hemlet off’ version. Took a while, but happy with the result.


Bravo, neat Job!! Dynamesh is an awesome feature for creating stl prints isn´t? :slight_smile:

Great work… would love to see your work flow… really impressed…

Keep it up…

Ziggy

Gordon,
Really love your work!
Beautifully and lovingly made.

Another milestone completed. All the separation and final detailing/straps etc for the armour. It’s nearnly done Yay!

Just playing with how this will be showcased. Turntable render to test lighting and surfacing.

Been a while but I’d say worth the effort Gordon!