Very useful! Thank you for sharing!
Awesome. Thanks for taking the time to make that!
That model is your best yet.
Cool! Thank you very much. 
Cheers!
Hey guys,
I was experimenting with FiberMesh earlier trying to find out how the fibers could get the polypaint from the mesh they originate from.
I read this in the Zbrush doc
“PolyPaint the source model with the colors of your choice. When the fibers are generated, they will (depending on the Fibers settings)
draw their coloration from that of the underlying surface.”
but couldn’t figure out how to do it. Maybe it’s too obvious for me to see it. Has anyone of you ever done this?? I’m very curious.
I found a different way using the ZProject brush with RGB on, but I’m sure there is an even easier solution.
Anyway, this is what I came up with using Morph UV on one of my older polypainted models and then applying FiberMesh on it.
Thought it looked funny, so I wanted to share  Now I kinda want to create a cute little fuzzy creature
cheers!

Hi hendrik
Have you tried setting up the Base & tips colorise slider in the Fibermesh tab to a really low value (0.0001) ?
Oh wow, what do you know… works like a charm. Thank you so much! 
I don’t know exactly why, but I really like this. I think I am digging the simplicity of it and most certainly, the rendering… mainly the metal parts. Kudos, great job.
kudos for the awesome Naruto reference  sweet texturing also, all done inside of Zbrush or partly in Photoshop ?
hey thanks guys, glad you like it 
I did the sculpting and texturing as well as rendering out all the passes in ZBrush.
The composit and the fire was done in Photoshop.
This one is cool too, but, for some reason, still digging the ‘cold’ looking one.
Nice work. But i also think that cold one was better. I had more depth and metallishness on it.
I just love the new R4 features. exactly what I was hoping for 
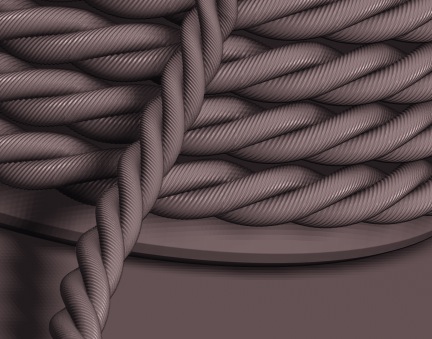
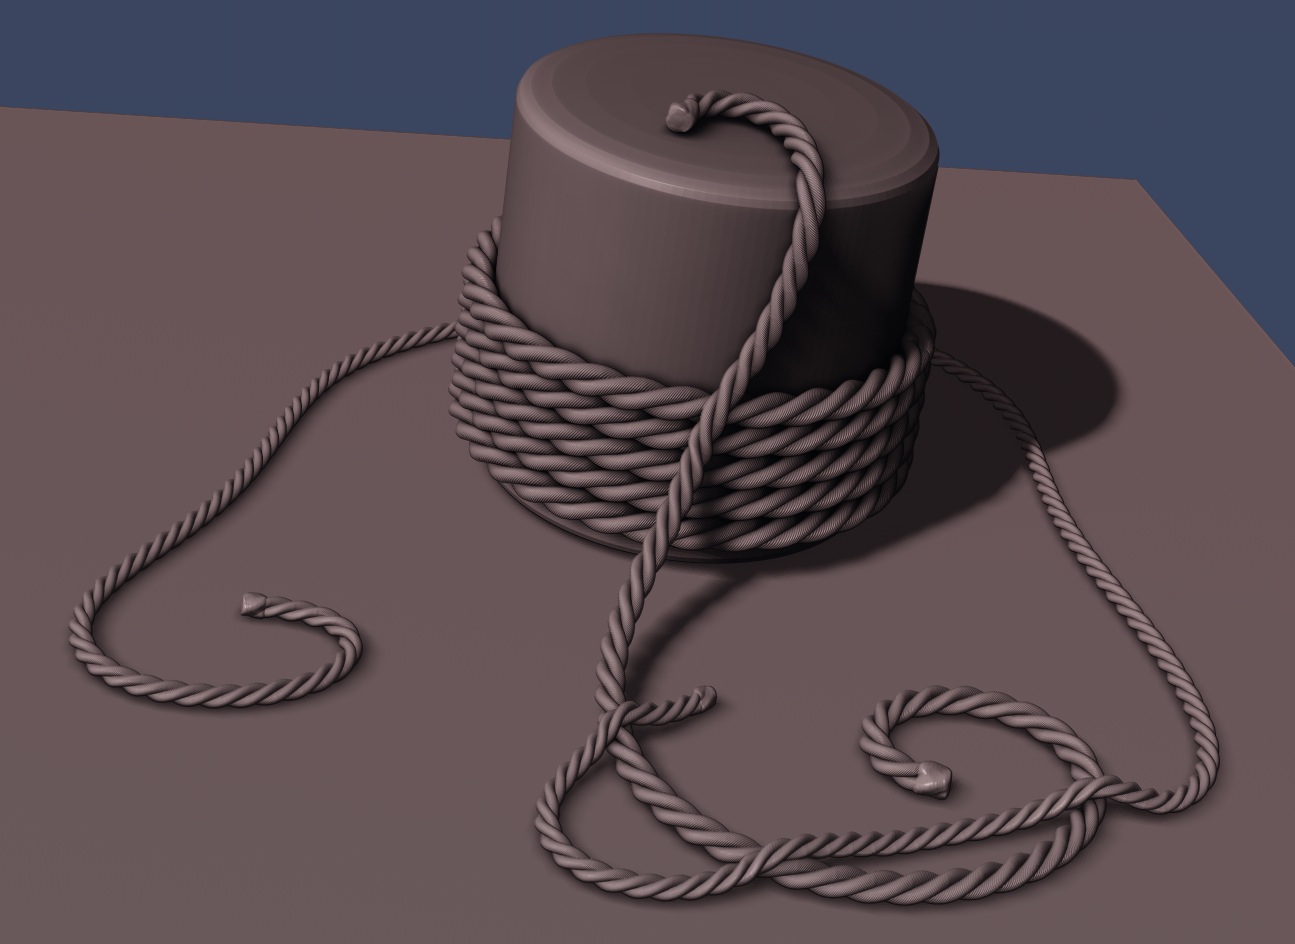
I’ve played around a bit with tri part feature and made a rope insert brush. I remember making a piece of a rope
a while ago and duplicating it to make it longer and then finally using a ZSphere rig to put it into place. It worked,
but took soooo long!
I love how you can just drag the line along a surface as if you were dragging a physical rope. so cool!!

And here is the brush for you to play with. I should probably make it a bit more low rez, but I wanted it to have a texture.
Also, the area where the parts connect could use some cleaning up. but then you can only really see it if you look closely 
Awesome! Thanks for sharing  small_orange_diamond
Wow cool rope! I want to make something too…hmmm
Awesome! Thanks for the Rope Insert brush.  small_orange_diamond
 small_orange_diamond
There is a thread aurick started just for this purpose if you also want to post it in there. It’s the Insert Multi Mesh Repository thread.
this is awesome i just made one similar but lower rez, It be nice have a low and high one though thankyou for the brush
I have a question for you my rope has no ends tough i couldnt get them to line up right so it has open ends. how did you get the ends to work right?
Thanks for the Rope brush! Awesome.
Maybe that the middle/rope, and both end caps and beginning caps each have their own (polygroups so in your case 3 polygroups) and all are the same subtool. Both pieces that you have to make the rope need to be one polygroup only though.
I would also suggest to making you bottom cap first then with the transpose/Move action line to drag out a clone of it strait up and to make a top cap and that will keep it all on the same plane.
For an example you want a cylinder cap on the ends of your rope.
-
Draw out a cylinder make it a poly mesh 3d. Turn on your floor to make sure it is centered in the middle then clone and drag out the top cylinder strait up from that bottom cylinder, now you have a top and bottom cap (you can have different ends just make sure they are on the same Z plane or or in other words lined up with each other strait up and down). Hit the Auto groups button in the polygroups menu.
-
Now append your rope tool you made and it becomes a new sub tool. Position the rope tool so that it is in between the top and bottom caps making sure it is also centered. Now hit the Group visible button to make the rope one solid polygroup color.
-
Merge the subtools so they are one. Make sure you have your canvas facing the way you want your brush to draw out in this case should hold the shift key and make it so that the model is facing facing the front, or side (no perspective on).
-
Now hit the make insertmesh button in the brush menu and that makes your brush. Now just like you did before when you want to use it hit the curve mode button in the stroke menu to turn it into a curve and draw out your rope.
You may also want to play with the settings and size of the curve to get the desired look of the rope. You can also hit the weld button and do many other things with your rope in the brush and/or curve pallet.
Here is the new tutorial link if you haven’t checked it out yet http://www.pixologic.com/zclassroom/homeroom/lesson/insert-mesh/ it is the third one although the other movies show you even more. I hope this helps! 


