I think there is no mesh import at all. Maybe you should rightclick on the Modo application icon to check if gozio.lx is still in the Extras folder. If not, re-install it. Then check if your tool>export setting is set to 1 (and the offsets to 0).
…
I take a look asap, might be a few hours before I can though.
What you’ll find once you get it rolling is that you don’t have to adjust ANY of the displacement values in modo! You literally will be able to just hit GoZ and that’s it. The hi/low values are automatically calculated. From there you can tweak some other things, but for the most part, it will be extra smooth once you’ve identified your mistakes.
I’ll get back at you soon. I’m no 3d jedi, but maybe I can help.
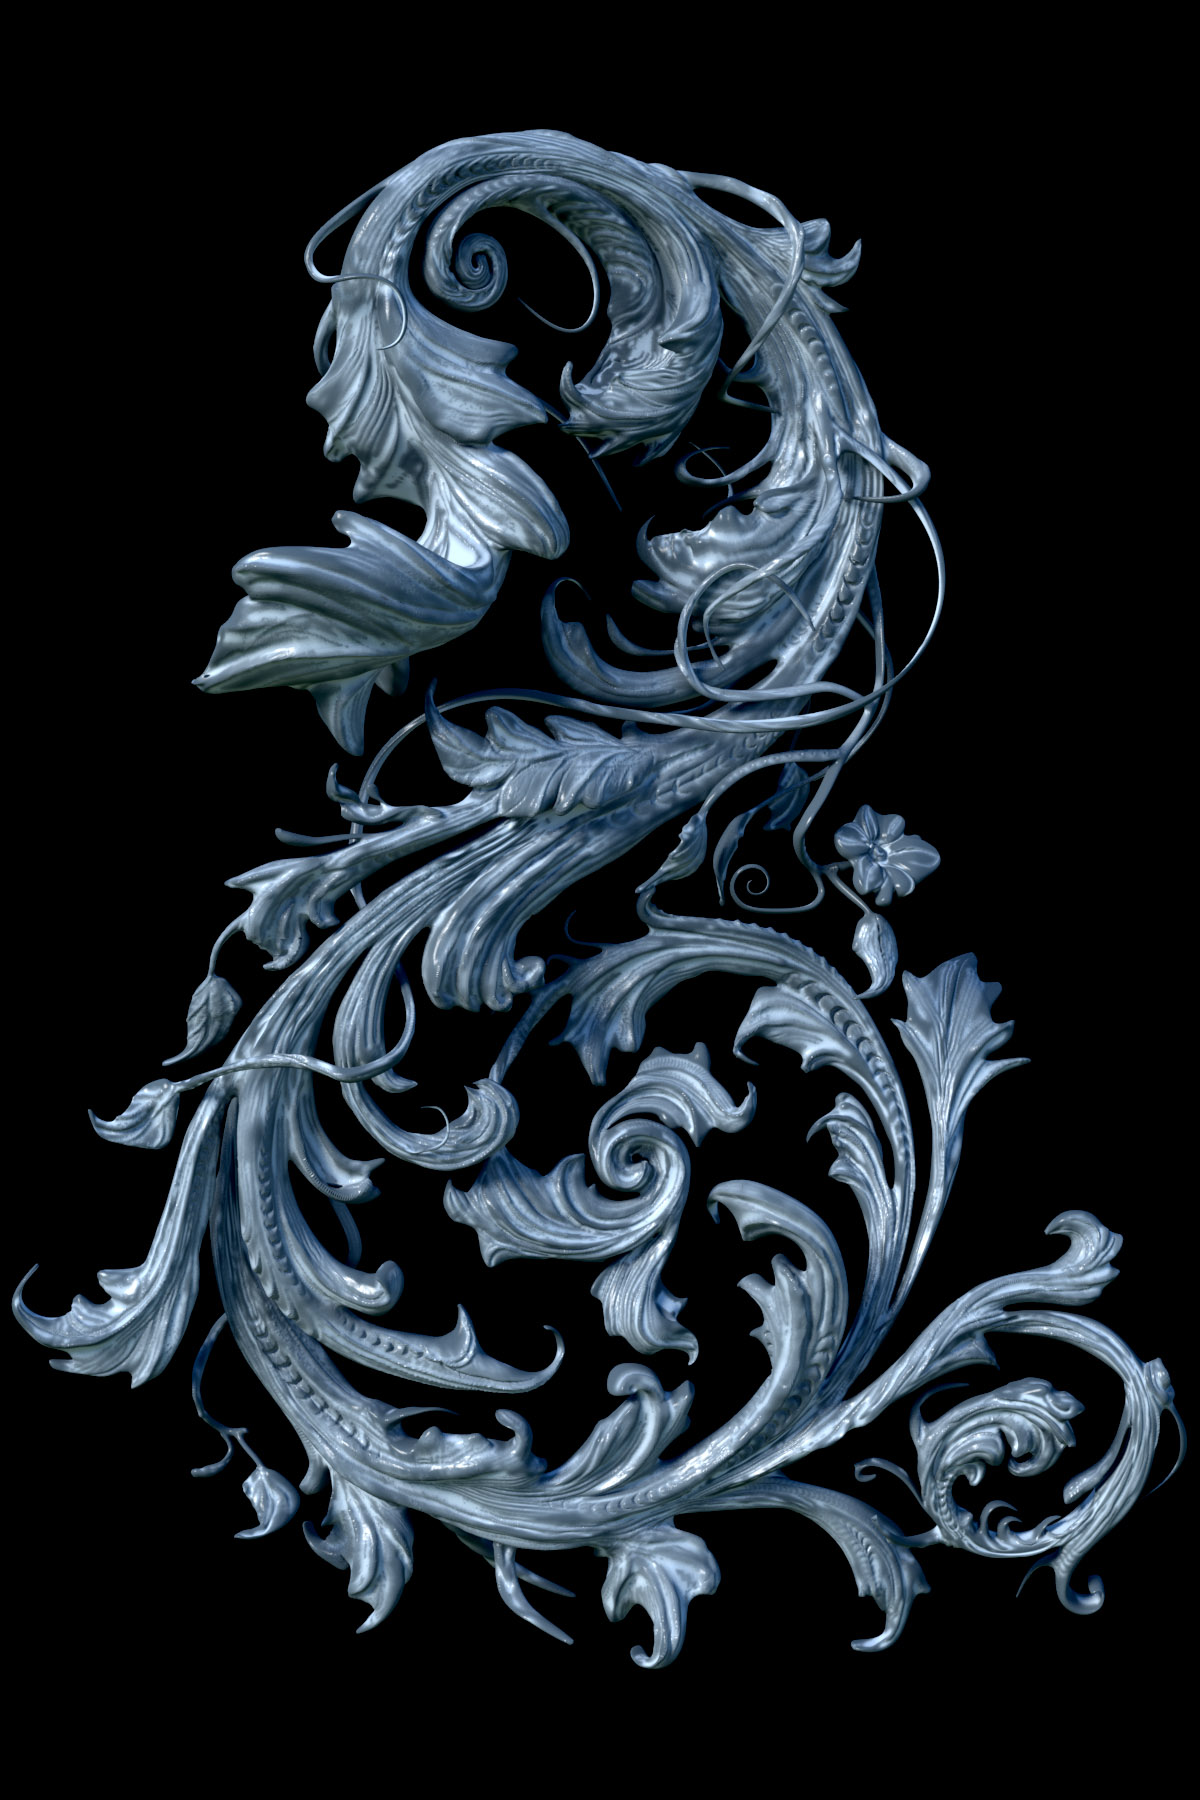
This is a really cool sculpt.
Ok, I snuck in a look while waiting on a print job. Figured it out from what I can tell.
I opened your ZTL in ZBrush, and looked at tool>export. Your scale was at 1, but your x, y, and z offsets said “nan”, as you had mentioned. All I did was drag each slider away from the center, and then back to center, which changed the offset to 0. Nan must offset all vertices to that particular plane. Having all xyz offsets set to nan would theoretically set all vertices to the origin point upon export.
Now I’ve never experienced this mystery known as nan, so this was just me checking out the settings and clicking around. But I did notice it change from nan to 0, which is when I went for the GoZ.
Here it is after hitting tab, turning on GI, adding some spread angle to the light, and making the environment not visible to camera.

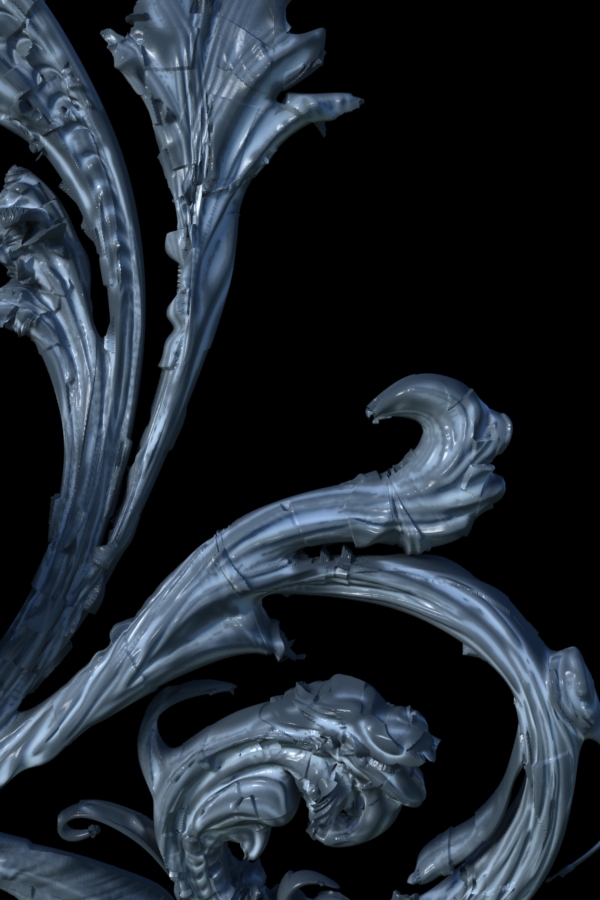
Also, depending on your goal for this sculpt and quality of computer, I wouldn’t hesitate to try using 4k maps on this to pull out more detail. IF you start using 4k maps, you might run into an issue displaying the 4k maps in open gl. It will look like this:
http://www.zbrushcentral.com/showthread.php?t=72585&page=20&pp=15
(scroll down to see images)
If it happens, go to the modo preferences>open gl>texture resolution and set it to 2048 x 2048. Done.
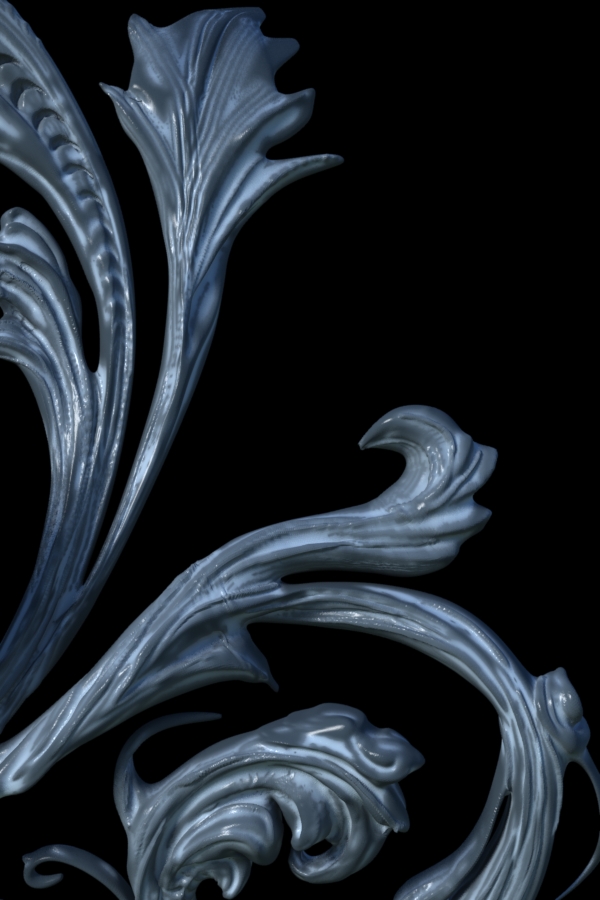
Here’s also some render comparisons using your initial uv’s and 2k map vs 4k puvs and displacement vs 4k puvs and normal. The GI settings in the default environment are what’s making it look blue and green.
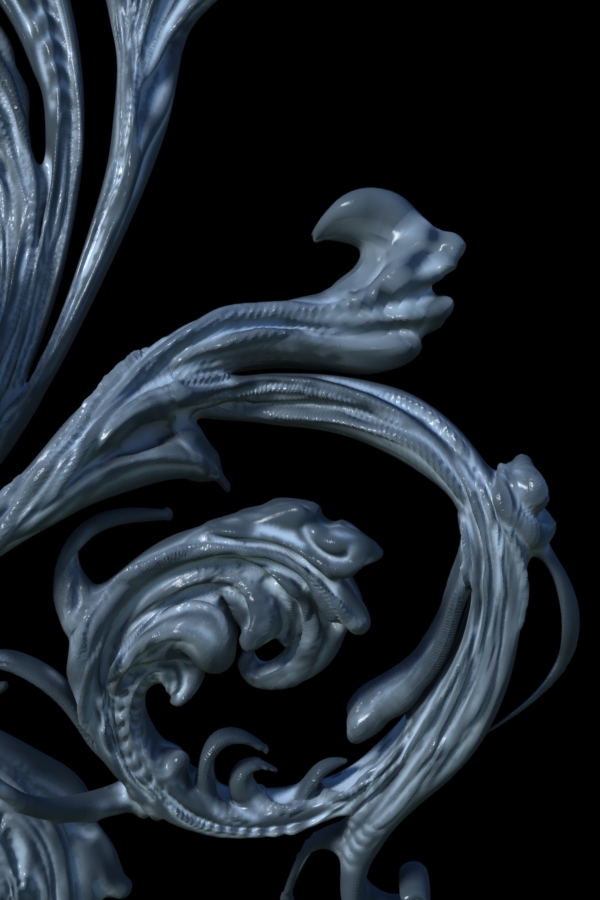
Your initial settings at 2k lost a lot of detail in this area, so that’s where I’ll focus. Here’s a close up:
Attachments
YOU’RE AWSOME! OMG! It looks great! Seriously! You have been so helpful and I can’t thank you enough! These images are great! I’m in Boston away from my computer in NYC but, I can’t wait to get back Mon. Thank you so much for you help! I could follow your steps or if you could zip the files your worke on and uploadthem to me (sendspace) that would be great to look at/ use. If nit I think I have it. You can email me the link ( [email protected] )- I really feel so great to know you figured out the the Nan size issue! Wow, I thought it was a lost hope! But, now it’s On! GoZ! Yes!!! Thank you do much man!
Ironically, another post just came up in the q&t forum with the same issue except with maya. They also noticed the nan offset setting, so hopefully that’s their problem as well. I would like to know what causes it.
I’ll try to get you a download link this weekend. Glad I could help. Just keep on sculpting, man. This is a really organic and unique model, it really shows a lot of potential. 
