Very Interesting, that is all we PC users can say, but help we can’t, maybe one day when we get GoZ…
from what i can tell the divide button is not working because you used HD geometry divisions.
if you want to divide the model again you will need to clone it, beware though that will delete your HD geo on the cloned model.
Oh I see, thanks Spaceboy412. and All that have replied. I do wish PC users will have the GoZ available soon, even though its not so smooth for me yet, it seams like a great tool…If anyone see this thread and has more info/ help please do. Thanks! B
To fix the ‘pixelated map’ effect in modo, lower the Displacement Rate in the Render Settings (perhaps from 1.0 to 0.5).
Test it with small increments, because it increases poly count at render time and will need to be varied according to render size (because of speed and memory etc.).
This vid might help a bit: http://www.luxology.com/training/video.aspx?id=168Lux TV
There are two settings that control the quality of the displacements, the Displacement Rate as MotleyPete suggest and the Minimum edge length.
In modo, anything named “rate” is a measurement in pixels. So the displacement rate sets the length of the micropolys in pixels. This, however, can be regulated using the “Minimum Edge Length” setting. Modo looks at an edge and if it’s longer than the Displacement Rate and longer than the Minimum Edge Length then it subdivides it. If the resulting edge is smaller than EITHER one of those, then the edge is left alone. So you could have a really small Subdivision Rate but still be getting faceting because the Minimum Edge Length won’t allow any more divisions. At that point, it will take some experimenting to figure out the balance between smoothness and geometry density at render time.
Also, keep in mind that what looks good at lower resolutions is probably overkill at higher resolutions, be prepared to run out of memory, especially using the 32 bit OS X version.
One more thing: Since the Subdivision Rate is a measure in pixels, a rate of 1.0 = 1 pixel per edge. Going smaller than 1.0 as MotleyPete suggested generally increased the amount of geometry created while having no visible result since the edges are smaller than can be rendered.
Thank you all!! i think this advise will work only problem is Now, I cant see the mesh in Modo? I sculpted in Zbrush-hit GoZ and its seams to transfer over , I see the mesh icon, the textures but, no mesh in visible range? There is a small Z in the middle of the camera view, (attached) Is this something in ZBrush im doing wrong, the draw size? I even exported an OBJ and its not showing up?..

(you don’t have the GoZ scene selected, select the top scene in the item list) If ever your mesh is visible in the item list, but not the viewport, you could just be too zoomed out. Select the mesh item in the folder, and hit shift + A, which will auto fit the selection. This applies even if you just have one poly selected, it will fill your whole view. Having nothing selected is just like having everything selected. Just hitting A will auto fit all elements in the scene.
First off, make sure your base mesh is dense enough. In your early posts, it seems too low poly to accurately displace. I had major issues with displacement on a fish recently using GoZ > modo. The base mesh was 200 quads. Bumping it into the thousands helped greatly.
However, even on the fins of my mesh, which were obviously thin, the displacement was inaccurate. What was a great solution for me was deleting the lower subdivision levels in ZBrush until the base mesh was above 50,000 polys. modo can handle this just fine. Then I used a 4k normal map instead of a displacement. Because the base was so dense, it retained the silhouette quite well, and rendered like the ZBrush sculpt.
Another bonus was render time, which always matters. With just a basic environment and some spread angle on the directional light, I rendered a 2k x 3k image in under 50 seconds. The same thing with displacement took 17+ minutes.
Here’s the thread I posted pics at. Go through the pages and see if it helps:
http://www.zbrushcentral.com/showthread.php?t=72585&page=21&pp=15
In conclusion, it seems that displacement is not always accurate on certain parts of meshes, such as the very thin fins of my fish where it bloated. I just think it’s the nature of the beast. There’s always a work around though. A normal map was one in my case, and separating the fins as separate meshes may have been another.
Good luck figuring it out 
James everything you said is so helpful i know and cant wait to try it but, as i mentioned, my mesh OBJ is not visible in Modo? As you see in this new image, i do have the scene and mesh selected but, no polys or anything? i hit Shift-A and also A, nothing…there seams to be something existing on the mesh layer cuz, it is bold…? I even tried to assign a new material and nothing? this is bugging me out! I keep re-saving- exporting OBJ manually from ZBrush, also using Go Z, nothing happens., sometimes it just opens modo and doesn’t import anything, other times it imports but, there no polys visible? Nothing…its even take sa good amount of time to open but, theres nothing in there…so weird… 
Beautiful sculpt, I love it.
Shift A is specific to each viewport also (camera, opengl, preview, etc.)
Try to middle mouse click and lasso around the center of the perspective advanced open gl viewport in poly mode NOT item. This will select all polys if it’s far away. It should tell you in the bottom right how many polygons you have selected in yellow text. Even before lasso it should say “All Polygons” if there are any. If there is, then try Shift A again. If that’s not the ticket, have you just tried rebooting everything?
This is a weird one. I’ve rebooted before and magically fixed a GoZ connection before.
Some other ?s are how dense is the base mesh, and what res and type of uv are you using? You are supposed to GoZ from the lowest subdivision level after creating the uvs from the lowest level (I use puv tiles) and displacement/normal from the highest. Your mesh seems pretty dense in the screen shot where you say you GoZ to modo.
This mesh reminds me a lot of my fish fins, I hope it displaces well in the end. Keep truckin’ you’ll get it.
Two things make me think you’re taking the wrong steps. One is, in your screenshot where you say you hit goz, the mesh is full res, and the displacement is turned off. You said it takes a long time to open, could be because modo cannot handle millions of polygons freely like the beast we all know as ZBrush. So try this order. Save out a new version first.
1- Close modo.
2- Go to a lower subdivision level with at least a few thousand polys, maybe more. Delete lower.
3- Go to tool>uv map
4- Delete uvs if you have them. Set it to 4096 (4k) and hit PUVTiles.
5- Go to the highest subdiv level.
6- Go to tool>displacement map with smoothuv highlighted
7- Create displacement
8- Go back to lowest subdiv level.
9- Hit GoZ and select modo.
10- In modo, hit tab to switch to subdivision surface mode to view the displacement.
11- Render, since displacement is inaccurate in preview.
Any luck???
If you do not have lower or low enough subdivision levels, try to reconstruct subdiv under tool>geometry.
James, I cant thank you enough for your involvement and efforts and attention to helping me out. Unfort I tried the steps you mentioned and it by deleting my old UV, (painstakingly created in Modo, with loop/step selecting, Unwrapping, moving, vert by vert where overlapped) I did try all the steps you mentioned (PUTuv) and still the model doesn’t not show up!
i was able to select in the middle of the view port and it looked like the model is there but, so tiny that it un sizable. i even tried re-sizing to 1000% xyz, nothing happened…Its def a problem with the size. of the oBJ, cuz, its loading in (takes a min) …Im going to upload the model to so you can take a look at it if possible, or anyone on here. I am so disappointed cuz, I spent hours modeling it, UVing it (1-2 days at it, attempting to get cut up) then sculpting the details in ZBrush…I really feel this is an issue of size, or …also i noticed a while back in my earlier test with GoZ, i saw the High/ Low value of the disp texture said “nan” or something like this, i changed that to -4% 4% and it worked but, was bubbled out, to much disp…man im confused. I wont give up and Thank you for everything! I’ll post the model (OBJ, mtl,bmp, ZTL) next 
This sounds like a scale issue upon export. This looks like all 76446 of your verts are placed perfectly at the origin of xyz. That isn’t good. It’s not that the model is small, it’s that you’ve collapsed all it’s verts into one point in space. How, dunno.
I’ll look into it a bit today, but I think you can check the exported scale of your model under something like tool>export. Make sure it is at 1. Also look in the tool>preview window. What does it look like? It should be fitting in there visibly, not too big or small.
I would also post this problem at the Luxology forums under product support.
Once you figure out this scale issue, you will likely be able to resort back to your version with the uvs you laid out in modo. Just be sure to save out a different version to preserve it.
Also, go ahead and check your GoZ>modo connection with a dummy object or the GoZ test sphere.
Good luck
I meant to say lowest…highest is for when you create the texture from polypaint…
I think there is no mesh import at all. Maybe you should rightclick on the Modo application icon to check if gozio.lx is still in the Extras folder. If not, re-install it. Then check if your tool>export setting is set to 1 (and the offsets to 0).
…
I take a look asap, might be a few hours before I can though.
What you’ll find once you get it rolling is that you don’t have to adjust ANY of the displacement values in modo! You literally will be able to just hit GoZ and that’s it. The hi/low values are automatically calculated. From there you can tweak some other things, but for the most part, it will be extra smooth once you’ve identified your mistakes.
I’ll get back at you soon. I’m no 3d jedi, but maybe I can help.
This is a really cool sculpt.
Ok, I snuck in a look while waiting on a print job. Figured it out from what I can tell.
I opened your ZTL in ZBrush, and looked at tool>export. Your scale was at 1, but your x, y, and z offsets said “nan”, as you had mentioned. All I did was drag each slider away from the center, and then back to center, which changed the offset to 0. Nan must offset all vertices to that particular plane. Having all xyz offsets set to nan would theoretically set all vertices to the origin point upon export.
Now I’ve never experienced this mystery known as nan, so this was just me checking out the settings and clicking around. But I did notice it change from nan to 0, which is when I went for the GoZ.
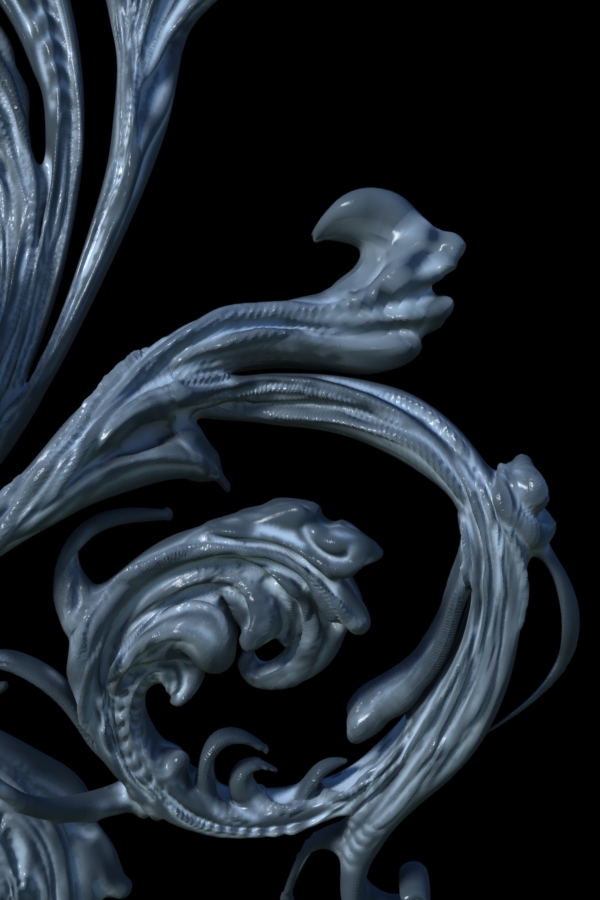
Here it is after hitting tab, turning on GI, adding some spread angle to the light, and making the environment not visible to camera.

Also, depending on your goal for this sculpt and quality of computer, I wouldn’t hesitate to try using 4k maps on this to pull out more detail. IF you start using 4k maps, you might run into an issue displaying the 4k maps in open gl. It will look like this:
http://www.zbrushcentral.com/showthread.php?t=72585&page=20&pp=15
(scroll down to see images)
If it happens, go to the modo preferences>open gl>texture resolution and set it to 2048 x 2048. Done.
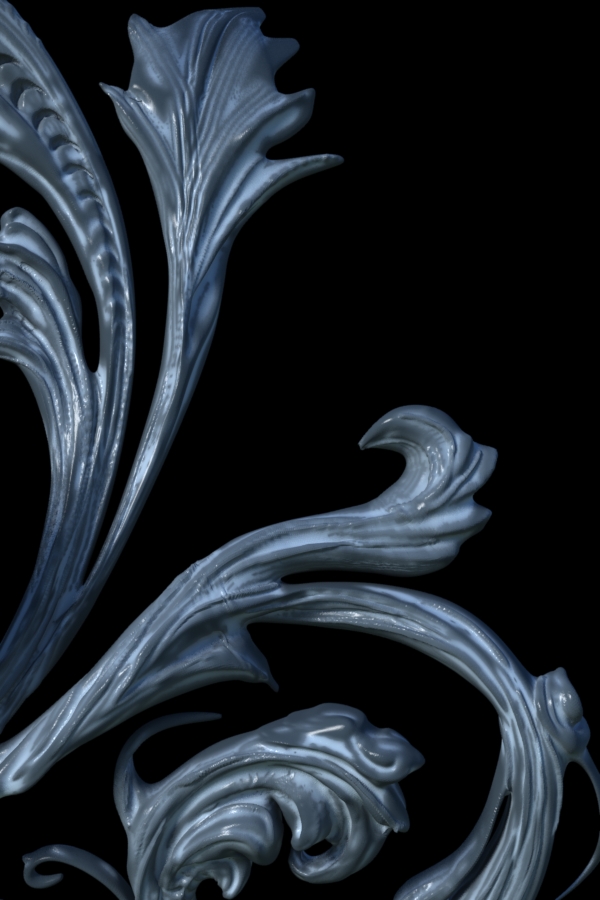
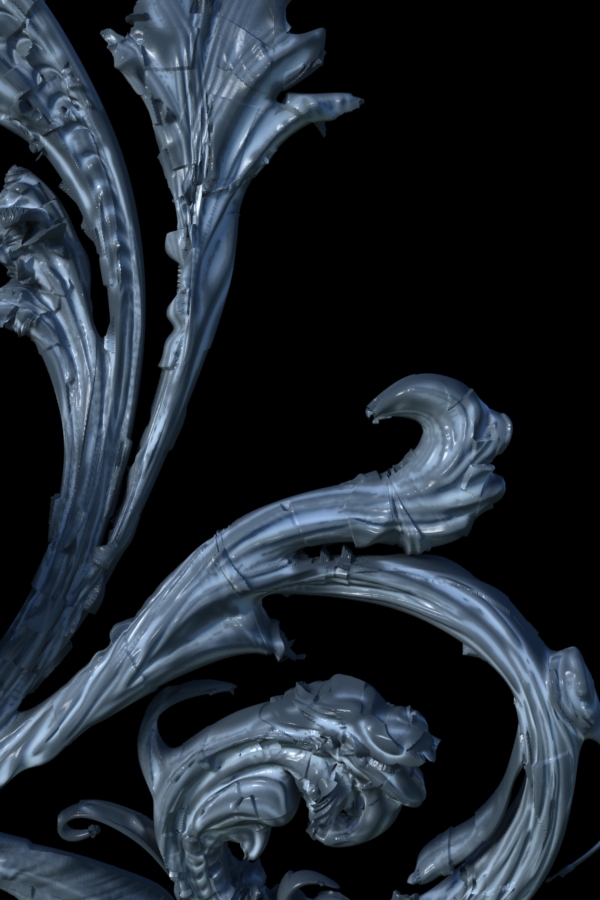
Here’s also some render comparisons using your initial uv’s and 2k map vs 4k puvs and displacement vs 4k puvs and normal. The GI settings in the default environment are what’s making it look blue and green.
Your initial settings at 2k lost a lot of detail in this area, so that’s where I’ll focus. Here’s a close up:
Attachments

YOU’RE AWSOME! OMG! It looks great! Seriously! You have been so helpful and I can’t thank you enough! These images are great! I’m in Boston away from my computer in NYC but, I can’t wait to get back Mon. Thank you so much for you help! I could follow your steps or if you could zip the files your worke on and uploadthem to me (sendspace) that would be great to look at/ use. If nit I think I have it. You can email me the link ( [email protected] )- I really feel so great to know you figured out the the Nan size issue! Wow, I thought it was a lost hope! But, now it’s On! GoZ! Yes!!! Thank you do much man!
Ironically, another post just came up in the q&t forum with the same issue except with maya. They also noticed the nan offset setting, so hopefully that’s their problem as well. I would like to know what causes it.
I’ll try to get you a download link this weekend. Glad I could help. Just keep on sculpting, man. This is a really organic and unique model, it really shows a lot of potential. 