for 32 bit maps insert this quick code under the options in disp exporter
These setting work rather well with max. for 32 bit
DE-LBEK-EAEAEA-R32
for 32 bit maps insert this quick code under the options in disp exporter
These setting work rather well with max. for 32 bit
DE-LBEK-EAEAEA-R32
@ivo D.(or any other help)
did you do the unwrapping in Max? the video does the unwrapping in Blender, but when i do a uvunwrap in max (instead of Blender) and export that out and in Zbrush again… the mesh gets messed up.
So how did you do the unwrapping?
thanks
i did my uv mapping in uvlayout.
Dont know what you did, maybe you have overlapping uv’s? zbrush doesnt like uv’s overlapping, make sure all the verst are welded around the edges of your uv’s.
When you make sure that all that aint the problem, collapse your stack, en make sure its edit poly.
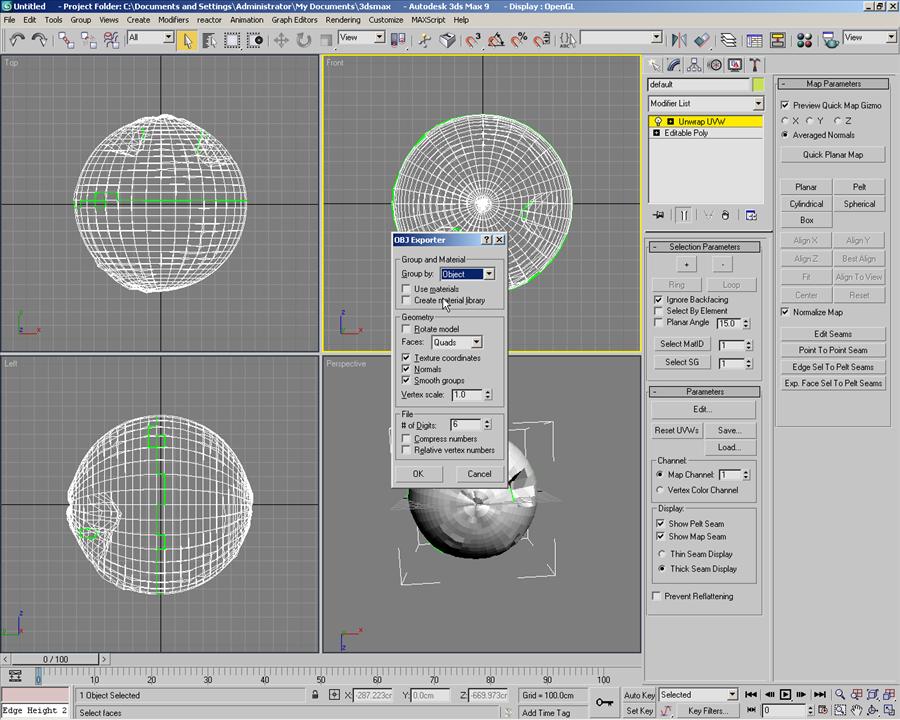
Than make sue, pivot is center, object is center, and export your model obj.
Im not done with testing displacement, en normal mapping yet,.
But everyone who is doing it in max 2008 or 2009.
Post all your settings, and your max version,
show your results.
yes I always use blender
Only because I’m very familiar with the program.
and I know it never screws up anything in vertex order.
It’s a great program for uvs.
hi,
been testing it… and my mesh doesnt gets messed up anymore comming from Max9 with UVs.
so i followed your tutorial step by step.
but when checking the uvs… i see a lot of red. and you say thats not a good thing.
What is this red color and what did i do wrong.
hope anyone can enlighten me. (see attachements)
thanks 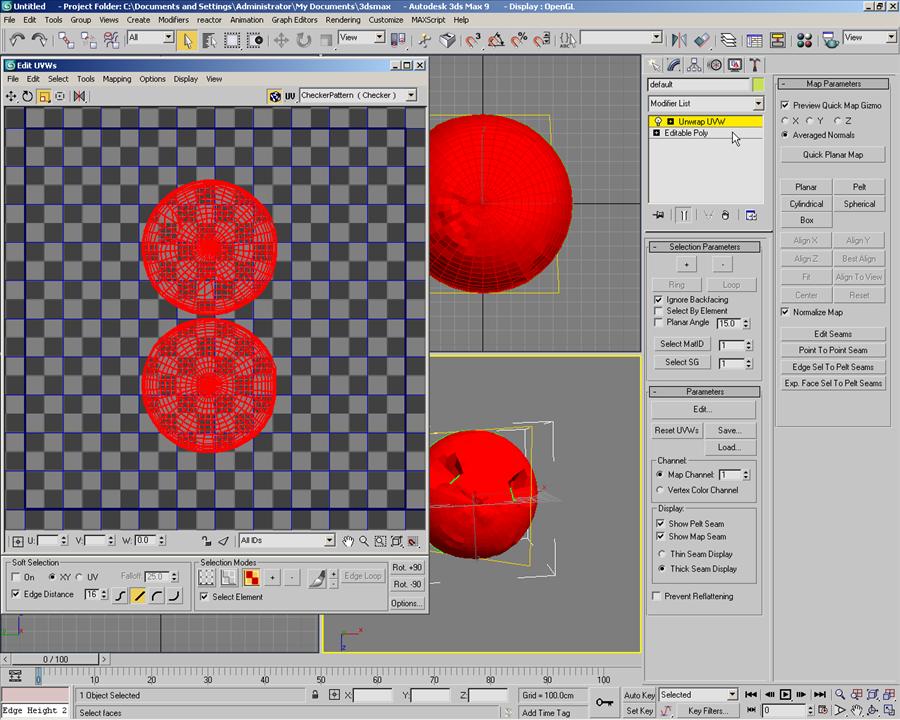
SO ANNOYED!!!
stupid slowshare/dyslexic share!!!
ruddy thing doesn’t display the letter correctly…i can’t read such rubbish
codes…can you not just youtube the ting and let eveyone get it without punching the screen in frustration!!! 
@ cannedmushrooms
did an other uv mapping , but still get some reds in my uvs .
Is the red i am seeing in my uvmap something i do wrong in Zbrush or is it my uv-ing in Max.
in your video you say when you see red you should go a few steps back and youll see what you did wrong?
could you ellaborate a little on that part of the tutorial?
thanks
@cresshead.
please check out the video half way this post by Cannedmushrooms. its great.
Red. means you got overlapping, and i see in your max screen that you didnt, uvmap very well. (aldo all the red is from your selection i think)
in max just do this.
ad a poly or mesh select in you modifier list, select half of your spehere(the top) and a uvmap (planar) than ad another mesh select, select the other half, ad another uvmap, again planar.
Than ad unwrap modifier, and edit it, youll get two pieces, the top en lower, select them in your uveditor, move them apart, than with every part select the outer vertex, or edgering in uveditor, you can do this in the viewport when editing (easyer)
than select softselection in your uveditor, so now you can scale the outer edge or vertex ring. scale the ring up, and part of it will folow, so youl untangle half of the spehere, do the same with the other part, and your done.
but the best uvtool around , in my opinion is http://www.uvlayout.com/
got a lot of tutorials vids on that site to, its fast and clean.
(you got overlapping because of the holes you modeld in your spehere (seeing your max screen(viewport).
Those faces in the holes, arnt unwrapped correctly, they cross edges with others, and thats never good, also ad a checkermap to your model when unwrapping, so you can see how it looks, all squares should be evenly distributed.
thanks ivo,
have been testing all day.
i unwrap using uvunwrap in max. tried different style. peltmapping etc.
i am not very good at it but i think i get it. will take a look at uvlayout… i see there is a trail version. thats nice.
i also followed this tutorial:
http://www.lemiere.com/tutorials/tutorials_zbrushTo3dsmax.html
its great and it works.(used 16 instead of 32R, that didnt work for some reason)basic model in max. uv in max.export… bring to zbrush. add detail in zbrush. render displacement and bring back in max using Vray.
which is my setup… max9 and vray.
i get my displacement right , no reds anymore… but its still not good enough.
for some reason i cant get my displacement to look the same as in zbrush.
if i try to get the same height of the displacement my model gets bloated.
cant figure out how to make a displacement be strong without changing the rest of the model.
ill keep posting my testings… really not happy that i cant get it to work right now. 
that its gets bloated is because of your displacement, the enutral grey in your displacement is not the same as the neutral grey in max.
you can tweak this a little in max, by going to your disp material in your mat slot, go to the output tab and edit the RGB offset.
i got it around -0,5, but can differ.
Sorry didn’t keep up with this thread I no longer get emails msgs from this forum for some strange reason.
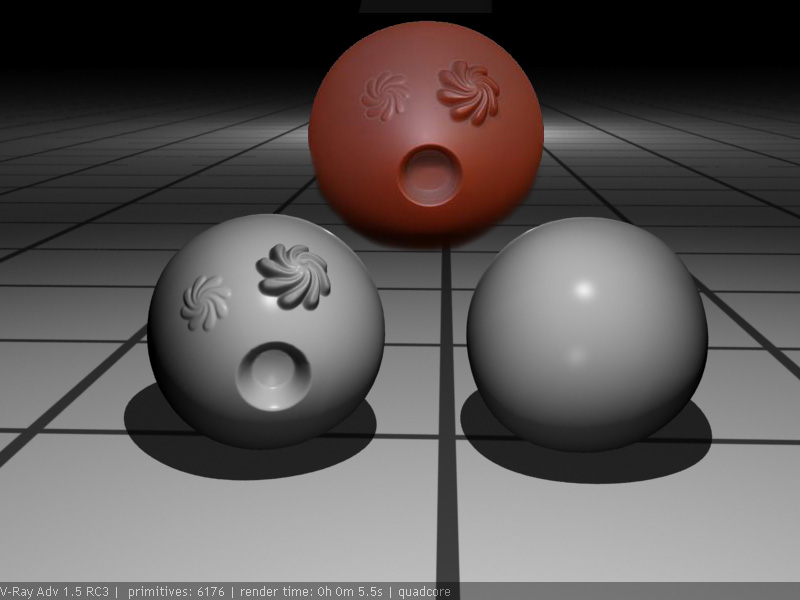
You are displaceing a Ball. And a crappy ball at that.
Meaning you have a ball with a poly cap. (triangles meeting at the top)
When running tests on displacements ALWAYs use Either good uniform geometry (all quads with equal spacing) Or a Object with good topology( the demo head)
You are just getting really bad results cause you fighting your surface normals and edges in the model)
With uniformed geo this wont matter so much.
So a Ball that was once a cube smoothed, makes a great Testing sphere)
But a Zbrush Primitve will always produced bad displacement tests because it is crap.
So based on what I just tried to say would you choose
A or B 

B 
thanks. will be testing tomorrow again. wont stop till i get it right
well ill pick b as it is also easy to map as it only has 6 faces ^^
yesss,
ive got it working. base model in max 9, uv in max. model in zbrush 3.1. export back to max and render with Vray.
thanks all for the help.
me again :)…
still finetuning.
Still not exactly the same. the hole in the zbrush version is more straight.
dont know how to change this. or am i knitpicking too much
Okay I see bartb had problems with his max exported obj ball.
I prefer the GuruWare obj export plugin for 3ds max.
The GuruWare plugin has a preset for almost every graphic program.
Most importantly it has a Zbrush preset 
The attached jpg is exported a sphere as obj using the GuruWare plugin and imported into Zbrush 3.1
As you can see I have no uv overlap problems is Zbrush
On the right half of the picture you see the sphere uv’s in the Unwrap UVW modifier edit… uv’s
Note:

thanks,
ive been looking for that plugin but Guruware seems offline all week.
any other place i can get that plugin?
hi,
still not there…
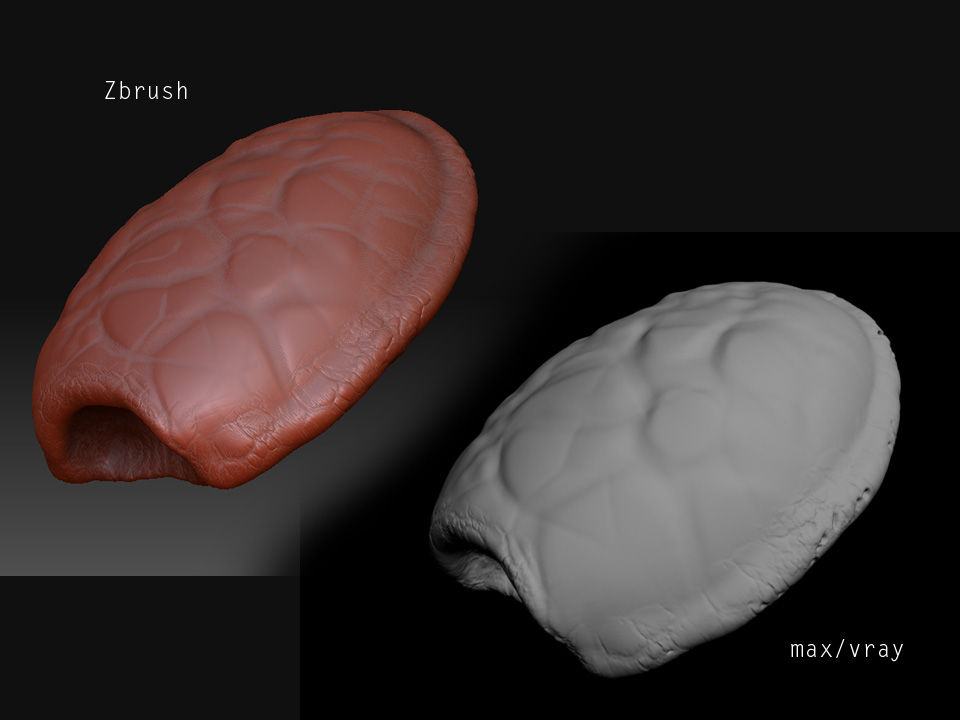
i did a turtle shell. in zbrush the detail is great… in my vray render not.
my uvs are ok. its just that i cant get the same amount of detail… tried to decrease the displacement amount, but i dont get the small detail with that.
i guess its in my displacementmap output in Zbrush… i tried a D16 and a R32.
the images below is showing an R32.
hope someone sees what i am doing wrong.
thanks
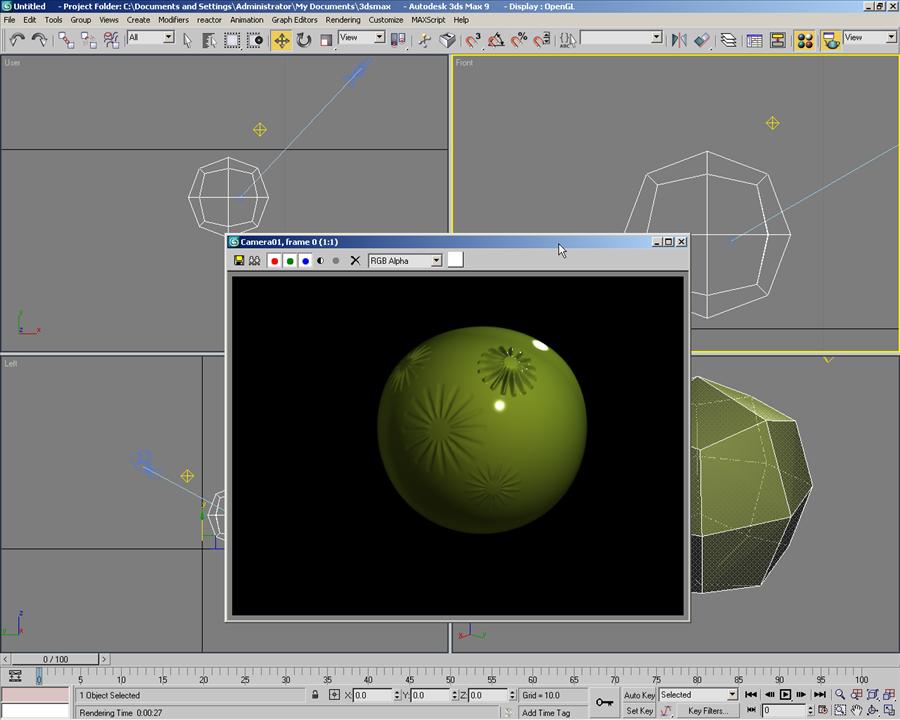
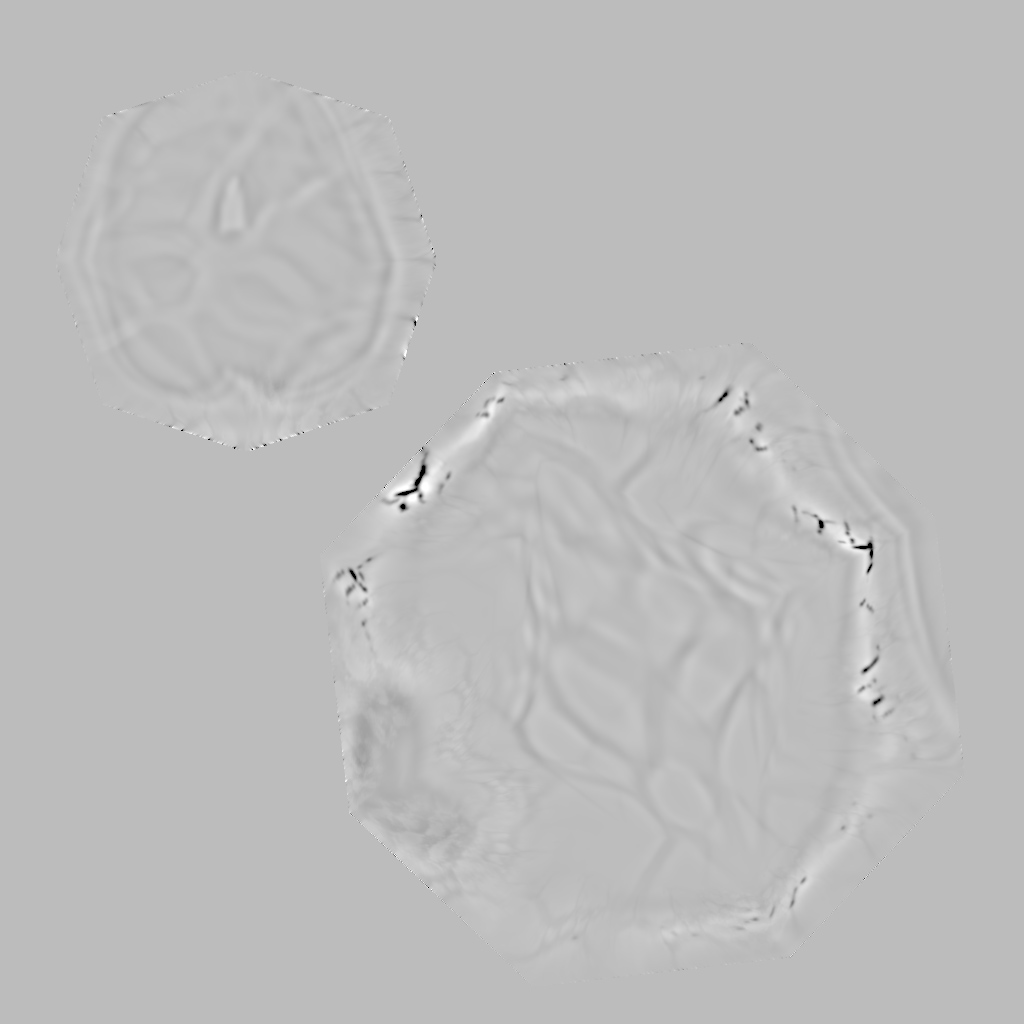
heres my displacement. i made it smaller for the web…
should it look like this… or is there just nog enough detail on there.?
cant see the fine detail at all??
thanks again
Hi dear, I tried to download from above URL but it is not valid… please help.