I’ve spent the last week or so stumbling around my characters rigging and morph target situation with varying results. As I am using displacement maps I came across a few hitches as I am using Finaltoon, and Final Render together…and it didn’t like certain elements when trying to morph one texture into the next…so I found another way to do it using Final renders material base Fr:Layer.
If you are using Mental ray or standard Max for displacement with morphing textures…I don’t know how to help you as the transition looked weird even though the colours were the same (eg. the skin diffuse went darker as they were ‘mixed’ rather than they stay the same).
here is a further process in how I went about making the rig and morph targets, with a cxouple of important tips that I came across on the way.
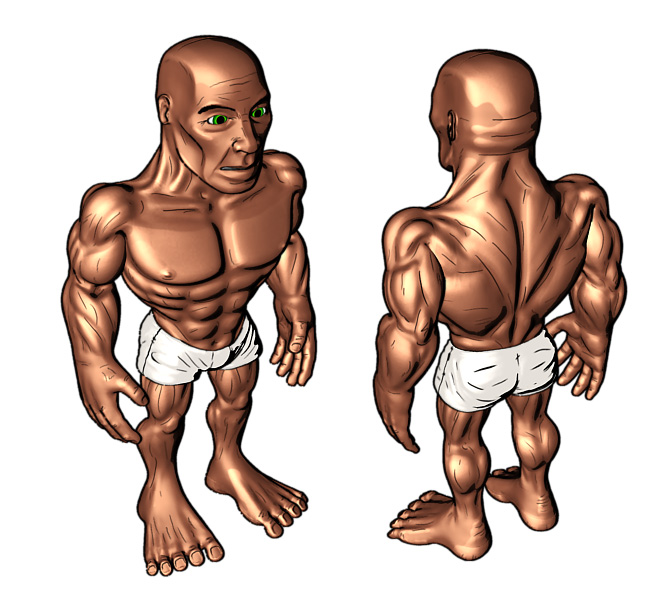
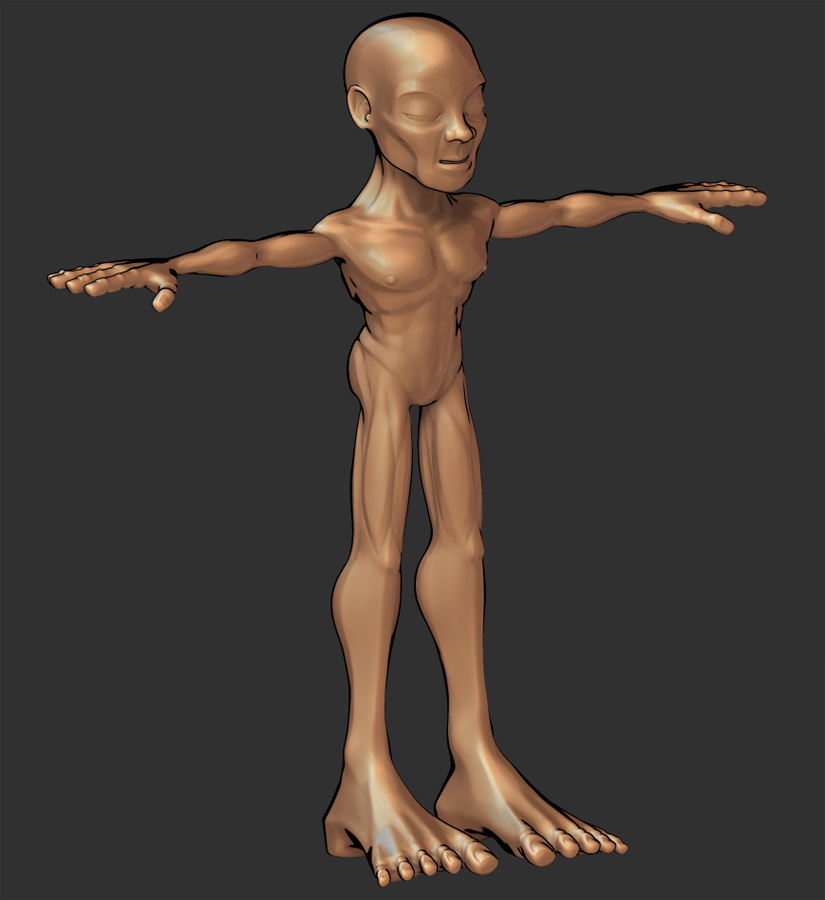
- Once you have your base model with working textures in 3DS Max its good to test some morph targets to make sure it works. The process of how you make your morphs is up to you. However here are some methods.
Creating Morph Targets in Zbrush
If you are planning to make all your targets in Zbrush MAKE SURE that the low poly mesh is exactly how you want in Zbrush to line up correctly in Max. Feel free to bounce between Max and Zbrush with small tweaks to the low poly model to line it up right against other objects (eg. Eyes)
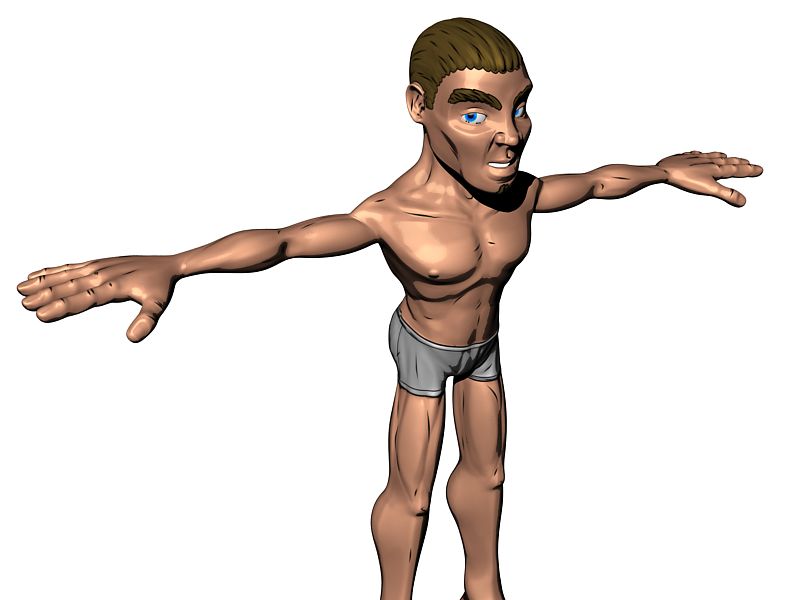
Export your FINAL mesh and displacement maps into Max as Editable Poly. Do a render to make sure it all looks good.
Make a Clone of your base model in Zbrush and Append it as a Subtool. This is your first morph target, model as you see fit, export base mesh and displacement maps. Import Low Poly base into Max as targets.
I HIGHLY RECOMMEND importing ALL .OBJ’s into max as Editable Poly from the import box. Editable Poly is a MUCH better tool to edit with but if you do not and you have an editable mesh (at some point) then things will get messy in regards to be ing able to make morph targets as they have to be EXACTLY the same. You may also have issues in regards to going back steps to Zbrush…I haven’t fully tested the limitations of this however. I will do so on my next character.
Repeat as necessary.
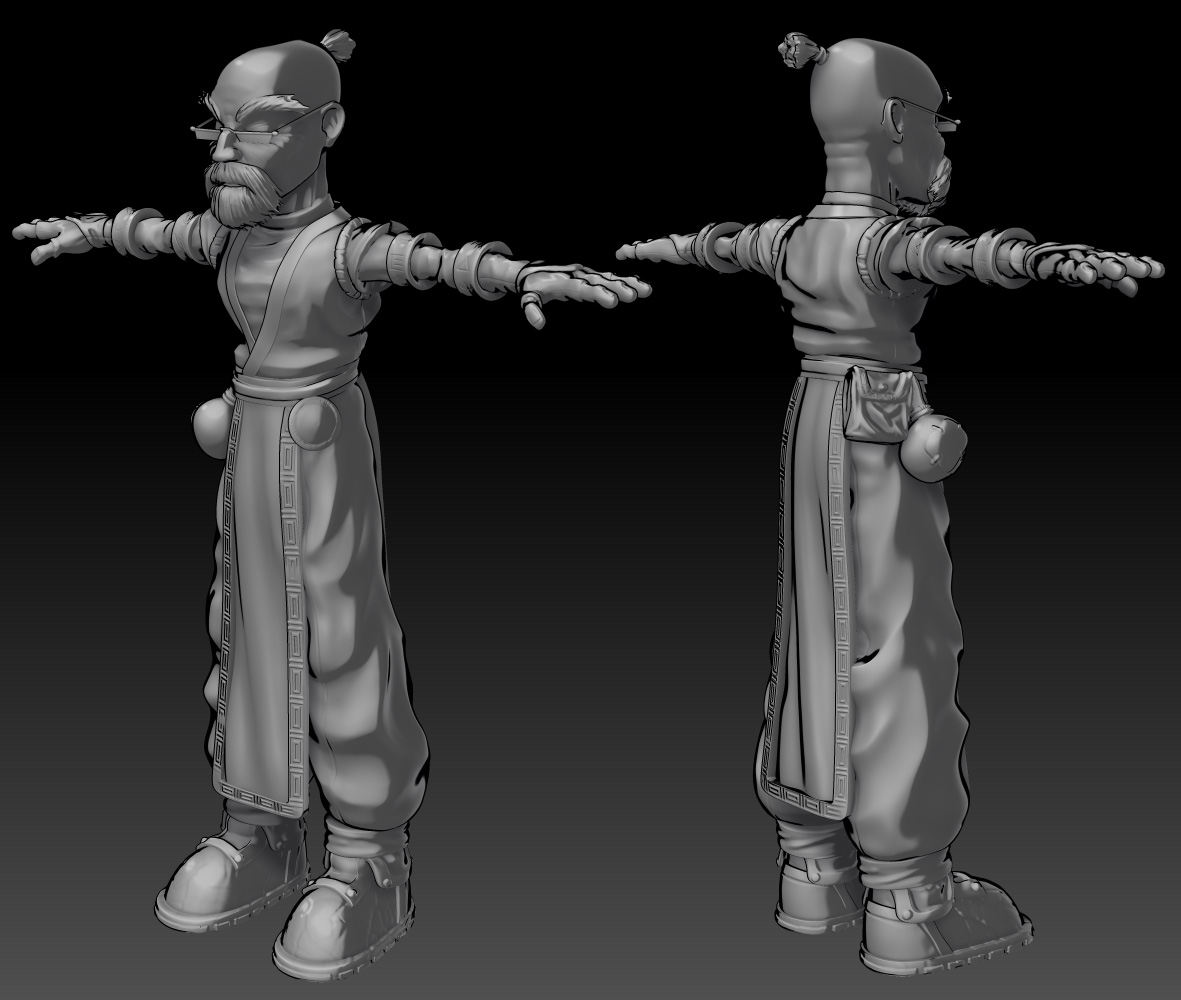
Using bot Max and Zbrush to make morph targets
As noted previously there are limitations to bouncing between Max and Zbrush and hit a snag of exporting displacement maps. The result is I have my Ztool still functioning, however I cannot export into it from my rigged character in Max. I also made a number of tweaks to the model in Max, making it difficult to go back to zbrush for map extraction error free exports.
So, I came up with a compromise. Instead of redoing EVERYTHING again, I decided that the displacement can be exported from a previous build as the UVW map is the same, and move the actual vertices in Max manually for more control over them (I find moving vertices in Max more accurate anyway). In the end I have a mesh morph target, and a texture that represents the modified look, even though they aren’t actually ‘together’ in one place.
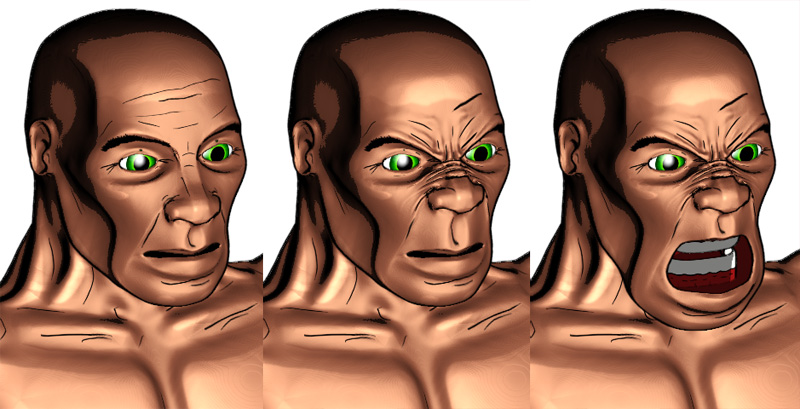
So, I have my models in max and use the previous method (see making Morph targets in Zbrush) to clone, and modify the displacement maps in zbrush. I am more worried about displacement, rather than actual facial expression. So I only have to worry about the creases in the brow area for example rather than actually moving the face around, the results aren’t exact by any means…but as I really don’t want to do it lall again it should do fine.
-
Back in Max you should have your base model (final), rig that as you see fit with Skin. Above the skin modifier apply a Morpher Modifier. Once all your base models are imported apply them to the Morpher Modifier. This is jsut for the mesh, not the texture.
-
For the texture morphing you will need to make a Fr:layer material with all your different textures. Apply the base texture into the base slot of the Fr:Layer material.
-
In the Material, activate the first Layer and copy the base material into the first layer’s slot. Change the displacement map (and bump if you are using it) to the morph target of choice texture (lets say ‘Angry’) and any other textures if you made them. Each layer has a percentage of how mixed it is, 100 is full while 0 is transparent. This slider is animatable, therefore you can add your morph target texture at ANY time into your animation, rather than just when you morph the mesh to the target. Its a little more fiddly but has much more versatility. If it is difficult to see where your keys are for this slider, use the Dope Sheet graph.
-
That should be the basics to get you going. However there are some small tips I have found on the way. Such as:
- if you have rigged your base mesh, and THEN want to clone the base mesh to make morph targets. Rest your mesh to the default position. Clone the mesh IN PLACE, delete any turbosmooth or modifiers that would affect the vertex numbers, leaving the Skin and Editable Poly/Mesh modifier only. Then collapse to a base mesh. Sometime the rig will change the placement of the vertices, so when you delete the skin modifier the vertices/mesh will move. You do NOT want this. The vertices have to stay put. Collapsing the skin modifier will keep the rigged mesh and morph targets in the same place.
Always do a test if you are worried how it would work. if for any reason you ever get rid of the base model skin modifier, its probably wise to collapse that too. This is not tested however.
 hehe
hehe