This is looking great, sorry I can’t offer any technical help I couldn’t get the zproject brush to work for me either and I’ve never tried the retopology tool. Hope someone can so I can see some more updates on this great looking model. Did you come up with the darth maulk cyborg yourself?
Thanks!  No, I didn’t. I saw the illustration at the wookiepedia, and thought it would be cool to model. Perfect for my demoreel. The next thing I do in Zbrush will be designed by me.
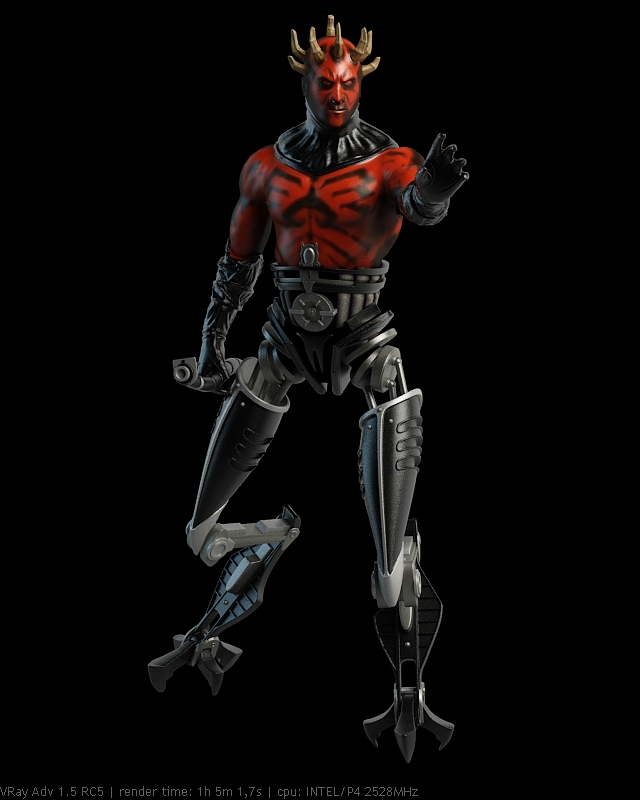
I have done a lot of progress since the last time I posted and I have learned a lot so far. Right now I got some problems with the vray materials. The torso has 2 different materials. The black and the red skin. Both have been blended with a mask. And I had to use the traditional Blend material instead of the VRayBlendMtl, resulting in longer render times  . If I use the VRayBlendMtl only one of the materials will show up. I have replaced the materials with other ones to check if it’s the material’s problem or if it’s the mask’s problem. It’s definitely the material’s problem. I have no clue why it won’t work with the VRayBlendMtl.
Anyway, the most important of the problems is how washy the textures look. The mask is perfectly sharp, but for some reason it looks somehow washed out. It looks awful. Does anyone have any idea how to solve this?
Btw, I’m using 3dsmax.
Once again, I apologize for my English.
Not sure what the mask problem is but your render time is way to high for such basic shaders/render. you could get the exact same look with scanline in 2 mins.
nice model btw… couple of things i notice is his metal six pack is to fat and the model loses its dynamic. look at the pic. its real slender thin at the bottom stretching out to his sholders the widest part. can you see? also his pose is better in the pic, that has a dynamic look to it. if you sort the metal gut and repose i think this will be a good model … keep up the good work 
Wow… The Dark Side is here… 
Very Cool! 
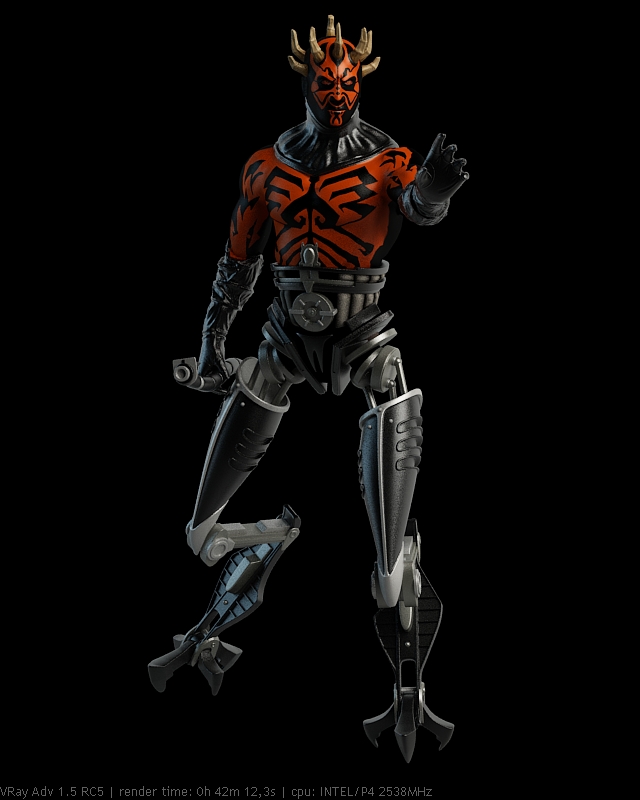
The render times are so high because of the Blend Material I used. I have now fixed this and used a bitmap so there is no blending happening. My render time is down to 45 min. And I hope you didn’t forget about the computer I’m using. It’s a Pentium 4 @ 2,5Ghz. It’s a 2002 computer! With a 2007 computer the rendering would be 20 times faster.
About the dynamics… I actually decided to make him “fatter” as it seemed a bit more realistic. In the illustration, it has obviously a strong comic style, everything is very exagerated. I wanted to soften it without loosing the “V” shape, in order to achive a more realistic style. Thanks you very much for the C&C, tho!
Thanks!
[ ]
]
Super cool!
Indeed! That’s an awesome piece!
Maybe you can do another render with that lightsaber activated
Thanks!
Thanks a lot! I’ll get that render for you as soon as I fix everything else 
Aww man, you beat me to my future project!!! I was gunna do this version of Maul, haha!
Well done though, it looks great! Keep it up.
Ever since I saw episode 1, I always believed that Maul would return, and with cyborg legs. Learning that he has, in fact, done so makes this is the greatest day of my life.
Cool model, too. I like the wrist-wraps.
I was wondering what happened to ole Darth Maul, guess it’s never really over as long as someone has a few spare parts lying around.
I have always loved Darth Maul and was sad when he was chopped in half. Thank you for bringing him back to life. You did and are doing a wonderful job repairing him from ILM’s undoing of him. I hope to see him finished so the last of the Sith may live on.
The Darkside of the force lives on…that is reality, that is life.
very good version of darth as a cyborg.nice sculpture
First of all, thanks for all the comments guys! I appreciate it very much.
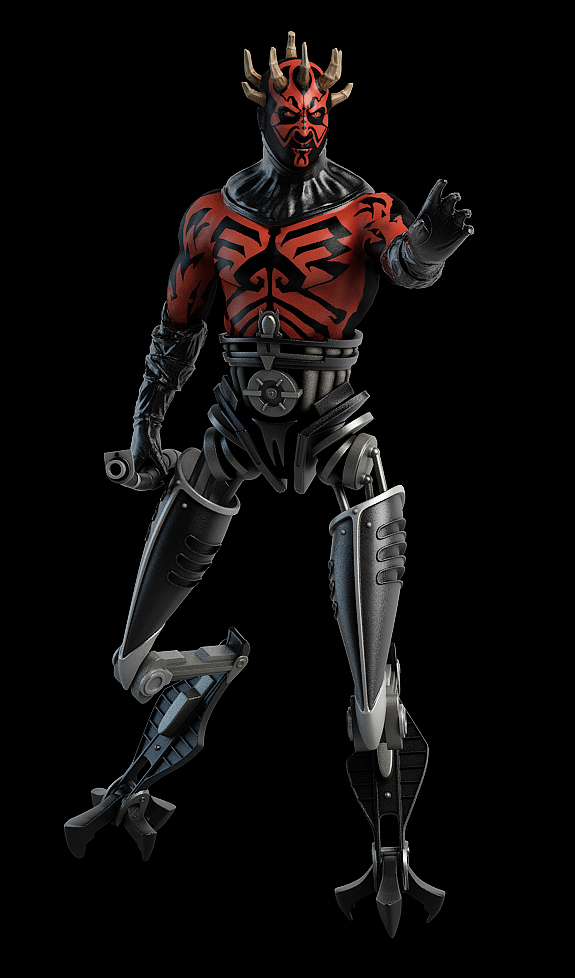
Finally, I think I’m done. I just had to fix some issues with the masks and I adjusted the fingers a little bit. Btw, I have been working on a lightsaber pose, but I have failed miserably. 
(I have managed to install 3dsmax and vray on my sisters PC, and I’m using distributed rendering now! )
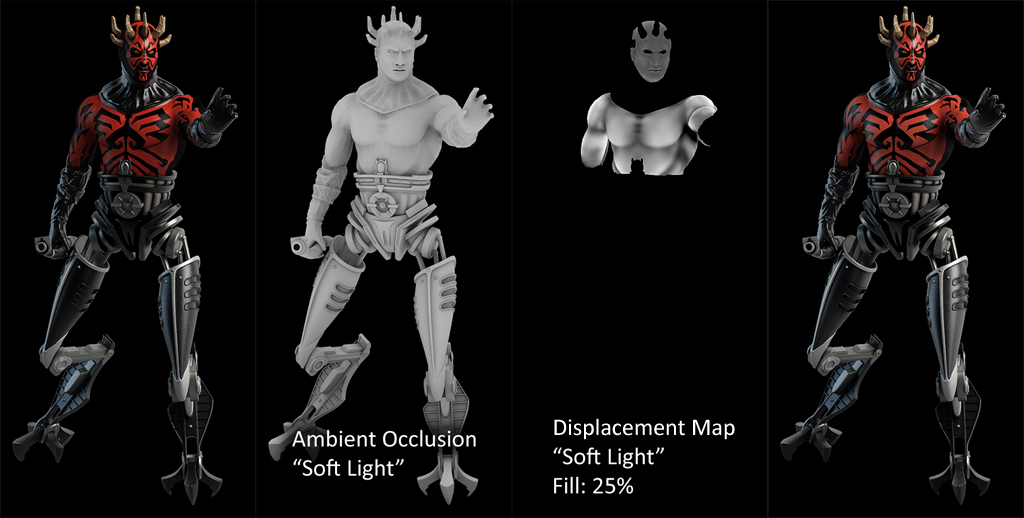
In this image I show you how I have done the composition. First of all, we got a pretty normal render, with 2 lights. The primary one comes from the right and the fill light from the left. This way, the model shows much more detail. I have also rendered an ambient occlusion pass, in order to add more detail.
For the other pass, the so called “Displacement Map” I deleted every light in the scene and assigned to every object a pure black VrayMtl. The next thing I did was add the displacement map in the diffuse slot of a Standart Material and I set the Self-Illumination to 100. After rendering I had to make some minor contrast adjustments in Photoshop to bring up the detail. (I also had to get right of the black color in the layer. Just use the Magic Wand Tool and get rid of it). With this pass, The skin looks much richer and softer. If anyone needs me to clarify anything about my workflow, please, don’t hesitate! Once again, I apologize for my english.
[ ]
]
what did you use to create your ambient occlusion? what does soft light mean?
Very cool! I like the colors and sharp designs.
The ambient occlusion was rendered with this very helpful script.
And “Soft Light” is the blending option in Photoshop
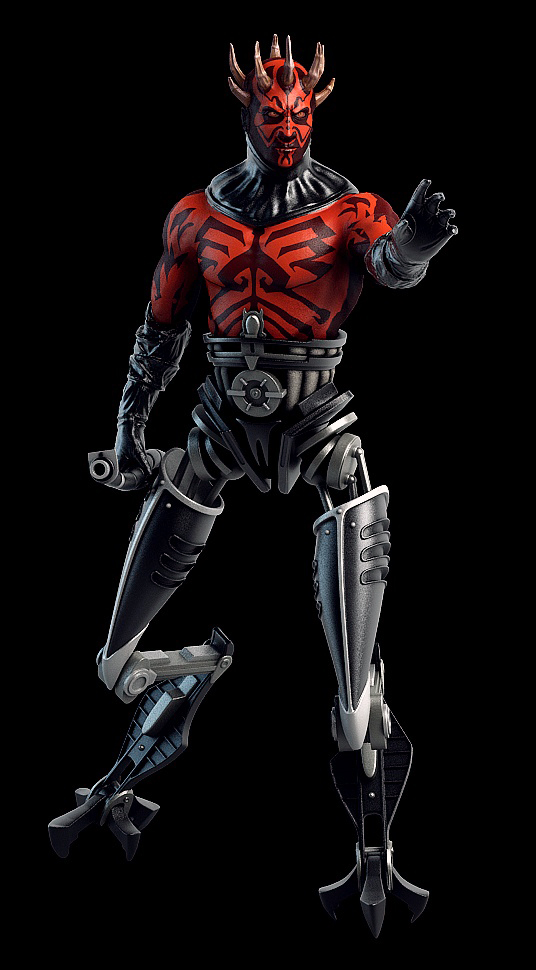
I don’t intend to resurect this thread. I just realized I did not post the final version of my Darth Maul Cyborg. The horns and the skin shader were changed.
[ ]
]
Hello Norman3D
I think you"v done a great work , especialy textures , I like the level of details and the creaspiness of details. Perhaps I have question to achieve that level of precision of textures do you have to have perfect uv unwrap ?
Again congrats , very nice job!!!