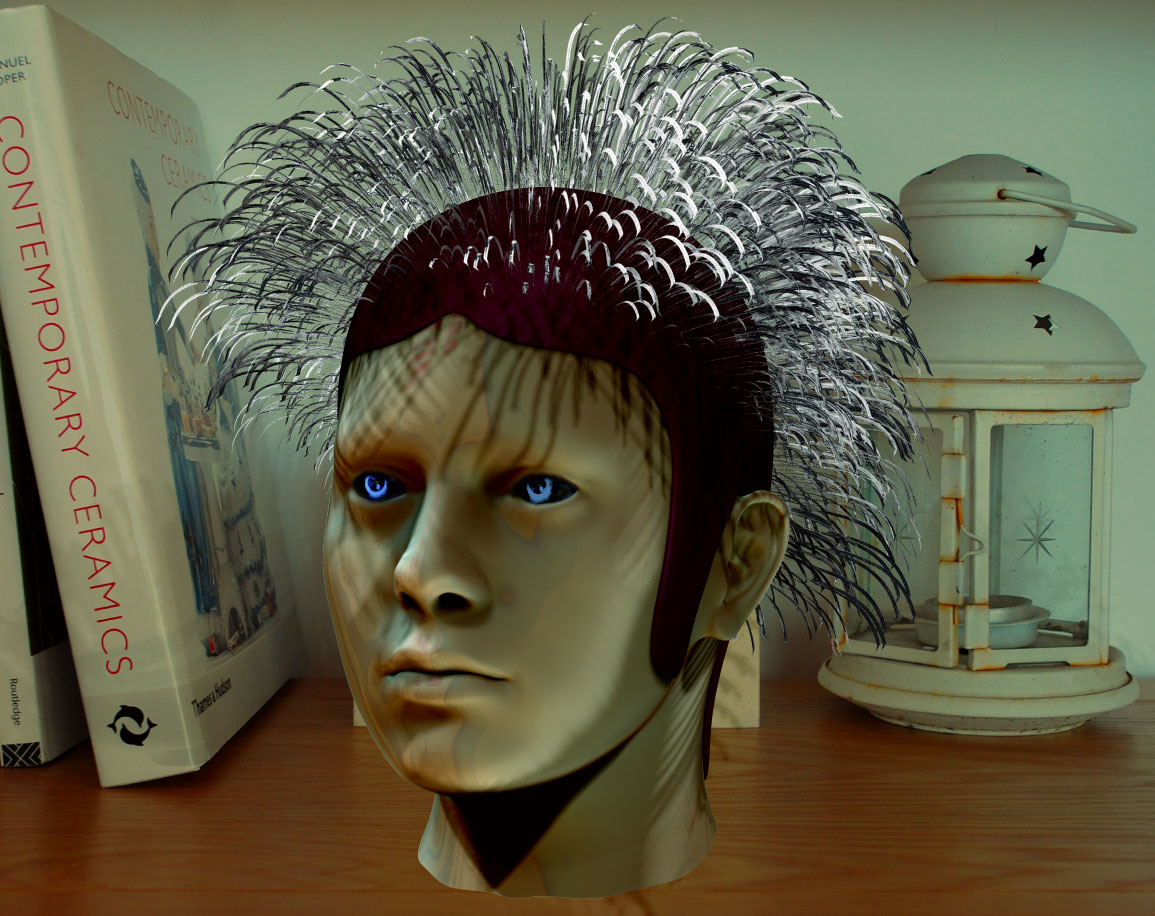
Fiber mesh and micromesh feathery hat / cap experiment …
Attachments
Fiber mesh and micromesh feathery hat / cap experiment …
GAK!!!
I cant keep up with you!
HOW did you do that???
I have no control over micromesh or fibermesh, maybe its my computer but those two things and lightcaps grind it to a halt…
That hat is outrageous.
You guys are machines lol…great job bud. 
This is a fractal turned into a tree with some comp work done in Photo Shop . lighting and texture and modeling done in Zbr… 

Here are a couple of examples using micromesh alone…
Thanks from the old steam punk machine…
Quick sketch to mesh … interesting ?

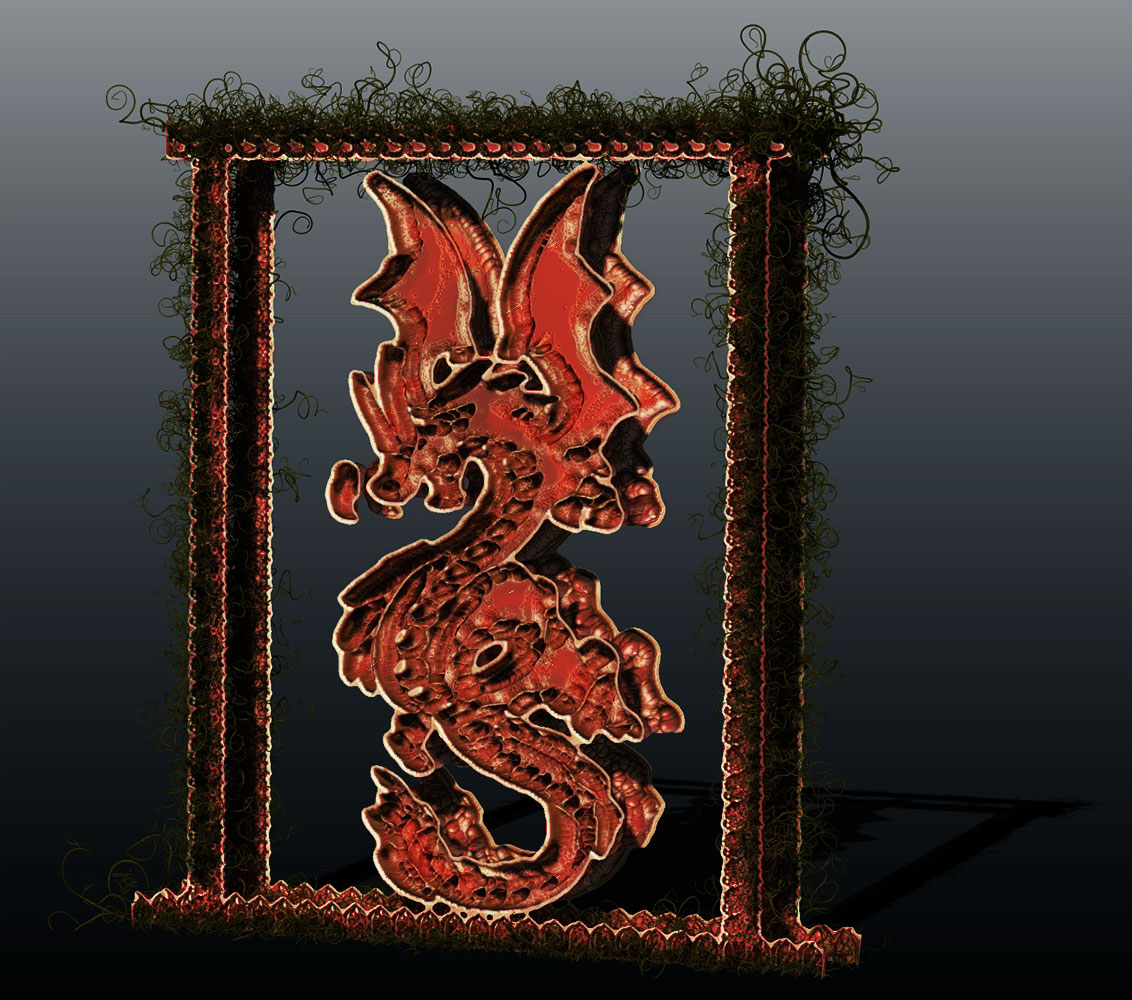
Really enjoying these last few experiments of yours Deke…The tree one especially…Might be a good home for your dragon to dwell in…
You beat me to it with that Quicksketch experiment above…I was wondering the other day how that ZBRUSH Quicksketch feature would work with the new Pixols to 3D Plugin…Now that I see how it can be used, i’ll have to give it a shot myself… I think that there might be lots and lots of great possibilities using that combination of ZBRUSH features…
Keep exploring and experimenting Deke…Always fun to see what materializes… small_orange_diamond:)
Glenn
Mars pic to pixol3d to diplacement map and the result…

fantastic,and show me how it’s done
Select texture and do Texture>CropAndFill.
Run the plugin.
Select original texture in Texture palette and press Texture>Make Alpha.
In the Tool>Displacement Map menu, click the displacement thumbnail and select the new alpha from the pop-up.
Turn on Tool>Displacement Map>Mode. This will allow you to preview the displacement.
Adjust the Tool>Displacement Map>Intensity slider to get the effect you want.
Press Tool>Displacement Map>Apply DispMap to create the geometry.
You may find that a blank texture map applied to the plane makes the displacement easier to see but note that there must be a texture map displayed on the plane for the displacement to work.
This was taken from someone elses thread, my apologies for not giving them credit. If its your drop me an e-mail/ message and I will correct it here… Deke
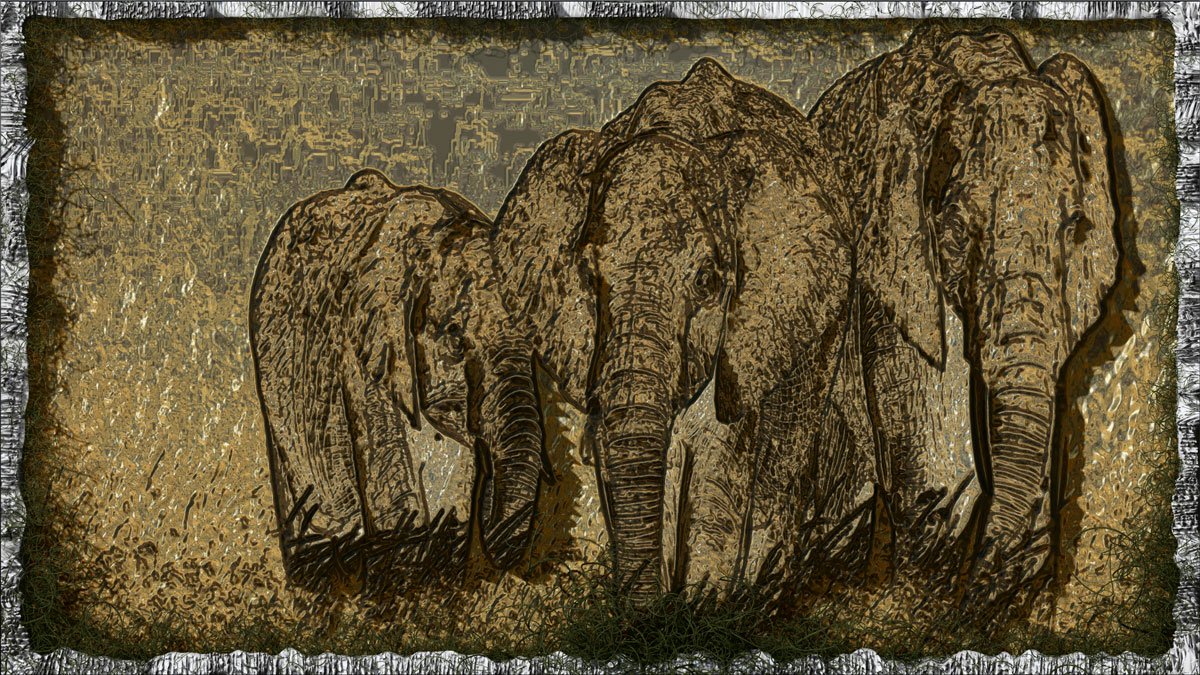
Paper Elephants… done with pixol to 3d plugin…
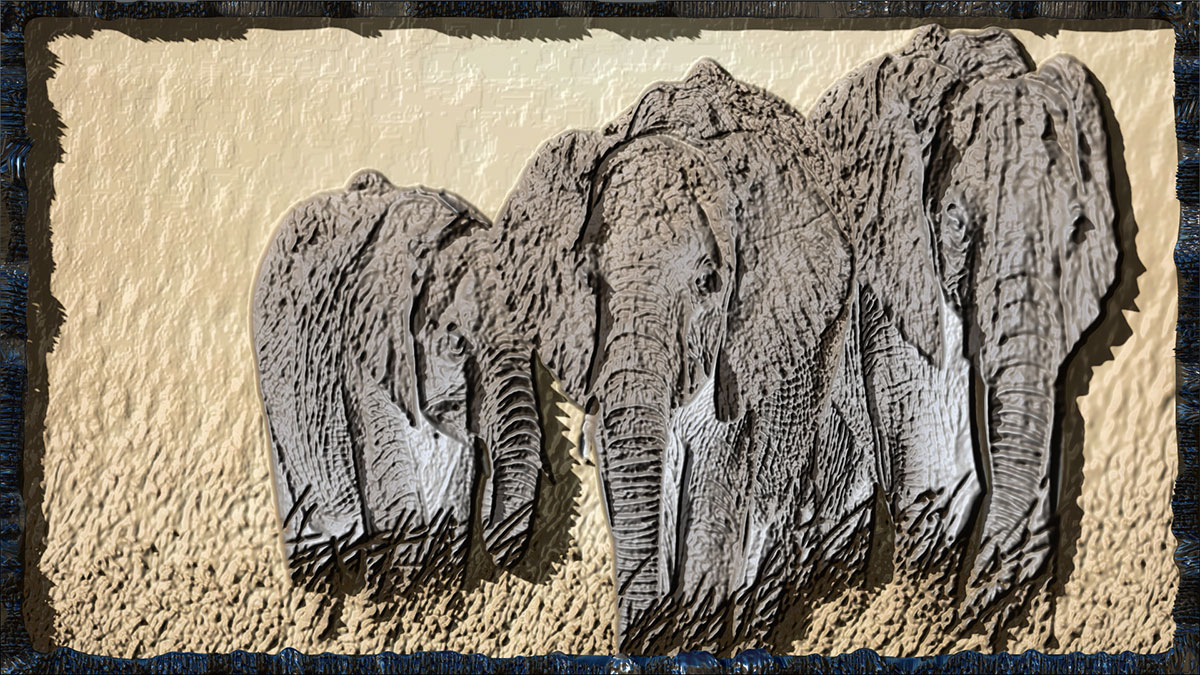
Paper Elephants 2
done with pixol to 3d plugin…
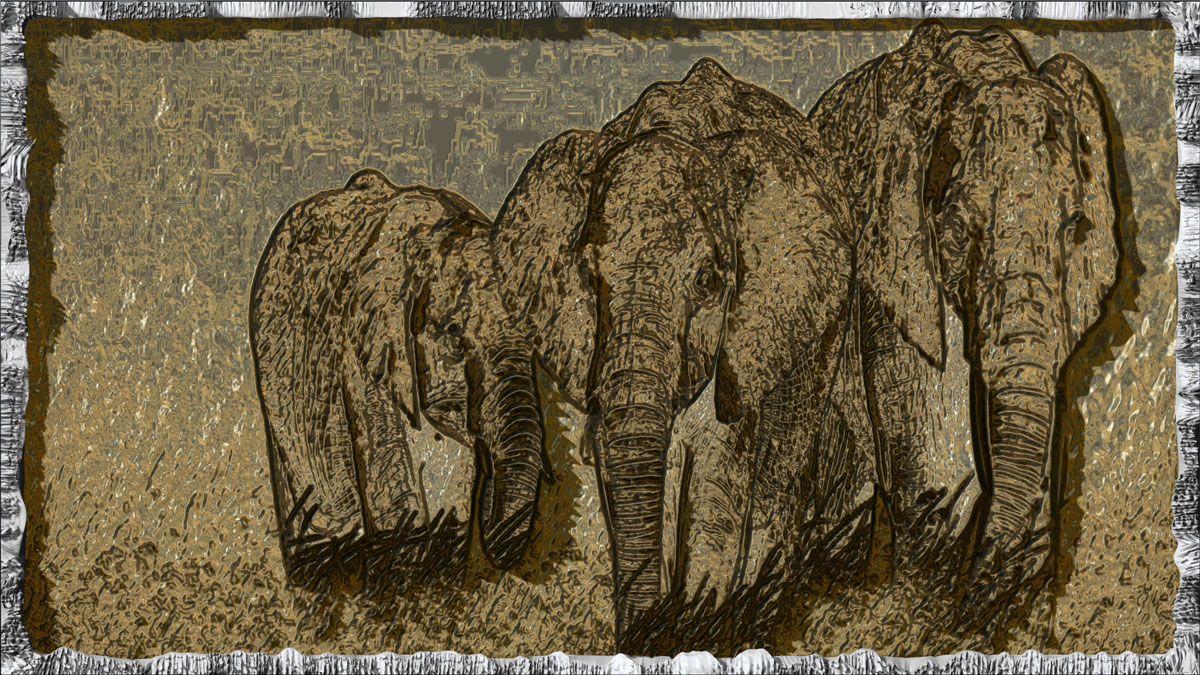
Paper Elephants 3
done with pixol to 3d plugin…
Hi
Where can I find this plugin?
Its awesome as Blue and others are proving!
Chinese Dragon with pixol3d and map displacement and a lot of masking…
I like this one, do you ?..Deke

" RedRum " Dragon…  Or Dragon Internal…
Glass Bird… rendered and tweaked in Zbrush and levels and additional tweaks in Photo shop…

Stained Glass Sculpture…Cathedral windows…designed for letting the light illuminate and shine through from behind/outside…creating color in the cast shadows in the process.
Just a passing thought Deke…
Really enjoying what you are doing with these last few experiments…The Elephant piece,dragon piece, and this latest bird piece…Great small_orange_diamond:)
Glenn