Hi Zbrushers!
I know it’s not Christmas any more, and new years was a couple of weeks ago, but I just finished up my Christmas/New Years themed creature!
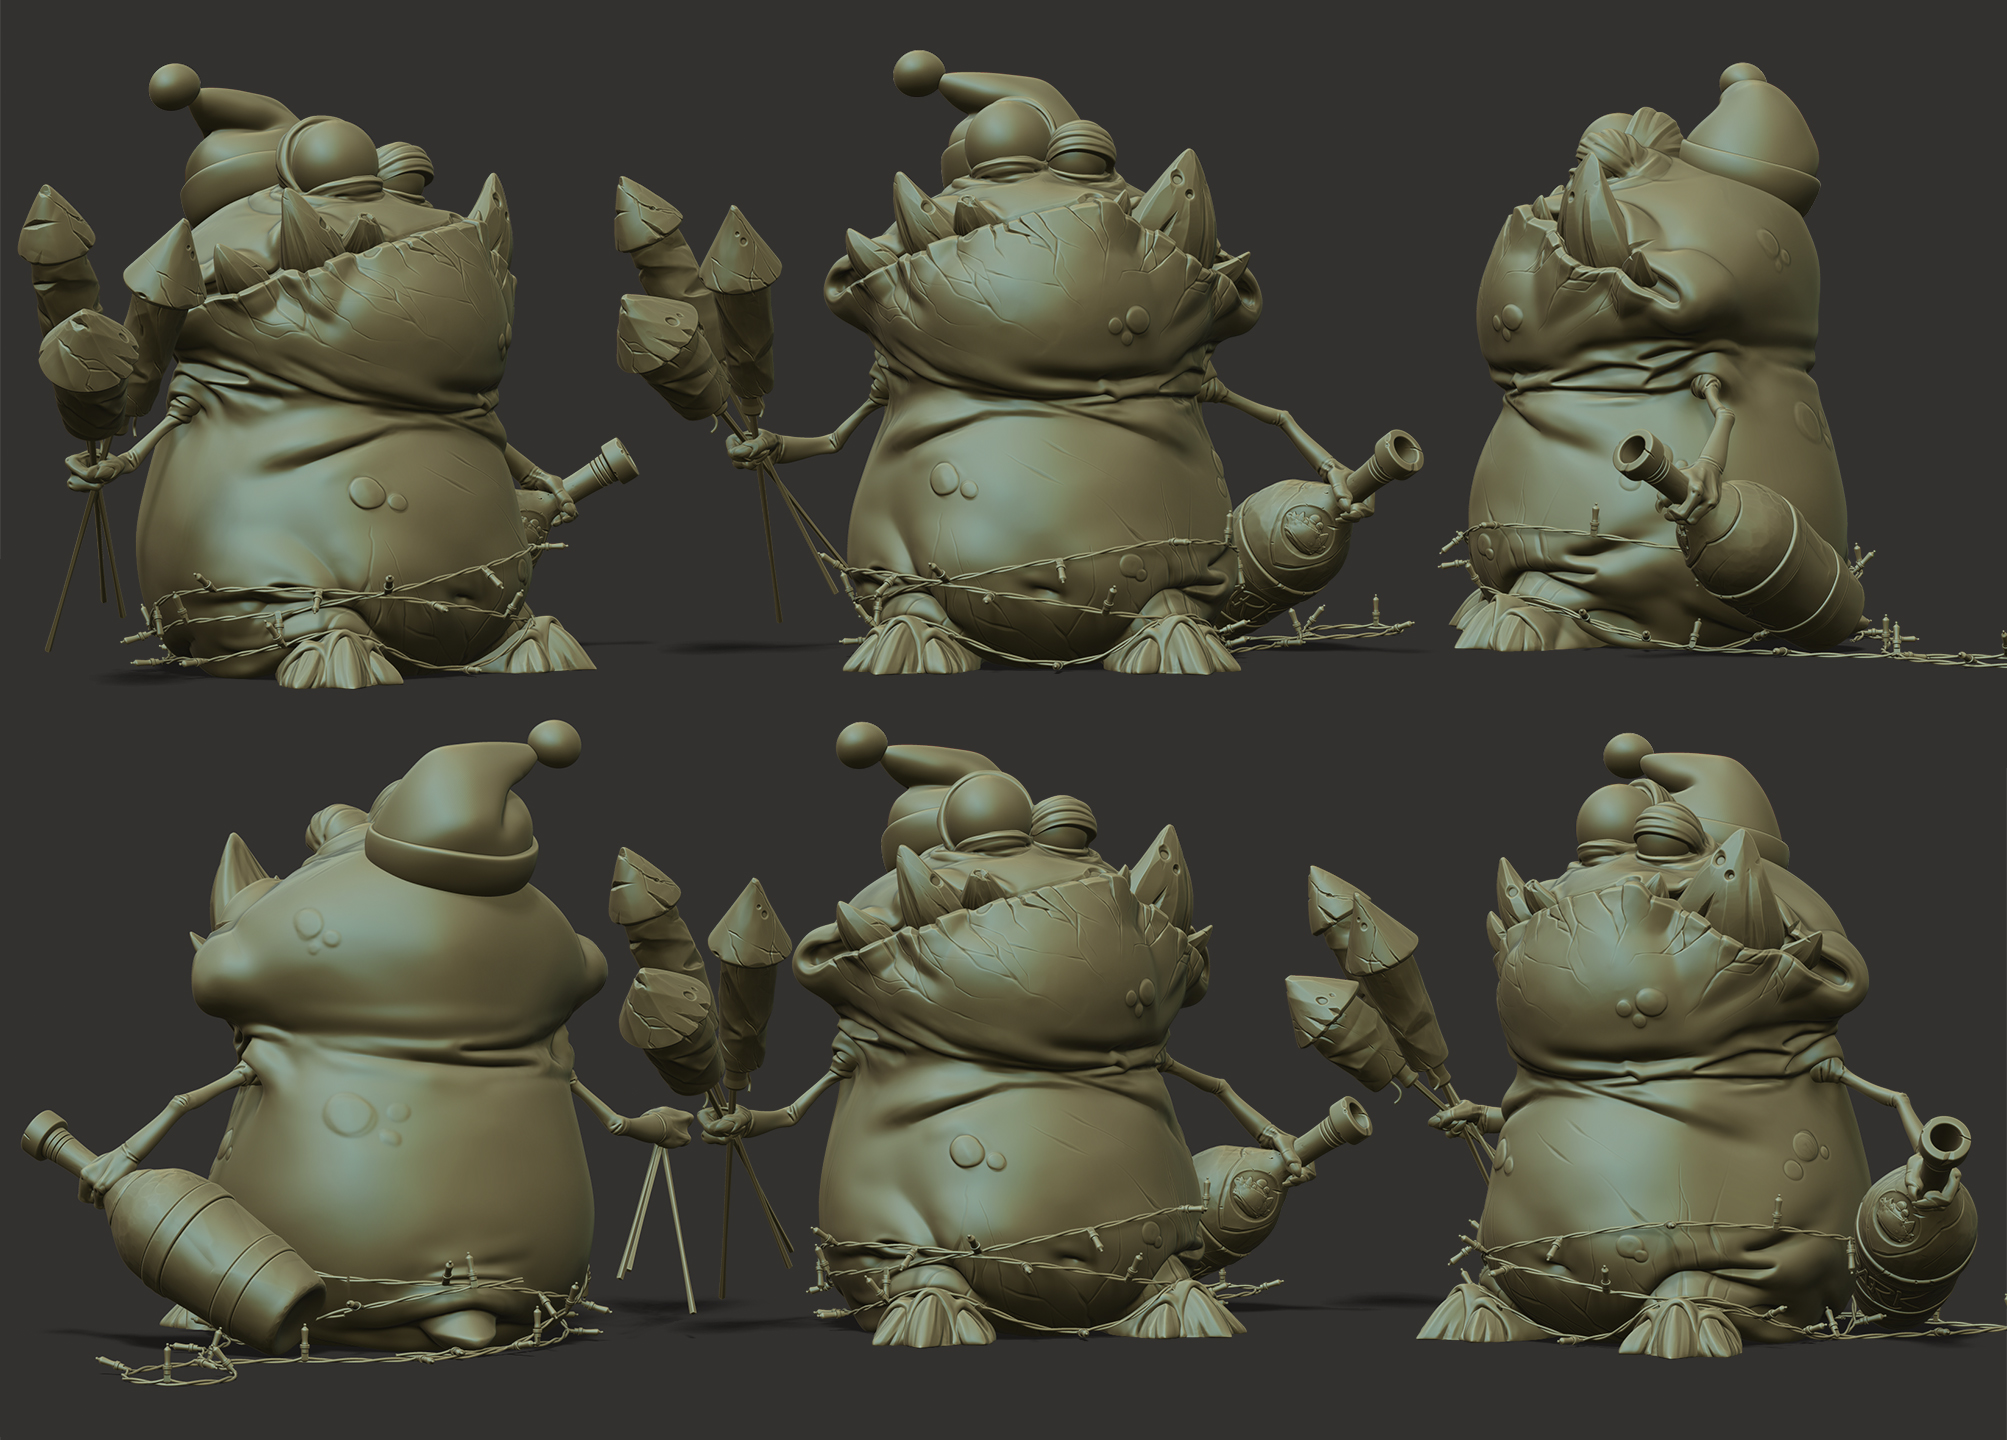
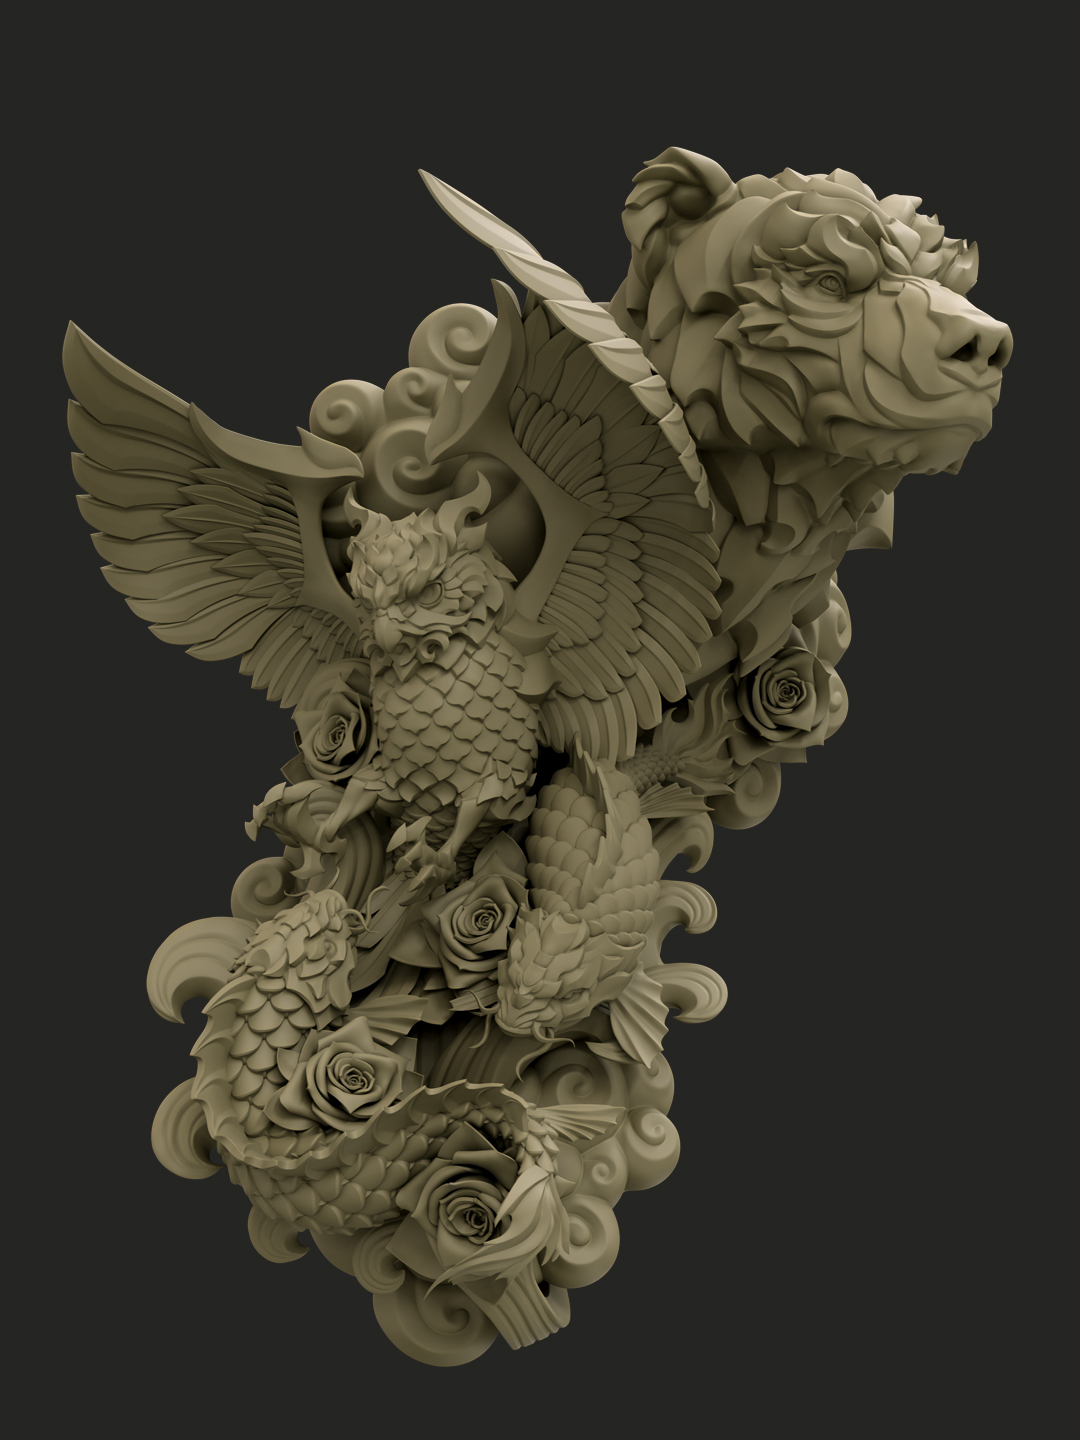
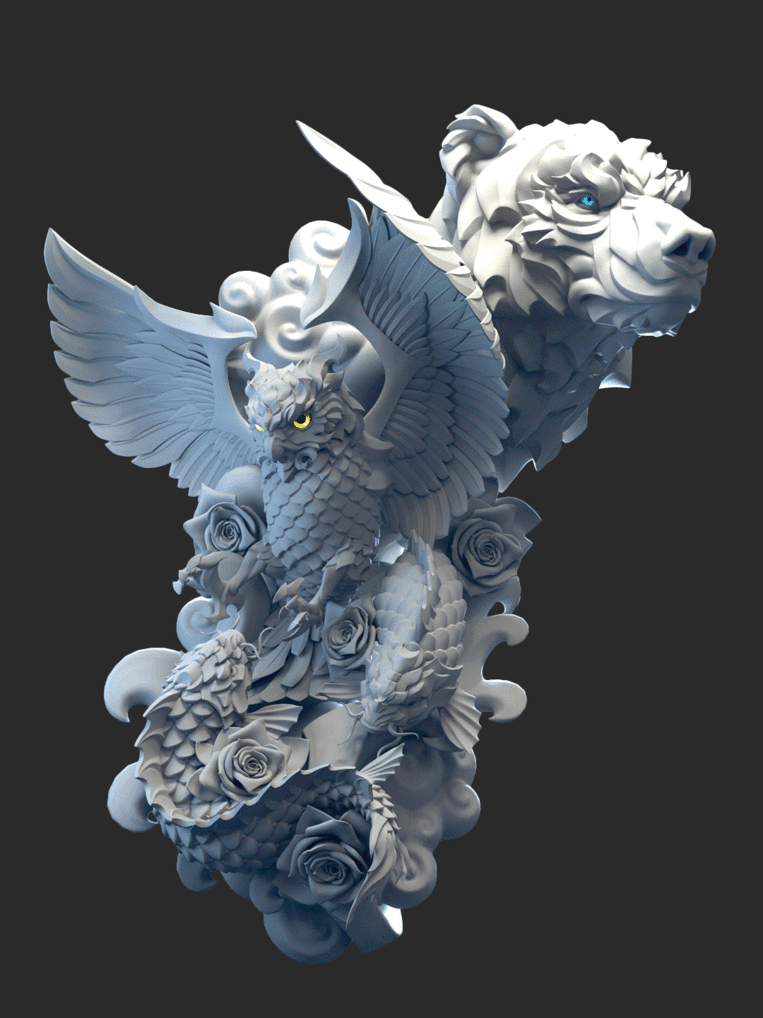
Behold the Merry New Year Monster!
High res version available at my Artstation
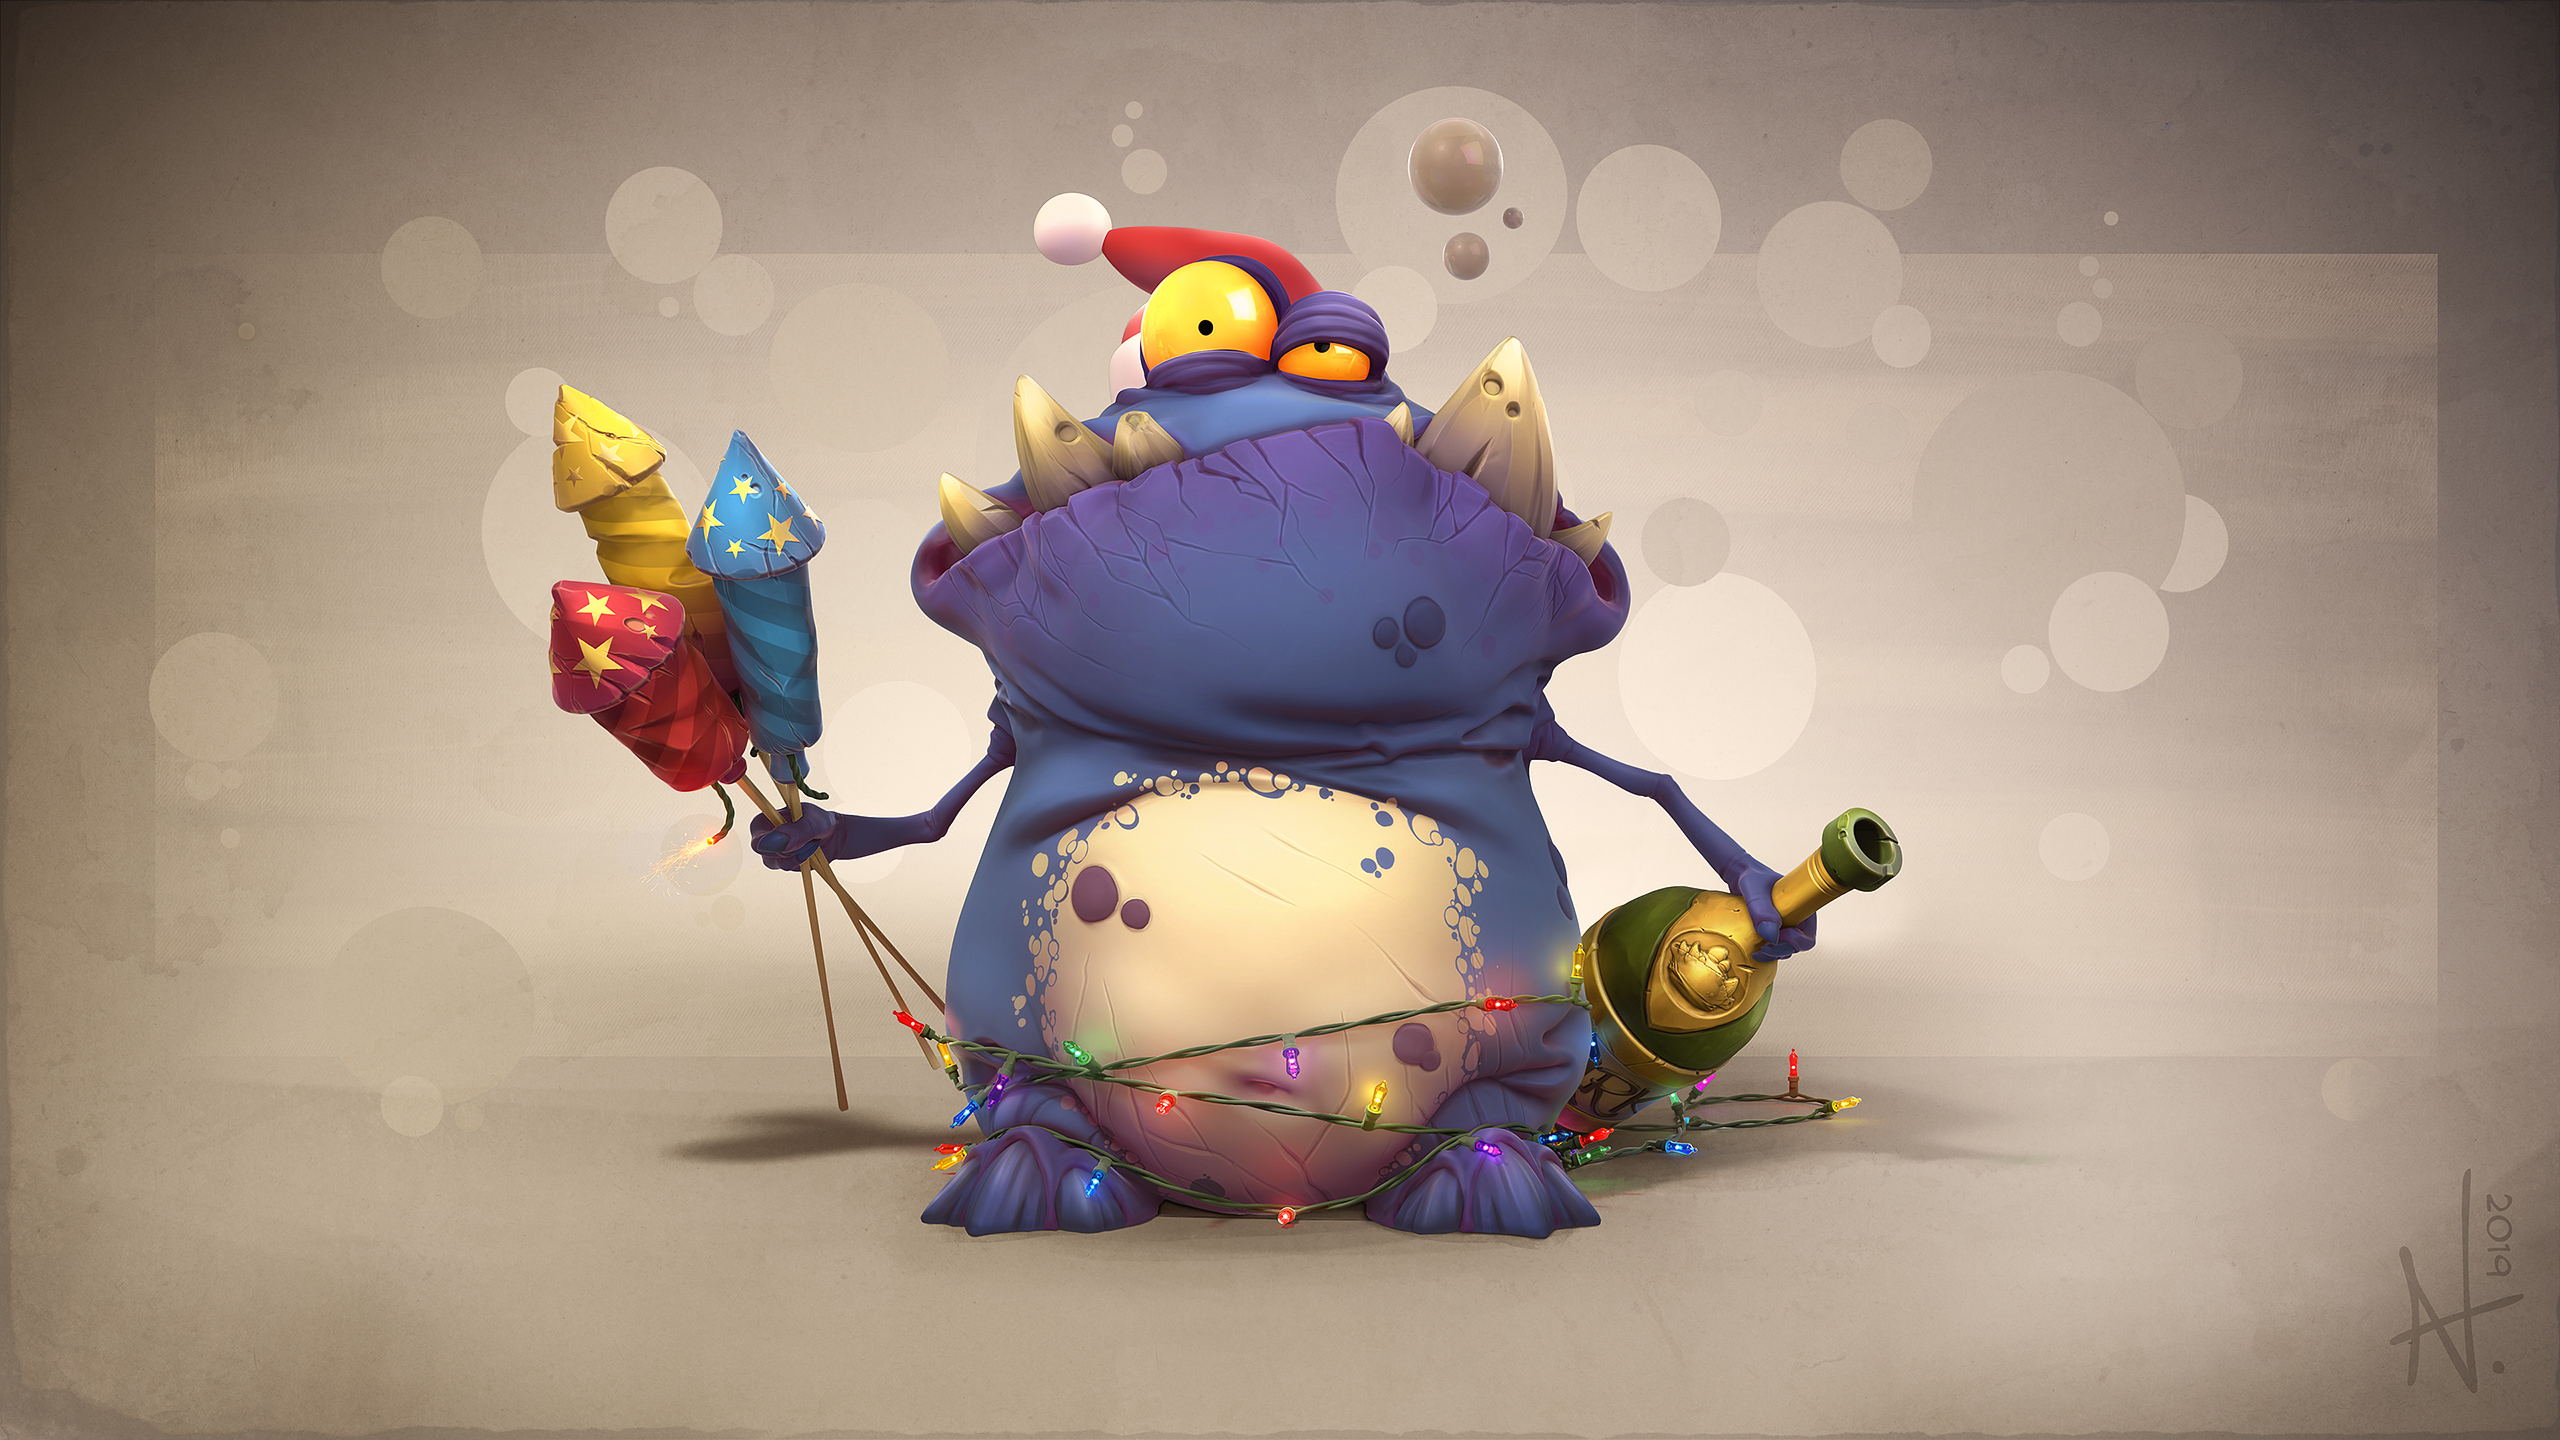
This was originally an old sketch I did while traveling home from Christmas back in 2016. Figured I would do a proper sculpt and finalize this guy.
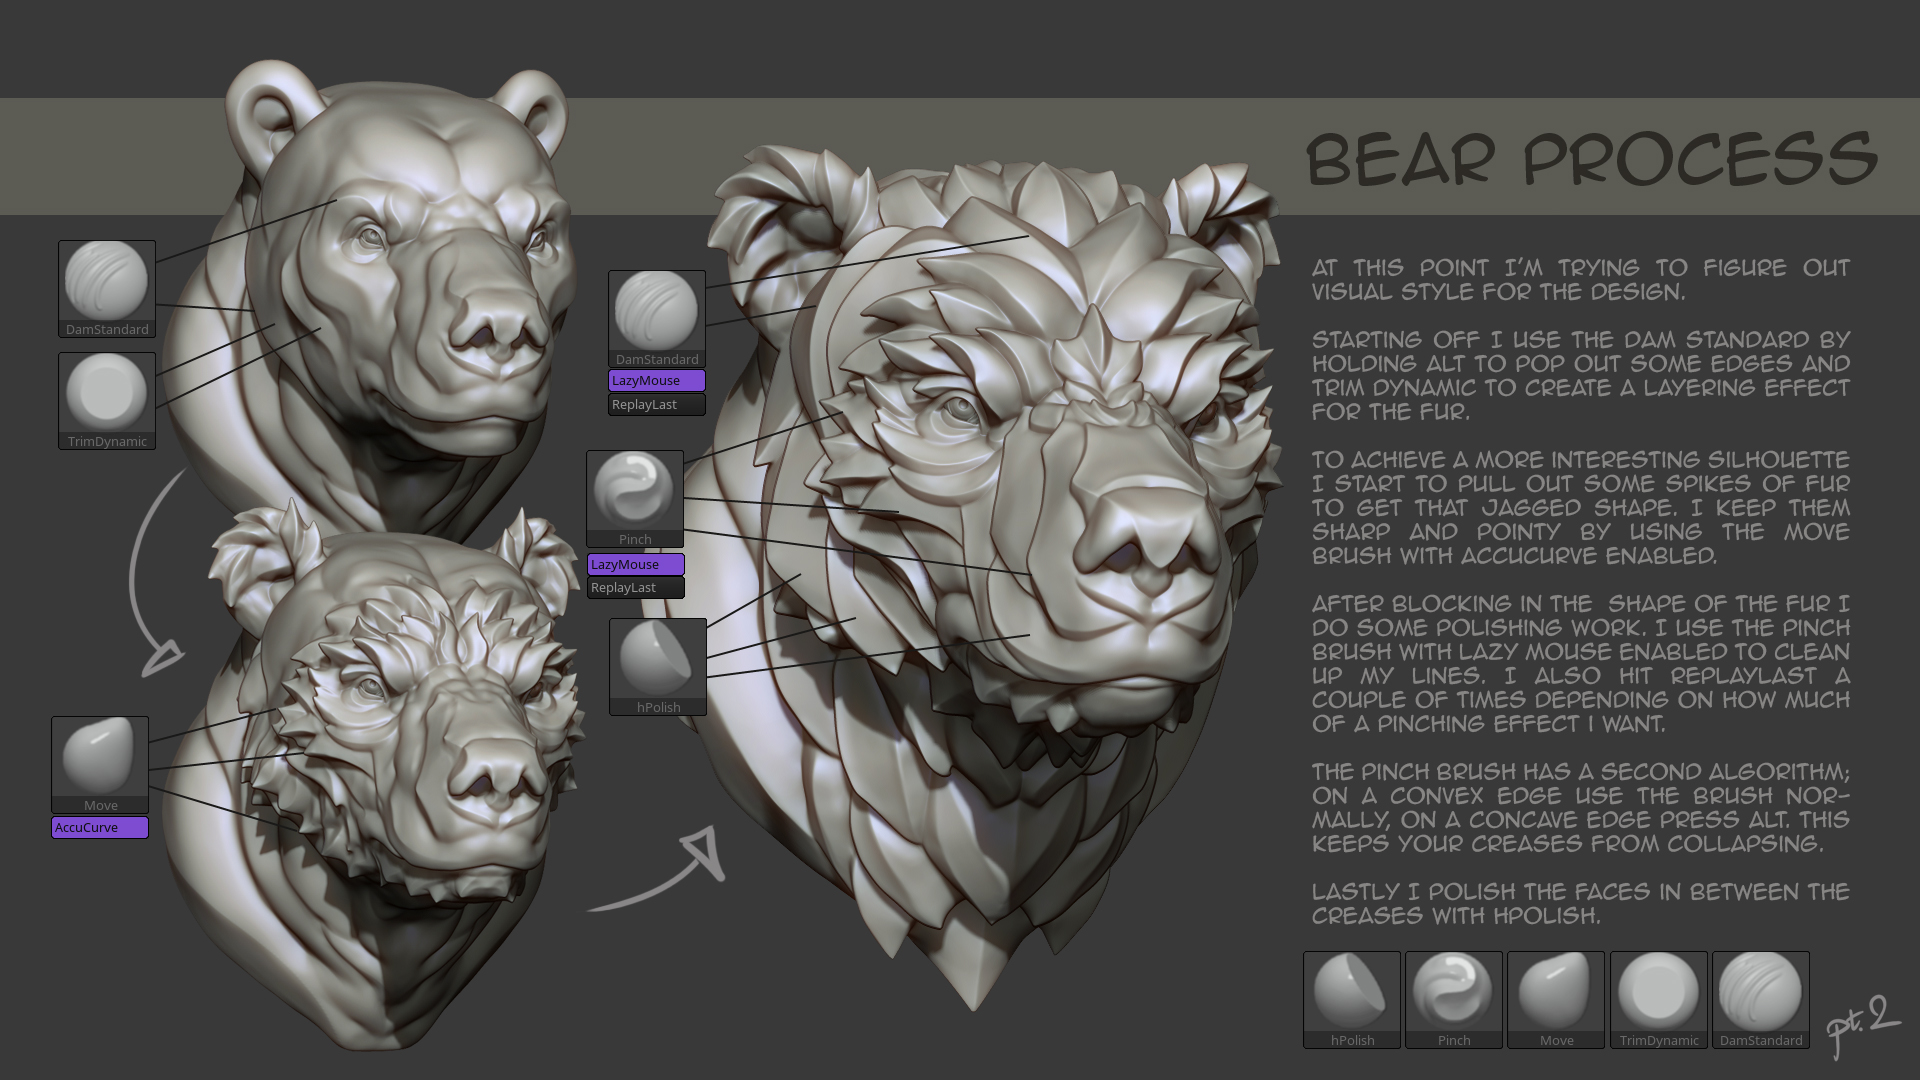
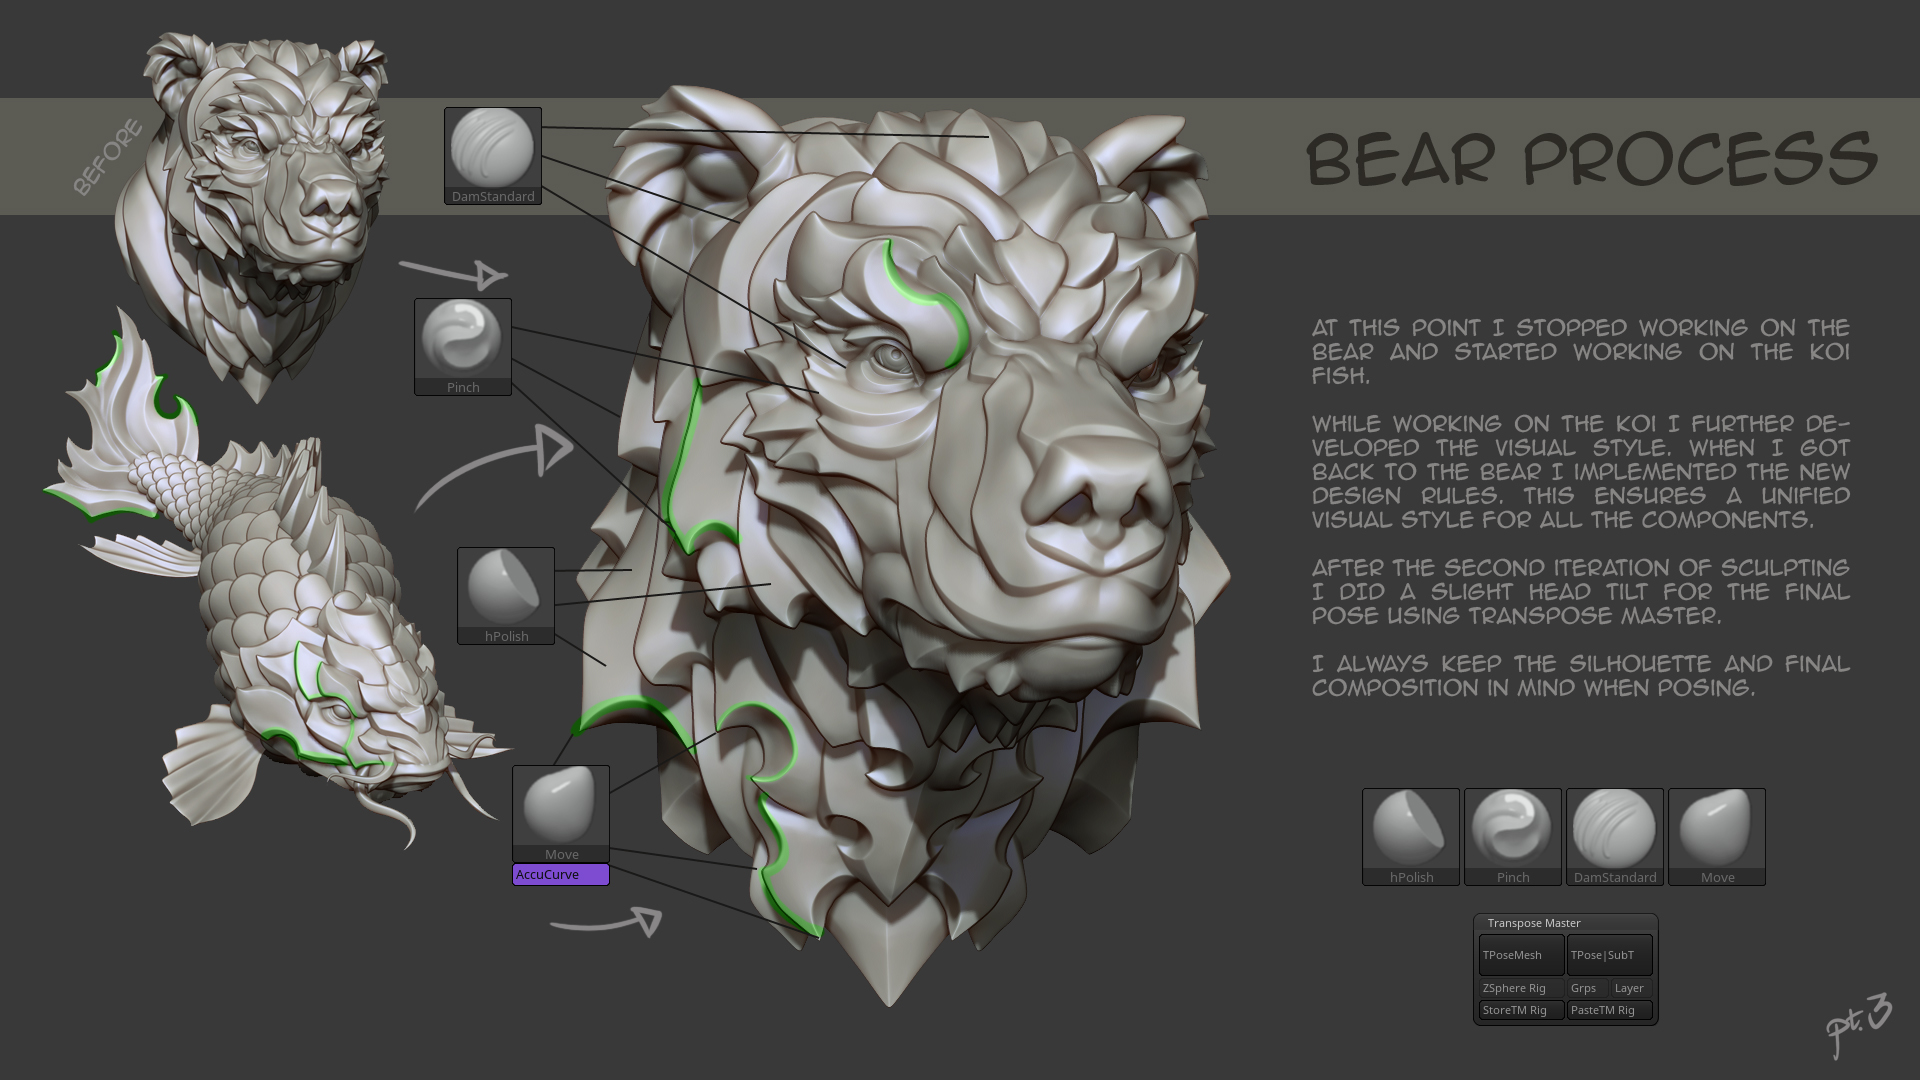
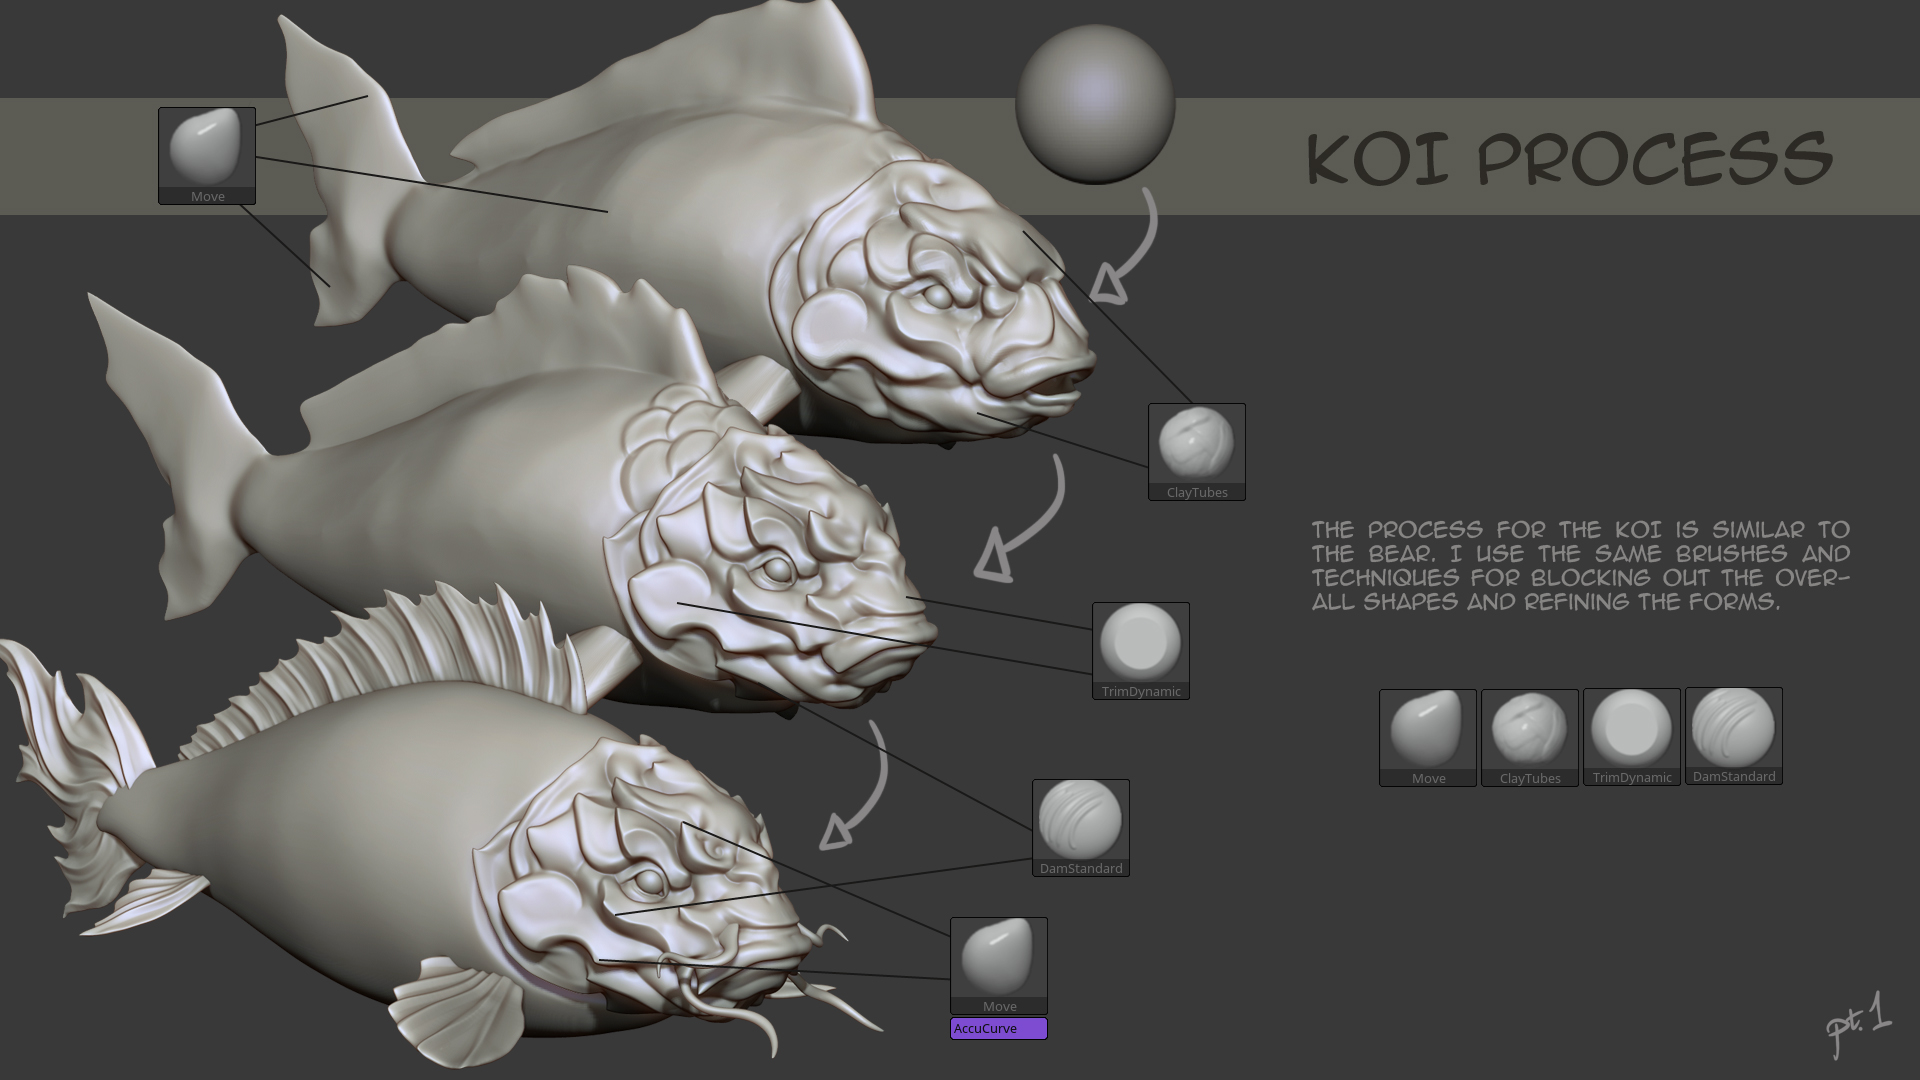
I tried out a lot of various techniques and experimented a bunch before I was happy with the look for this piece (hence the delay). I wanted him to have very sharp and clean features both in the sculpt and with handpainted textures.
This led me to having a lot of the shading work done with hand painting, and have the sculpt support with some sharp highlights and smooth gradients.
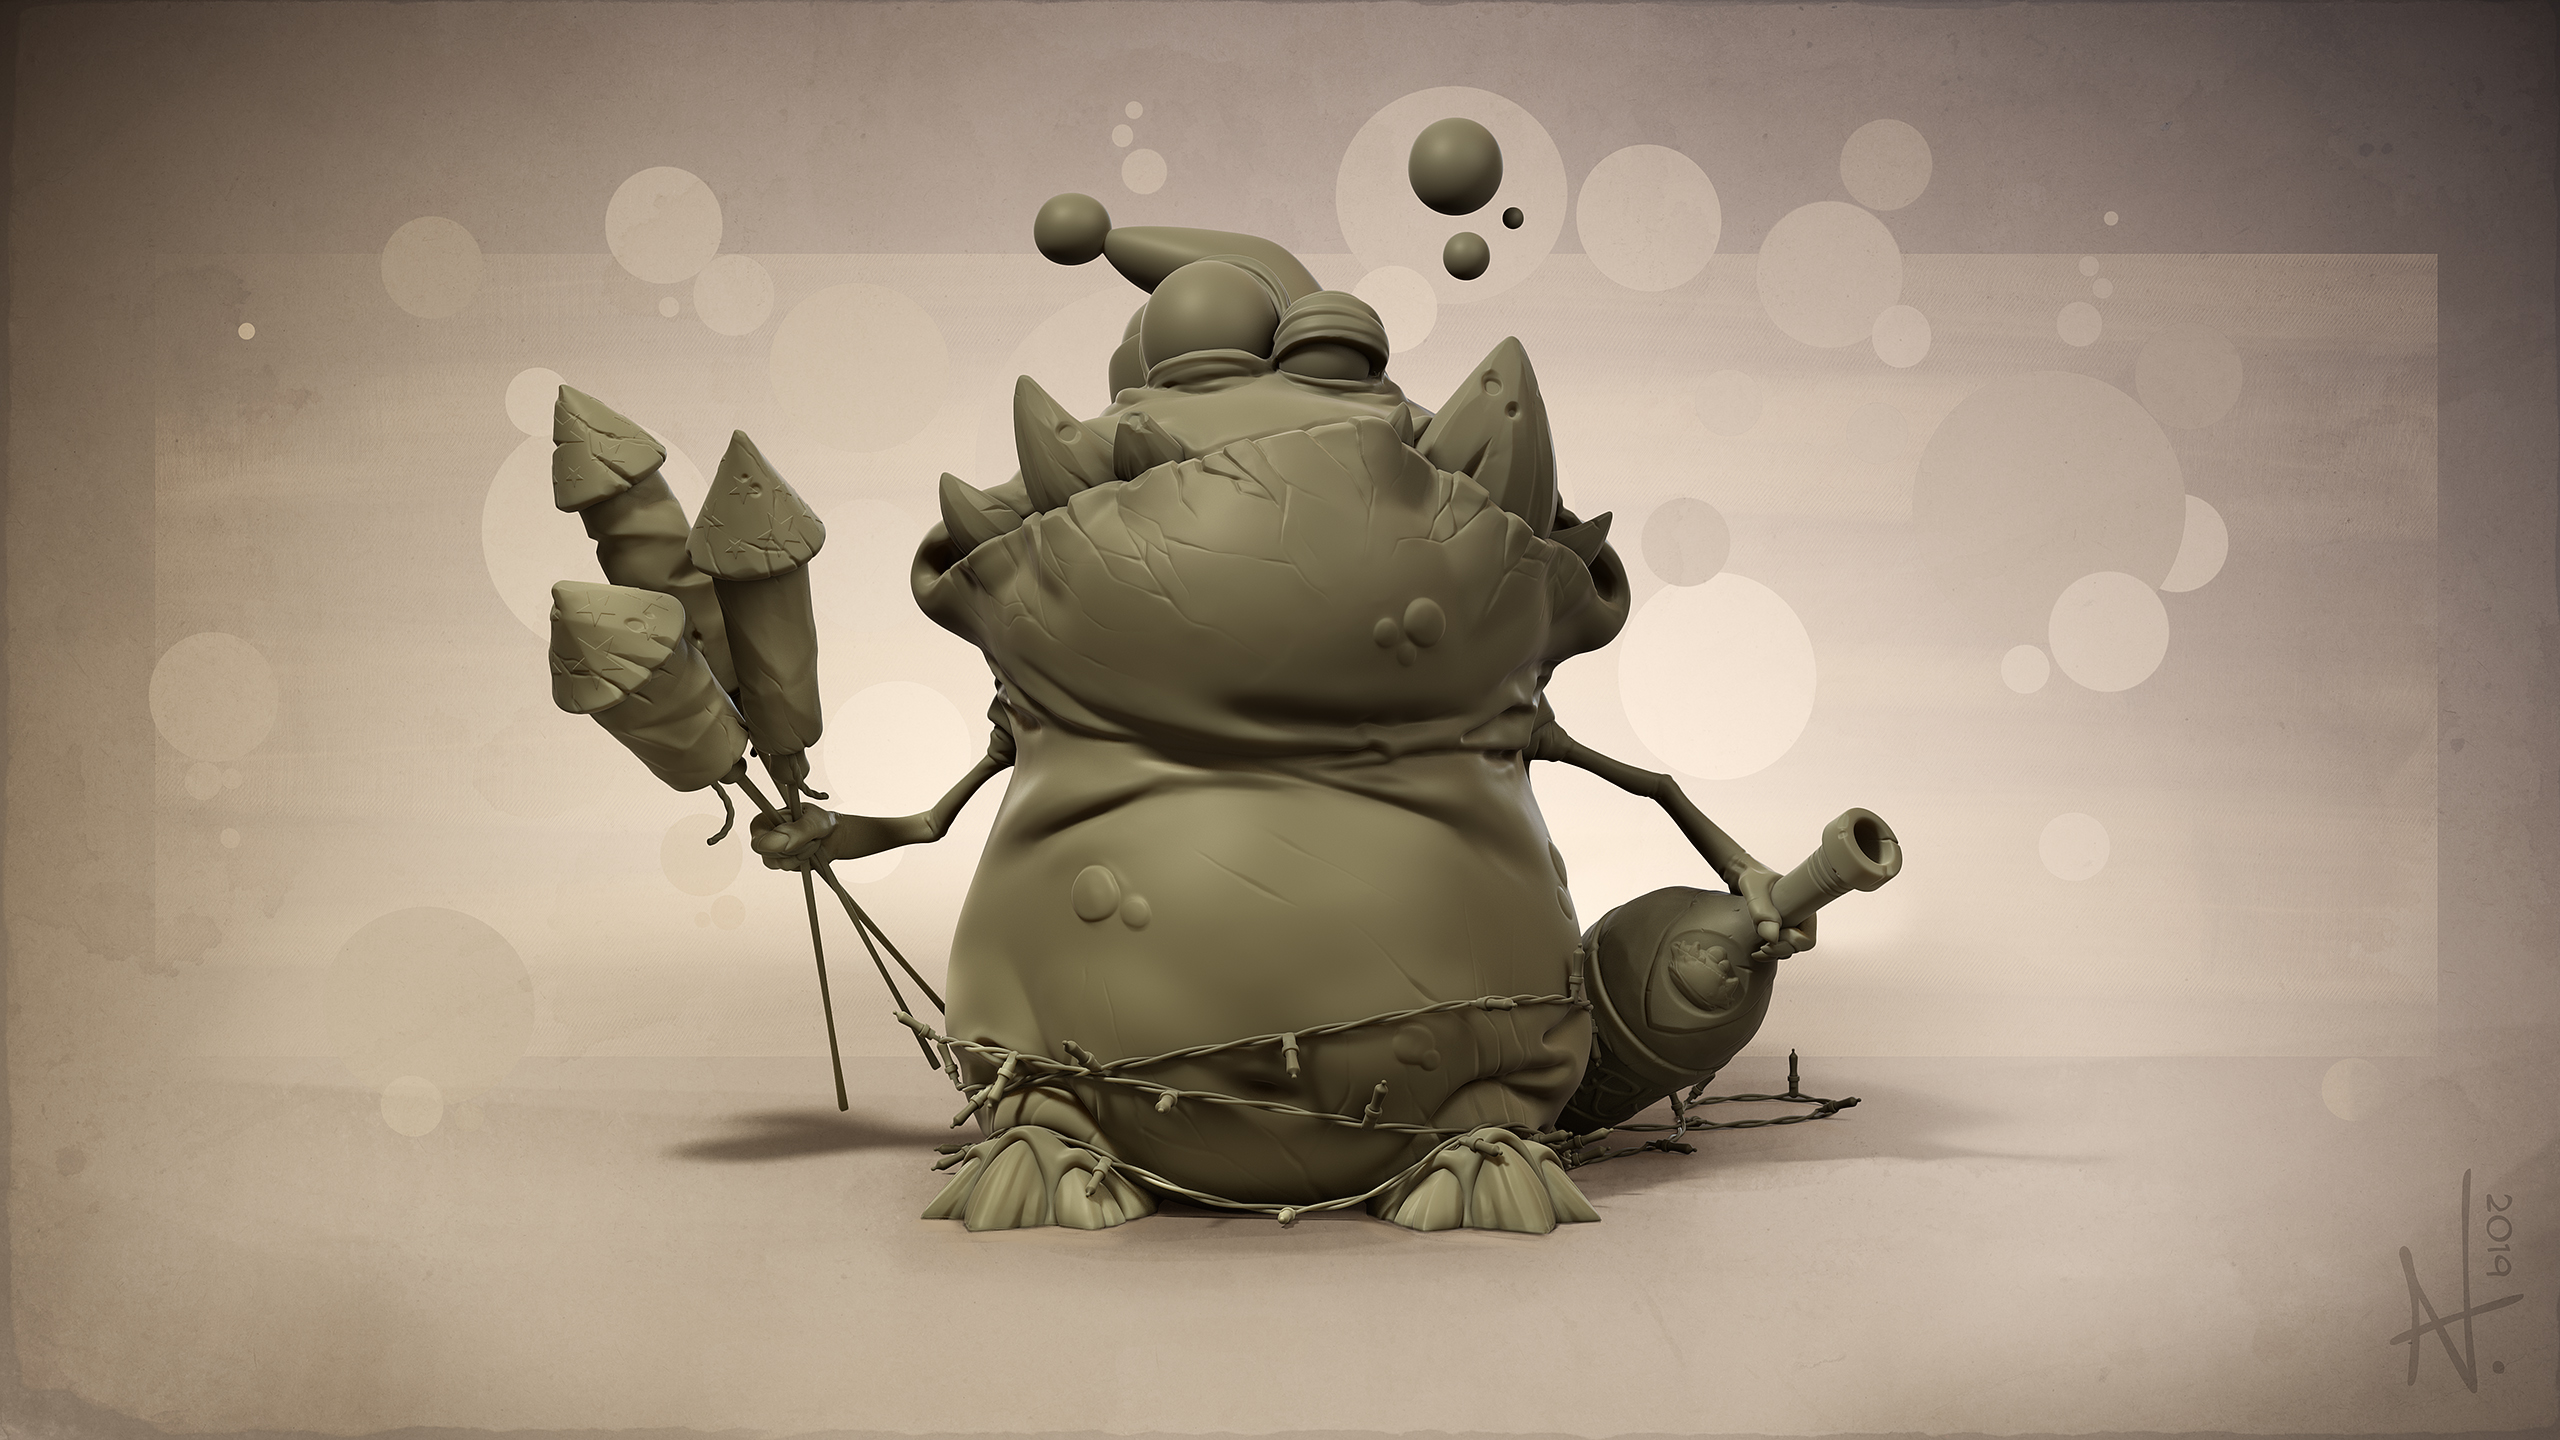
CLAY RENDER
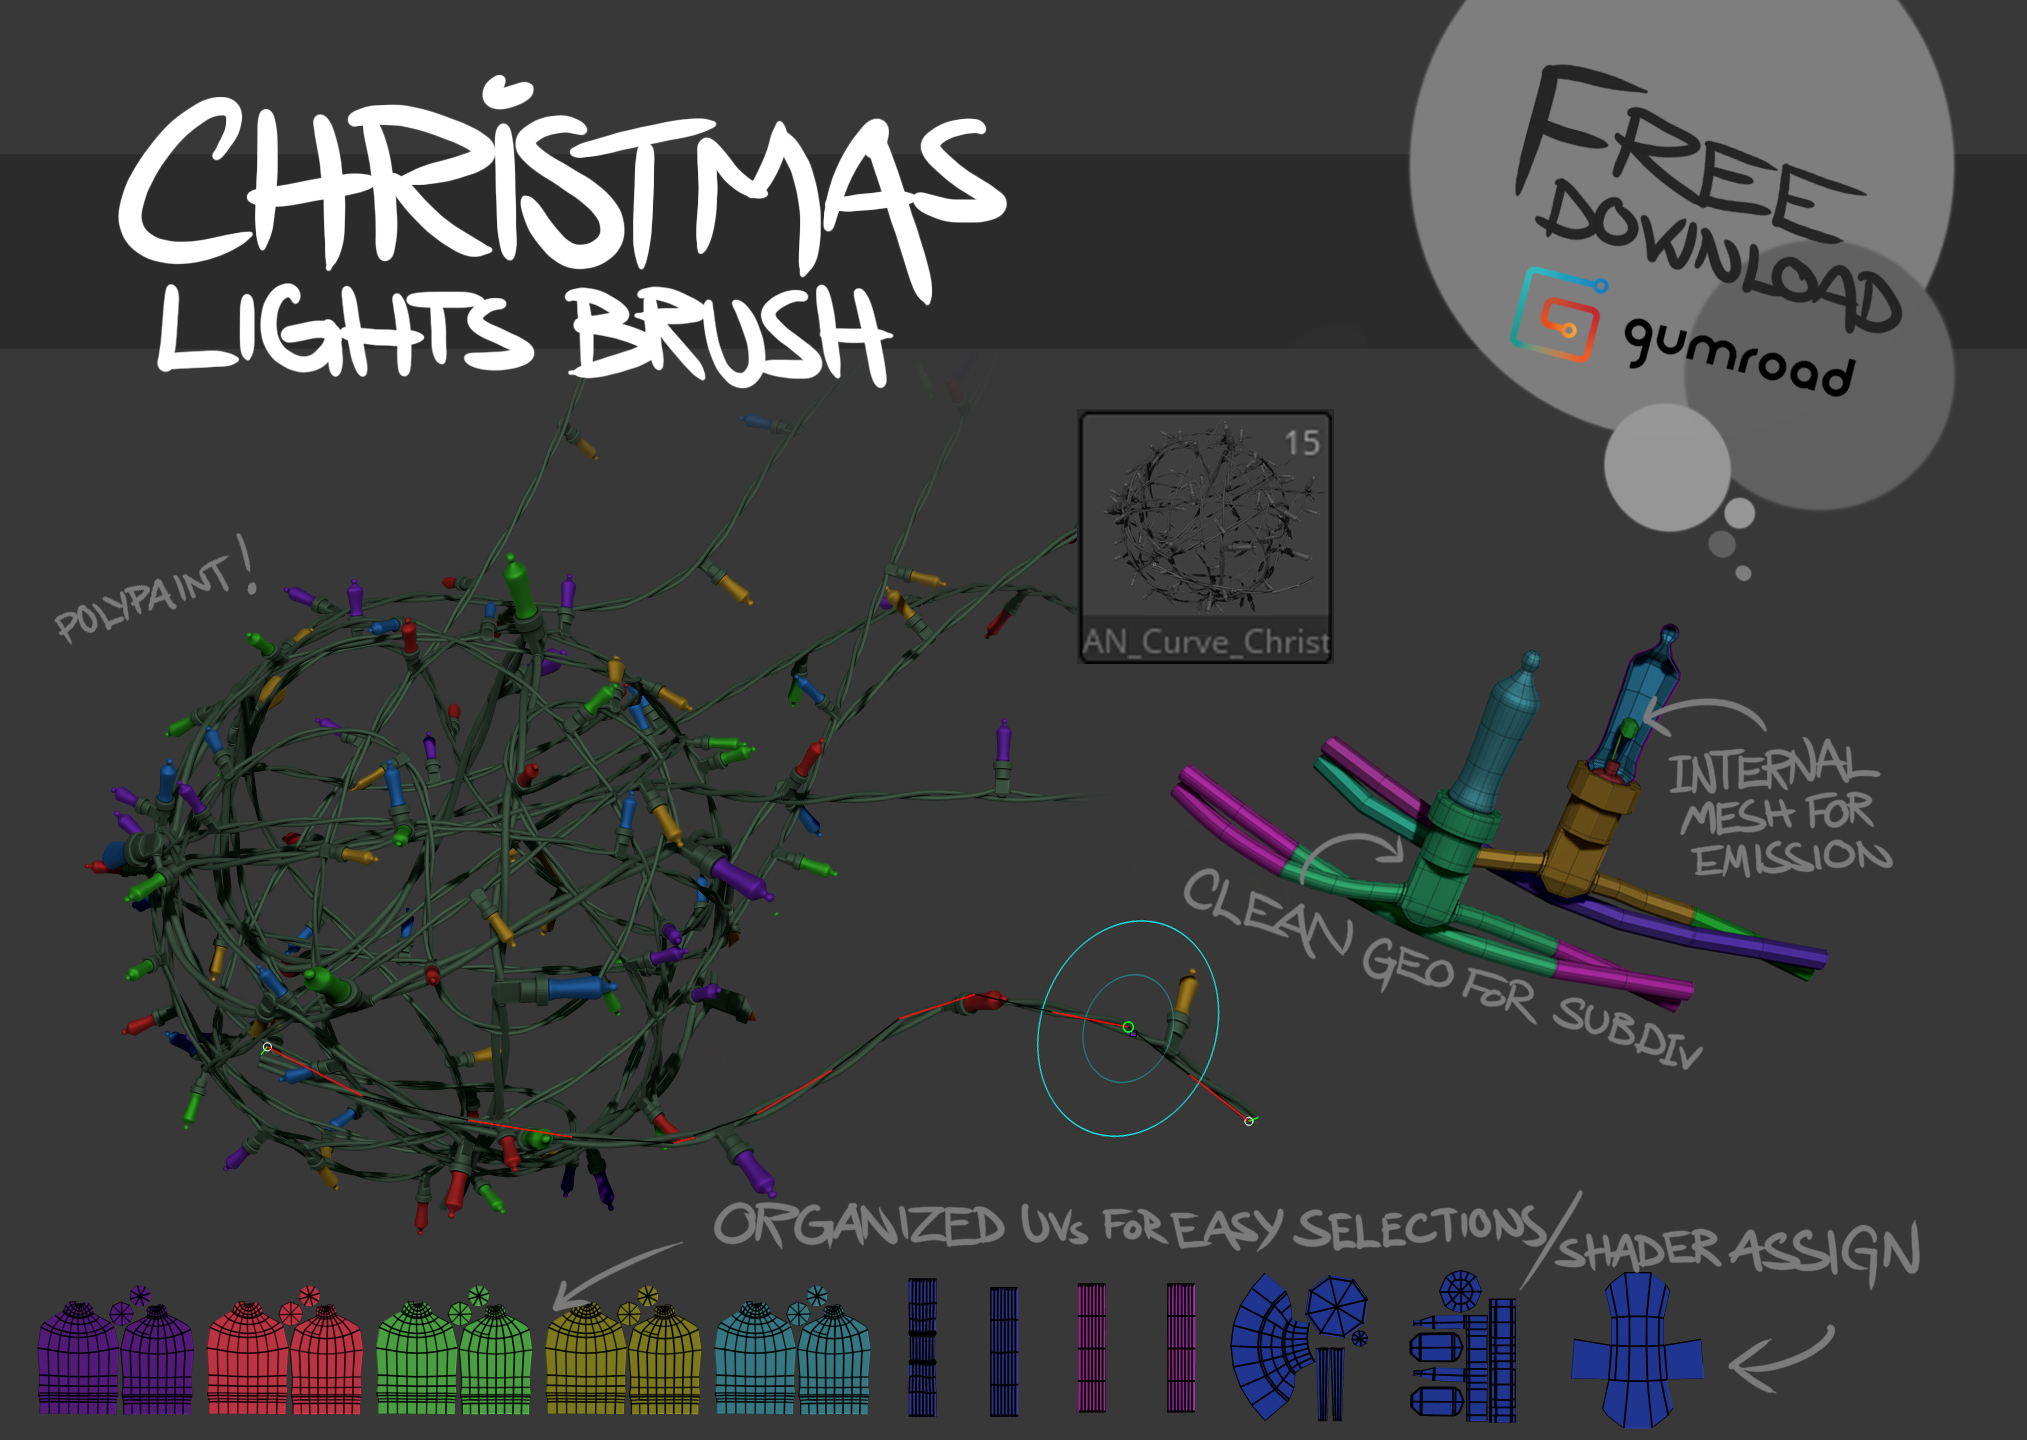
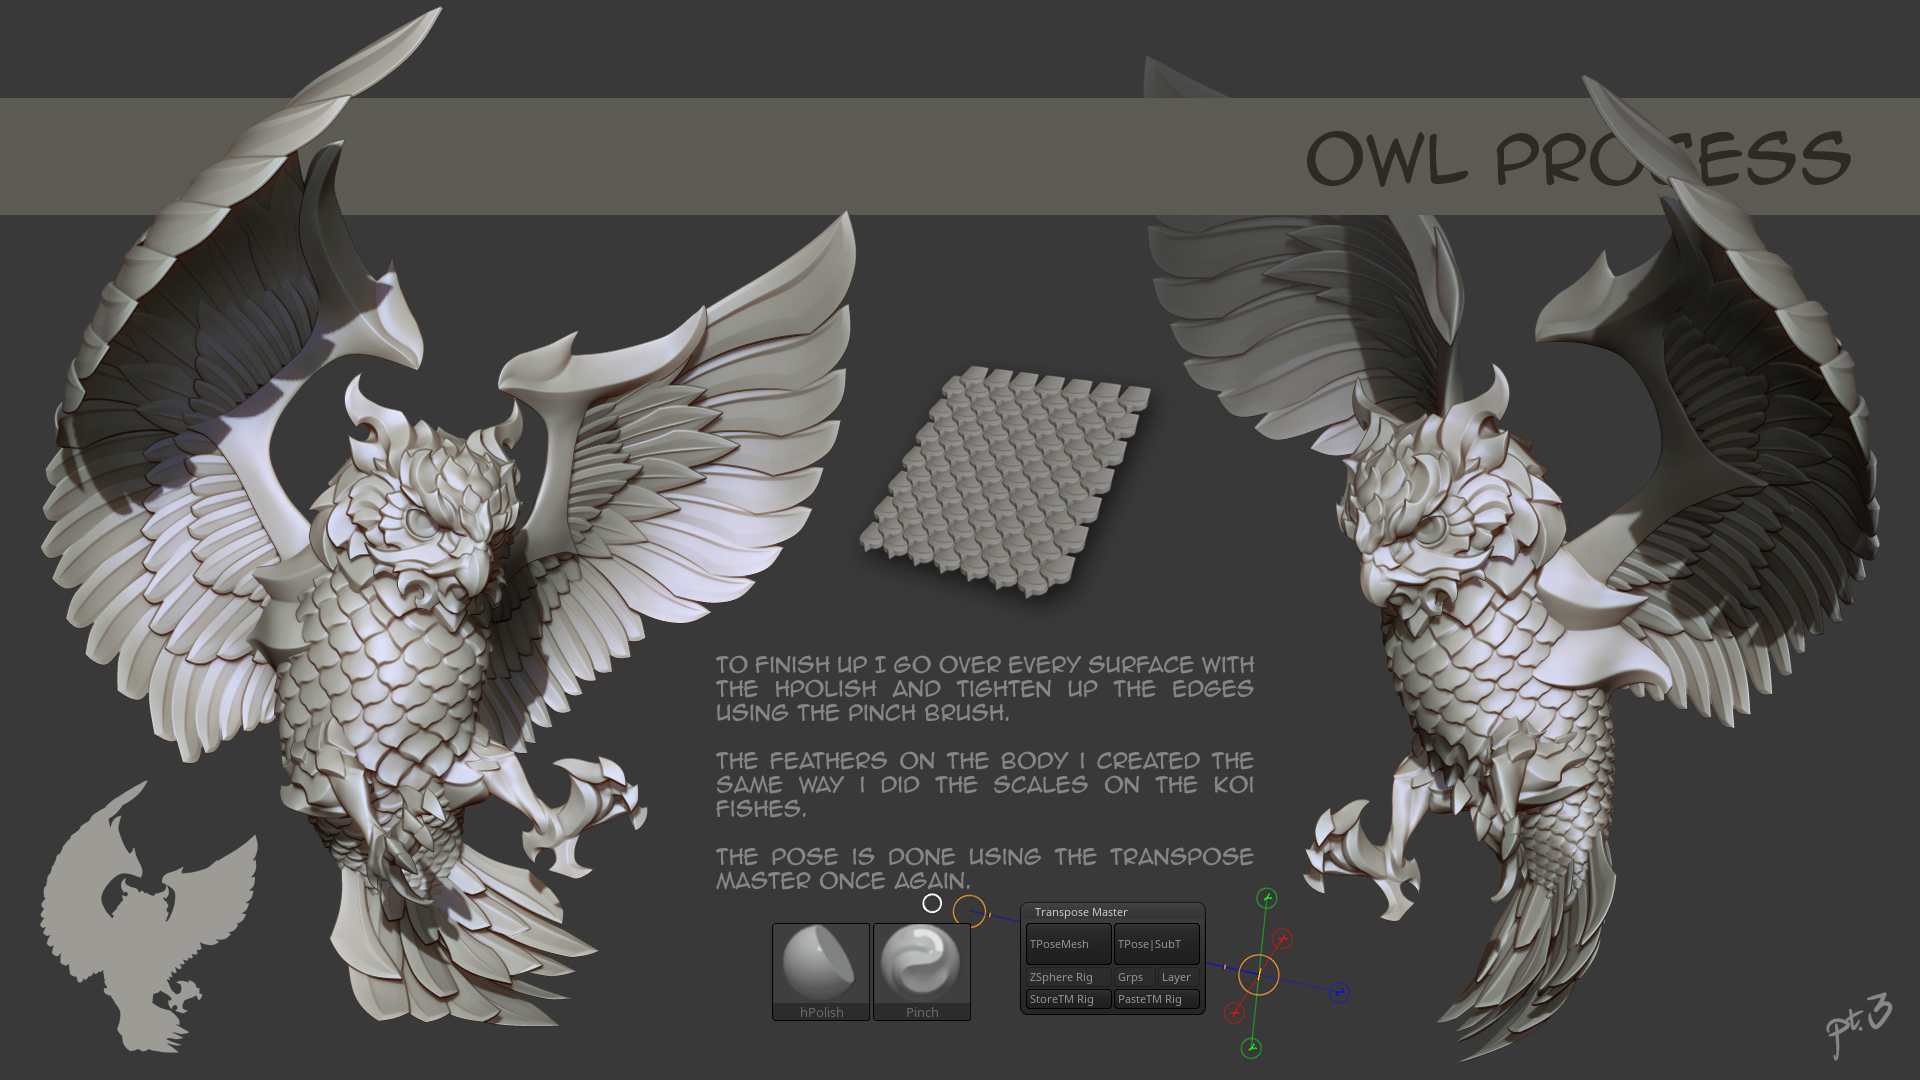
BRUSH GUIDE
I made a custom curve brush for the Christmas lights, which is available for download at my Gumroad
Sculpting is done in zBrush, colors are done both with polypaint and hand painted in substance painter. I did the final render in 3Delight for maya and the compositing in photoshop.
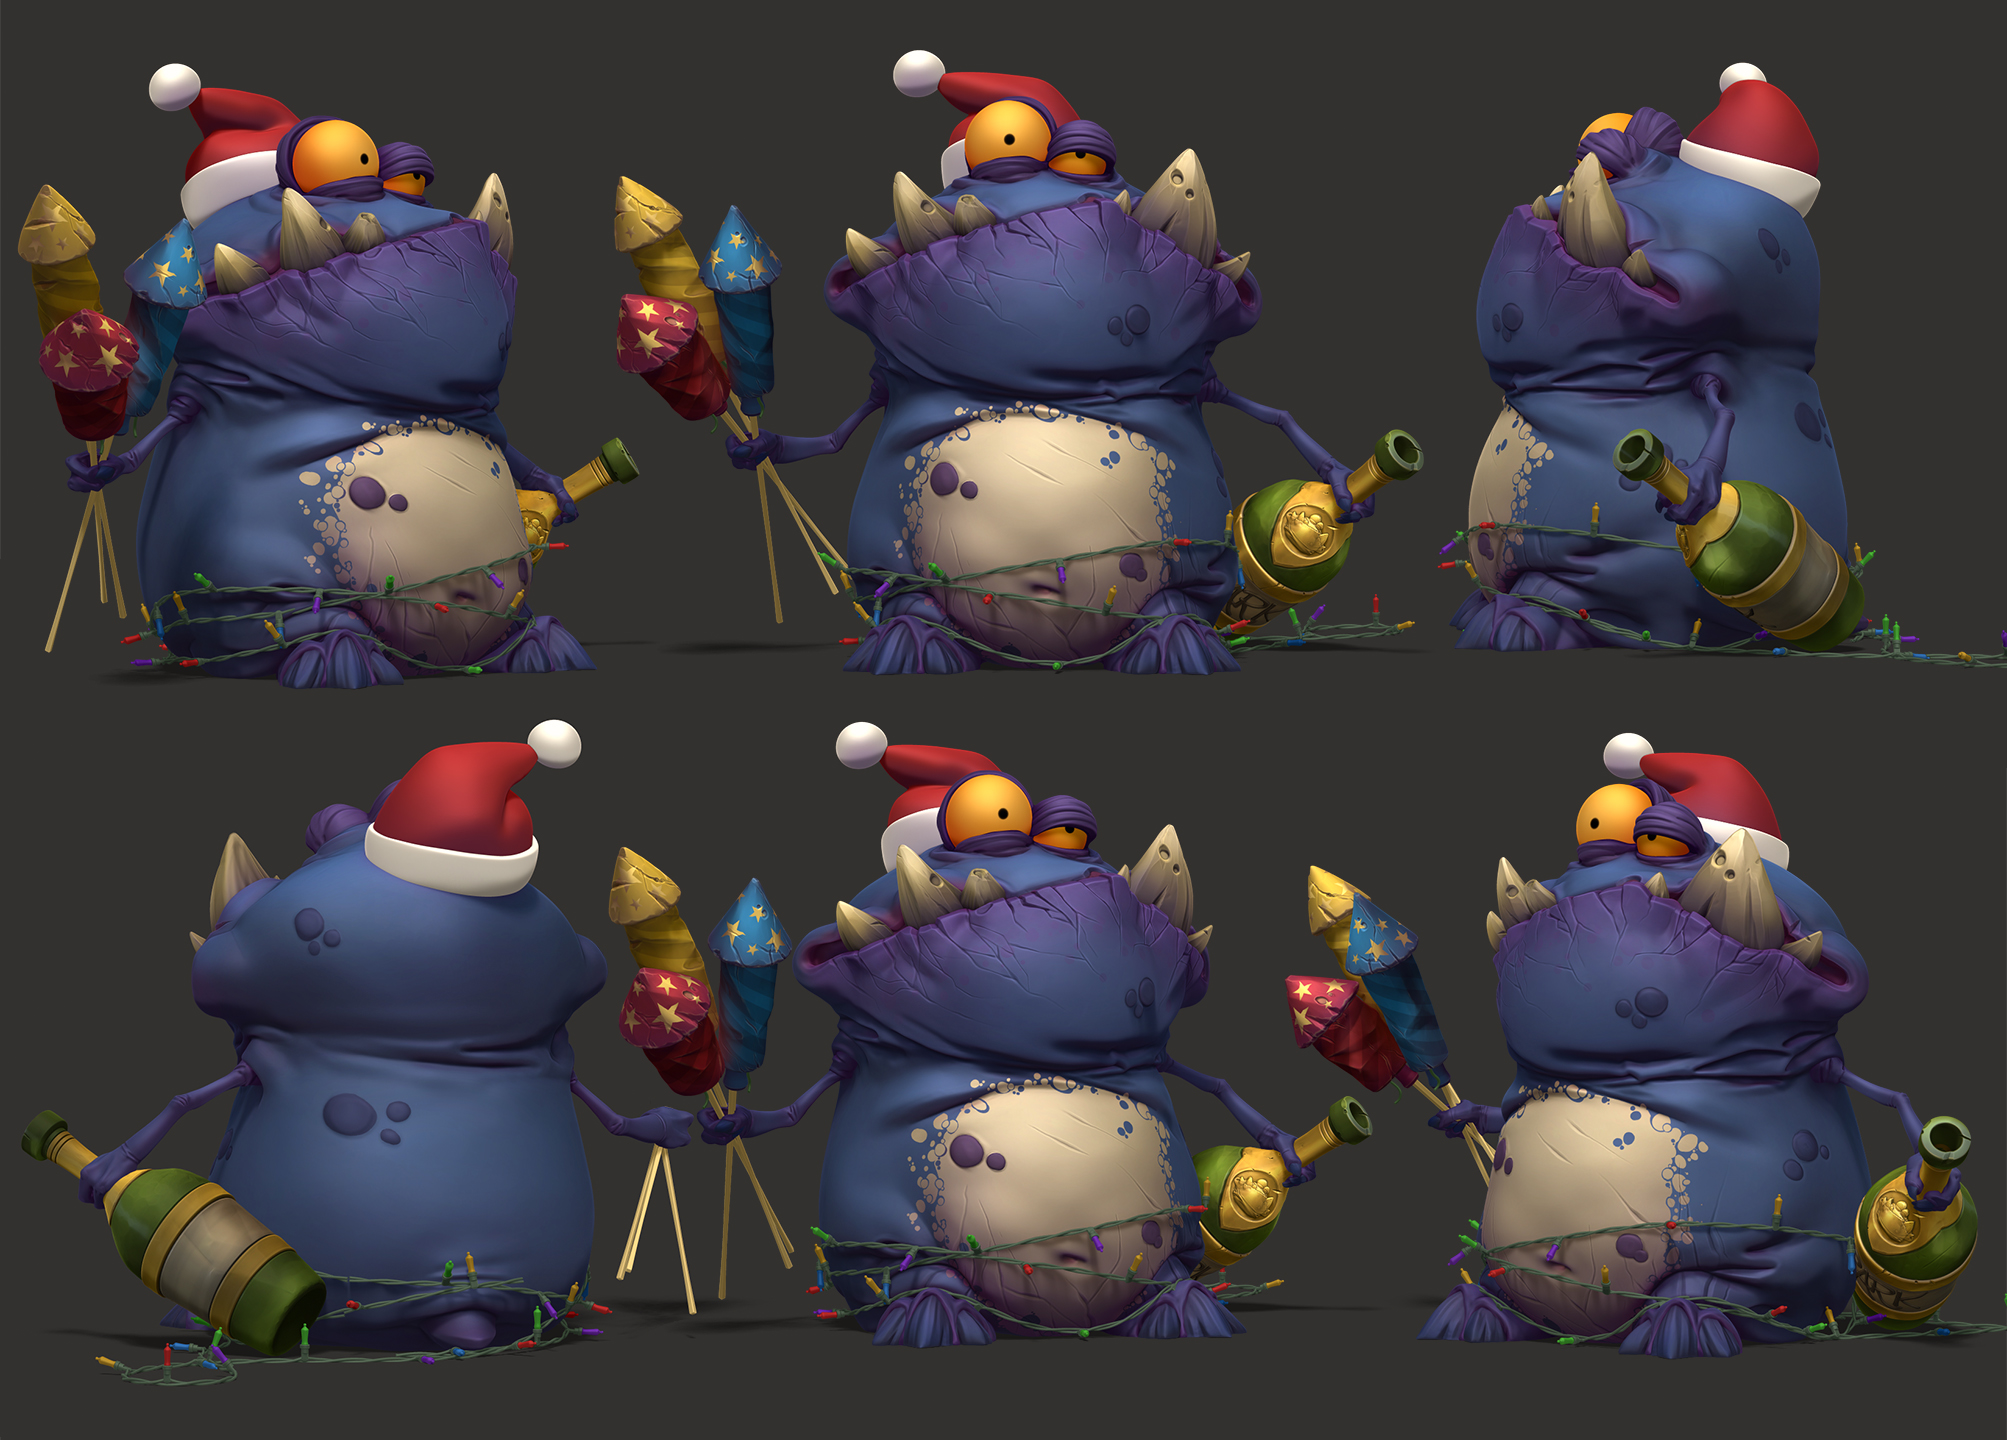
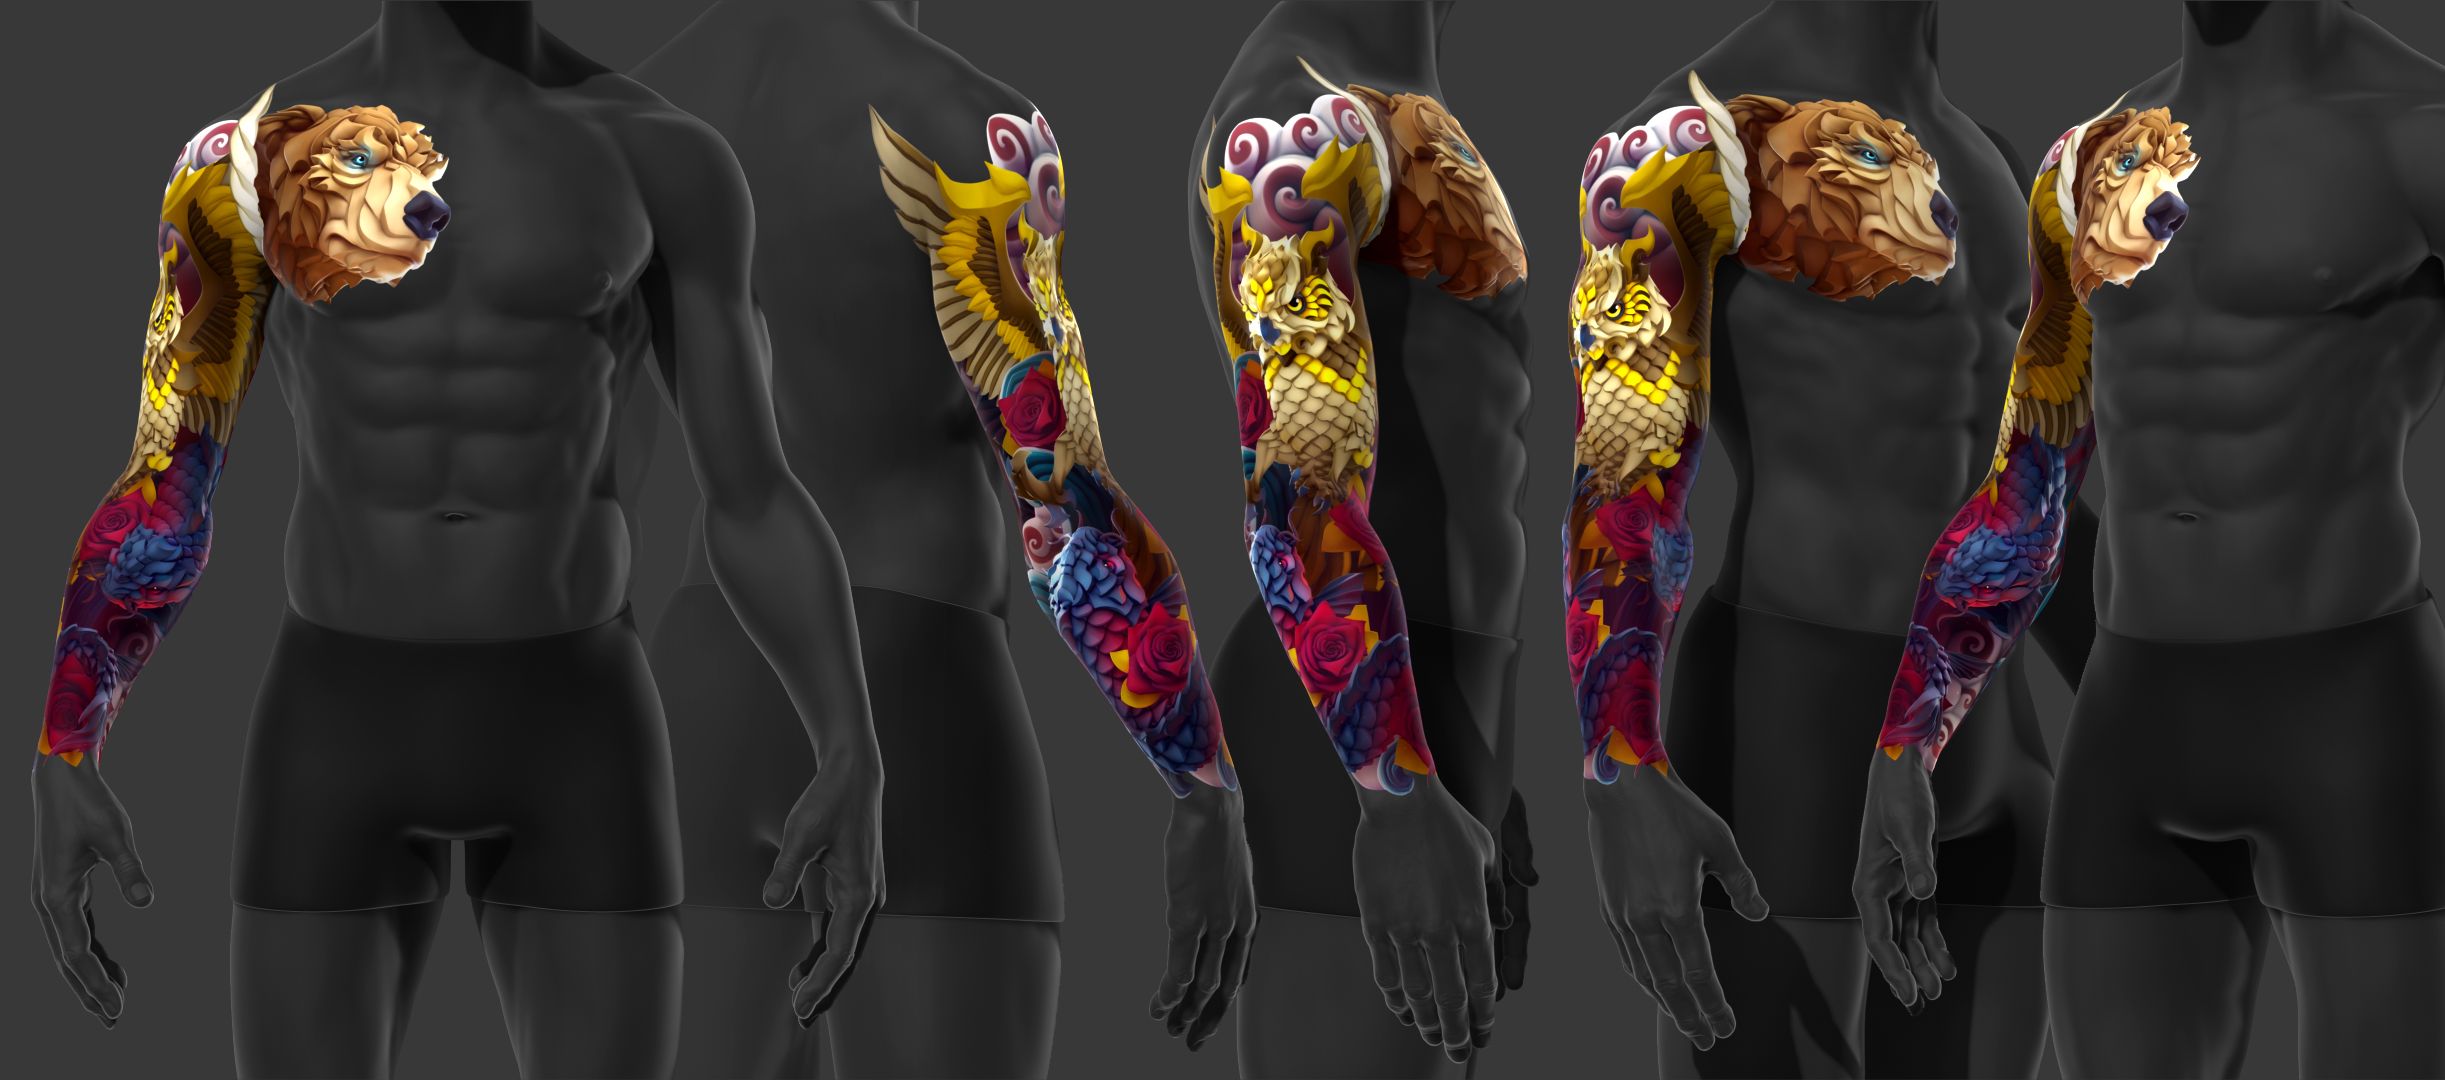
CHARACTER SHEETS
Have a great 2019!
Attachments


