Great work on the toy design and on the illustration! small_orange_diamond
my little brother would be very pleased with these toys, very cool artwork mate!
Keep it going and looking forward seeing more from ya,
Happy sculpting,
Kenny =)
Alll your pieces are very nice! I really like this last one, something i have been working on too. Trying to create that illustration that looks painted or not from a 3D program. Love it!
I’m impressed with all that “love layering”. I’m after similar results and it ain’t easy. I assume you slathered it with a lot of AO passes. Did you hand paint color or do blend mode tricks on render passes?
Thank you all, for the compliments and support.
SoW, the texture and details are all through tricks with adjustment layers in Photoshop.
Love the illustration!..nice work.
Sleepfight, thank you. I just burned way to much time digging through your thread. Congrats on the top row.
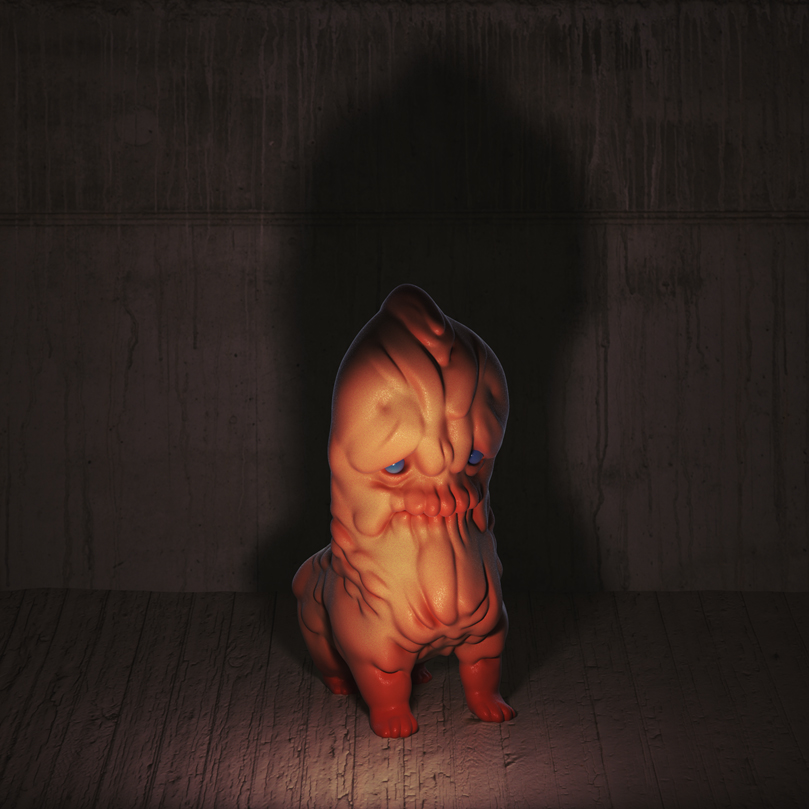
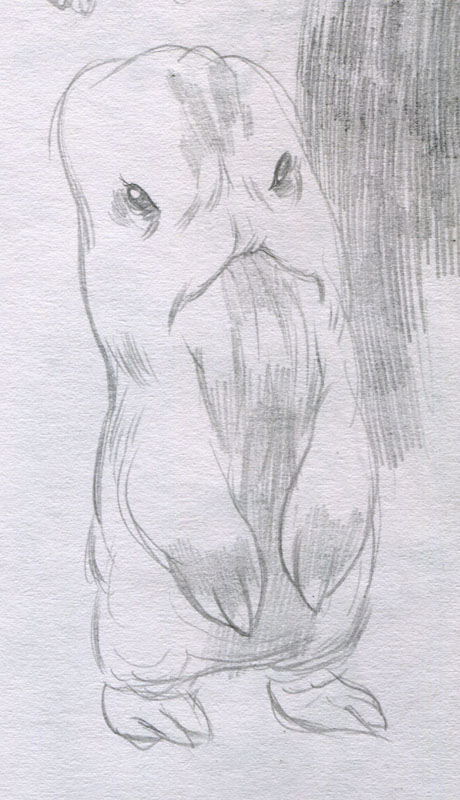
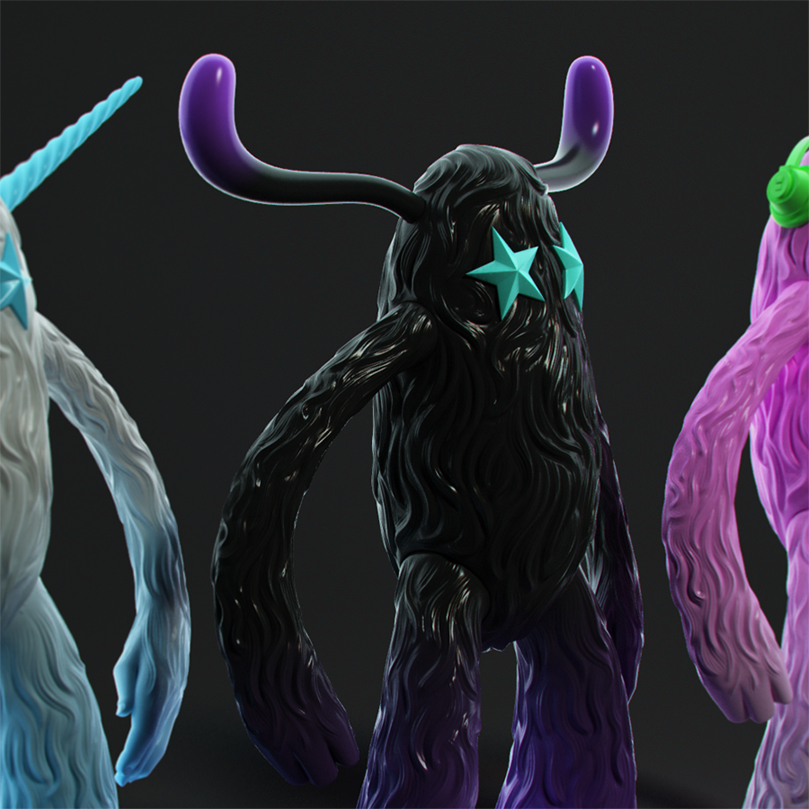
This little guy is just more fooling around on my part. I’m including a sketch, not of this creature, since I improvised him, but just a general doodle.
Really beautiful illustration, it has a really nice composition. Can you please please (pretty please) divulge a little of your photoshop love process? A much more soft, wonderful illustration is something I always love to see out of Zbrush.
Polaroid29, I can try to give you a general sense of what I wanted and a little bit about how I achieved it. But I can’t give you the precise recipe, you’ll have to get into Photoshop and play around.
I want the edges of the subject against the background to be soft but not blurred. And I want those edges to have textures, not simple fade to the background. This means that I had to find the edges, alphas are useful, as is the “color by wire” render element, or I can hand trace the edges that I want to play with.
The second issue that I wanted to nail down is having the colored areas of the rendering be made up of lots of smaller areas of mixed colors. I could modify each color channel of the image with a different overlayed texture map. I used a few different high contrast scans of leather.
This might not make too much sense yet, let me know. I’ll try to reconstruct some visual examples for you.
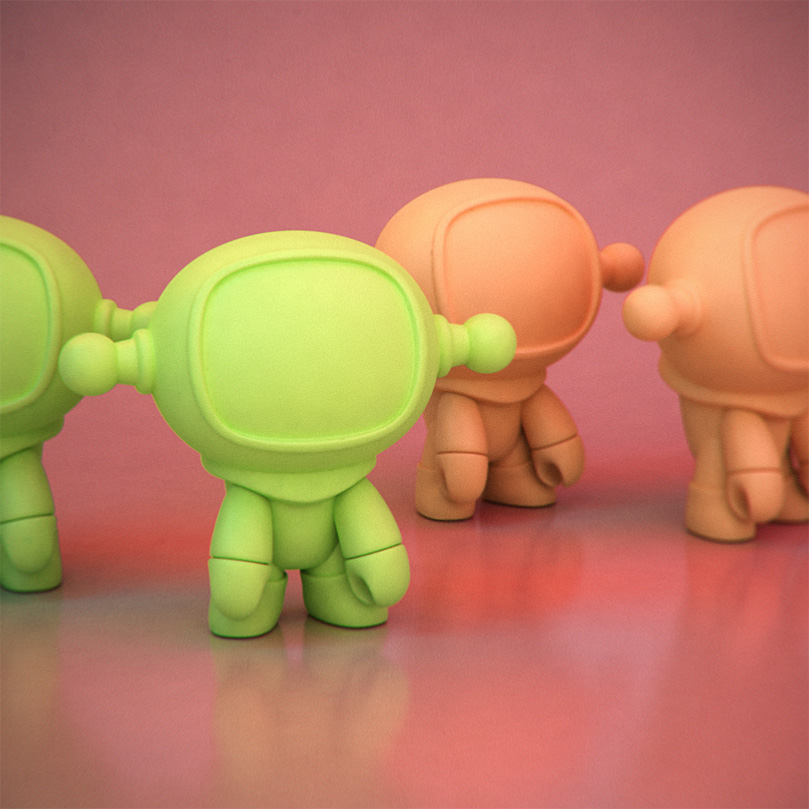
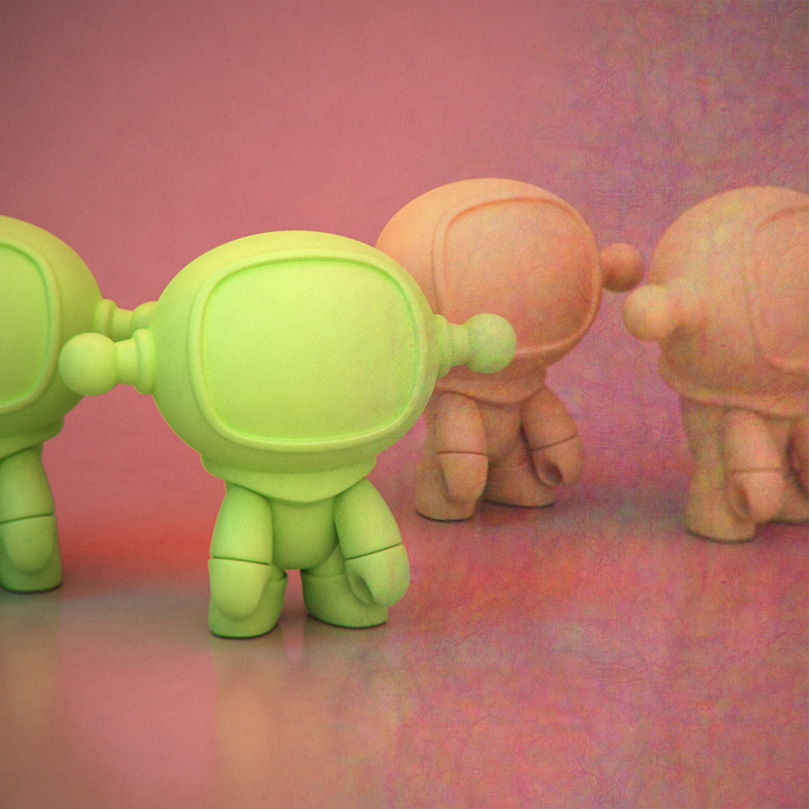
In the meantime, here’s a beauty render of the sculpt for Jeff Soto’s “Seeker”.
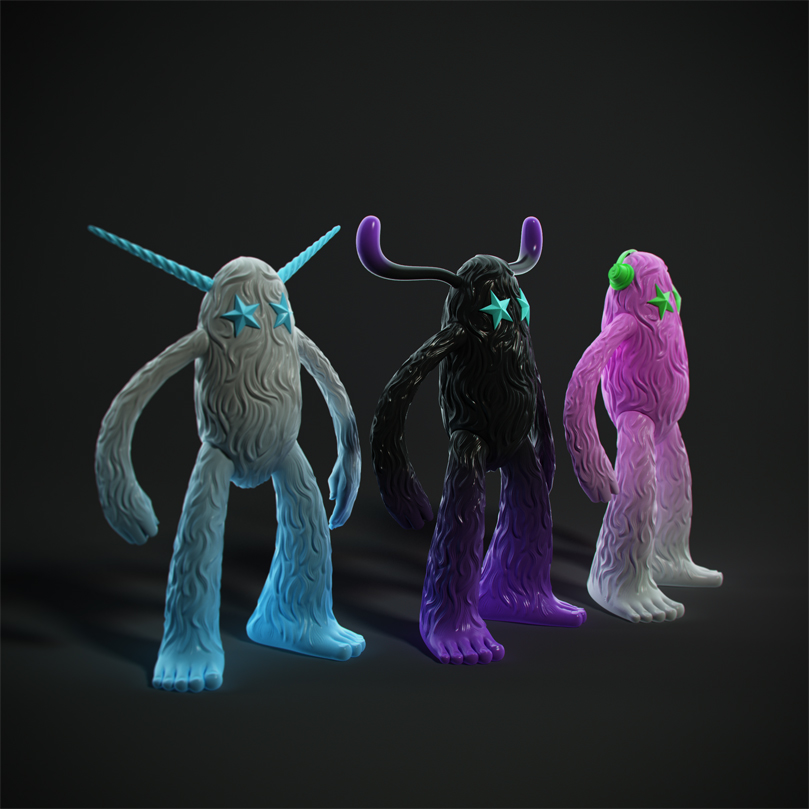
These are some funny little seekers! Great concept, very simple but great!
Looking forward to more illustrations from you, very very nice work!
Surprise thread of the day for me, very enjoyable!
I love the cupcake cherry and the quality of your VRay render on Thoza.
I really appreciate it  I understand that you can’t give me your exact process, but even just the little tidbits so far are really generous of you! I think I’m following the first part well, getting a little lost after that though. Visual examples whenever you have the time would be really amazing.
Can’t say thanks enough!
All right, I’ve sketched out a sample run through that might give you some idea of how to break up the color of a straight render. There are probably a dozen different ways, in Photoshop, to do this, and it is worth your time to come up with a method that suits your personal vision.
I don’t make this kind of illustration very often, there isn’t a lot of call for it commercially, so doing highly textural digital illustration is something that I fool around with on my own time. I’ve done a couple of album covers, some fun work, but that’s about it. Most of the commercial illustration that I’ve done has been fairly slick, or cute, or both.
Usually I’m focused on vinyl toy design, or resin collectibles, or engineering toys for manufacturing. Some of the work is fairly technical.
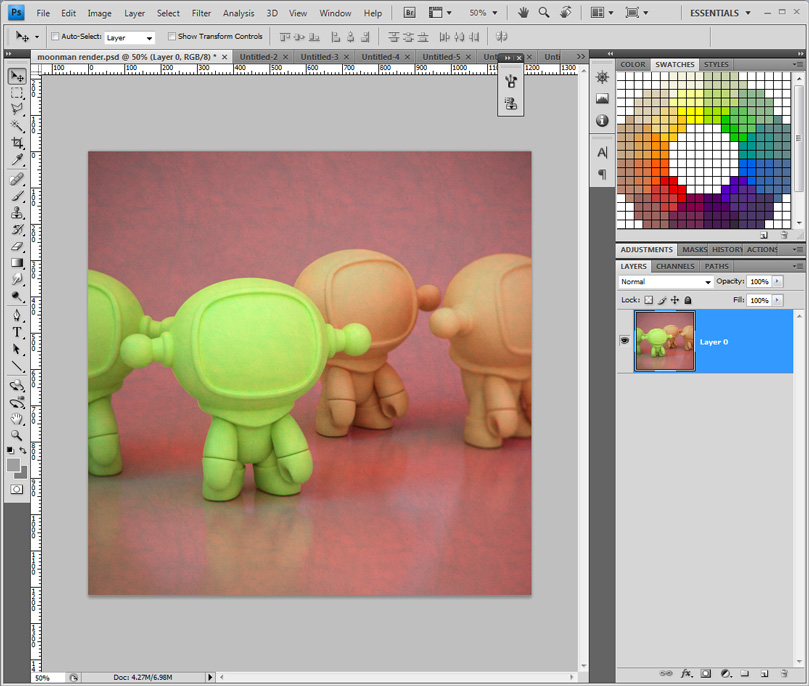
Well, here you go then… the raw render:
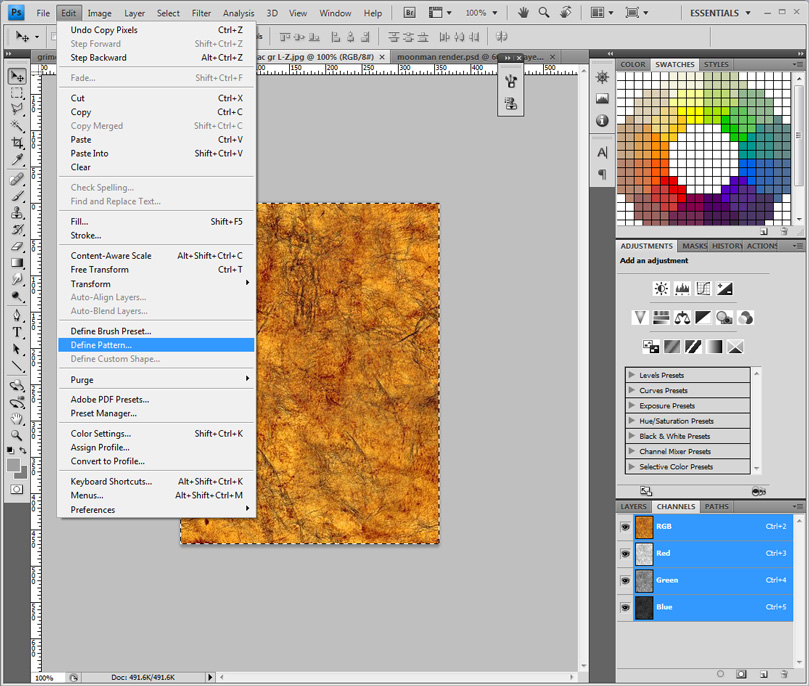
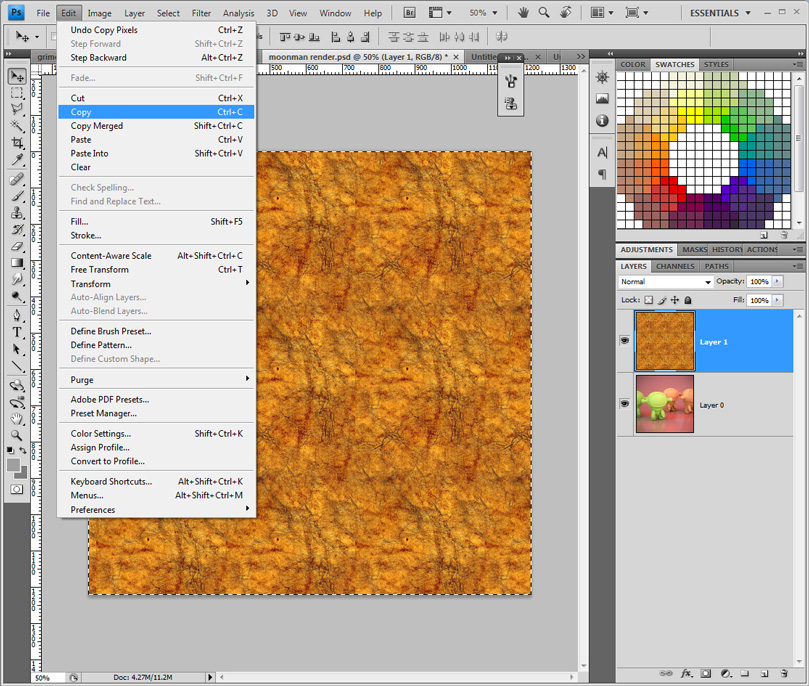
Make a pattern from some nice lumpy image:
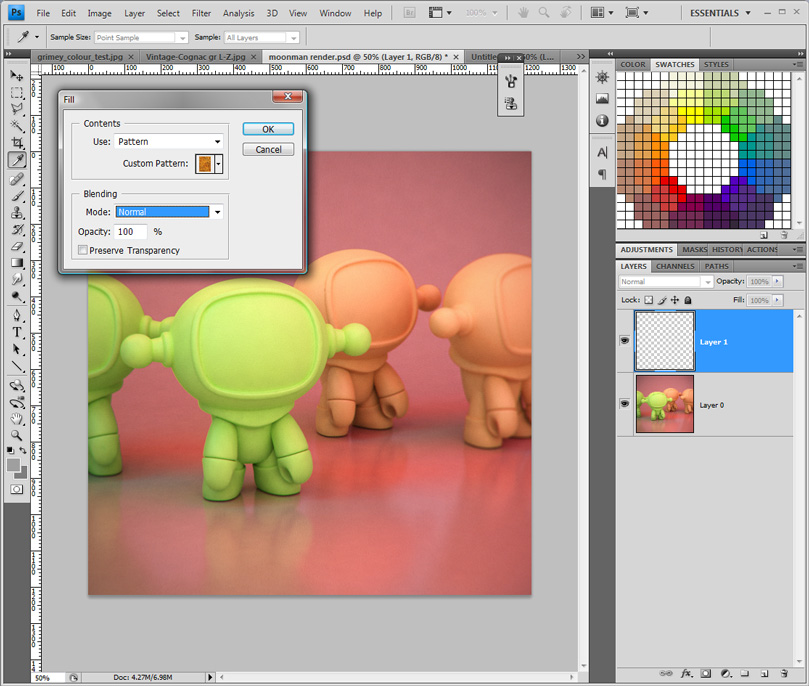
New layer and fill with the pattern:
Select and copy the entire pattern filled layer:
Go to the color channels of the original image:
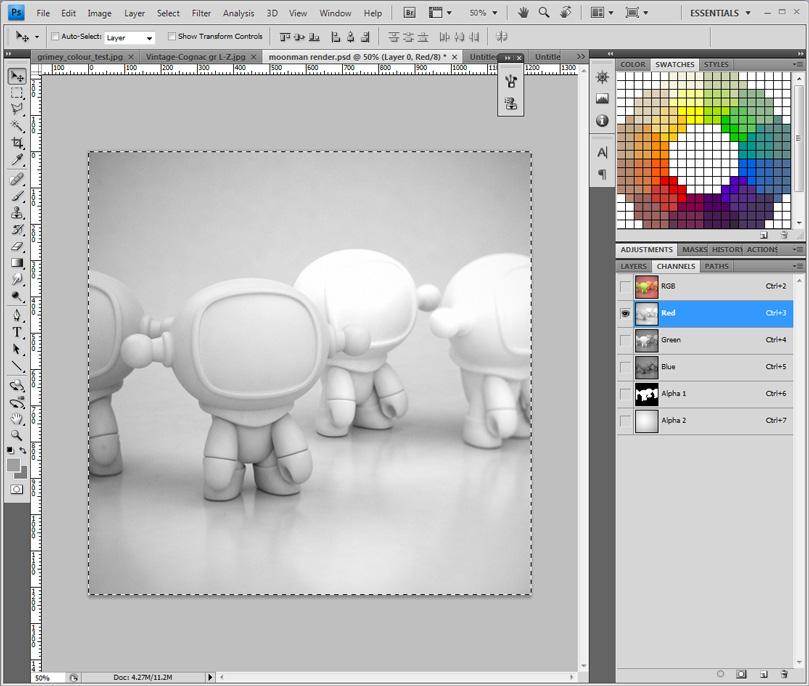
Paste the copied pattern filled layer:
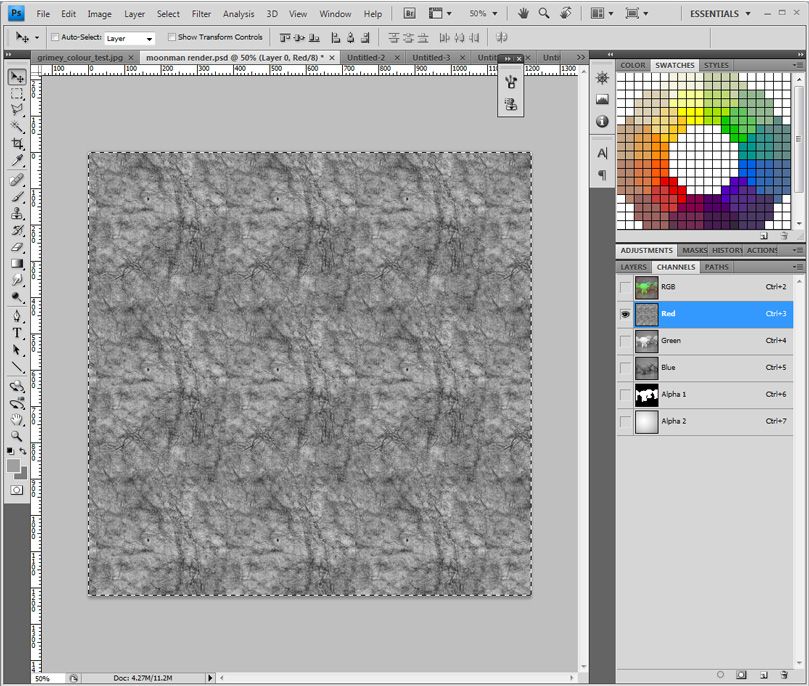
Fade the pasted image:
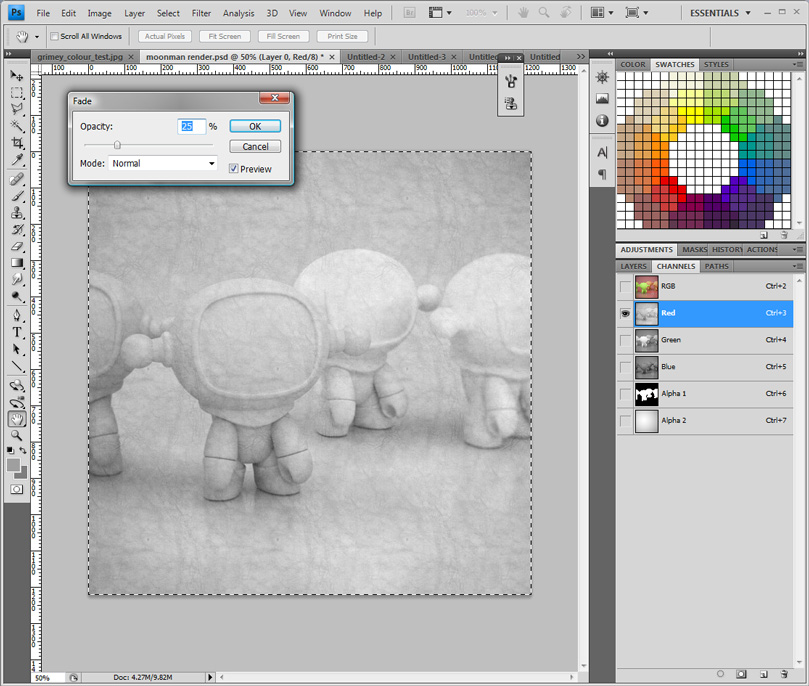
Here you can see the effect of the single modified color channel:
Repeat for all color channels using different fill patterns. You can also rotate each fill pattern 90 degrees, if you don’t have three different source images on hand. Comparison of original with tweaked version. The key thing, for me, is that the overall color hasn’t changed much:
Another great one, thank you for sharing the little tutorial =)
hey man! very nice thread! those monsters and toys looks epic!
about your tutorial: I think you may archive the same result much faster. just put the layer above and set its mode to multiply. and then adjust the transparency! but anyway thats very interesting method and I should try it.
ps: what about your render setup? are you using the physical camera in vray with daylight?
Nice thread and nice designertoy sculpts.
I’m a toy designer & customizer myself so ofcourse this thread is subscribed!
Looking forward to see more…
Thanks VISEone.
Uber, it’s true that your suggested method has kind of the same result. The difference however, is that your multiply layer is affecting the red, blue and green channels equally. I’m attempting to have each individual channel modified by a different applied texture, so that there is a more vibrant and colorful end result.
I really appreciate you taking the time to explain. Thanks again!
I love your toy prints just as much, cool stuff.
I’ve been following your work for a while now, and it is absolutely superb!
I thought I was like one of maybe 10 people that use zbrush in this town… Maybe that just means you are one of other ten too.
Cheers, and stay warm!
Corey, thanks. It has been more than a little chilly lately.
Polaroid, no problem!
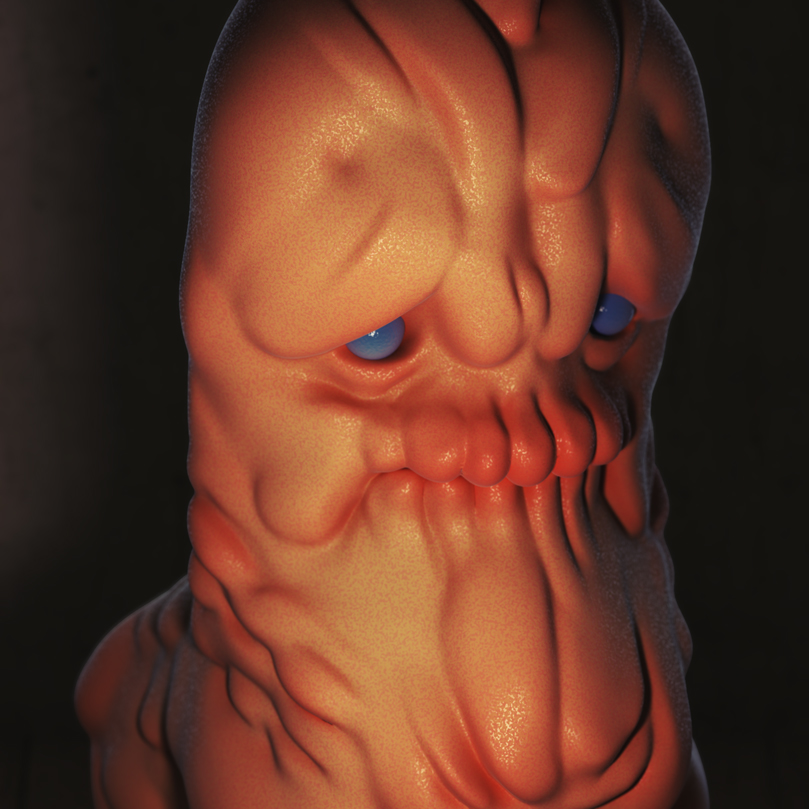
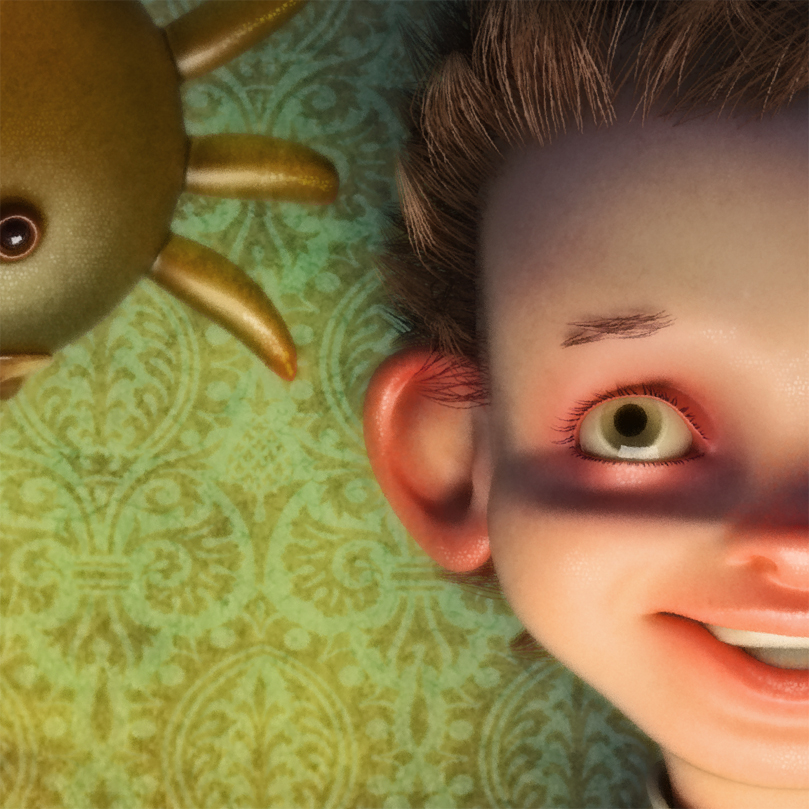
Here’s another portrait, tweaked out in Photoshop but sculpted in ZBrush. It’s a much older piece, but I still like it.

great work !!! and chilly in texas ? try 5 degrees here last night 