ZBrushCentral

skull X

This is made with the shader you told me, but i’m not sure about it…

skull_wip7.jpg

By the way… I cannot group polygroups because Tool > Polygroups > Group doesn’t appearm (Tool > Export > Group either).
If I create a simple ZSphere model > I create the adaptative skin > I make it a polymesh (Tool > Make Polymesh 3d)
Then no polygrooups button appers… why???

(arrggg! I find problems in each step!)

thanks!!

Well … the simplest explanation would be that you’re creating an adapative skin, but forgetting to clear the ZSphere model and load the adaptive skin model. If you do that, the Polygroup option should appear. Once you’ve got your adaptive skin, you don’t need to create a further Polymesh 3D tool … it’ll be identical to the Adaptive skin model you just created. But if you do make a Polymesh 3D model from the Adaptive skin one, then the Polygroup option still works (I just tried it). The other thing is to ensure you’re in Edit mode … most commands aren’t available unless you’re in Edit.

Don’t fret … if you stick at it, all the weirdness won’t be weirdness any more. btw the shader looks pretty good … but you can change any of the parameters to get the effect you want. Can be hit’n’miss though. :smiley:

Hello!

I’m back! Moochie, thank you very much for your advices, they really helped me!

As usual I had more problems to create the displacement map… My model has 7 subdivisions. If I create a 1024 map with 6 subdivisions active then zbrush creates it in 1 minute or less and in max the displacement map applies right to the model, but If create the map with 7 subdivisions (the maximum) it creates the map in 45 minutes !!! and when I load it within max, the displacement map doesn’t apply correcty… strange isn’t it??
So I decided to export the 7 subdivision model to max. I know it’s not nice… but it works.

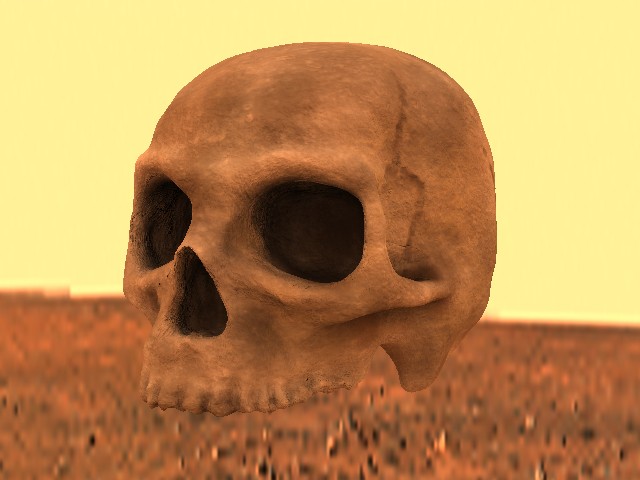
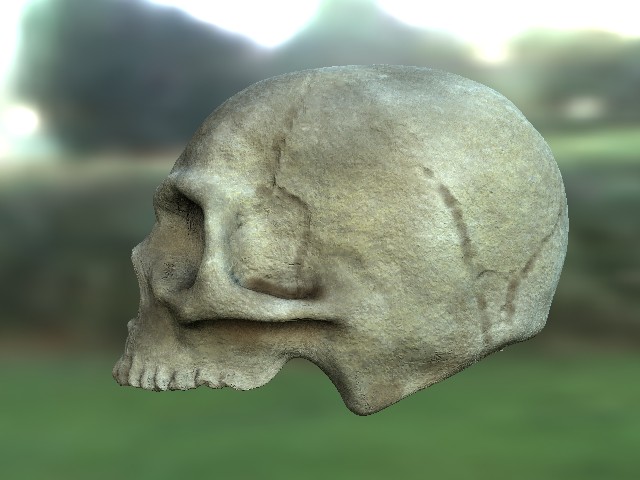
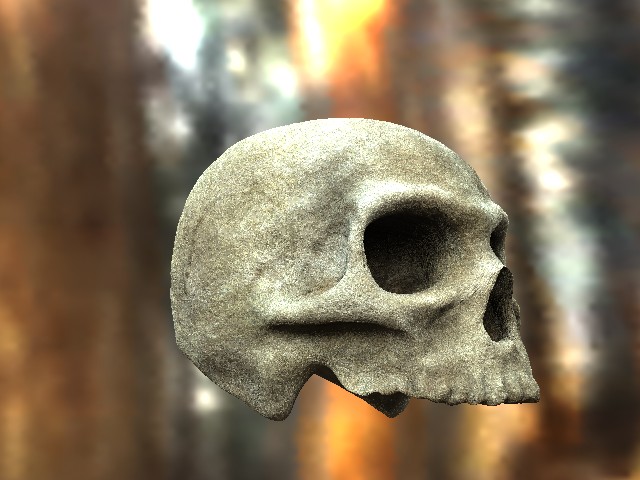
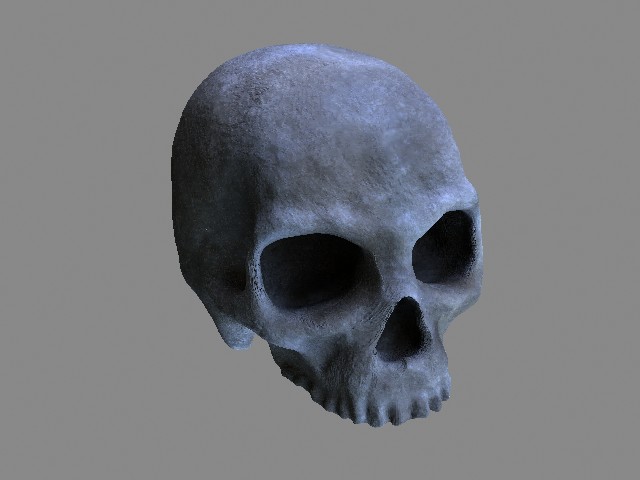
Well, just wanted to say I love Zbrush, and brazil’s HRDI (Max also ;)) :smiley:
Here are a few brazil HDRI renders… I think the best one is the second one, and the last one, don’t you think???

skull_wip8.jpg

byee !!

Attachments

skull_wip9.jpg

skull_wip10.jpg

skull_wip11.jpg

skull_wip12.jpg

Looks really good. I agree … 2nd one down looks best (most realistic). I haven’t really used displacement maps yet, so I assume you’re creating them correctly. My only comment would be that your model isn’t desperately complex, so I was wondering why you needed to go to sub-d level 7 in the first place. 6 divisions should give you enough geometry, with texture/shader/bumps giving the necessary level of detail for the surface of the bone.

Don’t spend too much time on this one model. The best way to learn ZB is to create loads of stuff, so that most of the actions become second nature. Then it’s easier to do the more complex stuff and to diagnose problems. :+1:

Hi Moochie, yes you’re right, I shoudn’t have done a 7 subdivision level… but it’s my first serious model with zbrush :slight_smile:

Well, with this model I wanted to experiment the process problems, and sure I did ;).

Here is the final image composite. I’ll come back to the forums soon :smiley:
Bye!
skull.jpg

totally reallistic skull.Awesome modeling skills and beautiful render
:slight_smile:

Exceptional! Love it. :+1:

so realistic, so much effort

so much praise commin your way :+1: :+1: :+1: :sunglasses: awsome !