ZBrushCentral

Human Anatomy for Illustration

Hi Daniel!

Your skeleton is looking really nice :slight_smile: I like the proportions of the guy, it feels very natural to me.
These kind of project can go on forever if you jump around too much before really nailing down something before allowing yourself to move on. There are a lot of variation that naturally occurs on skeletons, which makes it really difficult to say if something is right or wrong. For example, your ribcage looks very different from the one I did, but not becuase its is right or wrong, but because you have made an aestetical decision about it, which is great, it gives the work a lot of confidence and a solid look.

One thing that maby could get a tiny bit better, from a mechanical perspective, are the joints. Some of them are really well developed, like the elbow joint, but some of them feels a little bit undefined and could need some visual explanation in regards to their function. The knee joint and the condyles of the femur and tibia for example could need some work (as well as the proportions of them compared to each other). This will become very important when you later attach muscles and also when you pose the skeleton.

About the crashes, consider splitting up the skeleton into parts (different subtools and then use polygroups to separate things further) and use Zremesher to create subdivision levels for it. That way, if you want to pose him you can do that while using only the lowest subdivision level and then turn it up to max when rendering only. Or if you want to work on the skull then you can turn the whole skeleton to the lowest subdiv level while maintaining a high subdiv level on the skull only while you work.

And press the ā€œCompact memā€ - button before doing some high intensive memory operation, it helps :slight_smile:

Either way, amazing work dude, I enjoy your journey and I do appreciate the time youā€™ve put into it, I can see you work very hard on it. Keep it up!

Best,
Alexander

Hello Alexander,

Thank you for the information and compliment. I think with the skull item mentioned in an earlier post by Callister, I have changed some of the proportions along the way and that can definitely be the reason it is off now. The skull was the first thing I started on awhile ago so I know it has been changed and needs more attention. As far as the project going on forever, you are not kidding!!! I wish I had more time to spend on it too which is an uphill struggle, but worth it. As far as the rib cage goes, the intercostal spaces look right from several different reference images I have and models I have seen, but if I palpate my own ribs they seem much closer together so I am not sure what to do exactly.

For the joints the legs were done early on due to needing them quickly for a medical illustration with an external fixator before I even started the full skeleton project. I definitely plan on refining them and brushing over the whole model to add more definition.
The knee joint has been an eyesore since just as you said the other areas are getting more time and that is very undefined IMO at this point. Can you elaborate more on the comment of the proportions between the tibia and fibula.

For the crashes I did have all the bones in a separate subtool at one time while I was going along, then I started condensing them and used polygroups so that I could manipulate/move things together like the legs and feet or the arms and hands, and also sculpt/move separately by using the topological options.
I can seperate them all again :frowning: , if it improves performance it will be worth it and save time on crashes and unsaved events. Ill try that and hope it helps, it has been a bit difficult posing/moving the extremities like the arm and hand together when they are separate tools any suggestions on how you do this? I use transpose master a lot for this type of function since it lets me work on the whole model at once but I have had issues with the polygroups and the show/hide options when pressing Ctrl,Shift, LMB click it seems to let me only select and hide the first polygroup and then the next polygroup I select to hide it hides the rest of the model and not just that polygroup that no matter how many times I assign new polygroups that seems to happen. I know subtool master creates a new subtool but it seems to not like that feature very much so I end up doing a lot of masking. Have you seen or had that issue before?

Awesome man, yeah I also considered splitting the skull into different segments, but at that point Zbrush was already going really slow, and the geometry it would take to make those edges have the nice curves that they do would be insane, you could save a lot of time just using damien standard brush or something, unless you need to literally separate the geometry, which means you would need to model the inside of the skull aswell, Iā€™ve had experience of this myself and It was really really time consuming. It would be awesome for you to do it by all means, but it will take a while Iā€™m guessing. Thereā€™s a great resource of that here thatā€™s a guy I worked with for a medical app called 3D4Medical, the seams in Zbrush had to be sorted out using a painstaking amount of time in 3DSMax, and several people ended up working on it, but it also doeā€™s look pretty awesome.

With the spine I looked at some MRI images and youā€™re probably right, about that, I must have thought they looked narrower because of the reference I had previously seen, so what you have there looks good.

Yeah I also used transpose master myself with several subtools, Iā€™m guessing with the hiding polygroups situation youā€™re having you have more than two polygroups? I havenā€™t personally had that, sorry.

Callister

Thank you for the info and link. the skull looks pretty nice and I am sure it was a lot of work. I have a Neurosurgeon that works on my floor and has been critiquing my skeleton.
I keep him updated on my progress and the reason I want to split the skull is in hopes to secure a freelance project from him since he has shown an interest in my work.
This is part of the driving factor in diving into the complexity of the skull, on the flipside it is an achievement that I will like to know I have done. I enjoy the details in the work as long as I know whatā€™s there. :slight_smile:
I want to have clean and clear to read illustrations to show off, and when I need to do a project with the skeleton, I can start from a good base and spend the time I have tweaking and making the money shot.
The skull being split is one of the last main items that would take a considerable amount of time to complete so I prefer to do it now before I skip ahead too far.

I have been very very fortunate to have done several medical illustrations at my job. In the future I want to continue to grow in my art experience, and pay off that school loan.
While I am in the medical environment my main focus will be on medicine/medical illustrations at this time.
If you have oranges you make orange juice, or screwdrivers if you have something to mix with it. :slight_smile:

As far as the polygroups go I did have more than two polygroups. Im not sure why it acted that way but Iā€™ll check it in r7 and see if happens in that version at some time.

Keyshot render

I hate showing the image since it is in such a crude shape but I finally started splitting the skull and I am posting an image to prove it.
I tried unsuccessfully at polypainting the different sections on the whole model thinking I could just select those groups do a polygroups from poly paint
and separate them all that way. I did just that until for some reason even though there were separate polygroups for each section I wanted When I hit
ctrl LMB to select just that part to separate it into its own subtool it only recognized two polygroups??? Which means I wasted what I thought was a time saver since using the lasso select
for hiding the different portions of geometry I felt would have been difficult to do, but in the end that is exactly what I had to do, as well as using some masking and polygroups from mask features. :frowning:
I did find a cool feature in the draw menu that allowed me to take my orthographic views and project them over the model ā€¦it also has a opacity to it and it looks like it is painted directly
on the model. I am not sure if I remember this correctly but can you project your XYZ views onto the model from within the draw menu? Ideally that would have been awesome to project all the color separations
do some cleanup and polygroups from polypaint and then select each polygroup separately hide the rest and split hidden. ā€¦sounds easy on paper :slight_smile: I can see now I am going to have to do a lot of cleanup and create
some parts that were just not possible to get from the skull model from the way it was sculpted.

Wish me luck on this hill of hidden details.

I spent some time on the frontal bone and the frontal sinus. In retrospect I think I could have just waited till I need that in a project and saved some time for other stuff but its in there anyways, (still needs some tweaking).
Everything is a far way away from being done but at least the progress can be viewed. That being said feel free to comment if there are any items that seem so far off that they are just not right.

As always thank you for viewing the progress.
skull v23 sg.jpgskull v23.jpg

Hey! Looks like youā€™re on the right track! Donā€™t overthink the way to do things :wink: 
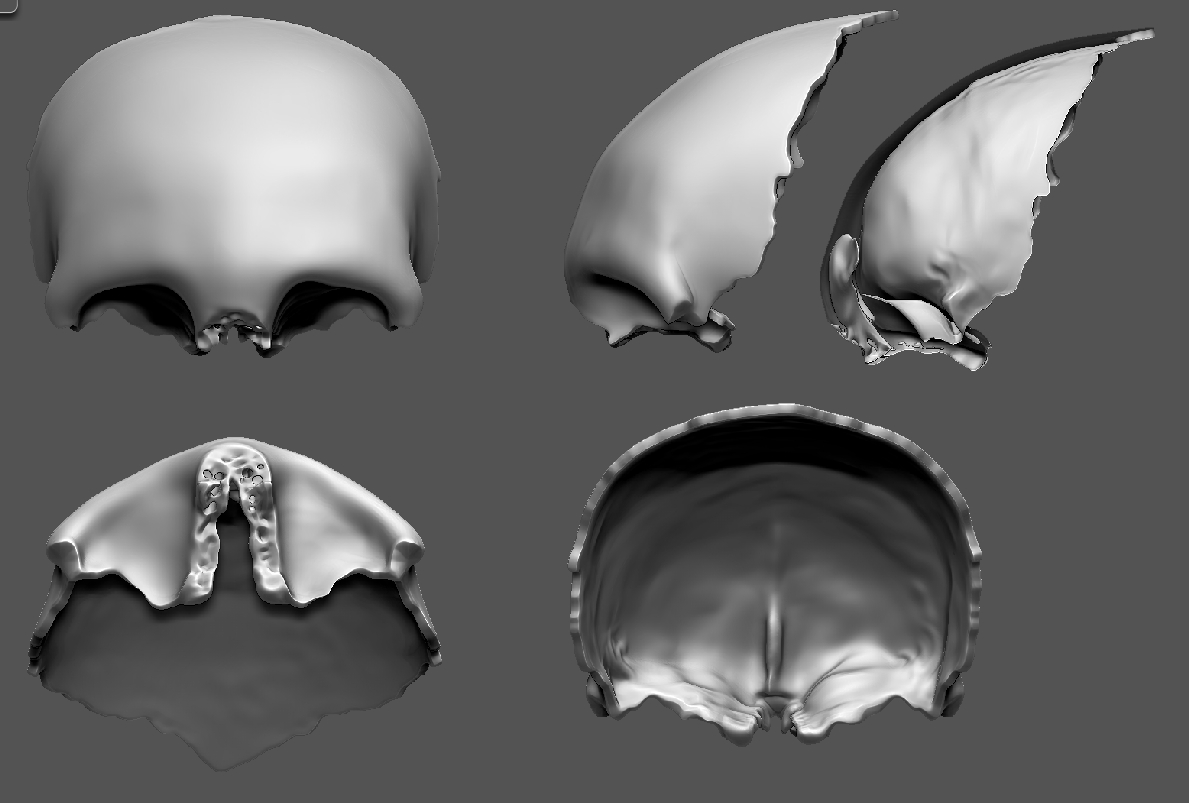
You do have to make many parts from scratch, and quickest is probably either to start with shadowbox or just a sphere and move>dynamesh>move>dynamesh etcā€¦ Looking forward to see more :slight_smile:

Thank you for the encouraging words, and advice.

Latest update ā€¦its as far as I could get tonight.

Another oneā€¦ Unfortunately when I did the Zremesher on the Frontal bone I forgot I had symmetry on and so when I made this screenshot I can see I have to move more stuff around so it is not symmetrical :P. I think I can project the info from the new old one onto the new in areas that I need but since there are holes for the frontal sinus I am not sure It will work out like I want. Also I am the only one that I see having this issue but Zbrush keeps crashing on me in the 64bit version, more than the 32 and both more than I can remember in any other version before 4R7. it usually seems random but I have noticed it when I try to append a subtool a lot.