Hey Folks, thanks as always for the comments… I have a bit more time tonight to get into some proper answers, sorry this took so long. I have a tendency to take on too many tasks at once and get overloaded.
Demonfetus - I think imitating my method of showing small modular pieces would probably work against you. When I initially started trying to push this way of working here I was shut down pretty aggressively at first and over time I gradually made my case for working as I do. It took about 4 years for this to be officially recognized and accepted as useful. People are more impressed by big fancy levels, only other artists/ designers can appreciate the cleverness behind them so you have to make sure you show them some pretties that anyone can understand. Oscar Wilde said that beauty is the only true genius because is the only once that anyone can appreciate or recognize.
So make cool pieces and show hipoly / lowpoly /unwrap … but know that its only the designers and content creation folks that will understand that part. The big level shots with the pimped out lighting and all the pieces put together is what sells you to the whole team.
The hipoly is the easy part, anyone can make a pretty hipoly piece of art but after that is done with the real work begins; sorry but thats the deal. The lowpoly process is what decides whether that pretty hipoly thing will look good ingame or be a piece of crap, it decides whether it will be hi res and efficient or low res and a resource hog. Will you have a good pivot point that the level designers can use to easily manipulate the asset? Will you pay enough attention to a global scale across a set of assets to make them convincing and realistic in relation to the player characters scale? Are your pieces well thought enough to be robust enough for you to make variants from the base mesh or take requests?
These are the real skills that I look for. Anyone can make art, but can a person make art that is of use in-game is the difference between an artist and a game artist.
I generally decimate the hell out of my meshs in zbrush , take em back to max and clean them up , symmetry modify and unwrap. Sometimes I just build the lowpoly fresh in max, often I have it built beforehand as I generally build a lot of my designs in max before taking them into zbrush to weather them.
Those cool trash pieces were done in Gears1 by Josh Jay and they proved how much those pieces that people look down upon actually add to a game, much like foliage. The rubble stuff pre Gears3 was mostly Danny Rodriguez.
Nicholas - Thanks. Mostly I just reuse my original hipoly art once I optimize it down. I will try to explain in detail how I did a couple of pieces later though to show some processing tricks as thats really where the magic happens or things go wrong.
Okimoki - I’m generally too embarassed to show a video tutorial. It would only expose how pitiful and lacking, slow and awkward my workflow is. Maybe its just imposter syndrome talking, but there really isn’t anything impressive to share. Looking at the video tutorials others here are doing totally puts me in the shade. All I do differently than most folks I see here is plan ahead; I mean really far ahead. I can’t really demonstrate that distinction in a video.
Mattj324 - I will try to scrounge through my WIP folders and find some stuff to demonstrate my starting point to end point.
adi3199 - Sometimes we have to ditch and run and leave the weatheration to the texture guys when we run out of time. Tight deadlines rule the day.
Kaleden - Pretty much all of them.
logansan25 - Mostly max for hard body metal stuff and zbrush decimation for organic stuff like rocks.
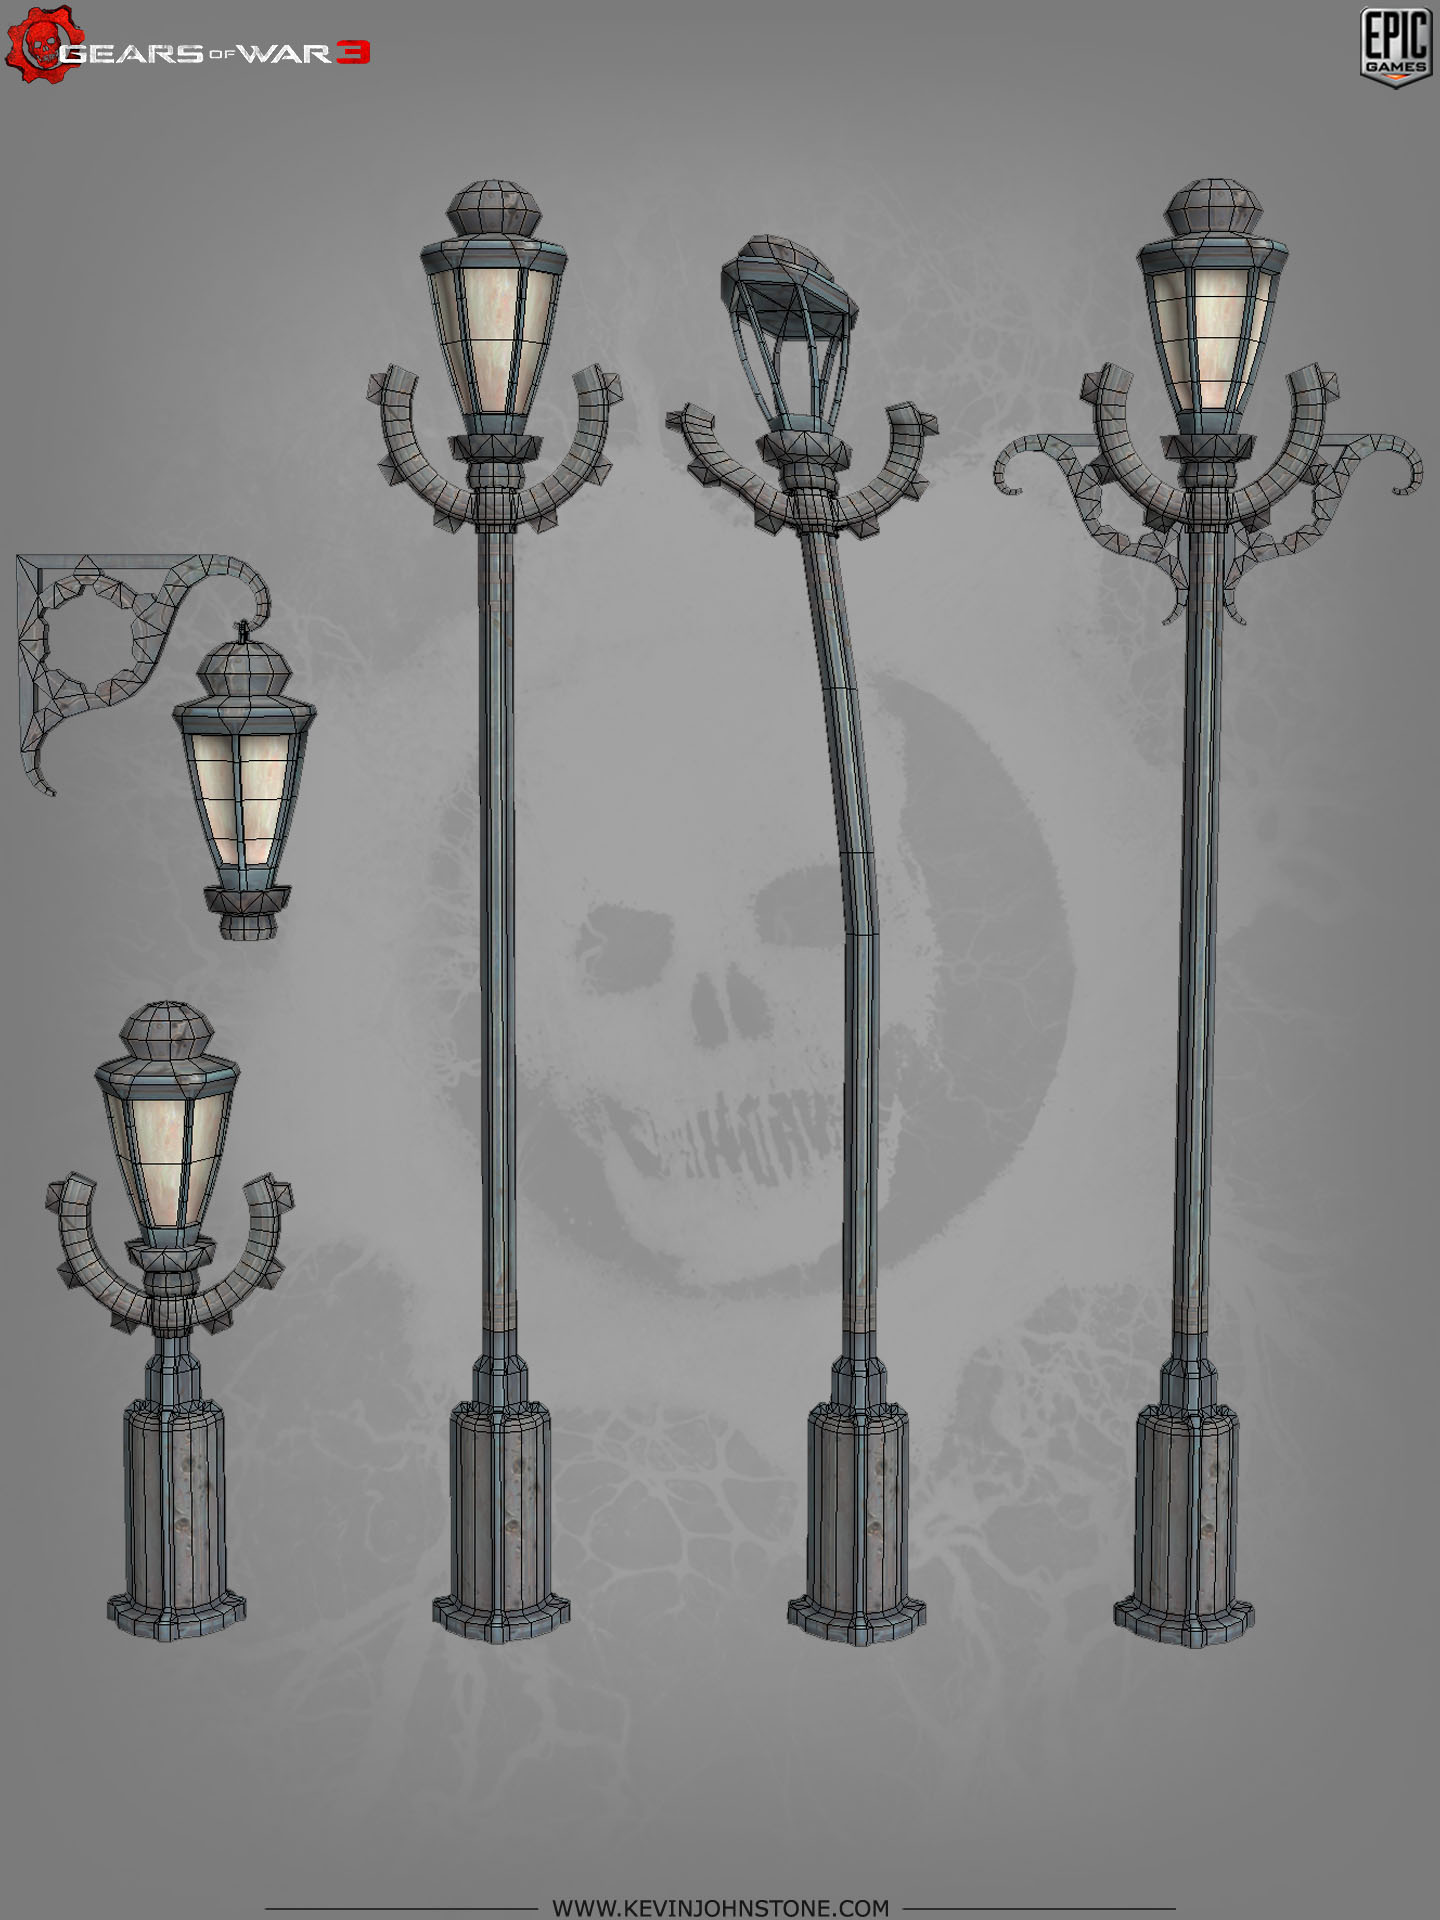
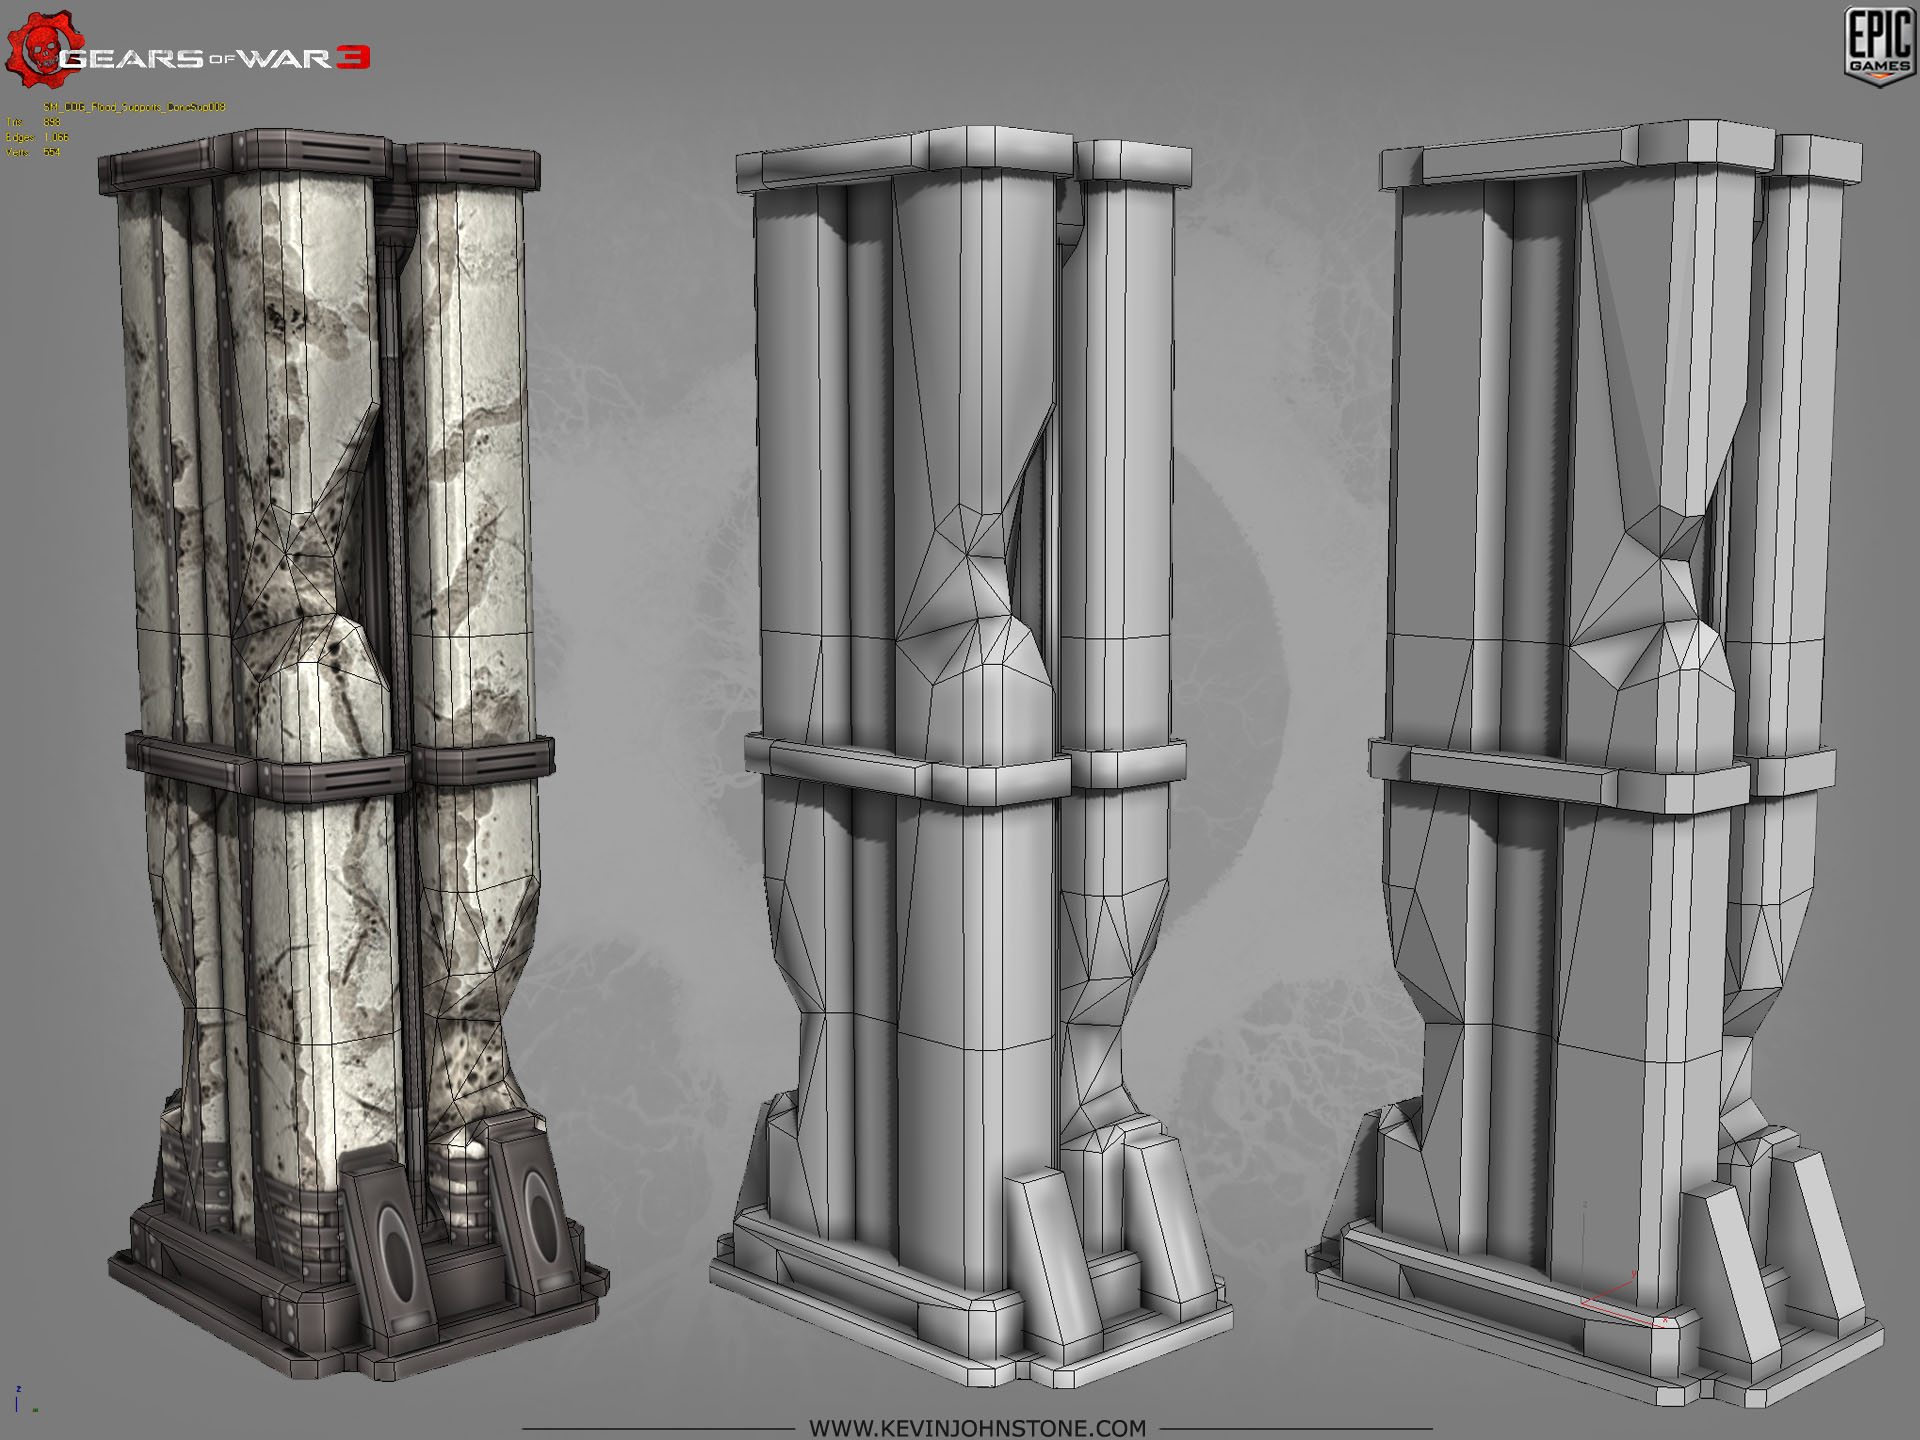
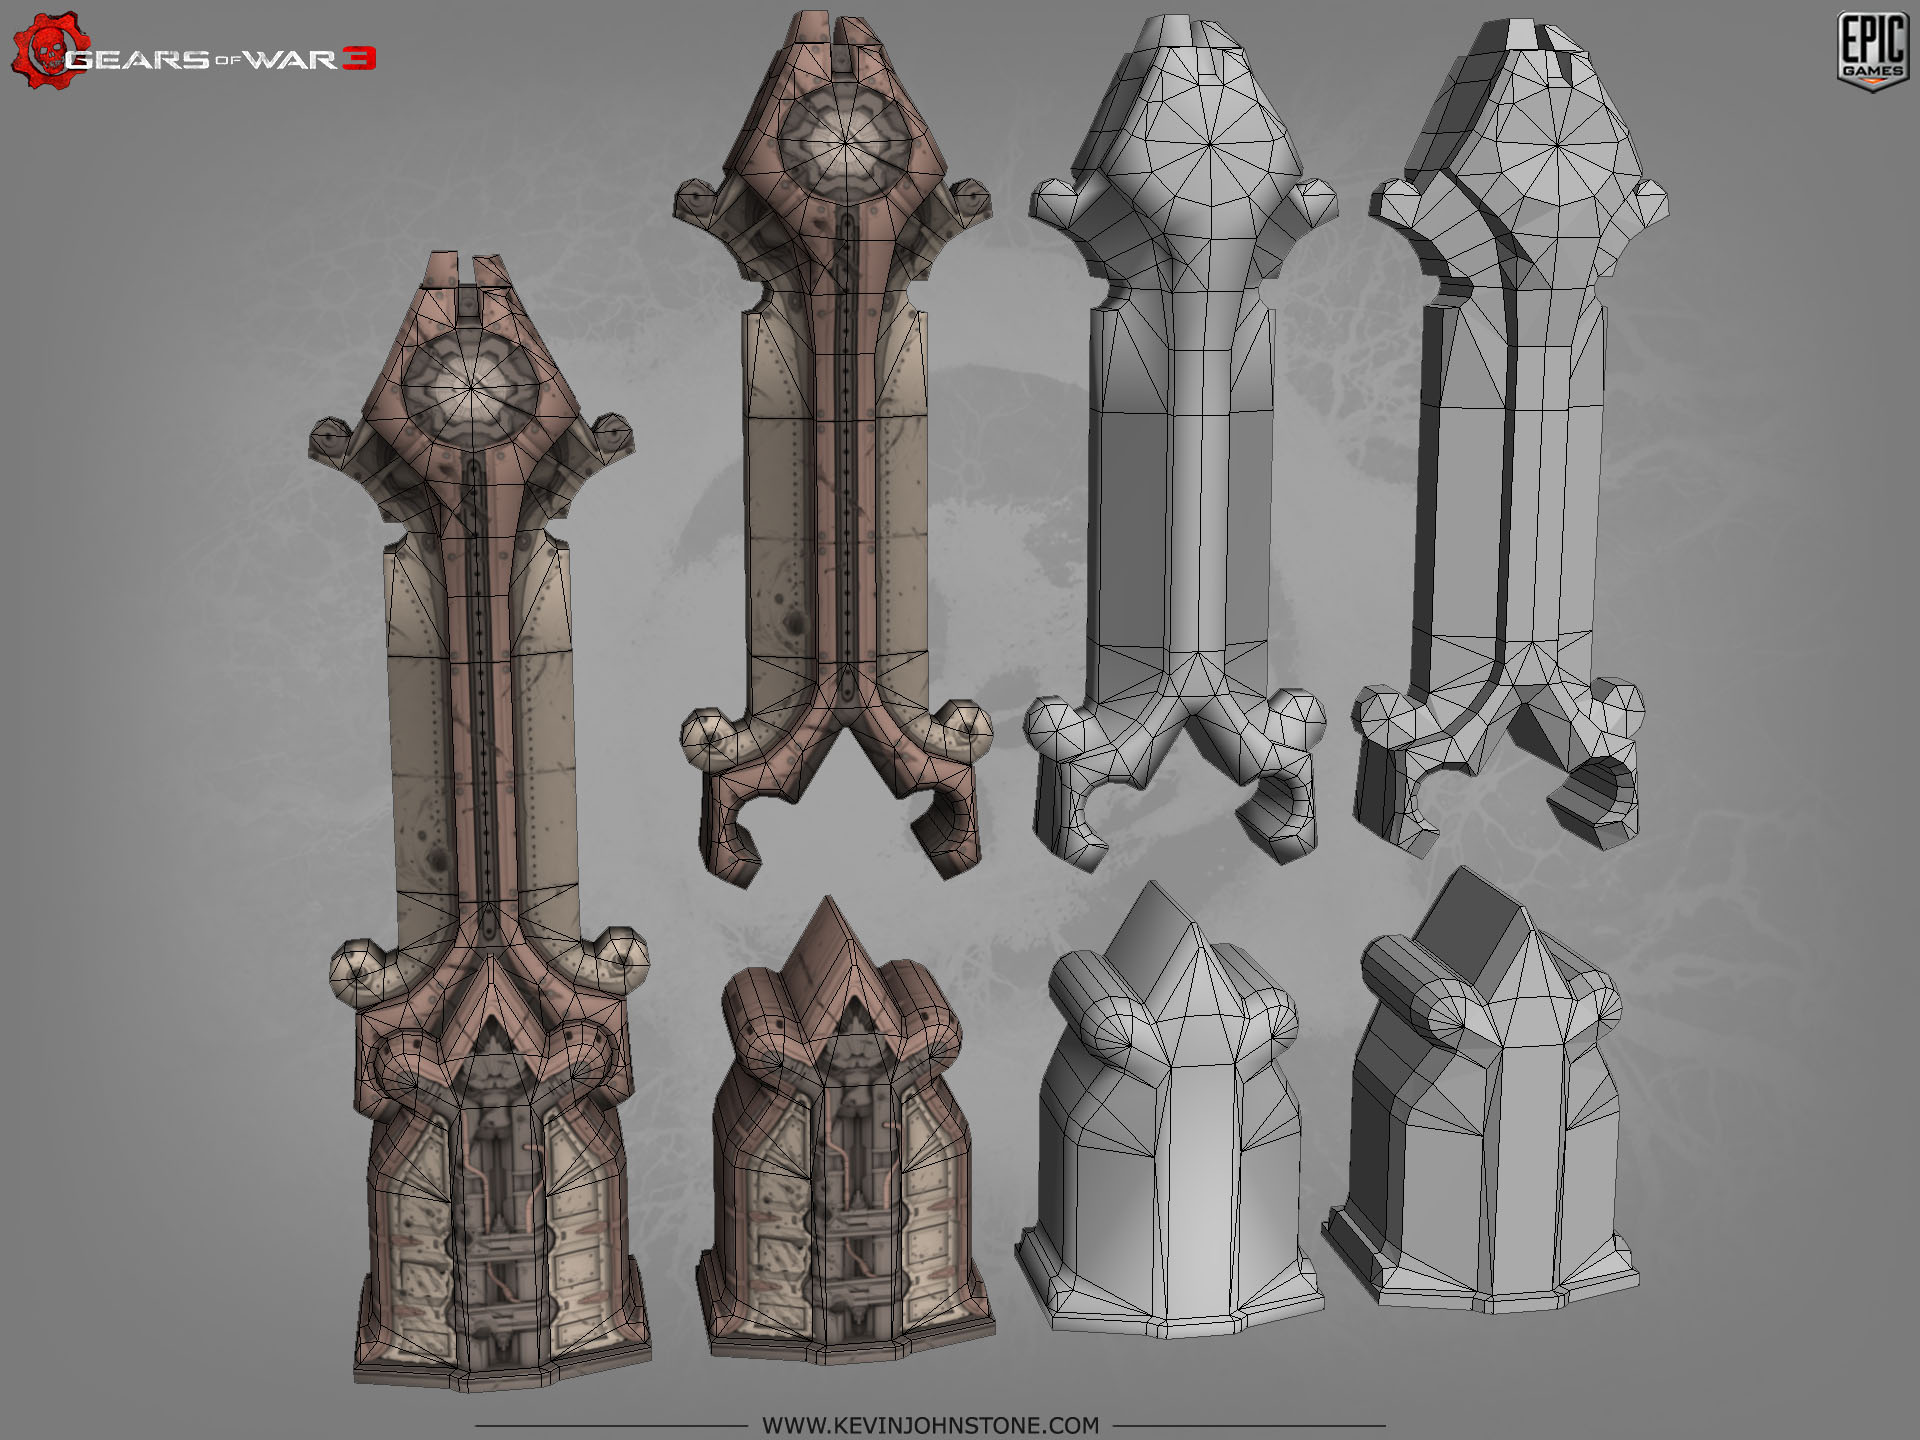
New stuff - Below is a lampost I did and the lowpoly wires for it ( generally, every piece I posted here has a 2nd image below the first that is the lowpoly mesh, I just didn’t overlay the wires.
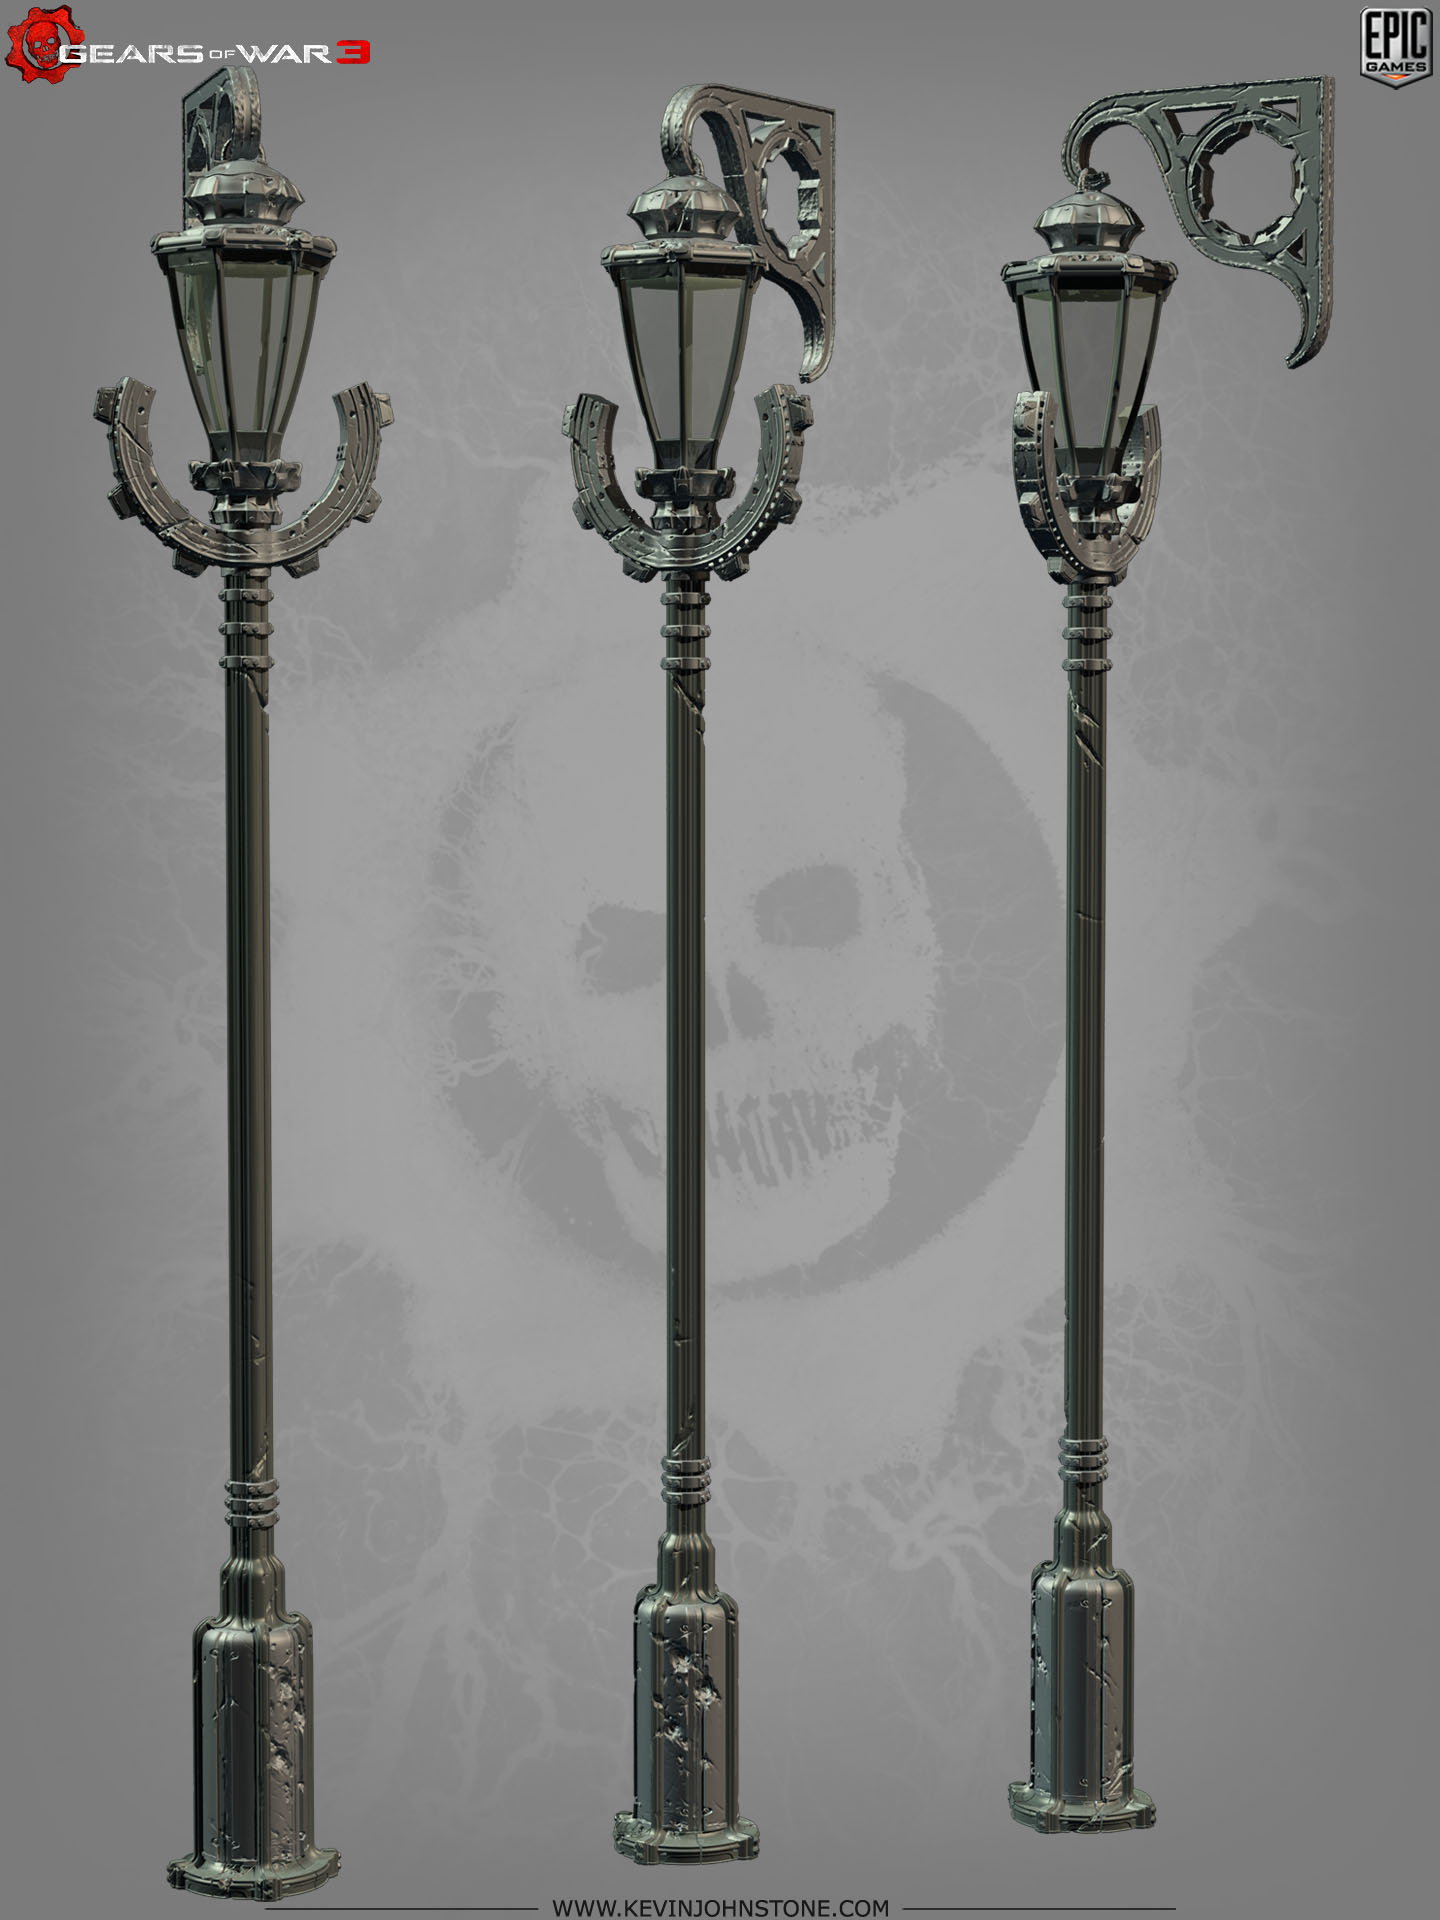
Most designs can support a few variants , even a lampost. I try to think about this stuff up front. 10 mins extra spent thinking trumps 10 hours building often.
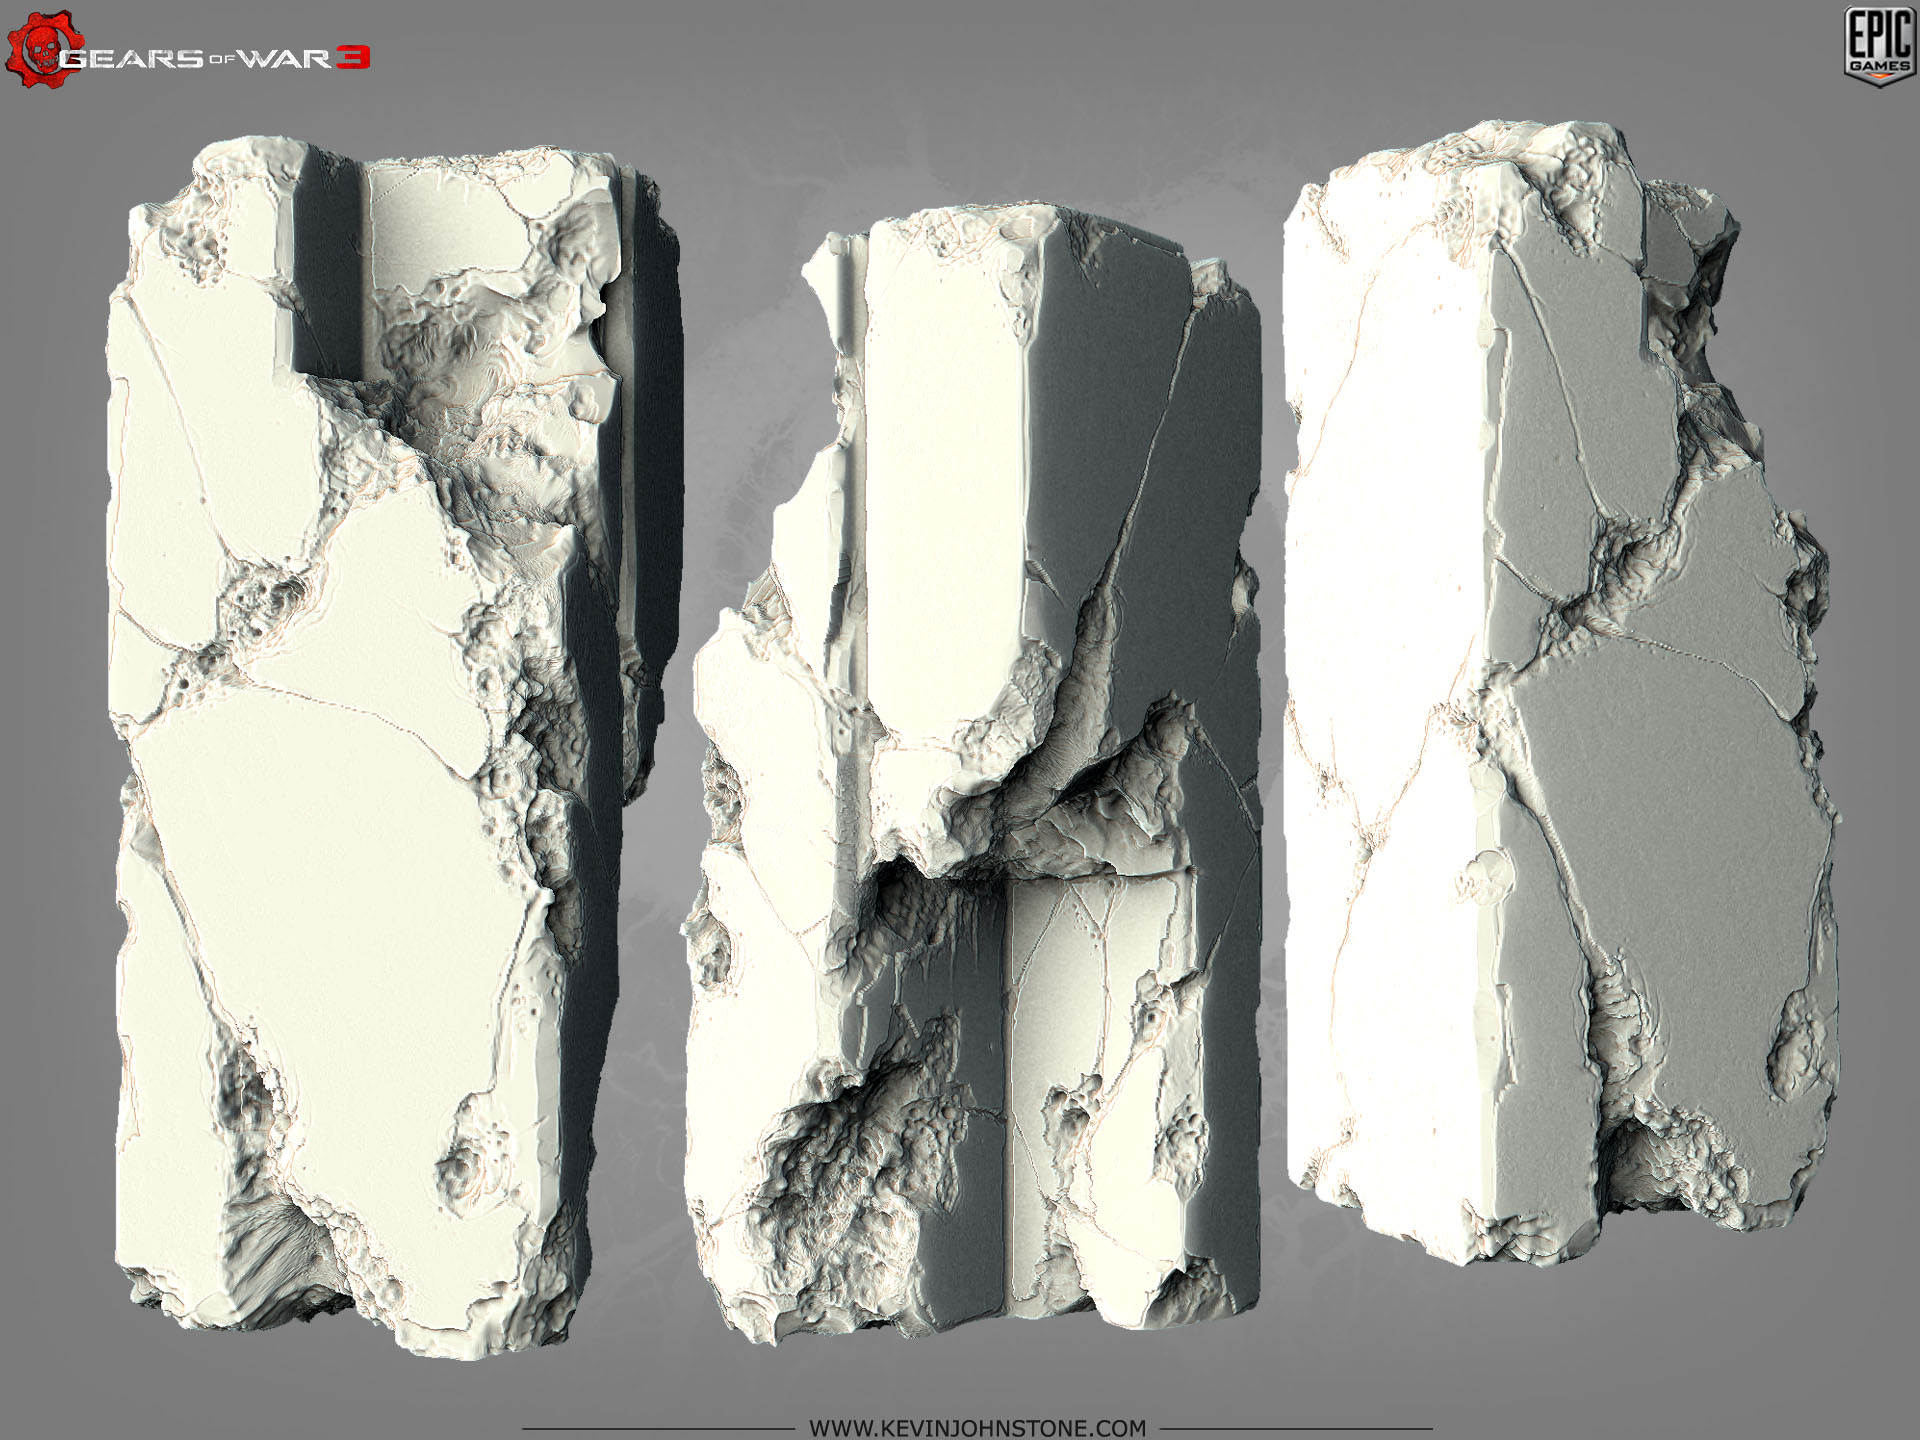
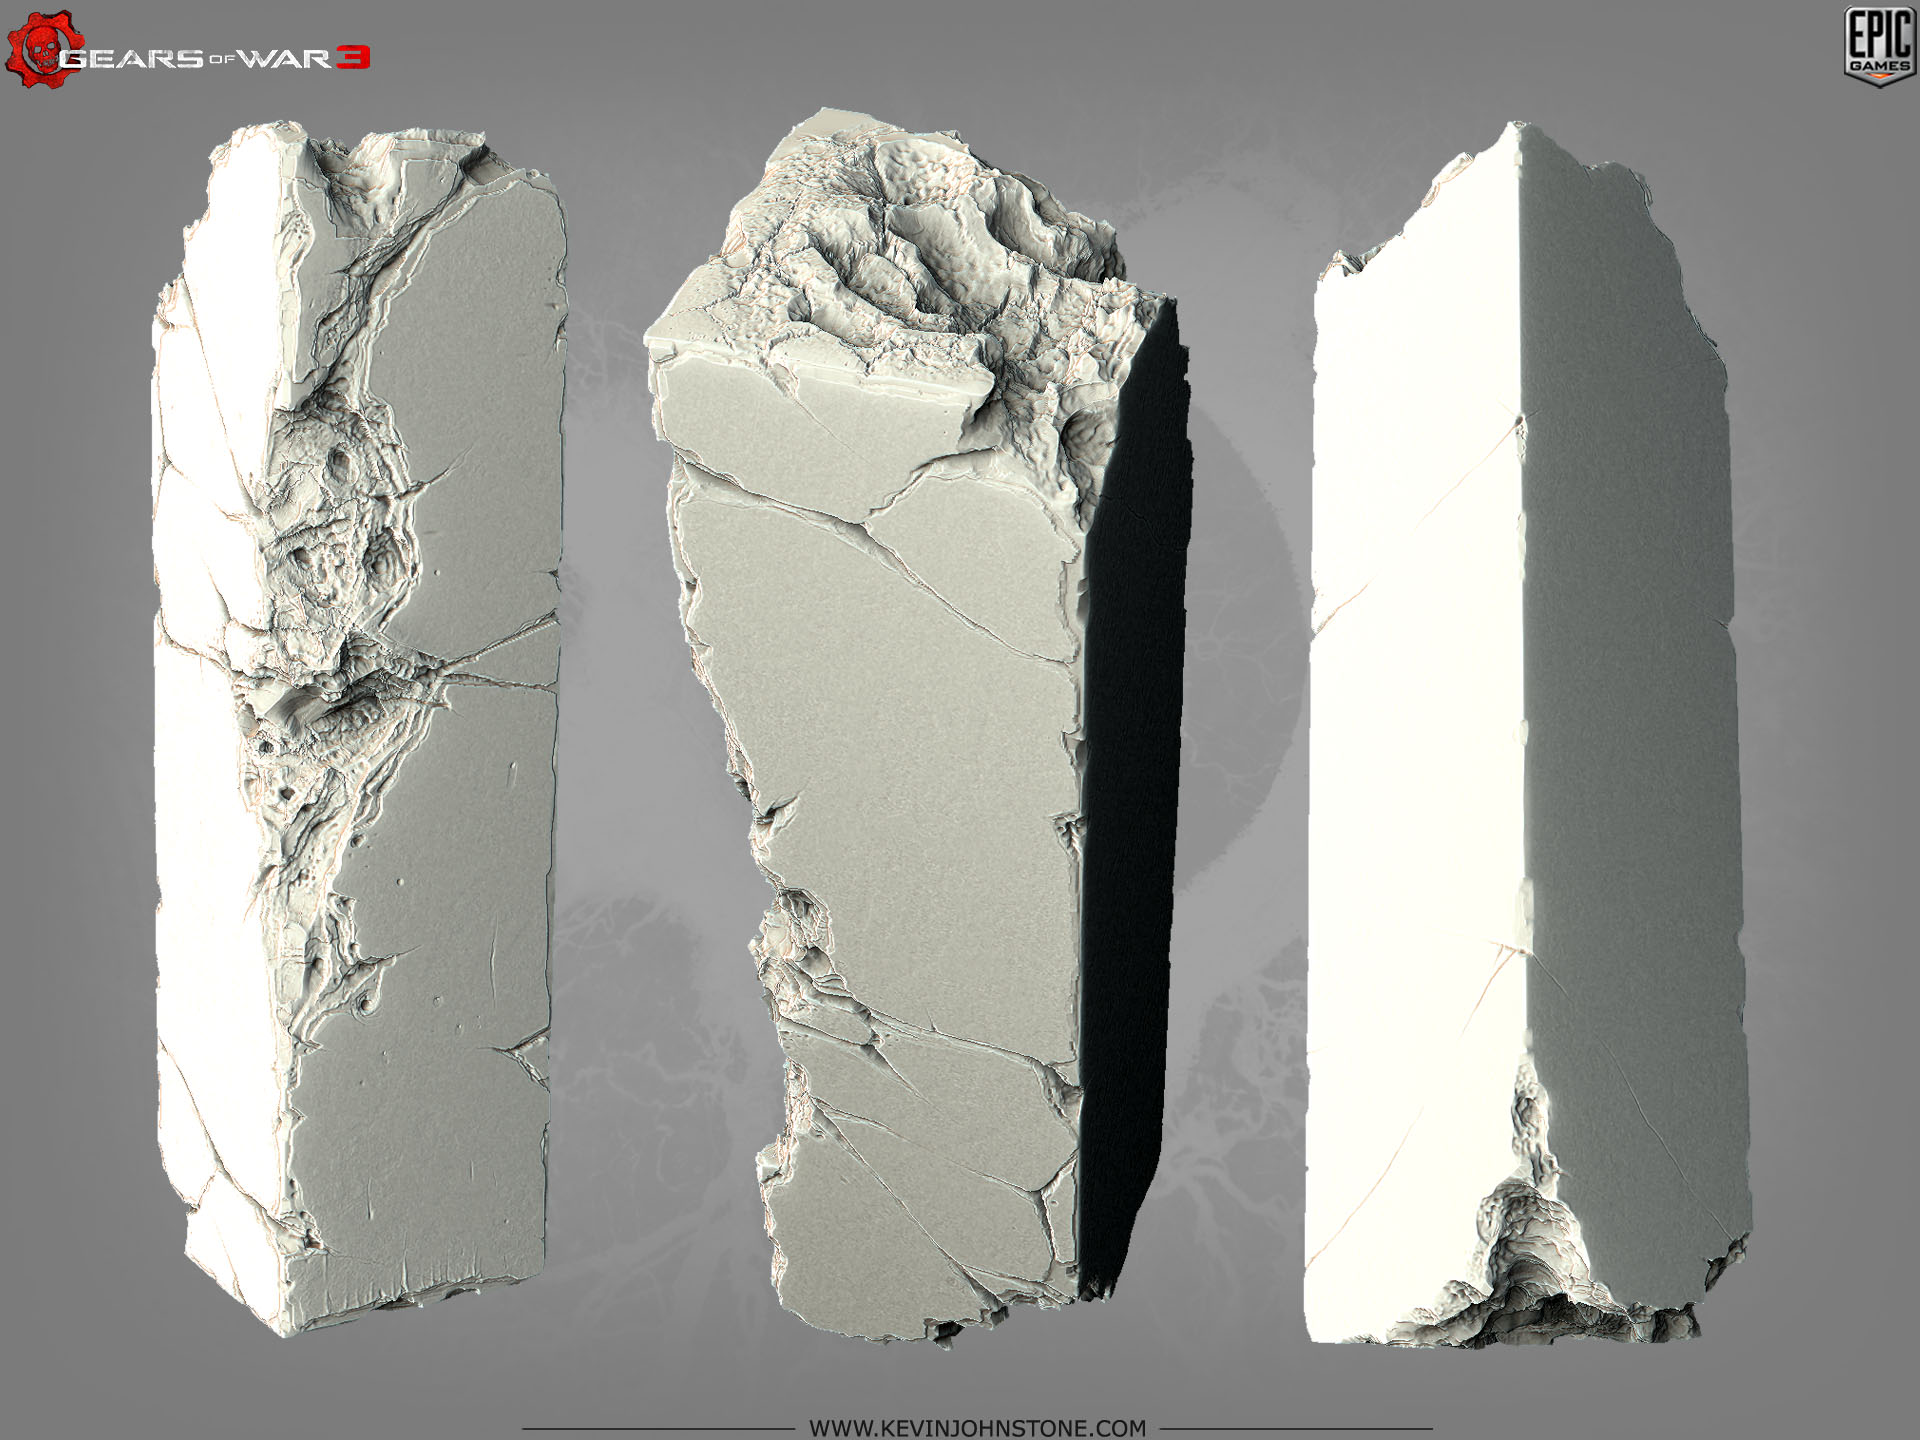
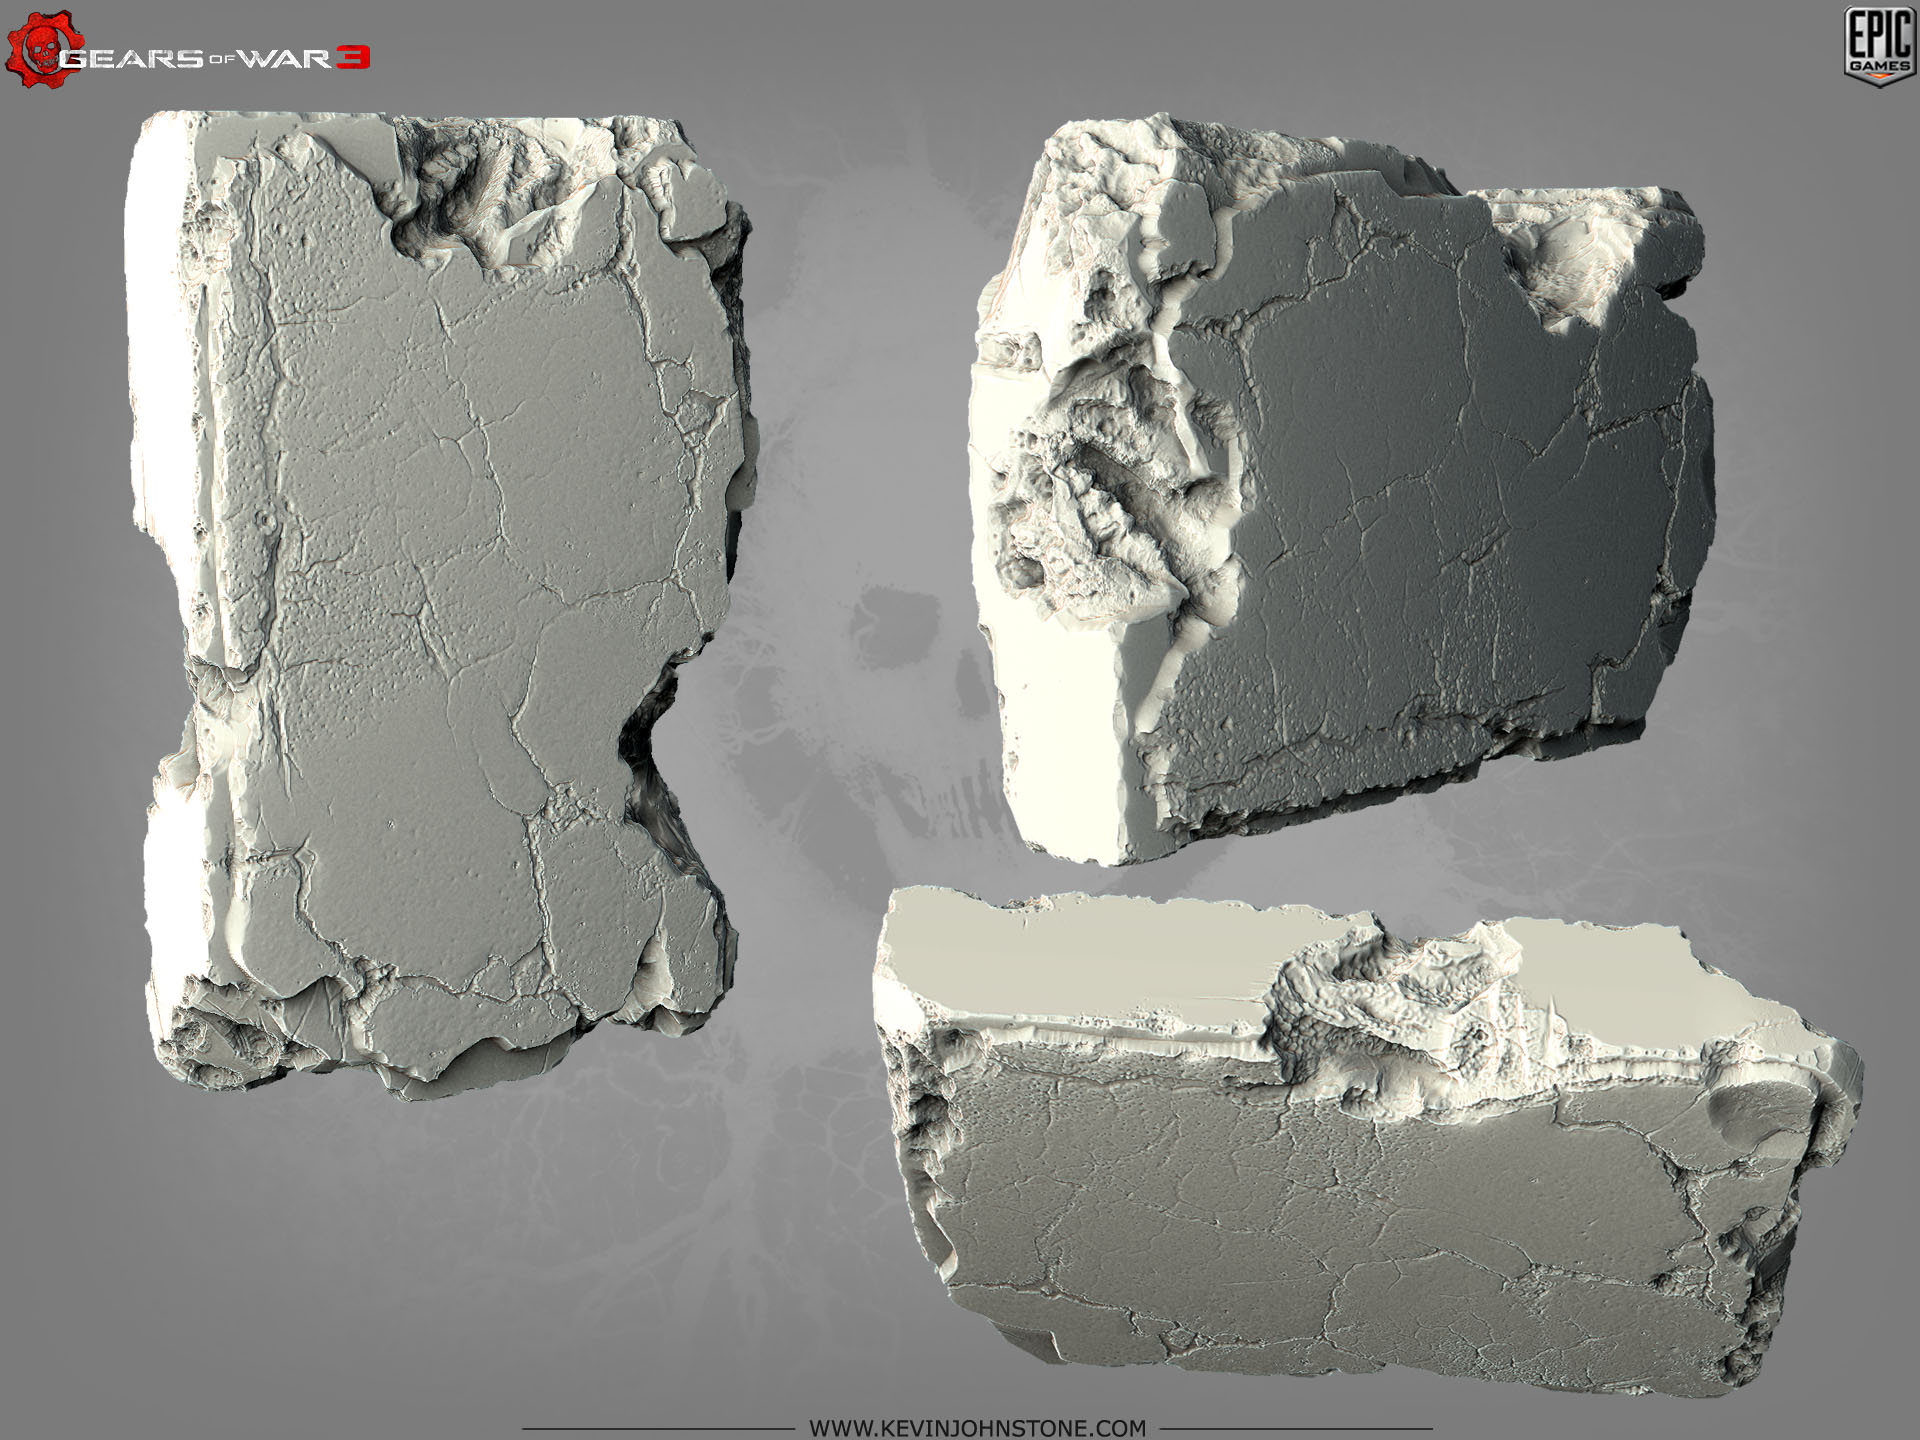
Below are the first pieces I did for Gears3 while I was still in crunch on Gears2 and going kind of mad because I hadn’t done any hipoly in so long.
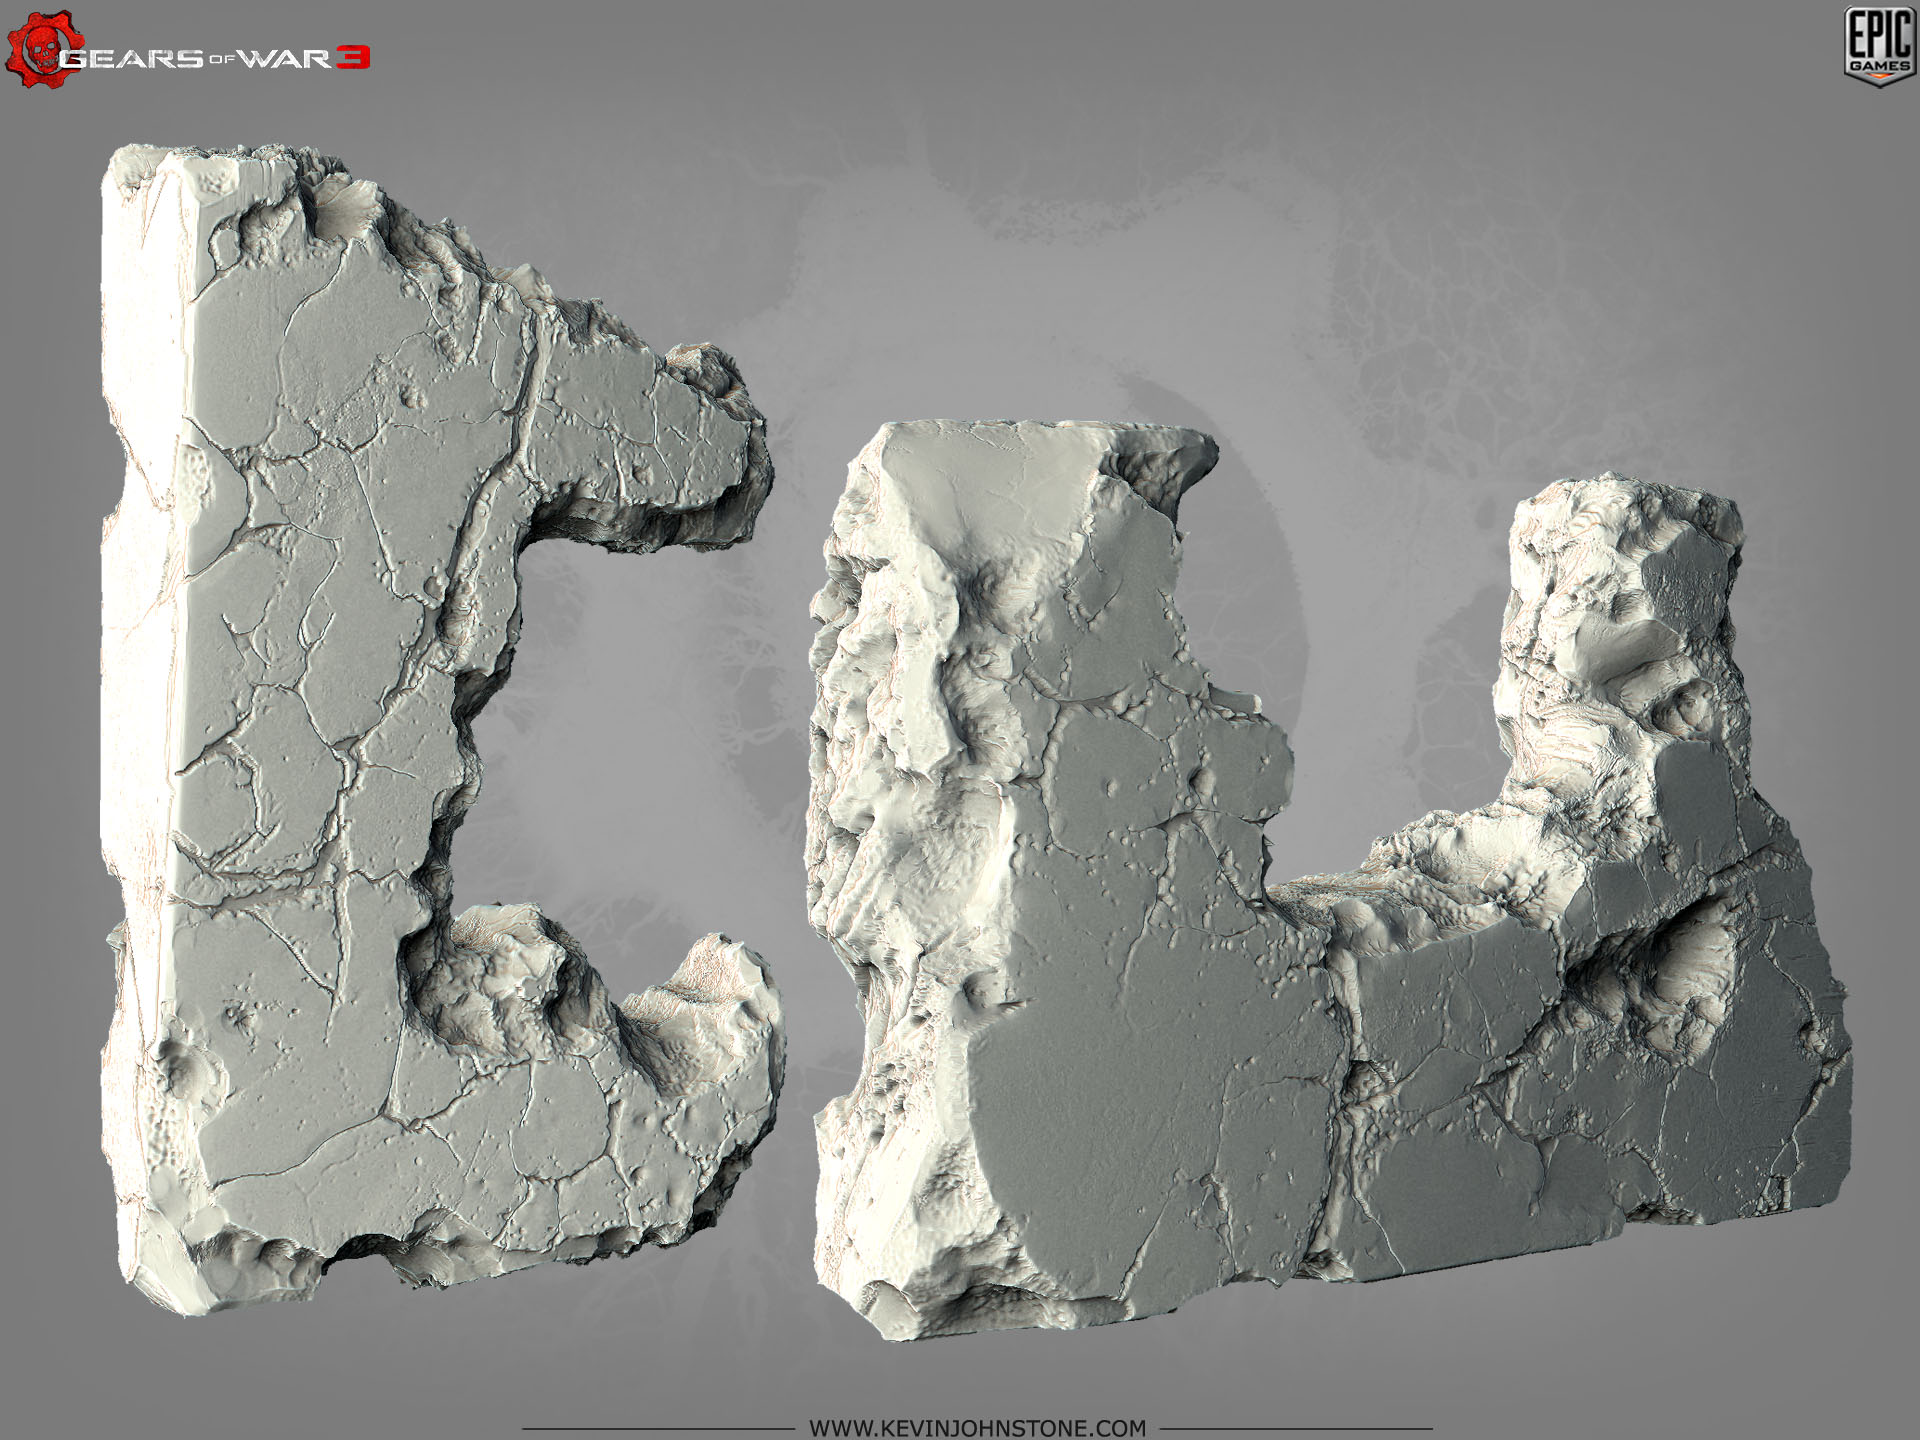
One of the main crits the level designers had of my work in Gears2 was that I made too many designs that had uncapped tops or bottoms or didn’t have custom designs for those areas if they were capped. My reasoning for this choice was optimization but it worked the other way because so many of Gears assets are thrown in askew… and this exposed the uncapped holes which then required the use of an additional mesh to hide them. So that worked out badly and I set out to address that with this piece and also to make a super modular generic concrete wall support as there was so many of them in Gears that I wanted to try and consolidate a variety into one texture.
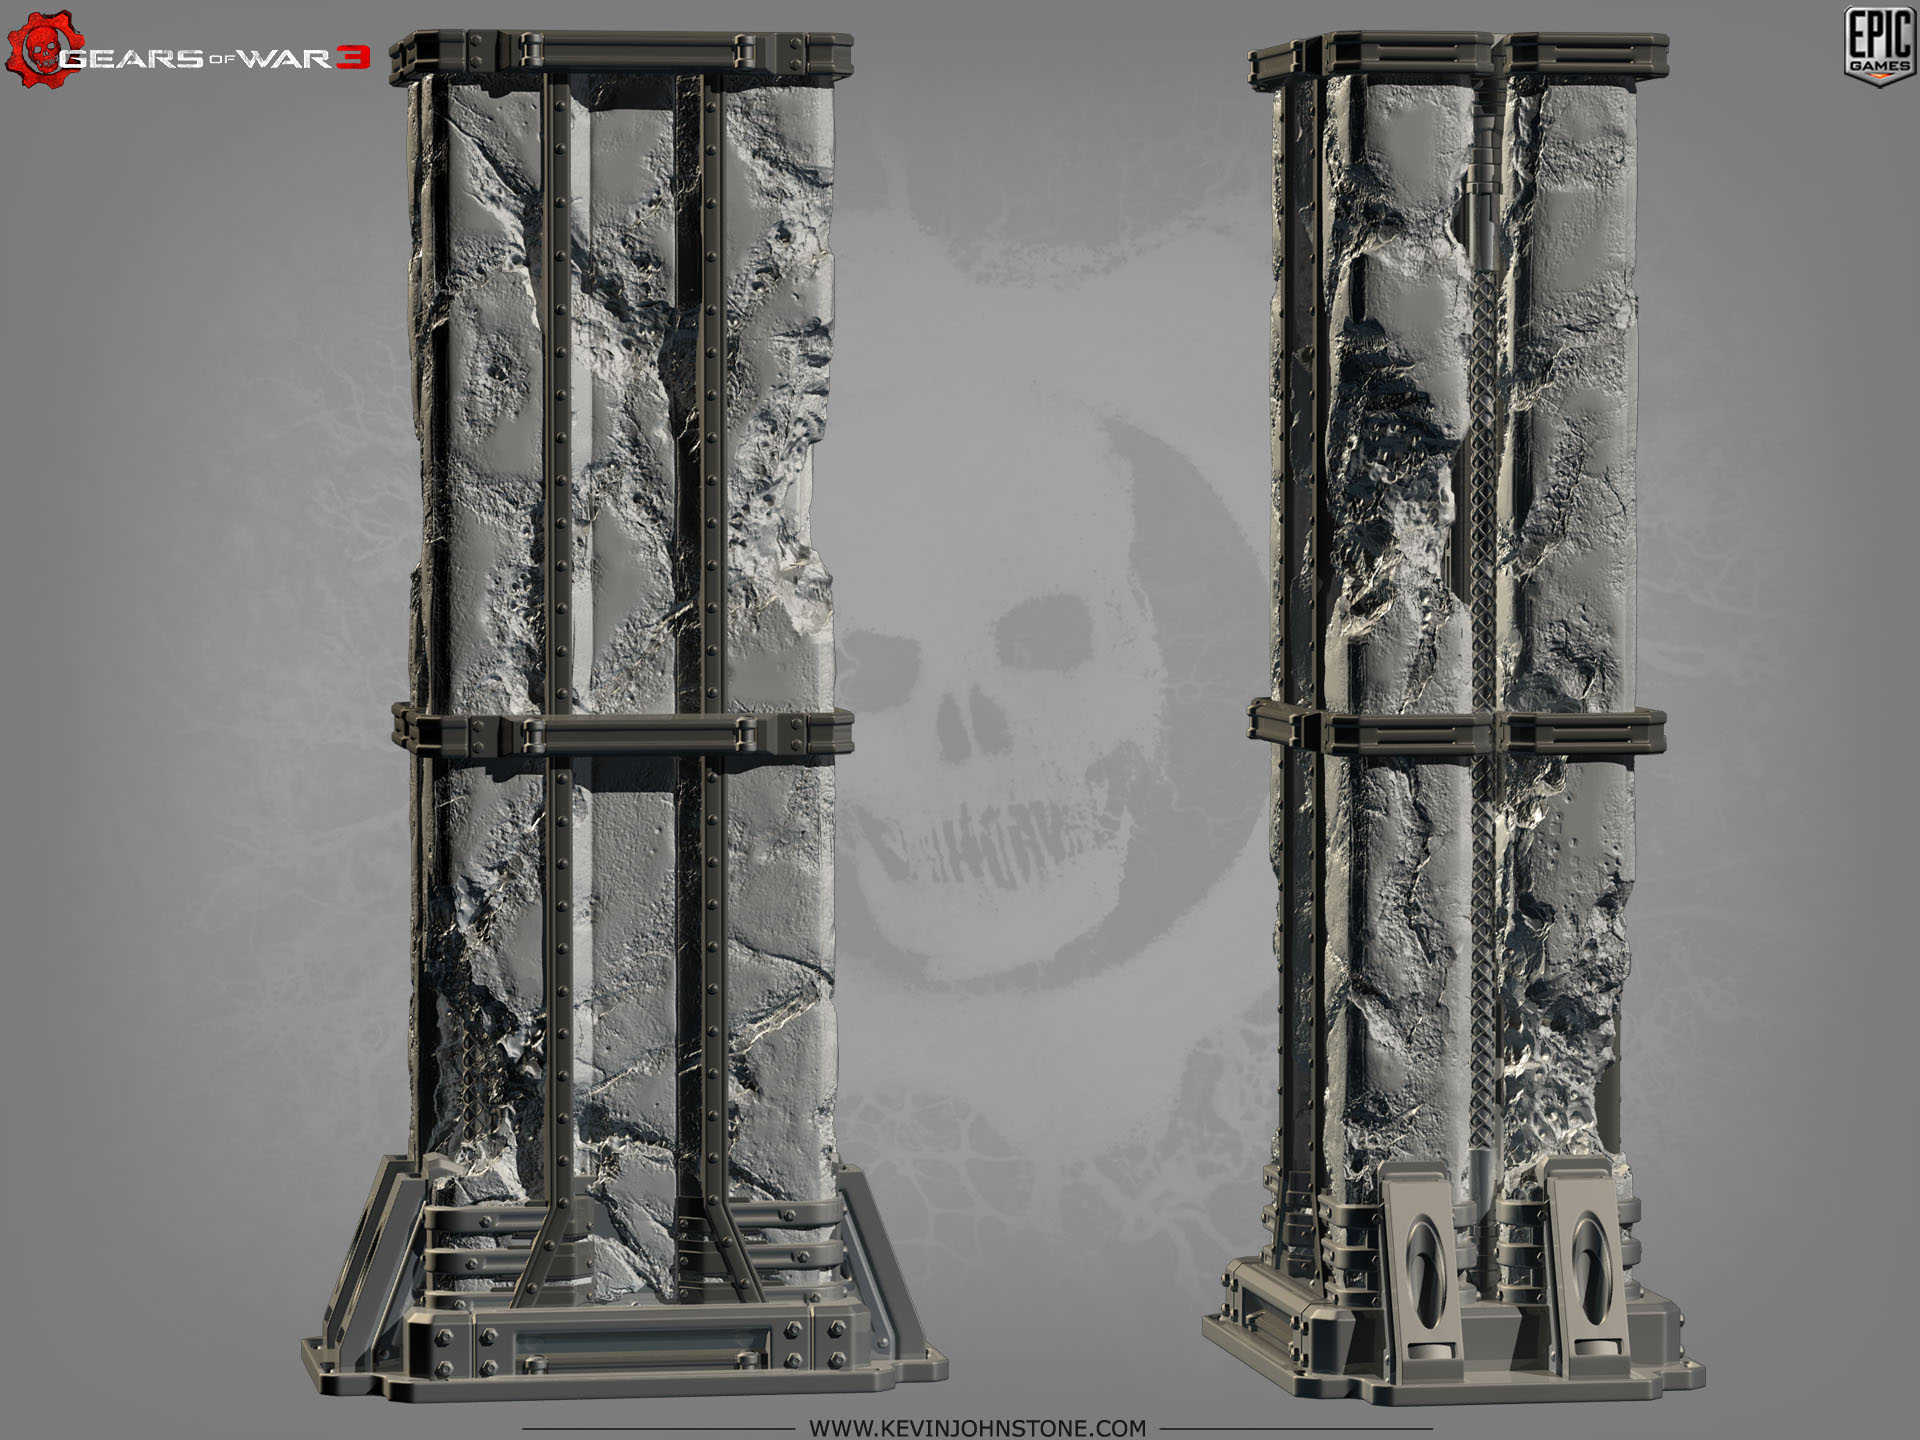
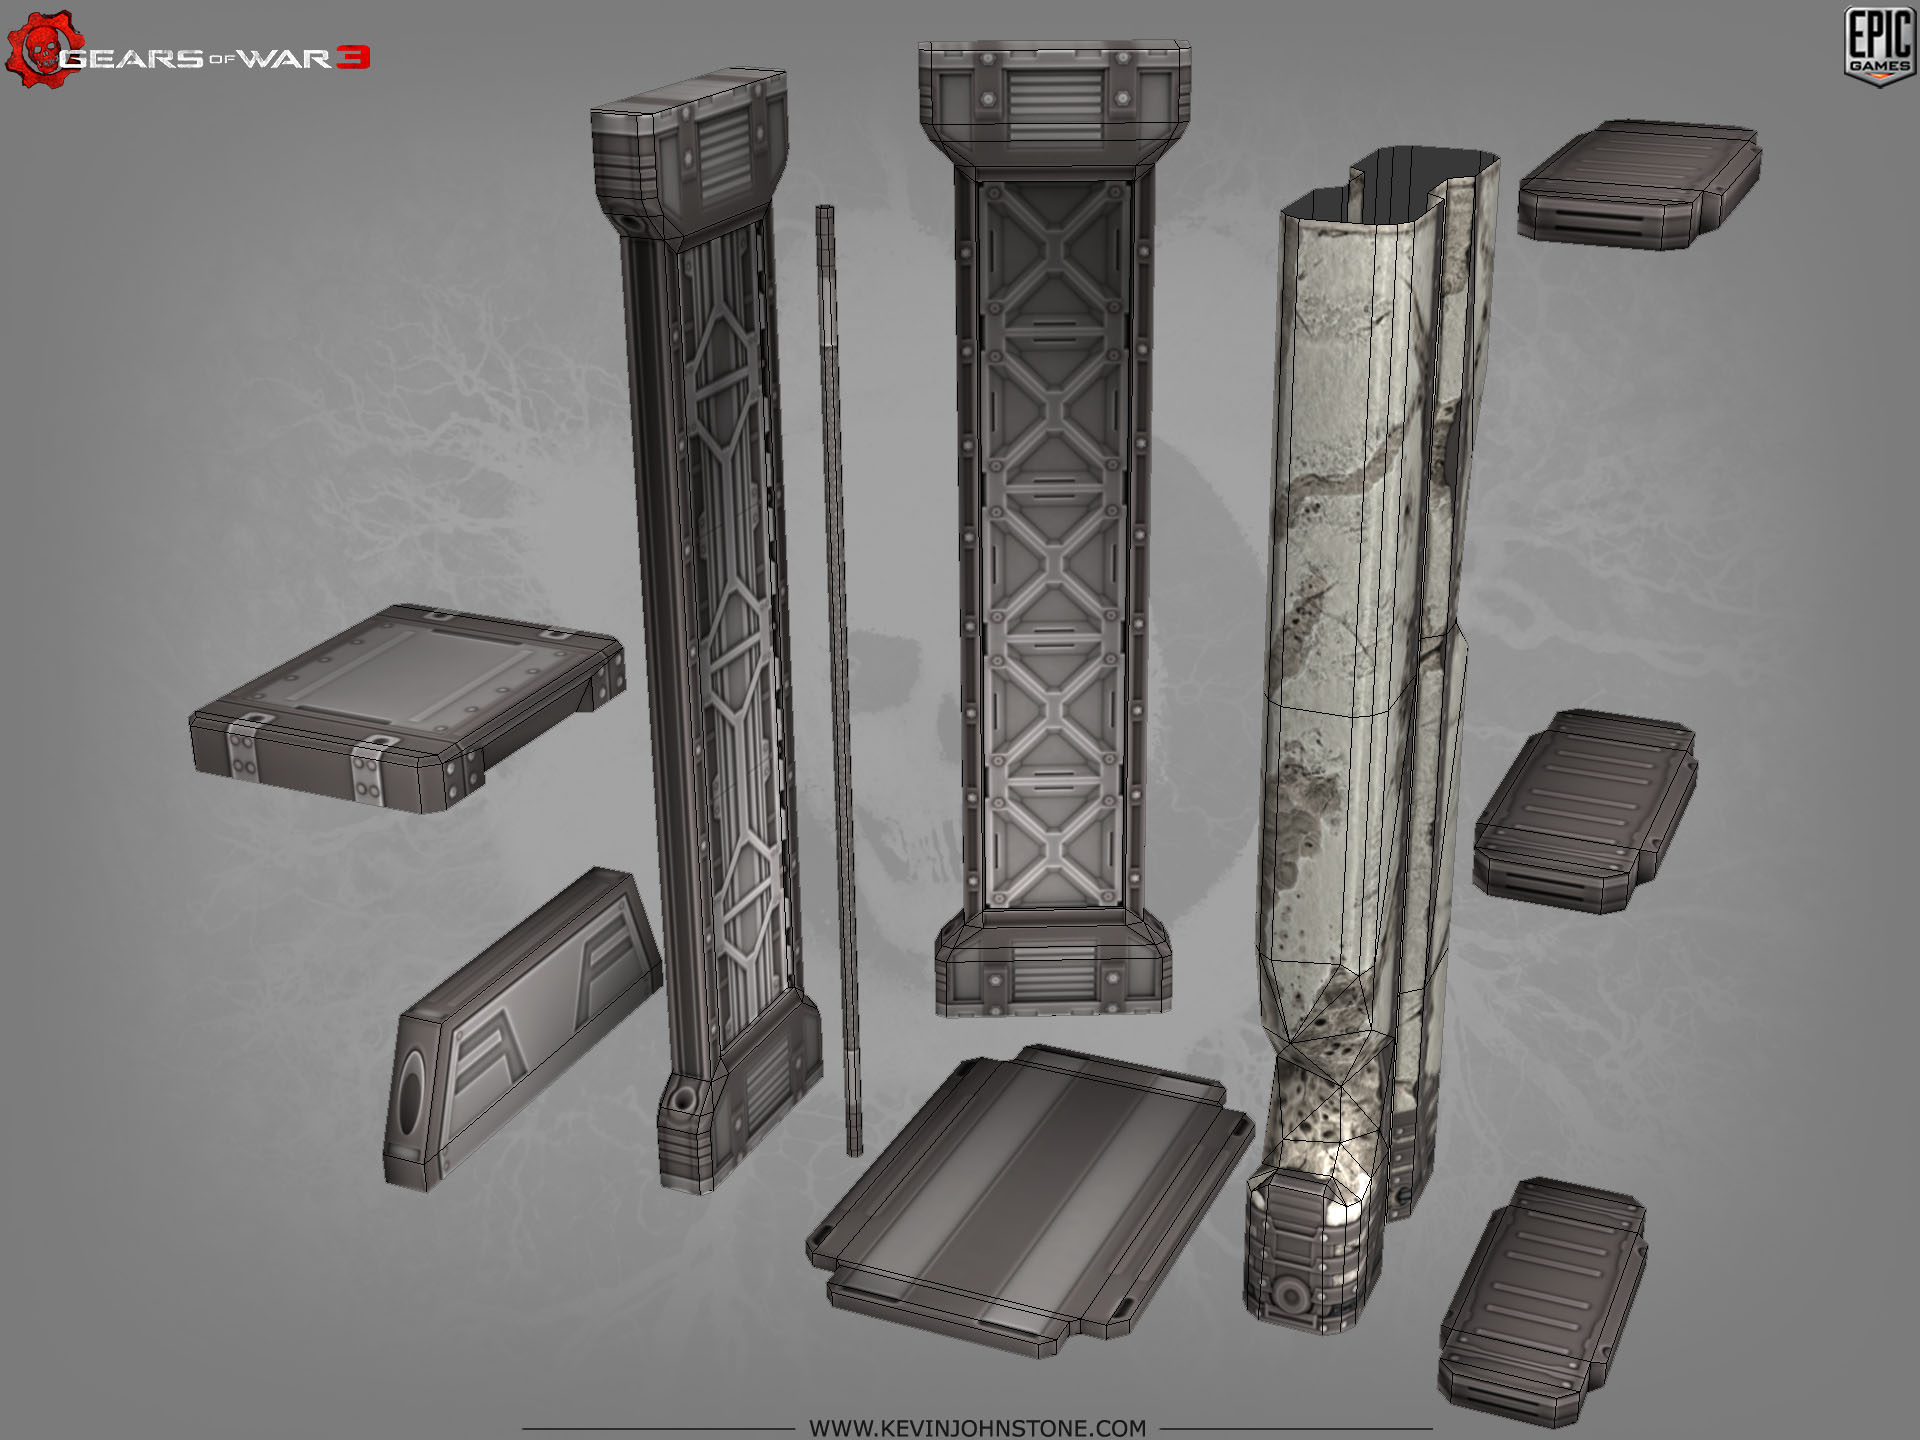
The above design was composed of the elements below. I built things this way so I could recombine them in different ways when I did the lowpolys.
Below you can see the standard version with all the pieces in the default configuration.
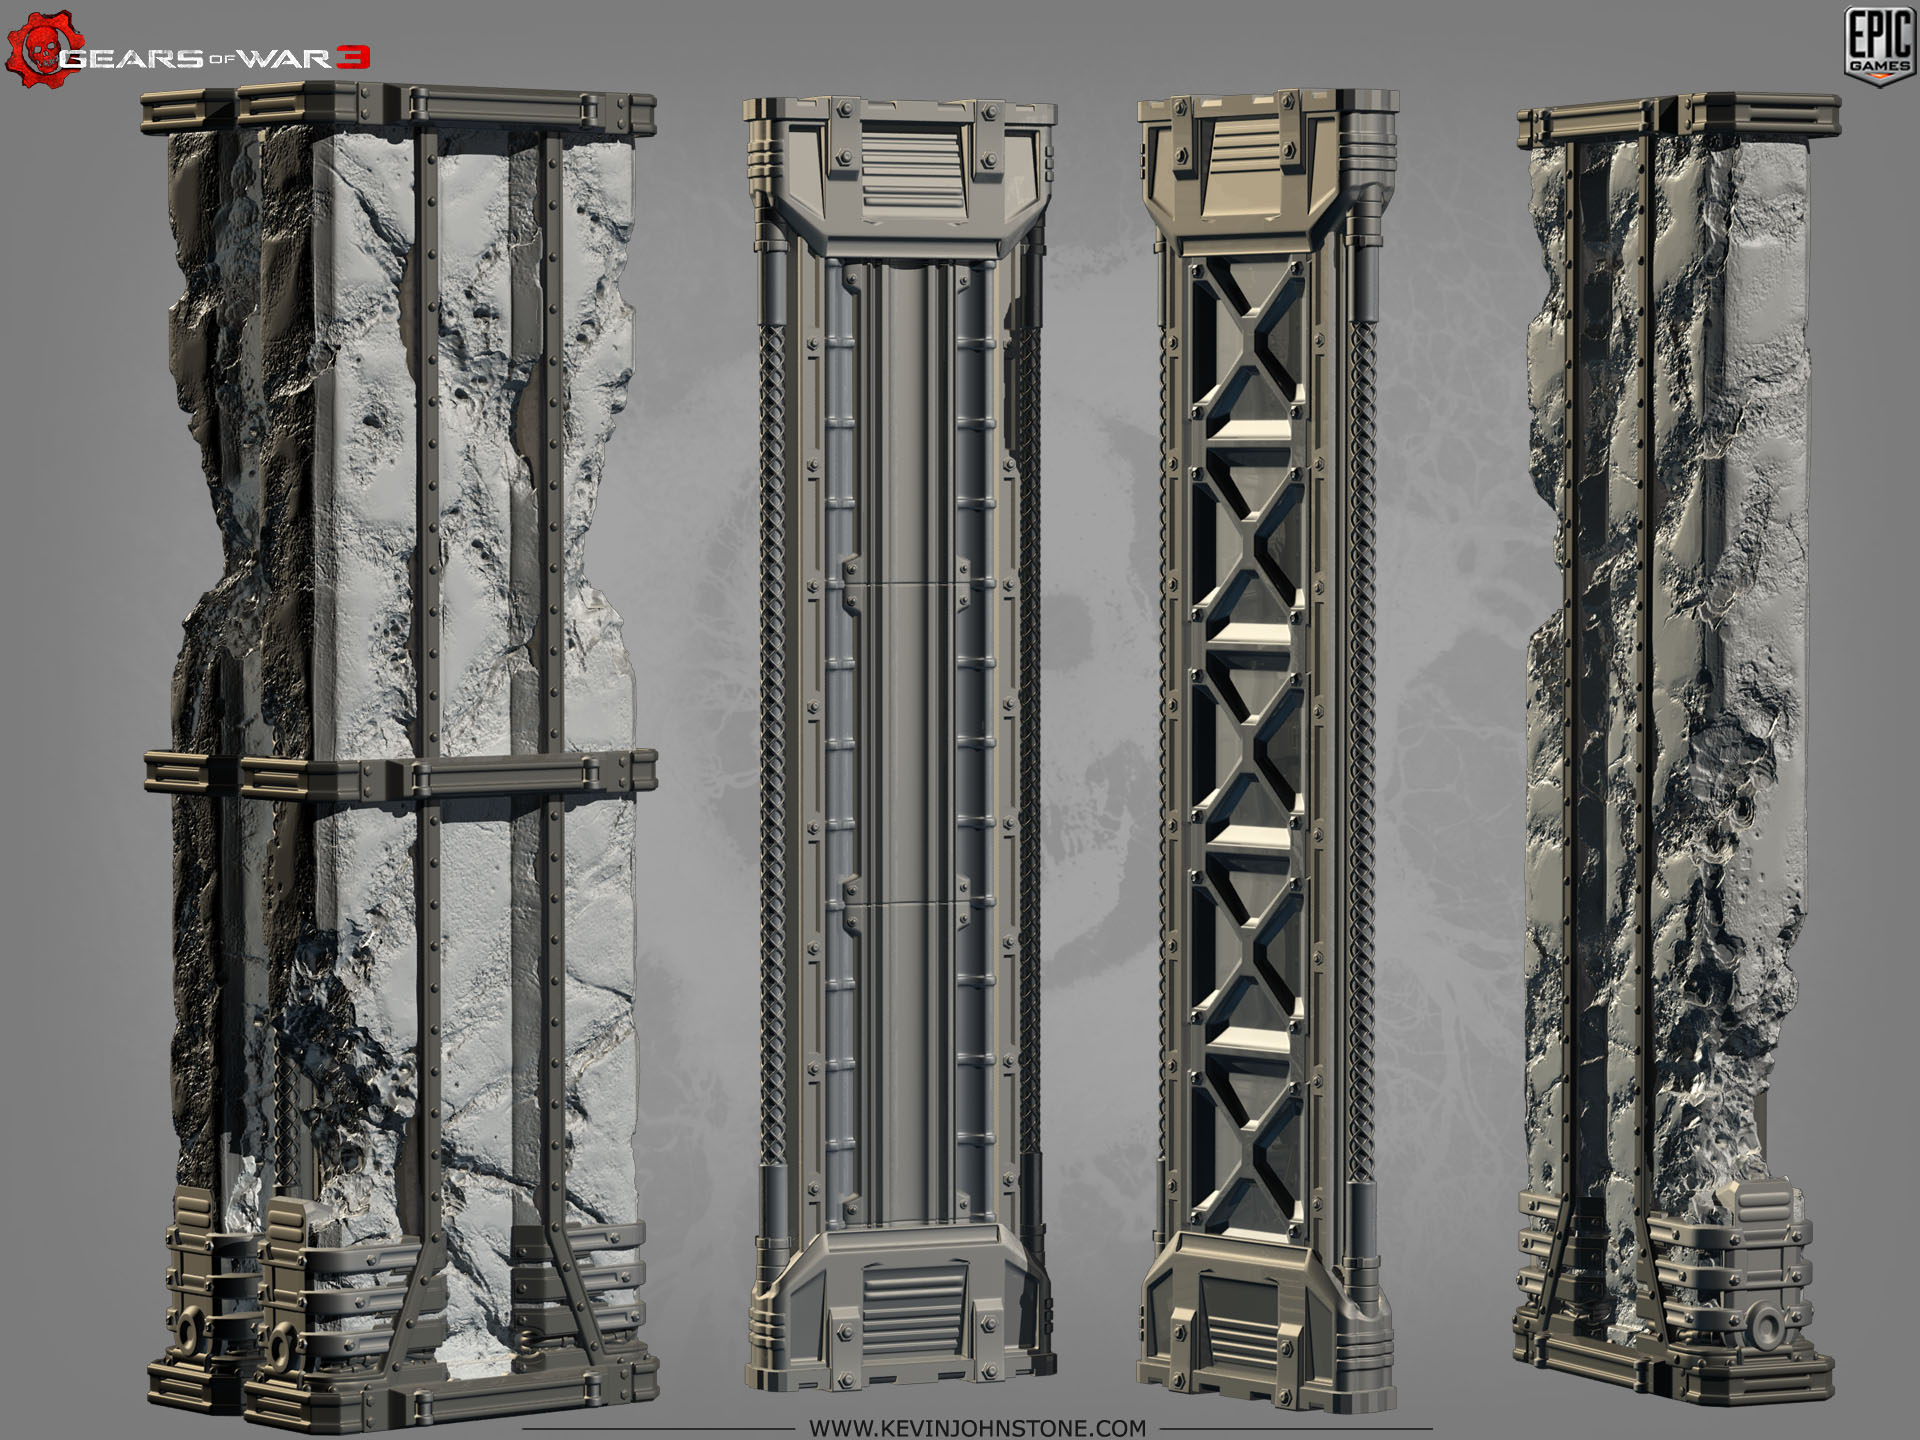
And now the variant elements on their own
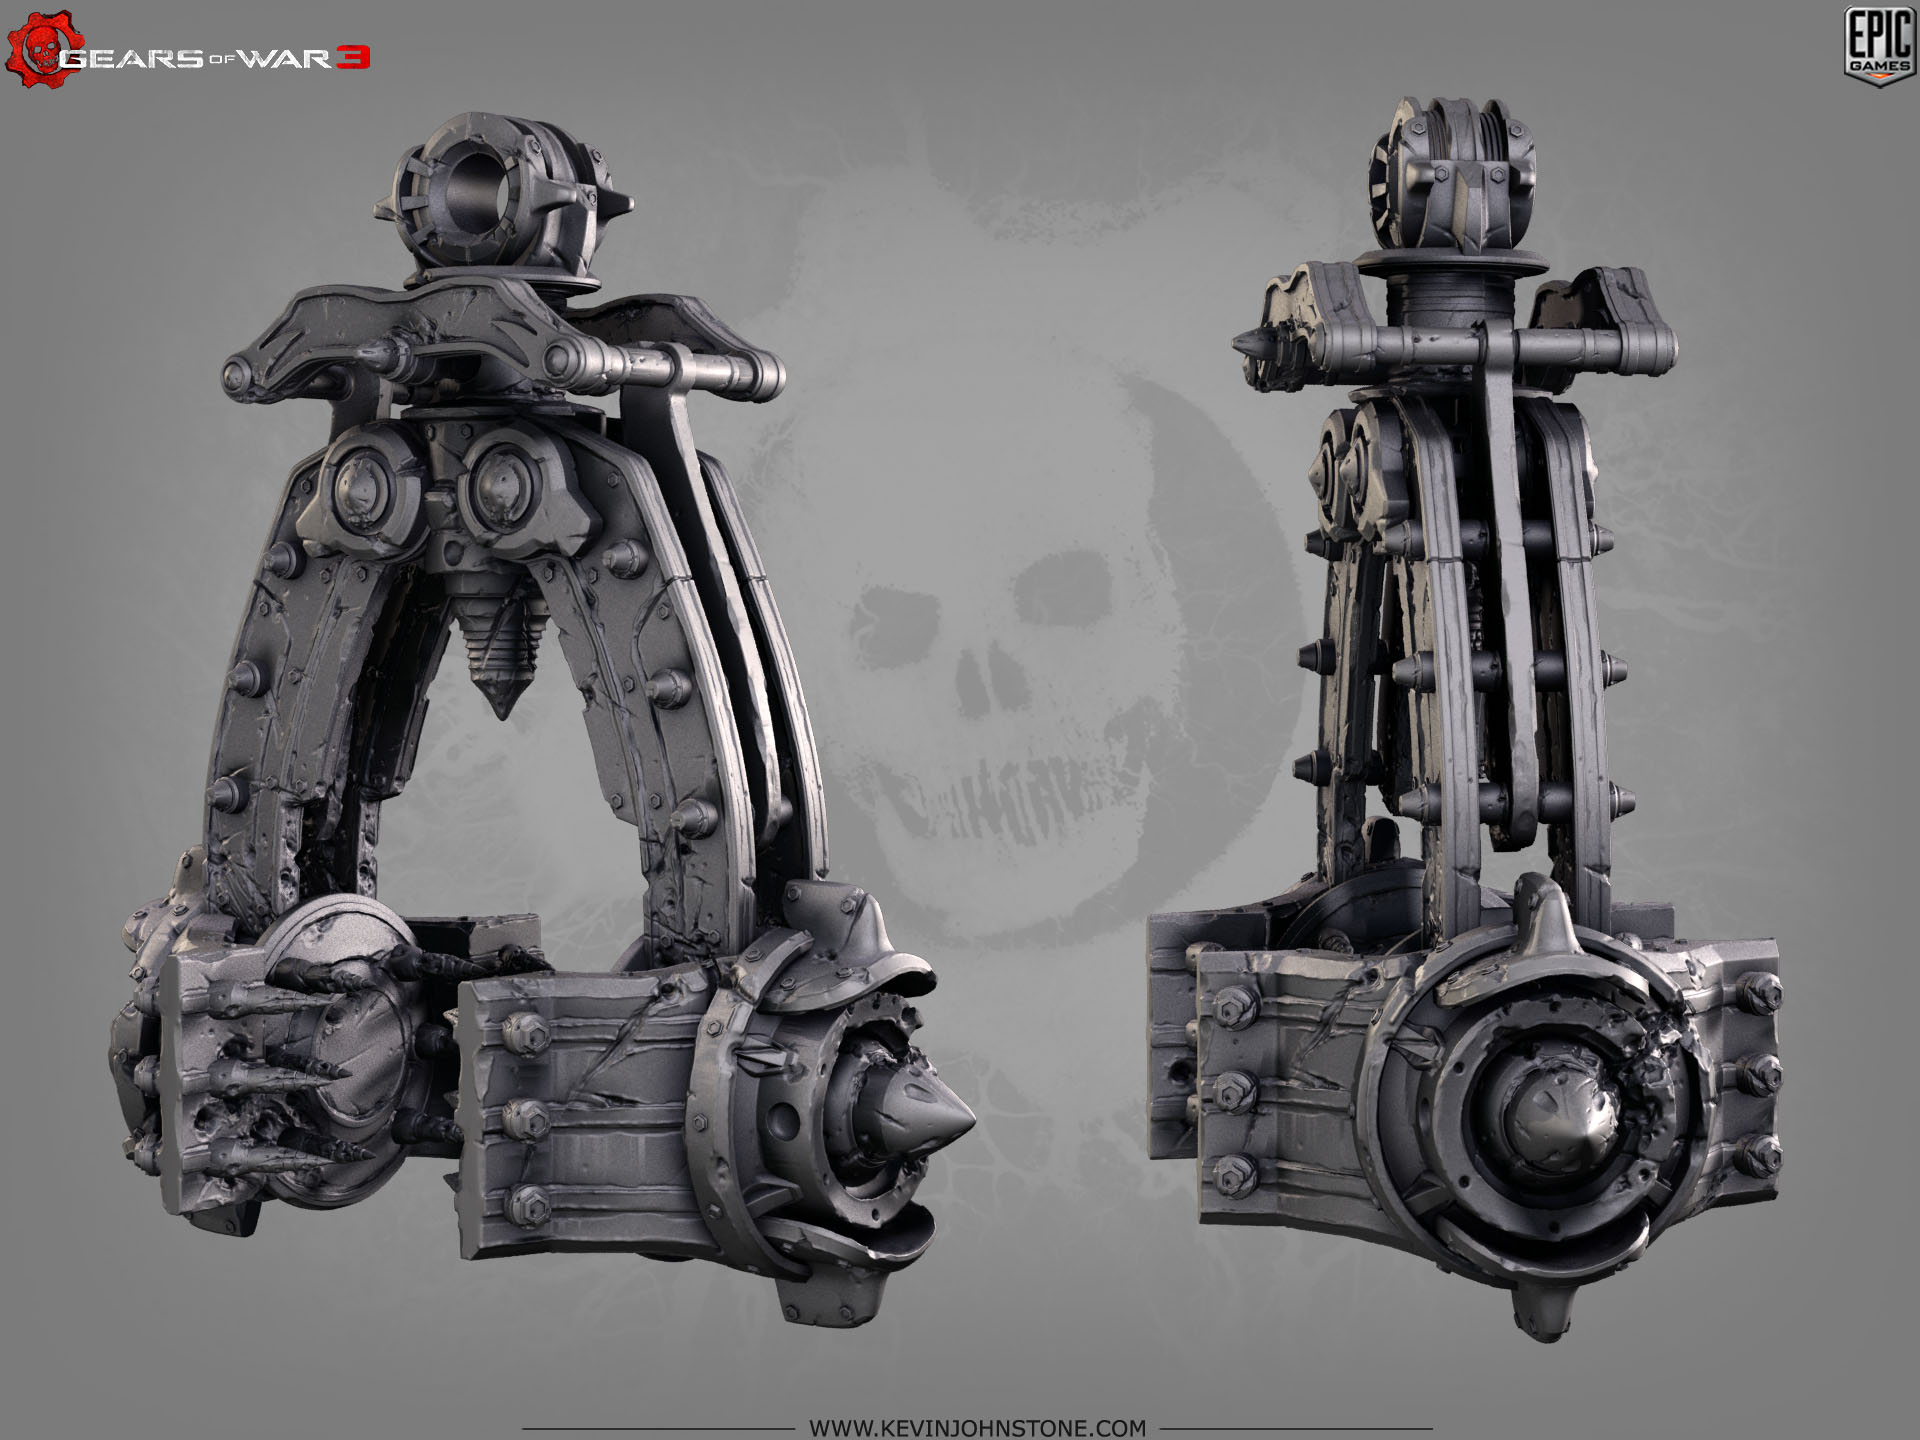
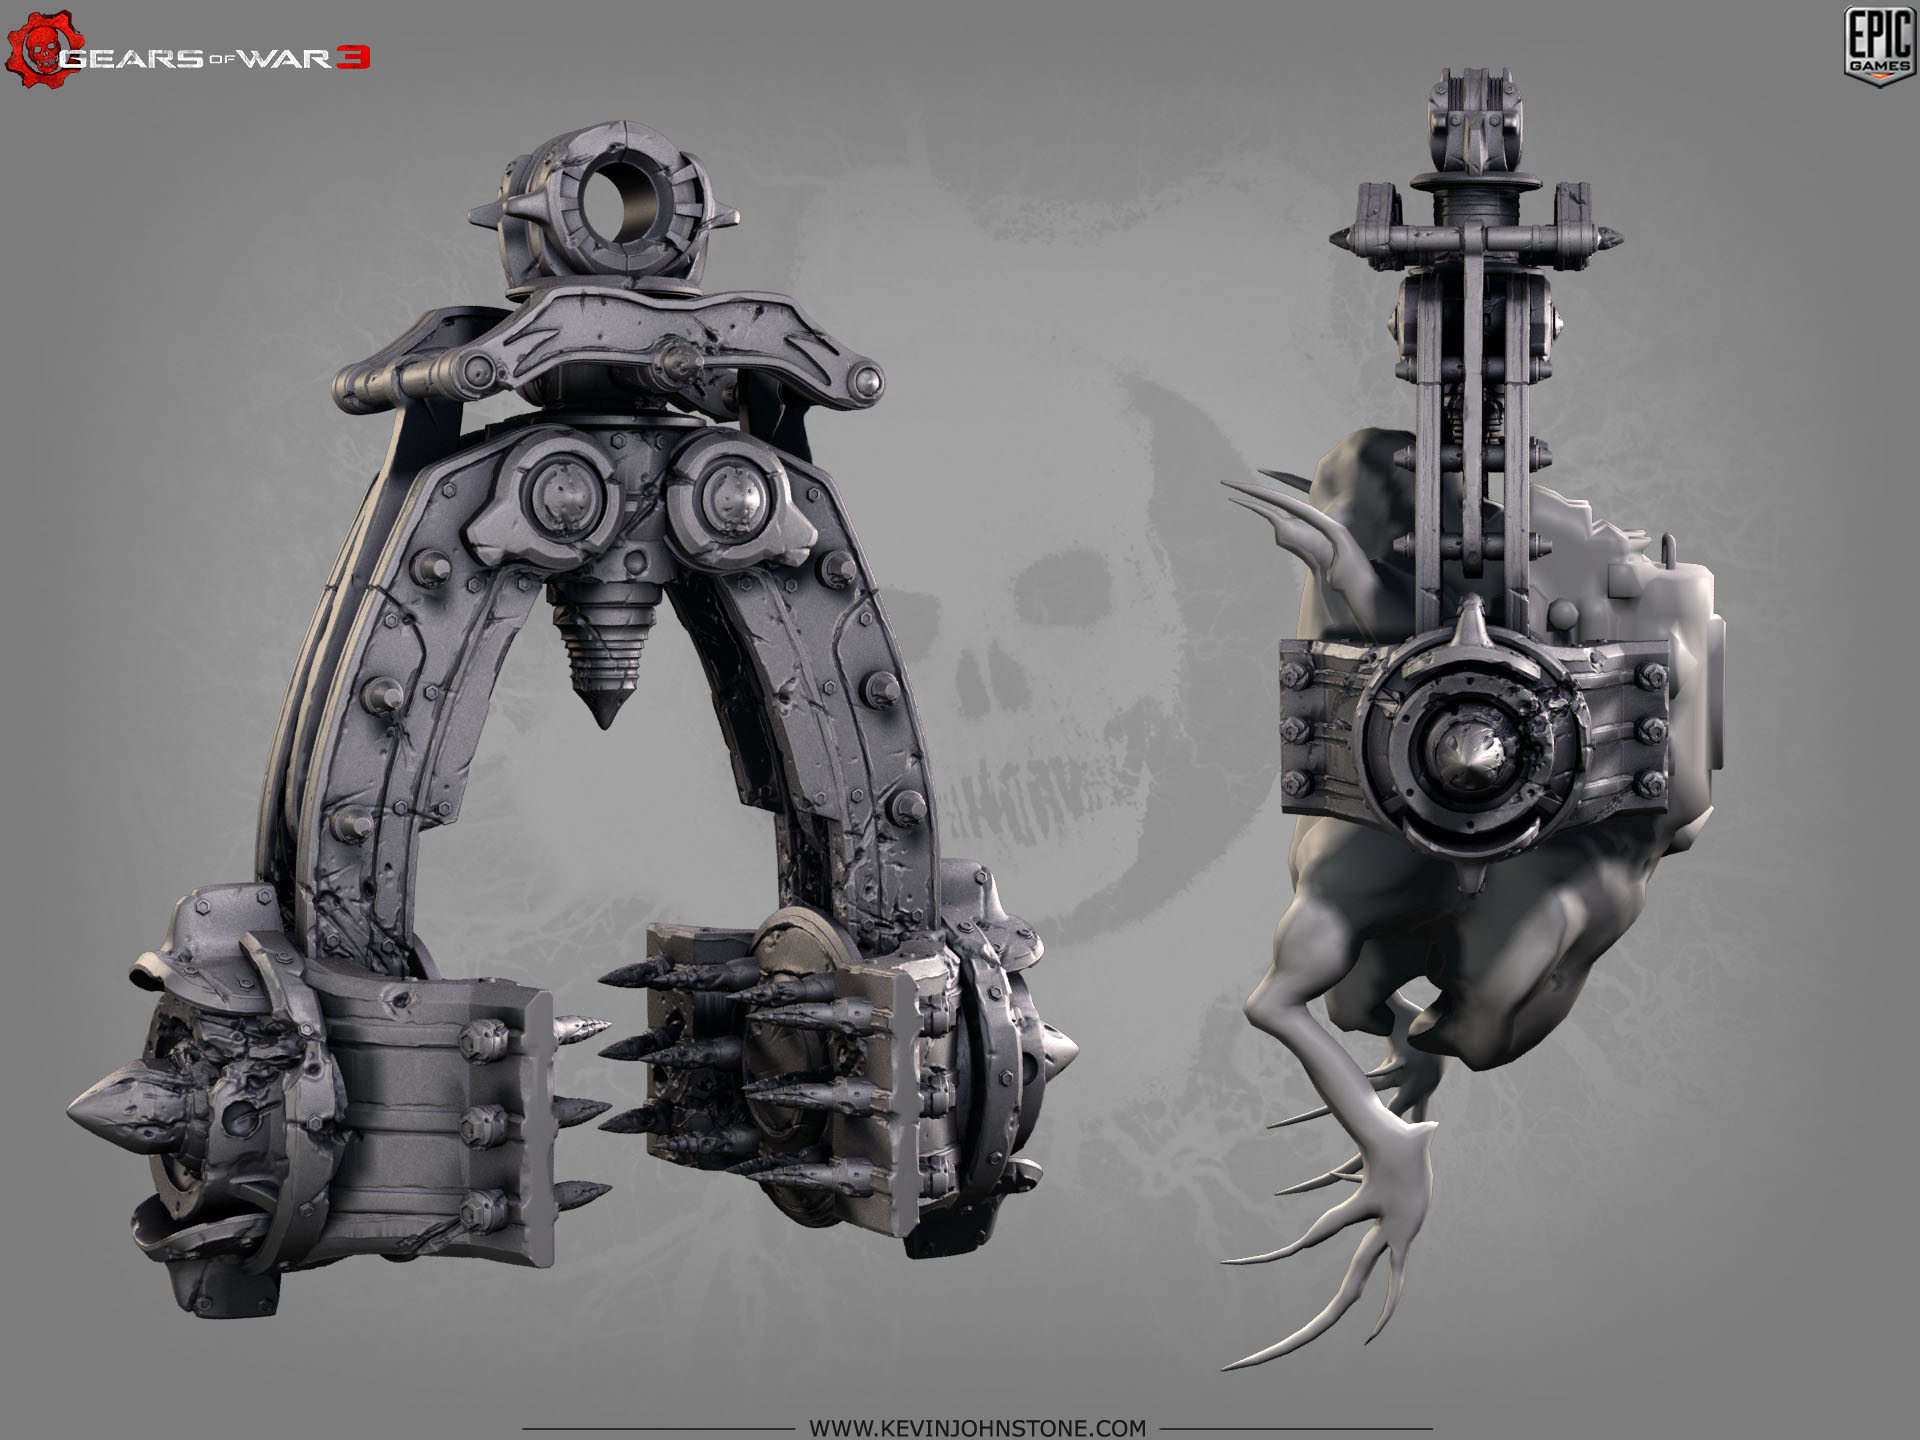
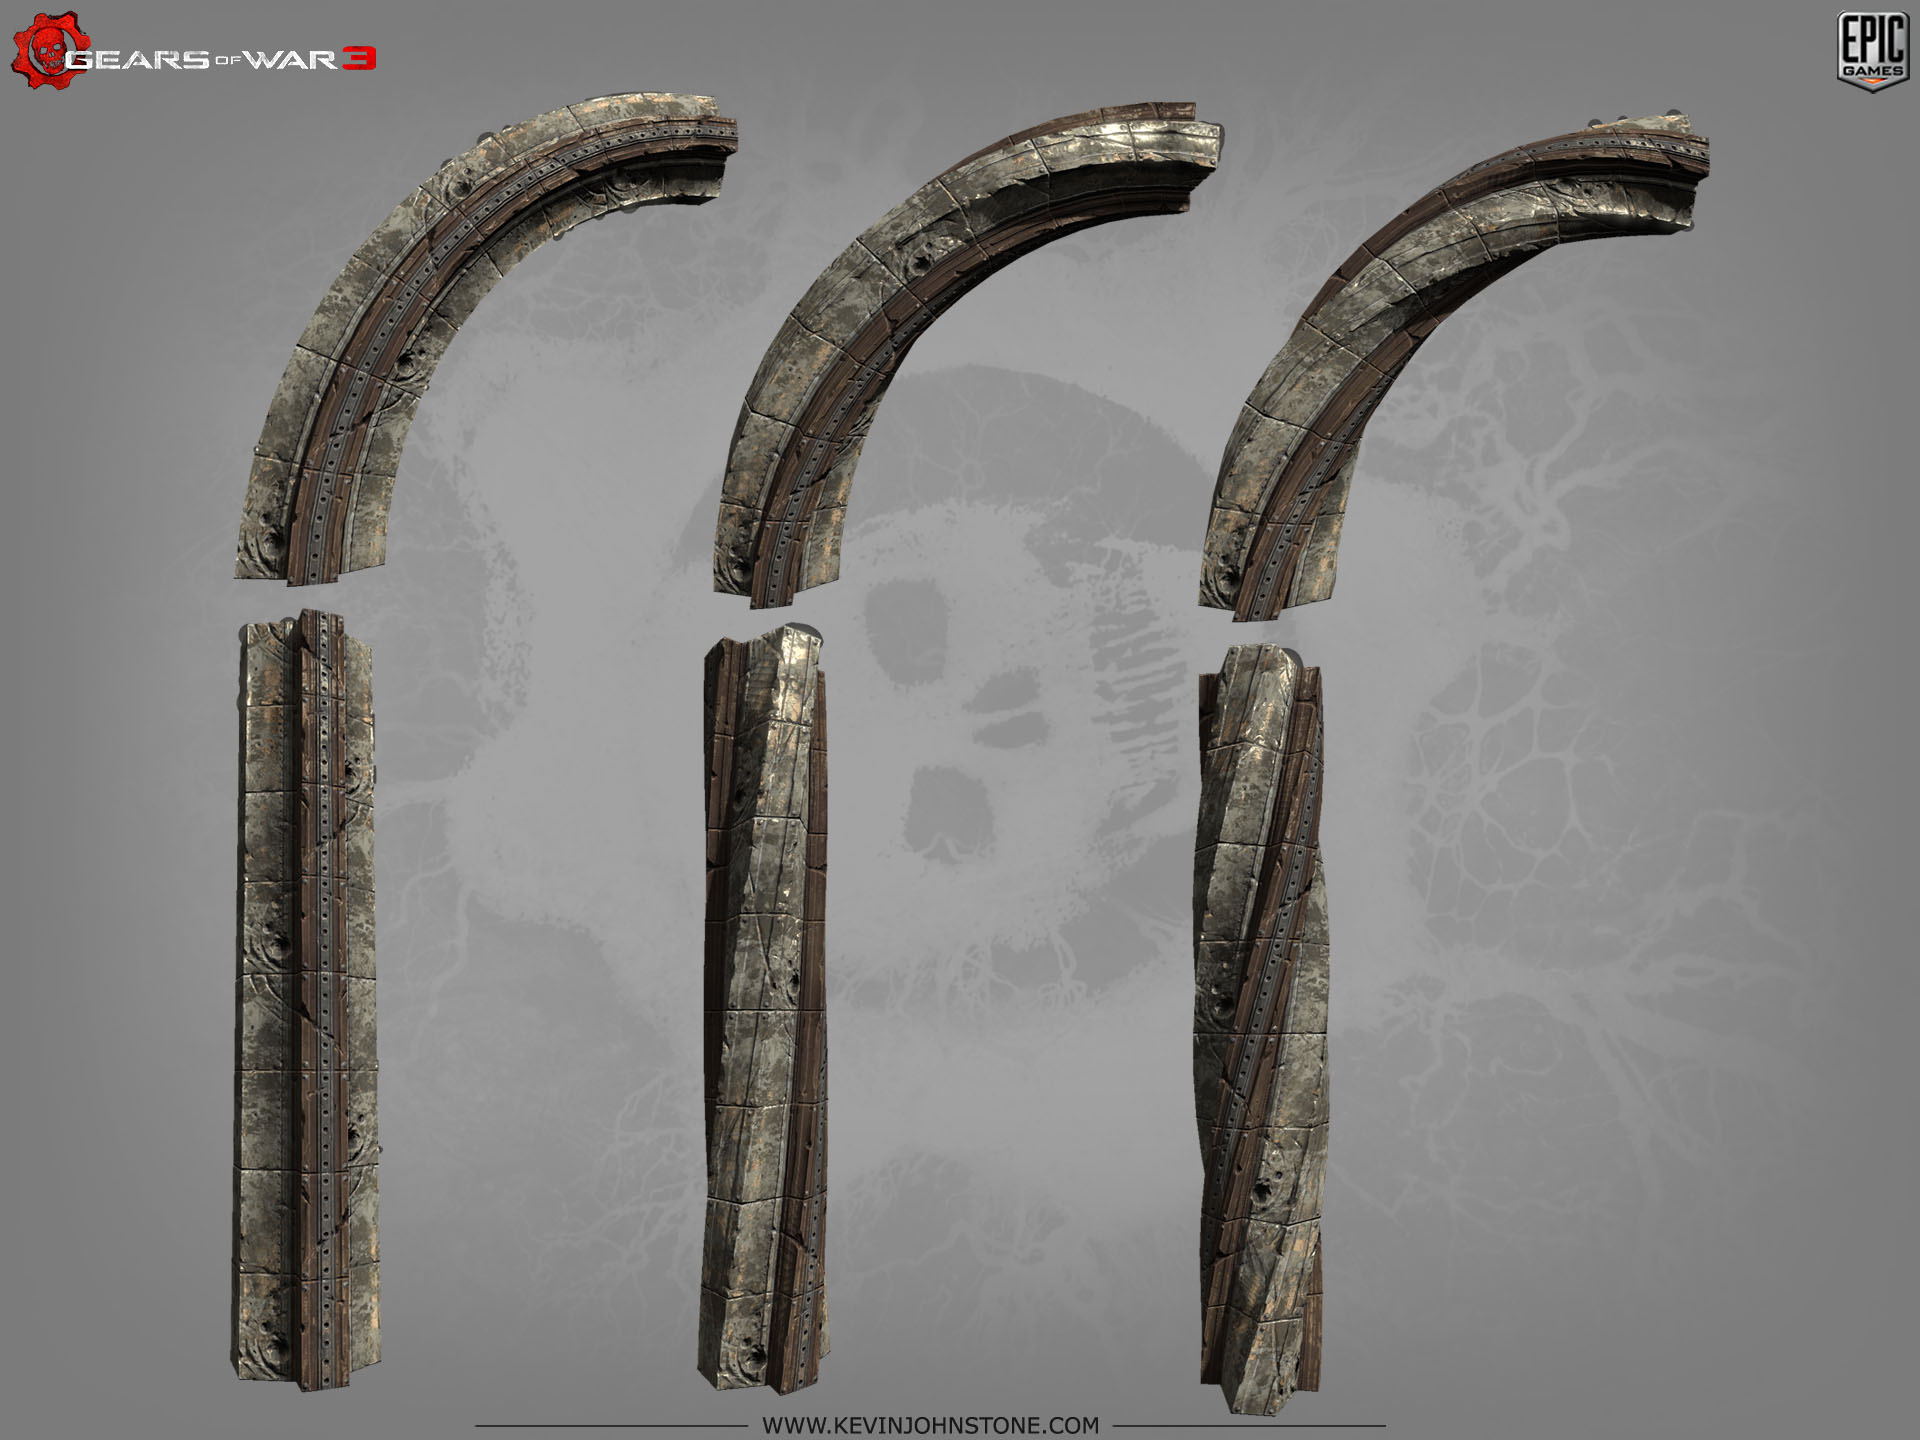
Heres some lows for the Spirestrut piece I showed the hipoly of.
Some variants
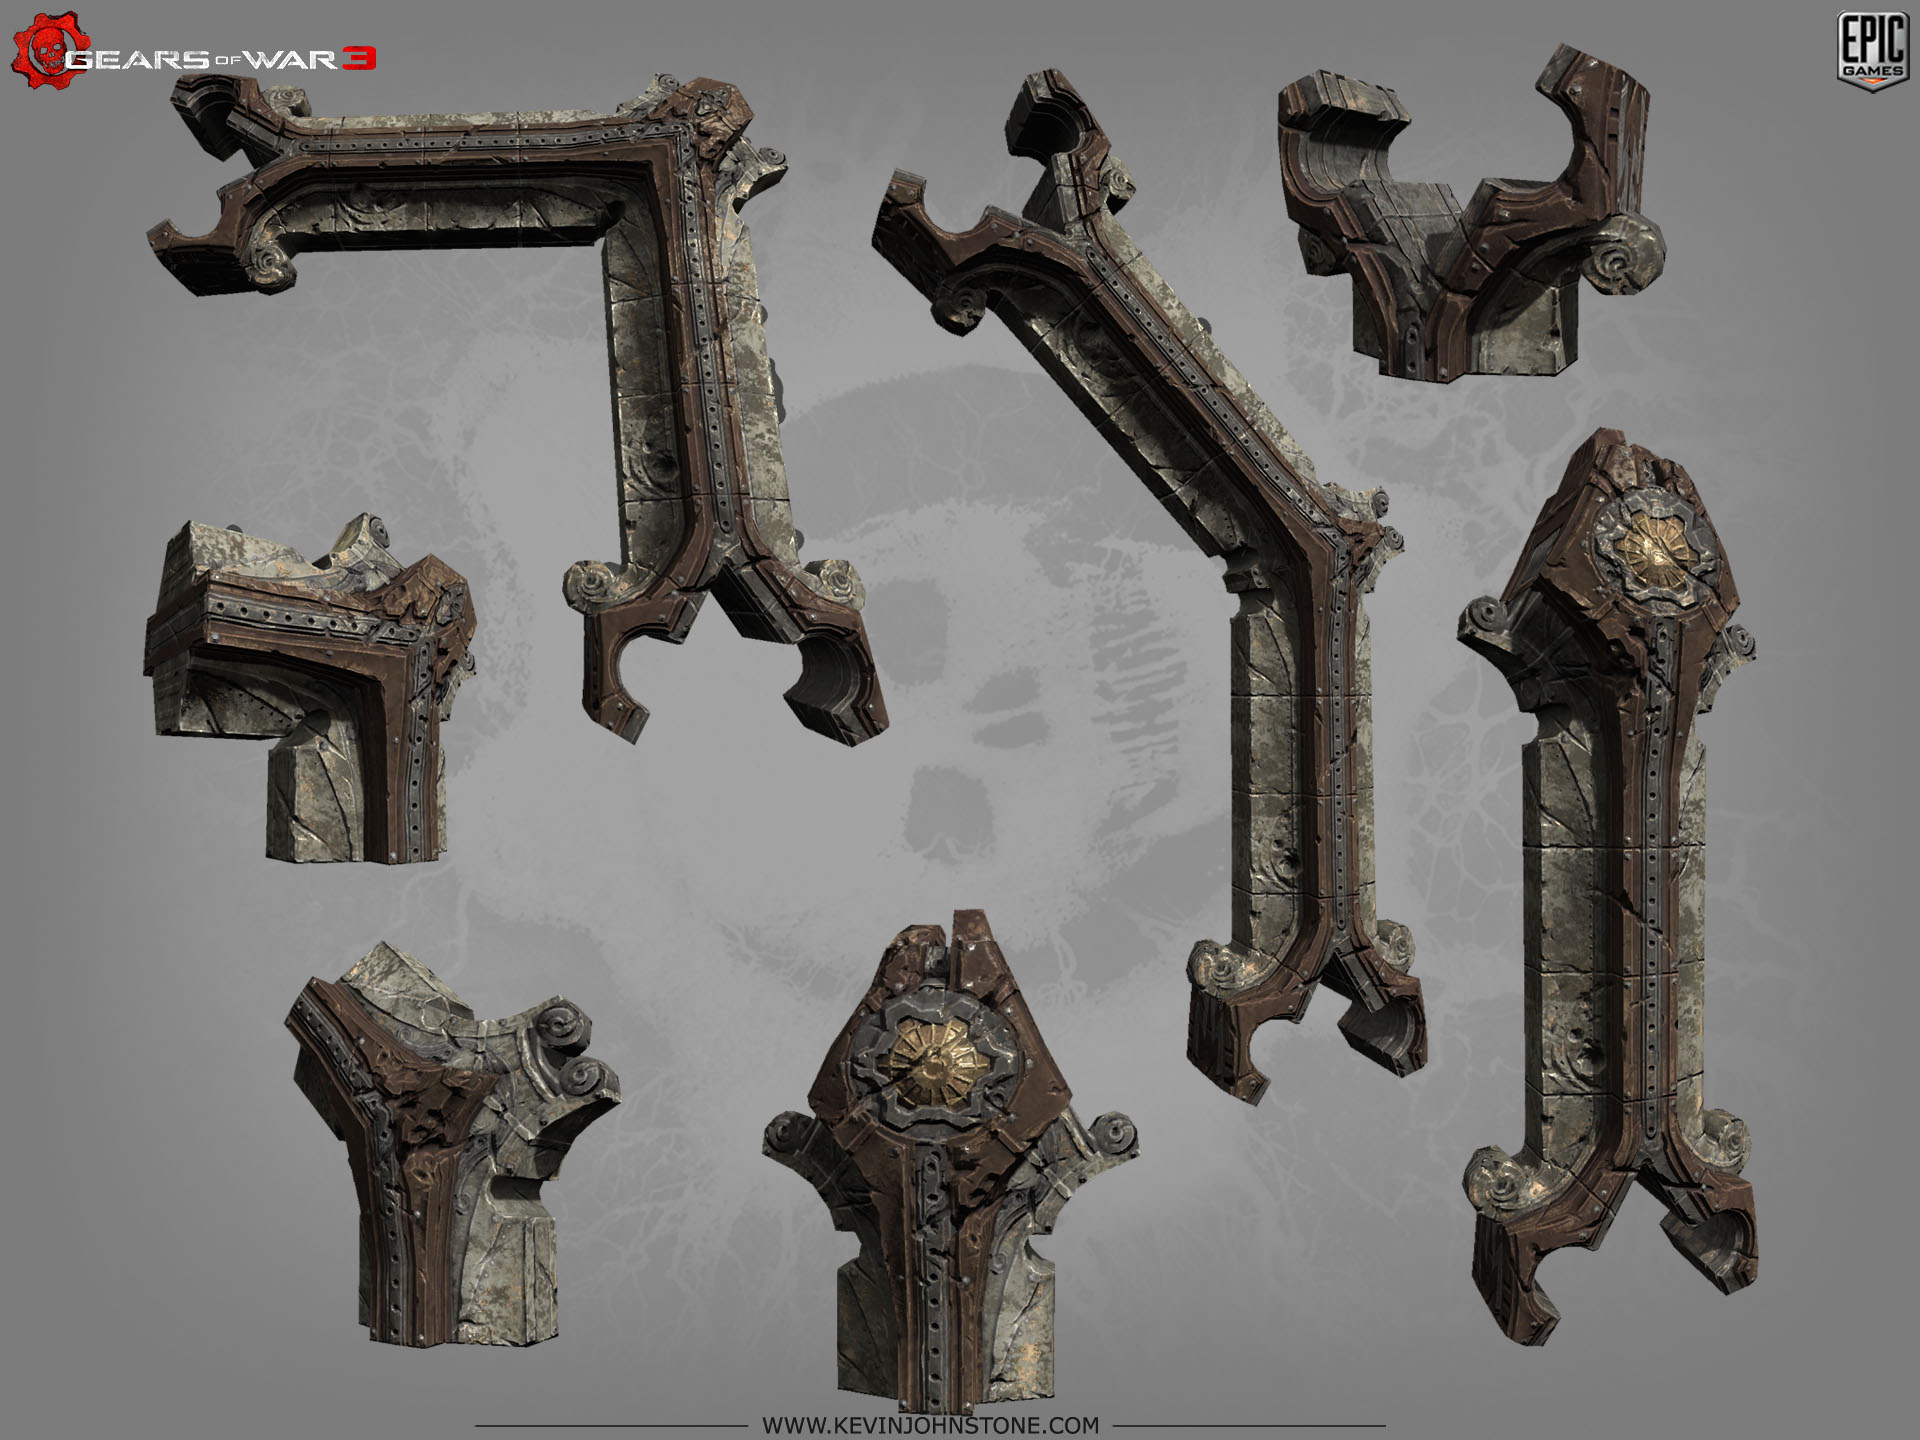
Some more
Attachments