ZBrushCentral

Charlie Boy and The Explorer. Comments & Crits please

Thanks for all the great comments everyone, Erklaerbar / Defrago / Bas / Mr Micro/ Froyd / Static Girl I’ve have spent a pashion of of time on this and it’s good to get feedback and crits.

Froyd, I should have mentioned you in my thanks on my last post, for your natural wood txtrs. But I couldn’t remeber who made them, I used one the txtes for the plant stem. And your Jerry Stiller, thread gave me insperation for the skin texturing. And I love your work and style. thanks

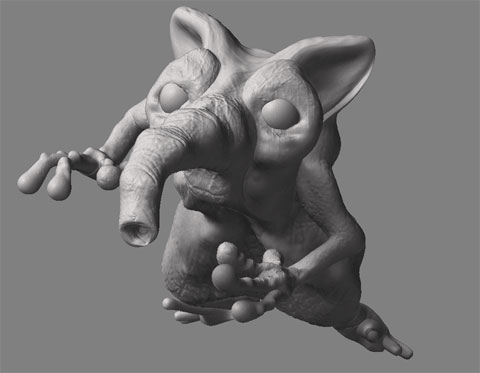
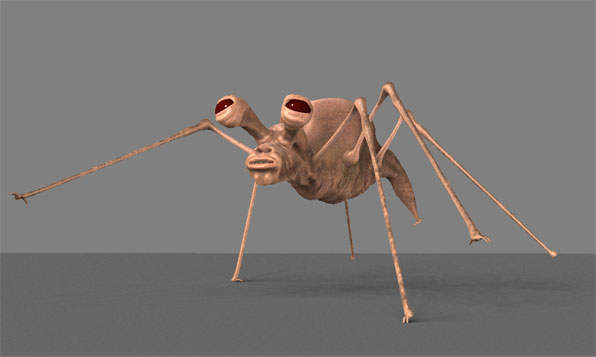
Defrago / Bas, Thanks for your kind comments and Crits, they are very valid and appreciated. I agree that the flowers, are not quit comp, right. I did try various ways with them, had them on the opposite side, pushed them into the background and blured the focus, even thought about leaving that area blank, but the space just niggled me and said something needs to be there on the left. And I just could not feel 100% either way, but as I have them here felt the most right. Maybe I need to come back to it after small break from the project. I’m sure you know what it’s like when you work heavy on a project, the obviouse clues get lost and you need time out to take stock of the whole image. I’ll post samples of the others for you to see, and would value your comments. thanks

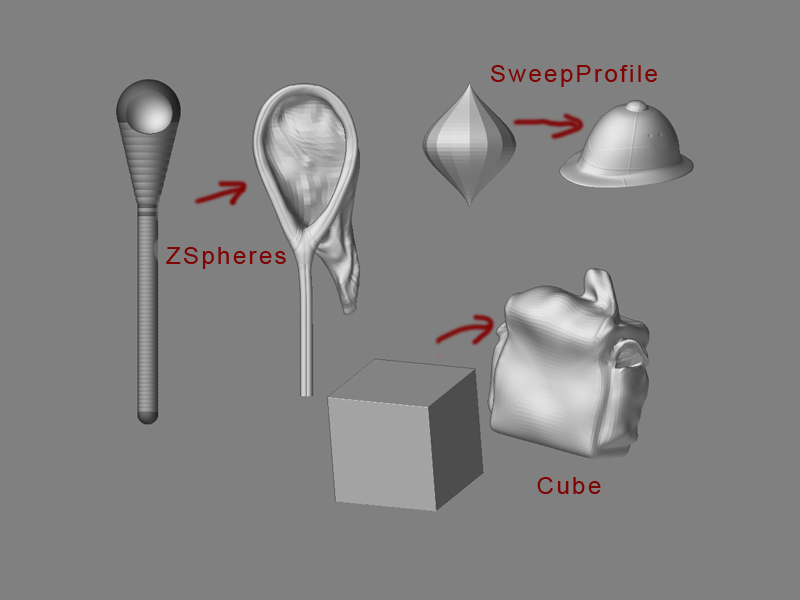
I’ll Try and put a simple Tut, together on how I went about creating all this, not done one before, but there are a couple of techniques I stumbled apon when it came to the txturing, which I havn’t heard of beeing used in the forum. They probrably have already been mention by others as the tips are not rocket science, But I havn’t seen any, and I feel it’s a handy tip to pass on.

Ok thanks again, and I’ ll keep posting

Ok I looked at all the other, versions I tried with the flowers. and the more i look at them, and yep the flowers have to go. I’m still thinking something should be there. I don’t know comenst and sugestions!!

I’m thinking more to the leave it as it is.

[](http://javascript%3Cb%3E%3C/b%3E:zb_insimg%28%2730433%27,%27ZCExplorCol2.jpg%27,1,0%29)[![ZCExplorCol2.jpg|680x789](upload://2l8l8q0b8vGBp5YdPlt932Lh2bb.jpeg)](javascript:zb_insimg('30434','ZCExplorCol2.jpg',1,0))[](http://javascript%3Cb%3E%3C/b%3E:zb_insimg%28%2730433%27,%27ZCExplorCol2.jpg%27,1,0%29)

Maybe a weird Insect on his Helmet or shoulder?!
Lemo

PS:Great Pic!

thanks Lemonado, I Have played with that concept in my mind, I did creat a little Alian lifeform/Creature to sit on his helmet, kinda peering round from the back. but I need to spend more time on the modeling off it as the first attempt looked awfull. But I’m your track, there is something missing.

Hehehe, or a glass of cool german beer :smiley:
Nah…

Panstar, a hand holding a needle with a pierced insect?
Btw, I like the picture more like this!

Top row surely!
5 stars too.
Nice.

can you please explain how you got that net? i haven’t been able to do tranparencies yet

Hi jit_gohil / Polyguns Thanks for your comments

PolyGuns, With the net transparency, what can I say a flook. It’s not really transparent, I tried the transparency sliders and they done nothing. but when i layed the work over the background in Photoshop, it fitted and appeard transparent. I have post rendered some highlights on the folds which I think has added to the illusion, but the rest is just the way the shadows fell. Even where it appears the rucksack shows through. but if anyone can explain to me why there is a transparency slider in the materials, Because as far as I could tell it done nothing.

Bas: Nice idea with the insect on a pin, only problem he has is arms held behind his back. However one idea I thought about doing, when I was working on the Digital Monical, was to have a delicate mechanicle arm with a small Croc Clip extending from the Monical, holding a bug of some forme being studied. Would need to redo the eye direction then through.

Well here are a couple more close crops to show the details

[Face-Detail.jpg
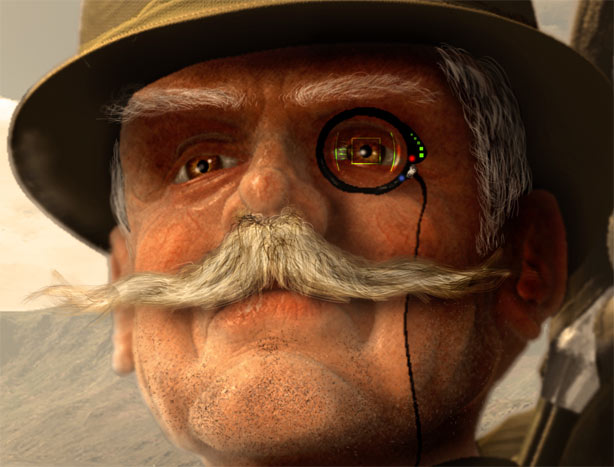
](javascript:zb_insimg(‘30482’,‘Face-Detail.jpg’,1,0))

Attachments

ShipDetail.jpg

By The way Bas, I’m think also that your right that the image works well as it now stands. But still open to Ideas. I have another creation bubbling in my head, and getting ichy hands to start work.

Great image :+1:

For transparency to work the object has to be on another layer. Then you have to do a best render with flatten turned off.
trans-example.jpg

You made sweet photos there, how about the haircut?? Made in Photoshop or something??
Good work!! :smiley:

By the way, how did you make the small beard??
Impressive enough…

Adios,

// Synok.


Thanks for that Explanation Blaine, the moment i took Flatten off the effect became obviouse, Funny how a simple little button can stump you. I now know for next time.

Hi Synok, All hair is created in Photoshop, For the first top post of Charlie Boy, the beard was done using a simply drawn squigled line picked up and used as a brush, and palyed around with the properties to get a spatter/Airbrush flow to build up then a second layer over the top for high lights. Eyebrows and hair is drawn using traditional methods blocking out the shape and highlighting with single stokes. the same goes for the Explorer.

Thanks for the kind comments
Sha

Ok Bare with me here this is my first attempt at the workflow for the Explorer.

Hope it helps anyone interested,

Ok first started with a rought concept drawing,
[Big-game-ref.jpg]Shirt Tut.jpg

All tools where positioned into place on Separate layers to make the figure composition, once that was done, the staps where quickly made on a new layer and pushed in to the shirt, I used the paint brush with the Sub butt pressed at a setting of 8 - 12 maybe a bit lower, and genlty stoked to flatten them down to cloth.

With all the layers set, I made some Alphas of cloth creases and a shirt pocket, Took them to Stensil and with wrap mode on brushed over the layers where I wanted the creases, change size of stencile for randomness

The background as I mentioned in a previous post was rendered out of terragen and layered on a plain tool, Though I only used this a reference.

Rendered out the composition, with the background turned off, and exported into photoshop, opened the canvas up and brought the background back in to layer underneath. Hair and lake reeds drawn in. and a warm tone filter laid over whole lot.

Ok I think thats it. A lot of it is probrably standered practice, but like with the cloth texturing I havn’t come across this tech being mentioned. I done it that way because I couldn’t get the fine detail into the model with Projection Master, without slowing the system down or crashing.

Attachments

Tools.jpg

its a great image, and thanks for all your explination on your workflow, I am somewhat suprised though that its not on the top row yet. :o

Thanks PolyGuns, And it’s nice to hear people say they feel it should be top row. Does anyone know how the the top row listings are nominated. At first I thought it went on vote rating but I’ve seen work go up on 5 stars and others on 20 points or so.

Well not getting on top row will just encourage me to do better i guesse.

And all the kind comments from everone who’s postred in this thread means a lot, and also encourages me to push the bounderies. And I have now started on my next piece, so will be starting a new thread soon. Just getting the concept scetch done, working title of “The Little Dentist” I’ll keep you all posted.

Thanks everyone

These are the two critters, I created for the explorer, but they just don’t fit in. I’m uploading the file for one, if anyone wants to finish the critter feel free, I’d be interested in seeing the results. It’s not finished and the hind end is more or less untouched.

the Bug critter I’ll hang on to for now as I have other plans for it
[ZBug.jpg]ZCritter2.jpg

Enjoy
Sha

Very cute. :wink:

Well… I’d post the ZTL, but it’s just a little larger than can be accepted here even compressed. If you would like it back, just provide me with an email.

I have noticed several zsphere errors. The front hands/wrist areas will cause a problem posing. The rear middle toe will also cause issues. Other than that pretty good, but I would add in some zspheres in front and behind joints for flexibility.

So here is what I whipped up betwwen those dirt words work and work. :wink:

Attachments

Picture 1.jpg

Picture 3.jpg

This is fantastic Jason, I did’nt expect a response so quickly. Yeah, I’m not suprised there are some errors. it’s my first ZSphere set thats not a head setup… And looking at what you have done in such a short space of time, I see a i have bit of a way to go.

thanks
Sha

Ok sorry to laiden you all again with another update, I just can’t seem to leave it alone. Though I feel this is it… The ony thing I feel that may change from now is the Airship, but thats only because it’s not my own creation so if I can create one thats as good or better. The I’ll replace it.

I’ve played around a bit more with the colour balance, worked on the background more to add a bit of depth, and painted in some reeds and trees. I thought about adding a small hut on the strip of land with the trees, to give a bit of scale reference. So comments welcomed if you feel the image needs this.

Oh and I’ve given him some eyelashes, which I had completely forgot about doing, they don’t realyl show at this Res. but I know they’er there, Details ! Details !!

[![ZCExplorCol2.jpg|680x789](upload://65Bcq087wJ62PjeTayywQeLlT2p.jpeg)]